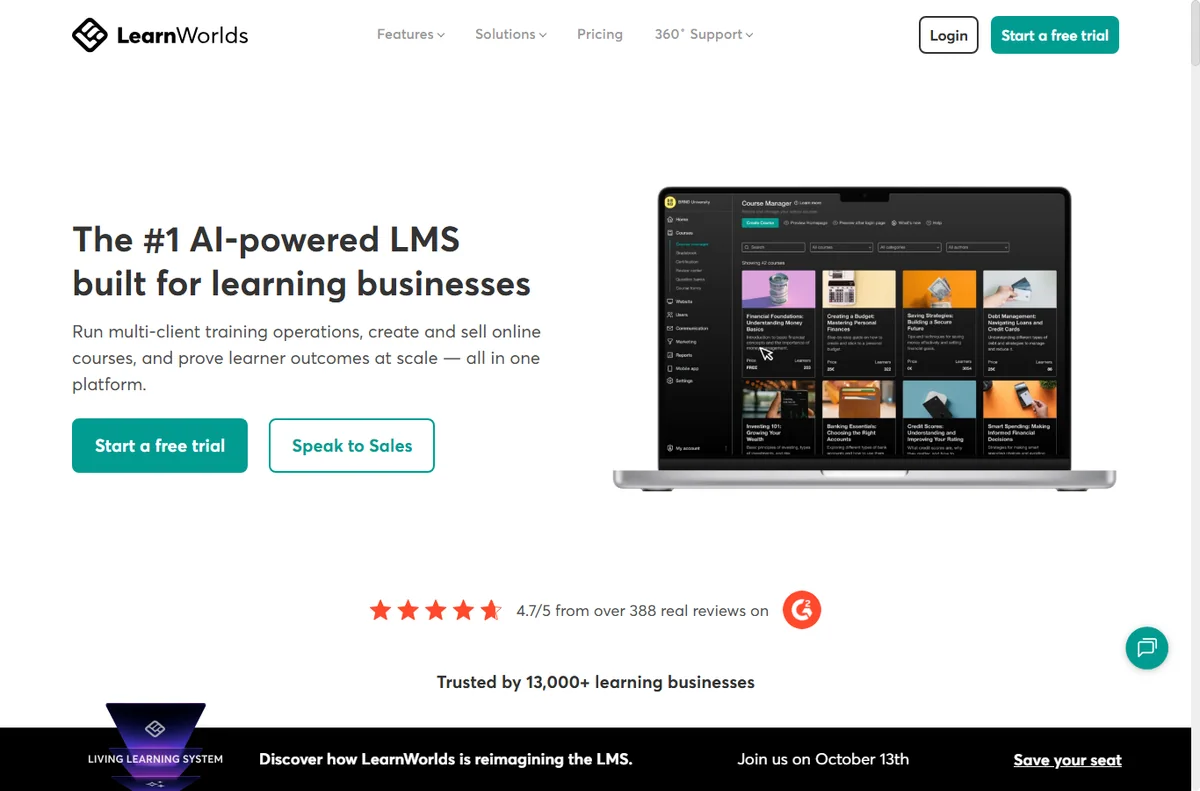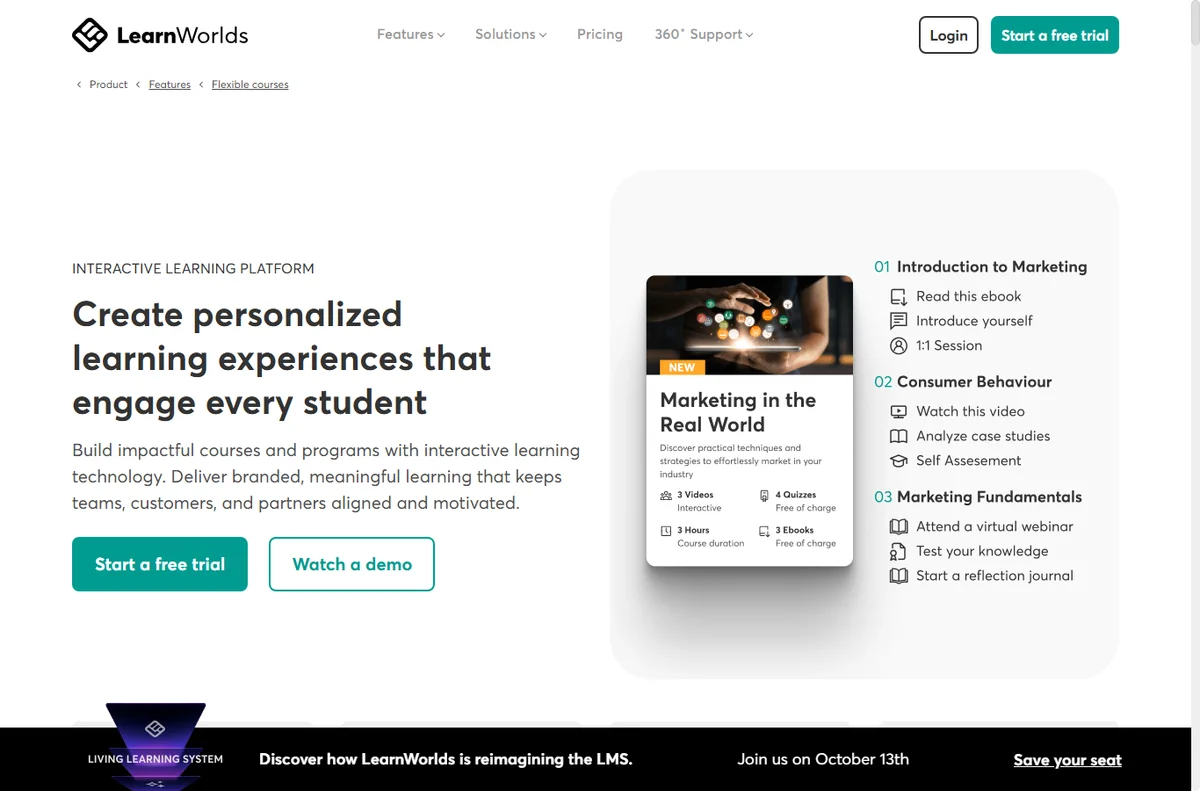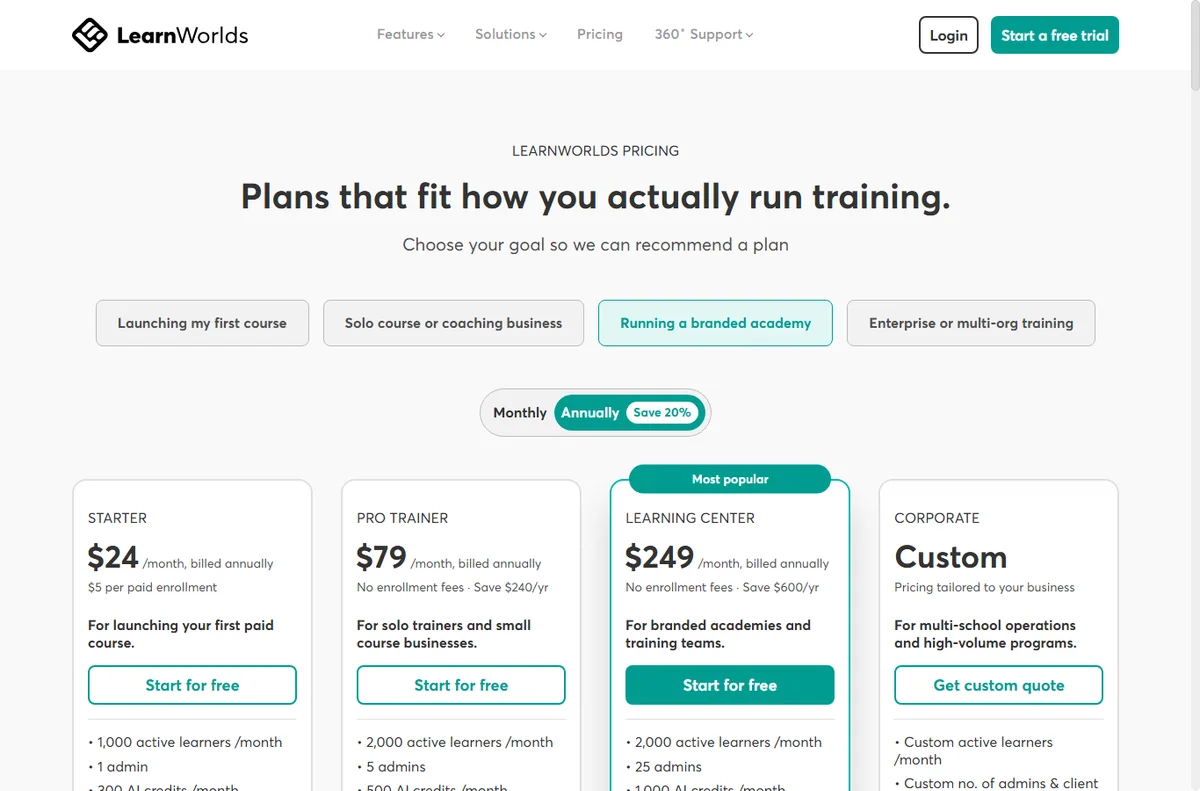
We’re reader-supported — some links are affiliate links. Learn more →

Skip to content

Independent software research. Some links may earn us a commission at no extra cost to you. Learn more →

ICode

Author: admin

  • How to automate lead follow-up with Make

    How to automate lead follow-up with Make

    Home / Automation / Guides / How to automate lead follow-up with Make

    Guide · automation · updated October 9, 2026

    How to automate lead follow-up with Make

    Most leads go cold because follow-up depends on someone remembering. Make can run a consistent sequence instead: catch the new lead, wait the right amount of time, send the next message, and stop when the lead replies.

    Independent analysis. This page may contain affiliate links. If you sign up through a link on this page we may earn a reward at no extra cost to you, and it never changes what we recommend. We are an independent publisher and are not affiliated with, endorsed by, or an official partner of any tool mentioned. See our Affiliate Disclosure.

    TL;DR

    • Follow-up wins are about timing, not volume.
    • Start with one sequence and one clear goal.
    • Use a delay between touches so messages are not spammy.
    • Stop the sequence the moment a lead replies.
    • Log everything so nothing is sent twice and no lead slips through.

    On this page: What good follow-up looks like · Anatomy of the scenario · Build it · Branch on replies · Avoid the pitfalls · Where this fits
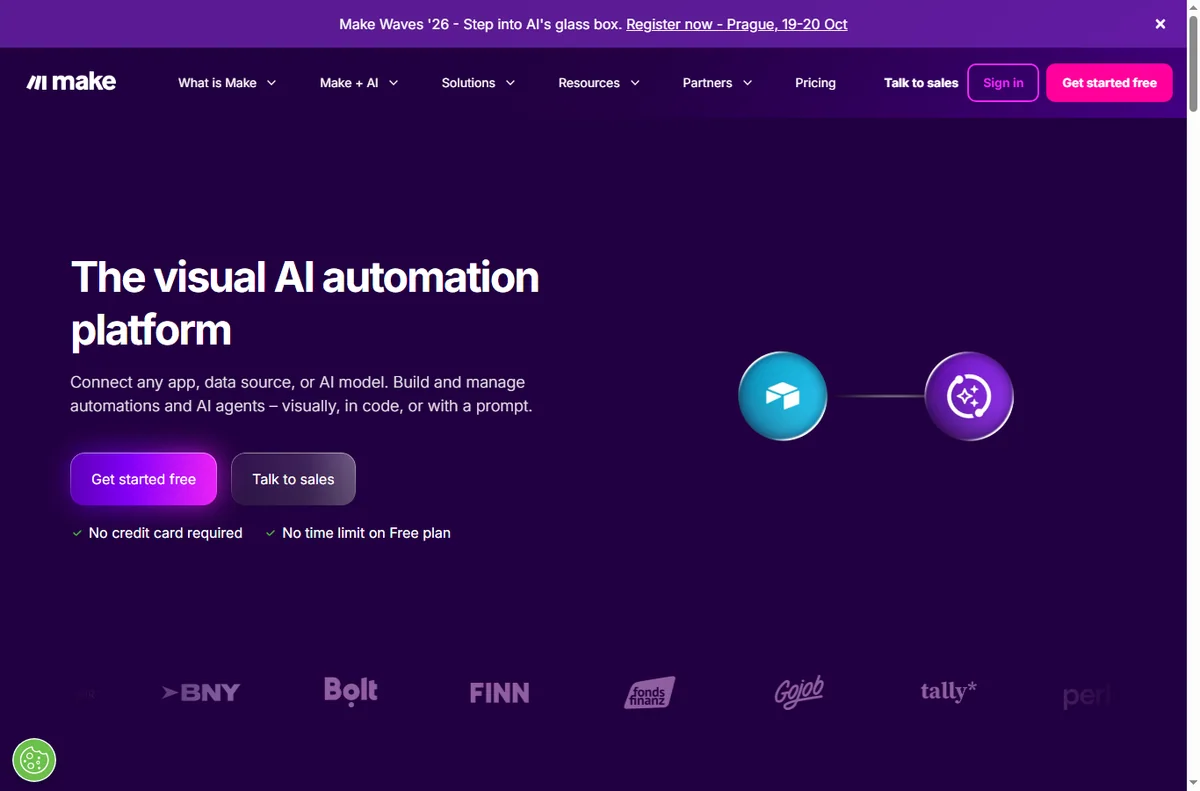
    Make home page
    Make home (image: make.com)

    What good follow-up looks like

    A useful follow-up is short, timely and relevant. Before automating anything, write down the sequence you would send by hand: how many messages, how far apart, and what each one adds.

    Automation does not fix a bad sequence — it just sends it faster. Get the manual version right first, then let Make run it.

    Make integrations page
    Make integrations (image: make.com)

    Anatomy of the scenario

    Every follow-up scenario has the same skeleton: a trigger when the lead arrives, a delay, a send step, a branch to detect a reply, and a step that records what happened.

    • Trigger: a new lead from your form or store.
    • Delay: the gap before the next message.
    • Send: an email step or a step that queues a message in your email tool.
    • Branch: check whether the lead has replied.
    • Log: mark the lead as contacted so it is not processed twice.
    Make login page
    Make login (image: make.com)

    Build it step by step

    Keep the first version small and let it prove itself before you add branches.

    1. Add the trigger for a new lead.
    2. Add a delay that matches your written sequence.
    3. Add the step that sends or queues the first follow-up.
    4. Add a step that tags the lead as contacted.
    5. Test with a sample lead you create yourself.
    Make pricing page
    Make pricing (image: make.com)

    Branch on replies

    The single most important safeguard is stopping the sequence when a human replies. A router in the scenario can check for a reply and take one path if there is one and another if there is not.

    When a reply is detected, exit the sequence and hand the lead to a person. Automated messages that keep firing after a real conversation are the fastest way to lose trust.

    Avoid the pitfalls

    • Do not queue so many touches that the sequence reads as spam.
    • Do not send the same message twice because a step re-ran — use a log or tag.
    • Do not forget time zones when scheduling delays.
    • Do not chase someone who already bought; branch them out early.
    Make register page
    Make register (image: make.com)

    Where this fits

    Start with the business automation hub and the independent Make review. To choose a platform, read Make vs n8n and the best workflow automation tools; for setup, see how to set up Make.

    Make templates page
    Make templates (image: make.com)

    Frequently asked

    How many follow-ups should I send?

    Fewer than you think. Two to four well-timed, genuinely useful messages usually beat a long sequence.

    Should every message be automated?

    No. Automate the first touches and the internal reminders; write the personal replies yourself.

    How do I stop messages after a reply?

    Add a router that checks for a reply and exits the sequence when one is found.

    What does it cost?

    Make meters operations on paid plans. Because tiers and caps change, check the current pricing on the vendor’s page before you scale.

    Automate follow-up with Make

    Catch the lead, wait, send, stop on reply.

    Some links on this page may be referral links — we may earn a reward if you sign up, at no extra cost to you. We are an independent publisher. See our Affiliate Disclosure.

    Related reading

    Try Make for free – automate your workflows in minutes. Start free
  • How to send leads to GetResponse using Make

    How to send leads to GetResponse using Make

    Home / Automation / Guides / How to send leads to GetResponse using Make

    Guide · automation · updated October 9, 2026

    How to send leads to GetResponse using Make

    A form or checkout captures a lead, and you want it in GetResponse without copy-pasting. Make connects the two: a scenario watches for the new lead, cleans the data, and adds it to the right list. This guide builds that scenario step by step.

    Independent analysis. This page may contain affiliate links. If you sign up through a link on this page we may earn a reward at no extra cost to you, and it never changes what we recommend. We are an independent publisher and are not affiliated with, endorsed by, or an official partner of any tool mentioned. See our Affiliate Disclosure.

    TL;DR

    • The scenario needs a trigger (new lead) and an action (add contact).
    • Connect both apps once, then reuse the connection.
    • Filter out obvious junk before it reaches your list.
    • Map fields carefully — a wrong field means a wrong email.
    • Test with sample data before switching the scenario on.

    On this page: What the scenario does · Prepare the connections · Build the scenario · Map the fields · Test safely · Where this fits

    Make home page
    Make home (image: make.com)

    What the scenario does

    The goal is a repeatable path from capture to list. Whatever the lead source — a website form, a landing page or a checkout — the scenario watches for a new record and pushes a clean contact into GetResponse.

    Keeping the logic visible on a canvas means you can change one step without breaking the rest, which is the whole reason to automate this rather than wire it manually into every form.

    Make integrations page
    Make integrations (image: make.com)

    Prepare the connections

    Before building, connect both apps in Make and confirm each has the access it needs. You only do this once per app, and the connection is reused by every scenario that needs it.

    1. Add a connection to your lead source (your form tool or store).
    2. Add a connection to GetResponse.
    3. Confirm the GetResponse connection can see the list you plan to write to.
    4. Note the exact field names on both sides — you will map them later.
    Make login page
    Make login (image: make.com)

    Build the scenario

    A minimal scenario is a trigger plus a filter plus a Create Contact action. Add steps only when they earn their place.

    1. Choose the trigger: a new submission or new order.
    2. Add a filter so empty or obviously fake submissions are ignored.
    3. Add the GetResponse module that creates or updates a contact.
    4. Choose the destination list or tag in that module.
    Make pricing page
    Make pricing (image: make.com)

    Map the fields

    Field mapping is where most integrations quietly go wrong. Match the source fields to the GetResponse fields one at a time, and preview the data Make shows you after a test run.

    • Email must land in the email field, not a name field.
    • Send a first name only if you actually collect one.
    • Add a tag or list that reflects where the lead came from.
    • Leave optional fields empty rather than guessing.

    Test safely, then switch it on

    Run the scenario by hand with sample data and read the input and output of each module. Only when the contact arrives in GetResponse exactly as expected should you switch the scenario on.

    Keep one test contact you can delete afterwards, and check the first few live runs so a small mapping mistake does not reach your whole list.

    Make register page
    Make register (image: make.com)

    Where this fits

    Start with the business automation hub and the independent Make review. For the email side, see the GetResponse review and how to set up GetResponse; for the tool itself, how to set up Make.

    Make templates page
    Make templates (image: make.com)

    Frequently asked

    Do I need to code?

    No. The scenario is built by choosing modules and mapping fields. Code only comes in if a transformation the built-in functions cannot do is required.

    What if the same lead submits twice?

    Add a step that checks for an existing contact before creating a new one, so you update rather than duplicate.

    Does this cost extra?

    Make meters operations on paid plans and GetResponse plans vary. Rates change, so check the current pricing on each vendor’s page.

    How do I know it worked?

    After a test run, confirm the contact appears in the correct GetResponse list with the fields you mapped.

    Move leads to GetResponse with Make

    Trigger, filter, action — then test before you switch it on.

    Some links on this page may be referral links — we may earn a reward if you sign up, at no extra cost to you. We are an independent publisher. See our Affiliate Disclosure.

    Related reading

    Try Make for free – automate your workflows in minutes. Start free
    Try EmailOctopus free – email marketing that is simple and affordable. Start free
  • How to use WooCommerce for a small business

    How to use WooCommerce for a small business

    Home / E-commerce / Guides / How to use WooCommerce for a small business

    Guide · e-commerce · updated October 9, 2026

    How to use WooCommerce for a small business

    Once a store is live, the question changes from how to build it to how a small team runs it without adding headcount. This guide covers the workflows that matter: selling more from the same catalogue, keeping operations tidy, and growing repeat orders.

    Independent analysis. This page may contain affiliate links. If you sign up through a link on this page we may earn a reward at no extra cost to you, and it never changes what we recommend. We are an independent publisher and are not affiliated with, endorsed by, or an official partner of any tool mentioned. See our Affiliate Disclosure.

    TL;DR

    • Own your store: you control the catalogue, data and checkout.
    • Turn one good product page into a repeatable template.
    • Use extensions only where they save real time.
    • Handle tax and shipping with rules, not manual notes.
    • Grow repeat orders rather than chasing new traffic only.

    On this page: Product template · Keep the store healthy · Operations · Repeat orders · Grow on purpose · Where this fits

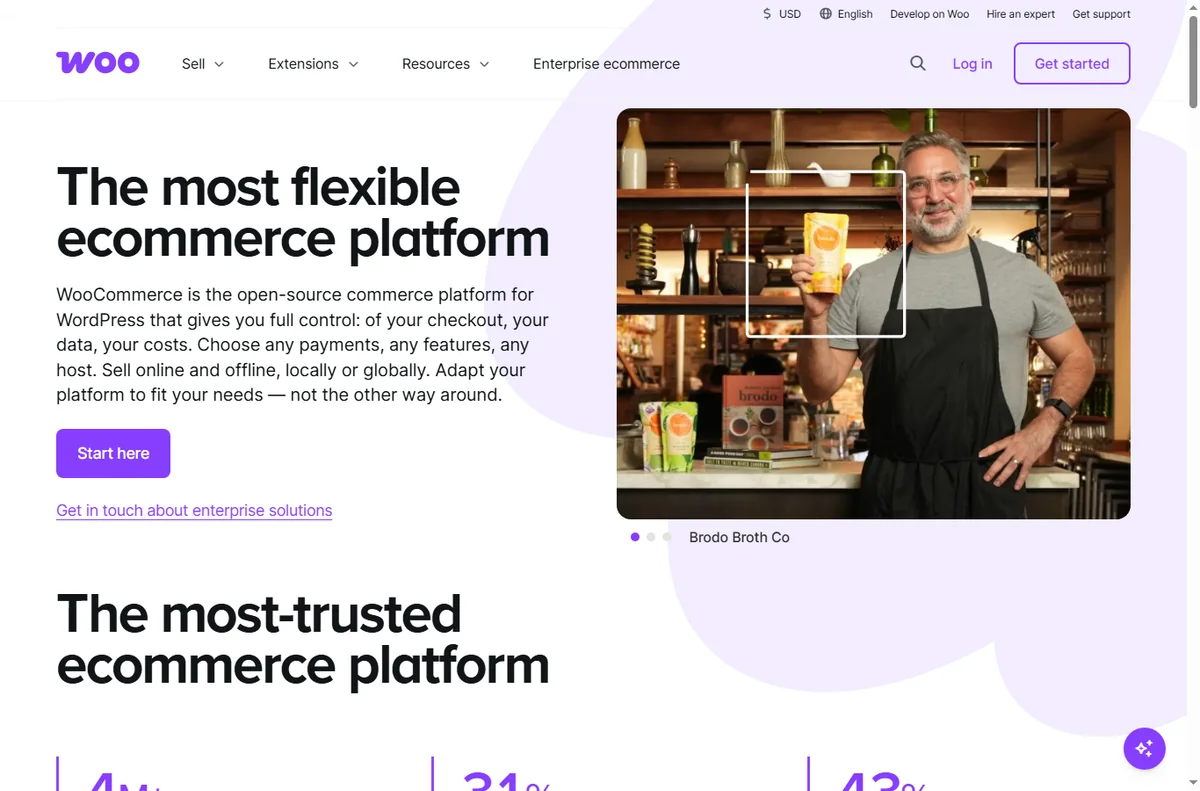
    Woocommerce home page
    Woocommerce home (image: woocommerce.com)

    Build one product page you can reuse

    A small business does not need hundreds of product pages to look professional. It needs a handful that are genuinely good, then a template you repeat for everything else.

    • Lead with one clear benefit and a real photo.
    • Answer the three questions buyers always ask: size, delivery, returns.
    • Put price, stock and a single call to action above the fold.
    • Reuse the structure so a new product takes minutes, not hours.
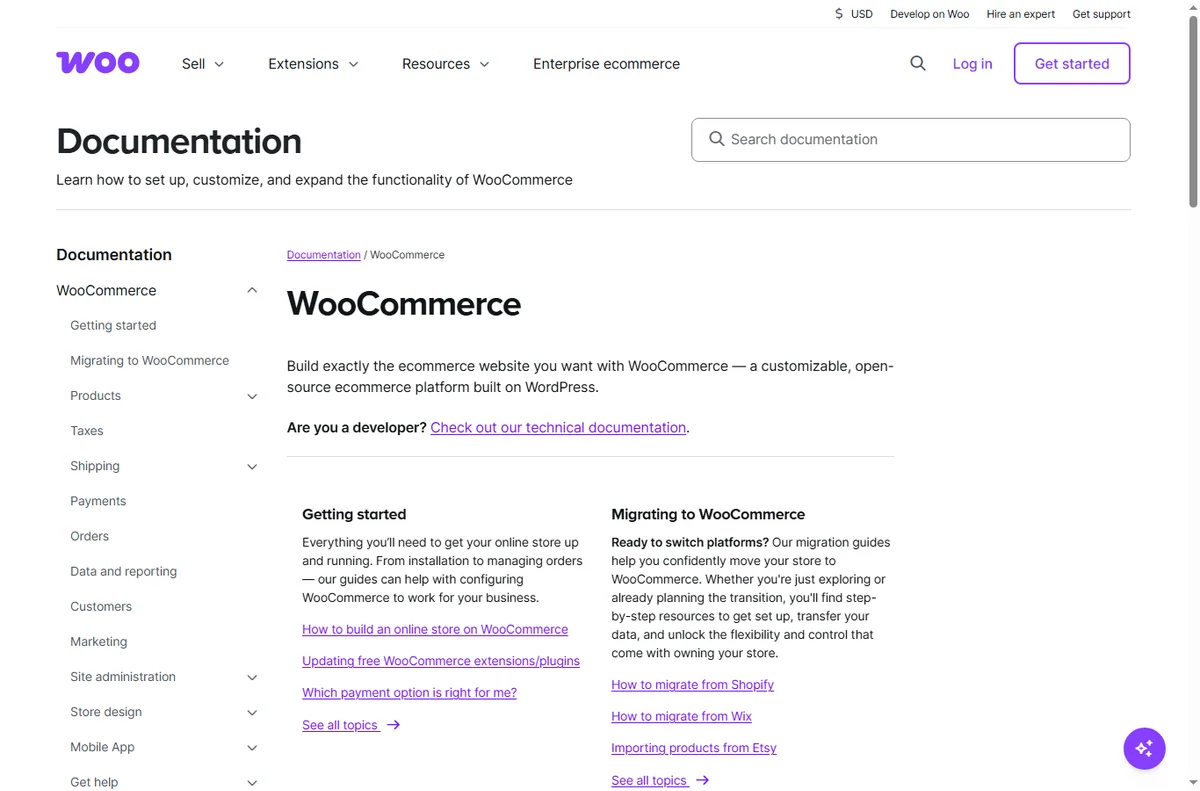
    Woocommerce docs page
    Woocommerce docs (image: woocommerce.com)

    Keep the store healthy week to week

    A store quietly rots if nobody tends it: prices drift, stock goes wrong, plugins fall behind. Set a short weekly routine and stick to it.

    1. Check orders that are stuck or unfulfilled.
    2. Review out-of-stock items and either restock or hide them.
    3. Apply core, theme and plugin updates on staging first.
    4. Look at one abandoned-cart or refund reason and fix the cause.
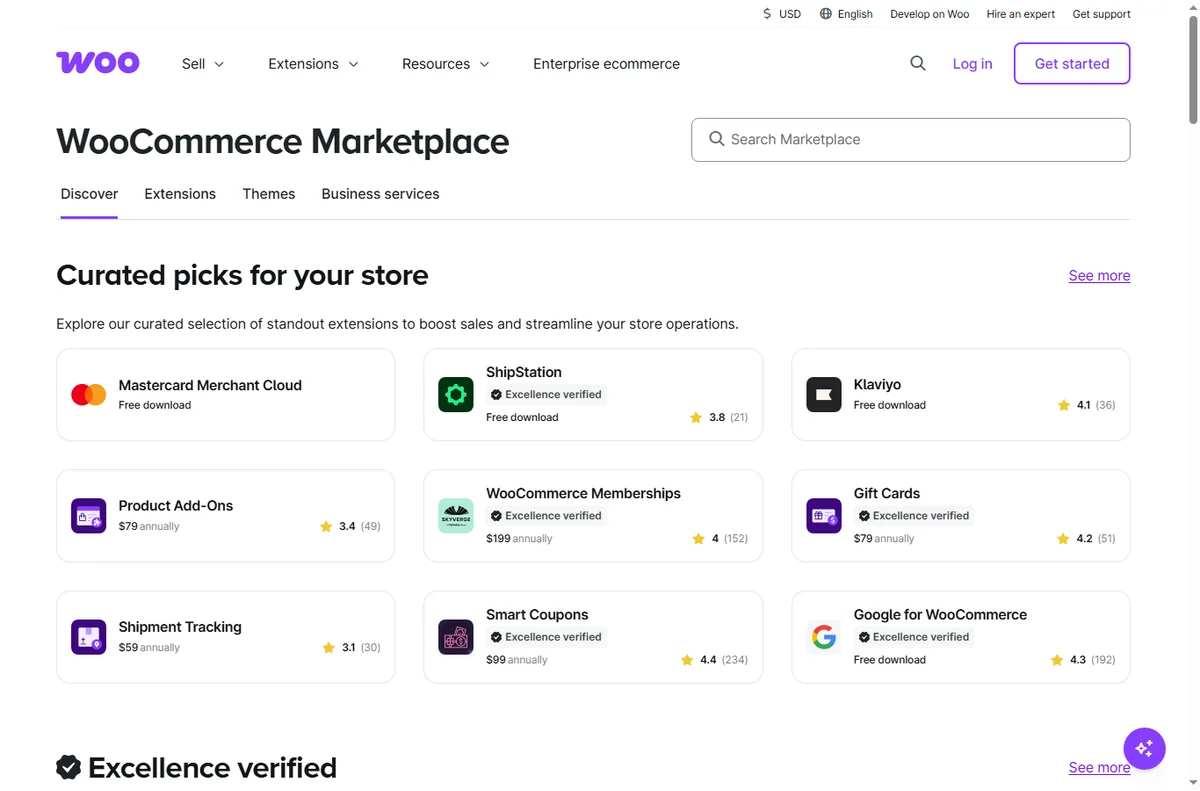
    Woocommerce extensions page
    Woocommerce extensions (image: woocommerce.com)

    Handle tax and shipping with rules

    Manual notes about who pays what do not scale. Put your tax and shipping logic into the store so every order is calculated the same way, then spot-check it each quarter.

    We do not quote fees, because rates and threshold rules change. Check the current settings your host and gateway provide, and confirm them against your local tax rules before peak season.

    Woocommerce features page
    Woocommerce features (image: woocommerce.com)

    Sell to the customers you already have

    Winning a new customer costs more than selling again to an existing one. WooCommerce gives you the raw material — order history and email opt-ins — to encourage repeat business.

    • Add a simple related-products block to each page.
    • Email past buyers when a relevant item is back in stock.
    • Offer a bundle of things that are usually bought together.
    • Ask for one review after a delivered order; social proof compounds.

    Grow on purpose, not by accident

    Add functionality only when a real task justifies it. Every extension is another update to maintain, so a lean store is easier to run and less likely to break.

    When you do add something, measure it. If an extension does not save time or increase orders within a reasonable period, remove it.

    Woocommerce payments page
    Woocommerce payments (image: woocommerce.com)

    Where this fits

    Begin with the e-commerce hub and compare platforms in Shopify vs WooCommerce. For the setup mechanics, see how to set up WooCommerce, and shortlist an environment with best e-commerce platforms.

    Woocommerce pricing page
    Woocommerce pricing (image: woocommerce.com)

    Frequently asked

    Can a small team run WooCommerce without a developer?

    Yes. Day-to-day work is content and settings. Keep a developer or a good host on call for updates and anything involving code.

    Do I need many extensions?

    No. Start with the bare minimum and add an extension only when a specific task demands it.

    How do I reduce abandoned carts?

    Show clear shipping costs early, keep checkout short, and follow up once with a helpful reminder rather than a barrage.

    What should I track first?

    Conversion rate and repeat purchase rate. Together they show whether the store converts and whether buyers come back.

    Run your store on WooCommerce

    One good template, tidy operations, and repeat customers.

    Some links on this page may be referral links — we may earn a reward if you sign up, at no extra cost to you. We are an independent publisher. See our Affiliate Disclosure.

    Related reading

  • How to set up WooCommerce (step-by-step)

    How to set up WooCommerce (step-by-step)

    Home / E-commerce / Guides / How to set up WooCommerce

    Tutorial · e-commerce · updated October 9, 2026

    How to set up WooCommerce: from plugin install to a working checkout

    Setting up WooCommerce comes down to an ordered list: prepare a clean WordPress base, install the plugin, add products, set tax and shipping, connect a payment gateway, and test checkout before you launch.

    Independent analysis. This page may contain affiliate links. If you sign up through a link on this page we may earn a reward at no extra cost to you, and it never changes what we recommend. We are an independent publisher and are not affiliated with, endorsed by, or an official partner of any tool mentioned. See our Affiliate Disclosure.

    TL;DR

    • WooCommerce is a plugin, so your WordPress base comes first.
    • Add one product end to end before you build a catalogue.
    • Configure tax and shipping before you take a real order.
    • Connect a payment gateway and run a test purchase, then refund it.
    • Test checkout on a phone, not only on your desktop.

    On this page: WordPress base · Install · Products · Tax and shipping · Payments · Test and launch

    Woocommerce home page
    Woocommerce home (image: woocommerce.com)

    Step 1 — Prepare a clean WordPress base

    WooCommerce is an extension of WordPress, not a separate platform, so your site is the foundation. Use a host that supports WordPress well, keep the core, theme and plugins updated, and remove anything you are not using before you add a store.

    Confirm that SSL is active so the site loads over HTTPS. A store that asks for card details on an insecure page will lose trust and may lose search visibility. If your host offers a one-click staging site, build the store there first.

    Woocommerce docs page
    Woocommerce docs (image: woocommerce.com)

    Step 2 — Install WooCommerce and run the wizard

    Install the WooCommerce plugin from the WordPress plugin directory and activate it. A setup wizard then walks you through the essentials: store address, currency, what you sell, and whether you want to enable payments and shipping.

    1. Install and activate the WooCommerce plugin.
    2. Answer the setup wizard questions honestly — they set sensible defaults.
    3. Choose a store theme you can live with, or let WooCommerce use your current theme.
    4. Skim the status screen: it flags missing pages or extensions.
    Woocommerce extensions page
    Woocommerce extensions (image: woocommerce.com)

    Step 3 — Add your first products

    Create a single product first and complete every field: title, description, image, price and stock. Only once that product looks right should you duplicate the pattern for the rest of the catalogue.

    • Give each product one clear name, not a keyword pile.
    • Write the description for a buyer, not for a search engine.
    • Set stock so you cannot oversell.
    • Use simple products first; add variable products only when options exist.

    Step 4 — Set tax and shipping

    Tax and shipping are where most first stores lose money quietly. Configure them before you take an order, because both rules depend on where you and your customers are.

    Set up at least one shipping zone and one method, then check a sample basket to see the total a customer would pay. We do not quote fees here because rates and rules change — check the current settings your host and gateway provide for your region.

    Woocommerce features page
    Woocommerce features (image: woocommerce.com)

    Step 5 — Connect a payment gateway

    WooCommerce itself does not process cards; a payment gateway does. Add at least one gateway, connect it in test mode, and confirm the connection with a sandbox transaction.

    Run one real test purchase with a live-eligible gateway, then refund it. A checkout that fails only for real customers is the most expensive kind of bug.

    Step 6 — Test the full journey and launch

    Place a test order as a brand-new customer: add to cart, check out, pay, receive the confirmation email, and view the order in your dashboard. Repeat the same flow on a phone.

    Publish only once the loop works without your help, then remove any test products so reports start clean.

    Woocommerce payments page
    Woocommerce payments (image: woocommerce.com)

    Where this fits

    Start from the e-commerce hub and compare platforms in Shopify vs WooCommerce. To pick an environment first, read best hosting for WooCommerce, and for day-to-day operation see how to use WooCommerce for a small business.

    Woocommerce pricing page
    Woocommerce pricing (image: woocommerce.com)

    Frequently asked

    Do I need a special host for WooCommerce?

    No, but a host tuned for WordPress makes a store faster and easier to maintain. Check that it supports the PHP and database versions WooCommerce recommends.

    Is WooCommerce free?

    The plugin is free and open source. Extensions, premium themes and hosting may cost money, and rates change, so check the current pricing before you budget.

    Can I sell subscriptions or memberships?

    Yes, through additional extensions. Add them only when you actually need recurring billing, because each extension is another thing to maintain.

    What should I set up before launch?

    SSL, tax, at least one shipping method, one payment gateway, and a tested order confirmation email.

    Open your WooCommerce store

    WordPress base, product, tax, shipping, payments — in that order.

    Some links on this page may be referral links — we may earn a reward if you sign up, at no extra cost to you. We are an independent publisher. See our Affiliate Disclosure.

    Related reading

  • How to use FreshBooks for a small business

    How to use FreshBooks for a small business

    Home / Payments / Guides / How to use FreshBooks for a small business

    Guide · payments · updated October 9, 2026

    How to use FreshBooks for a small business

    Invoicing is where a small service business turns work into money, and where sloppy habits cost the most. These workflows show how a small team can use FreshBooks to get paid faster and keep the books tidy without hiring a finance department.

    Independent analysis. This page may contain affiliate links. If you sign up through a link on this page we may earn a reward at no extra cost to you, and it never changes what we recommend. We are an independent publisher and are not affiliated with, endorsed by, or an official partner of any tool mentioned. See our Affiliate Disclosure.

    TL;DR

    • Invoice consistently and send on a fixed rhythm.
    • Move repeat clients onto recurring billing.
    • Capture expenses as they happen.
    • Turn estimates into invoices in a click.
    • Give your accountant read access, not your password.

    On this page: Invoice consistently · Recurring billing · Capture expenses · Estimates to invoices · Accountant access · Read cash flow

    Freshbooks home page
    Freshbooks home (image: freshbooks.com)

    Invoice consistently, not when you remember

    Pick a fixed day to invoice and stick to it. Clients pay more reliably when the rhythm is predictable, and you stop losing a week of cash flow to a late invoice.

    Use saved line items for repeat work so each invoice takes minutes, and set a payment term you will actually enforce.

    Freshbooks accounting page
    Freshbooks accounting (image: freshbooks.com)

    Move repeat clients onto recurring billing

    Retainers and subscriptions should bill themselves. Set up recurring invoices so the same amount is raised on schedule without you remembering.

    Review recurring clients quarterly for scope creep. An invoice that never changes while the work grows is a quiet loss.

    Freshbooks pricing page
    Freshbooks pricing (image: freshbooks.com)

    Capture expenses as they happen

    Photograph receipts the moment you get them and categorise them straight away. Reconstructing a year of costs is the single most avoidable accounting chore.

    Mark client-specific costs as billable so they appear on the next invoice instead of disappearing into overhead.

    Turn estimates into invoices in one click

    Send an estimate before larger jobs, then convert the accepted estimate into an invoice without retyping the line items.

    A clear estimate sets expectations and reduces disputes later, because the client has already agreed to the scope and the figure. It also speeds up invoicing, since the approved figures are already in the system.

    Freshbooks signup page
    Freshbooks signup (image: freshbooks.com)

    Give your accountant access, not your password

    Invite your accountant as a user with the access they need rather than sharing login details. You keep control of the account and the audit trail.

    Keep their access limited to what the job requires, and review it when your arrangement changes.

    Read your cash flow early

    Check the aged-receivables report weekly, not at year end. Unpaid invoices are easier to chase at day fifteen than day ninety. There is no version of this that gets easier by waiting.

    Note the difference between profit and cash: a profitable month with slow payers still squeezes the bank account. Plan around the gap, and set aside tax money from each payment as it arrives so the quarterly bill is never a surprise.

    Freshbooks y about page
    Freshbooks y about (image: freshbooks.com)

    Where this fits

    Begin with the independent FreshBooks review and the payments hub. For setup mechanics, see how to set up FreshBooks. Go deeper with how to invoice clients, how to calculate customer lifetime value, and best financial modeling tools.

    Freshbooks y mobile page
    Freshbooks y mobile (image: freshbooks.com)

    Frequently asked

    Can a small team share one FreshBooks account?

    Yes. Add team members with appropriate access instead of sharing a single login, so actions stay attributable.

    Do recurring invoices replace contracts?

    No. A recurring invoice automates billing; a contract still defines the terms. Use both.

    What if a client pays late?

    Use the aged-receivables report to spot it early, then send a polite reminder while the invoice is still fresh.

    Is FreshBooks a full accountant replacement?

    No. It handles invoicing and day-to-day bookkeeping; most businesses still involve an accountant for filings and advice.

    Get paid faster with FreshBooks

    Invoices, recurring billing and expenses in one place.

    Some links on this page may be referral links — we may earn a reward if you sign up, at no extra cost to you. We are an independent publisher. See our Affiliate Disclosure.

    Related reading

  • How to set up FreshBooks (step-by-step)

    How to set up FreshBooks (step-by-step)

    Home / Payments / Guides / How to set up FreshBooks

    Tutorial · payments · updated October 9, 2026

    How to set up FreshBooks: from account to your first invoice

    FreshBooks is accounting and invoicing software aimed at freelancers and small service businesses. Setting it up is mostly about getting your business details, tax and payment options right once, so every invoice that follows is correct.

    Independent analysis. This page may contain affiliate links. If you sign up through a link on this page we may earn a reward at no extra cost to you, and it never changes what we recommend. We are an independent publisher and are not affiliated with, endorsed by, or an official partner of any tool mentioned. See our Affiliate Disclosure.

    TL;DR

    • Complete your business profile before you invoice.
    • Add clients as you go rather than all at once.
    • Send one real invoice and follow it to payment.
    • Connect online payments so clients can pay in a click.
    • Track expenses from day one, not at year end.

    On this page: Create your profile · Add clients · Send an invoice · Online payments · Track expenses · Read your reports

    Freshbooks home page
    Freshbooks home (image: freshbooks.com)

    Step 1 — Create your account and business profile

    Create your account and fill in the business profile: your business name, address, currency and tax details. These values flow onto every invoice, so getting them right now saves correcting them repeatedly later.

    Upload a logo and set the invoice defaults — numbering, payment terms and any late-fee note. Consistency here makes your invoices look professional without extra effort each time.

    Freshbooks accounting page
    Freshbooks accounting (image: freshbooks.com)

    Step 2 — Add your clients

    Add clients as you need them rather than importing everything on day one. Each client record holds the billing details and the currency they pay in.

    1. Add a client with their billing name and email.
    2. Set the currency the client is billed in.
    3. Attach any tax or address details you need.
    4. Save, then create an invoice from the same record.
    Freshbooks pricing page
    Freshbooks pricing (image: freshbooks.com)

    Step 3 — Create and send your first invoice

    Create an invoice from a client record, add line items with clear descriptions, and check the tax and total before sending. A short, specific description is easier for a client to approve than a vague one.

    Send it through the platform so you get a record of when it was viewed and paid. Set a payment term that matches how your clients actually pay.

    Step 4 — Connect online payments

    Connect at least one online payment method so clients can pay from the invoice. Which processors are available depends on your country and the plan.

    Send a small real invoice and pay it yourself to confirm the money lands and the invoice is marked paid automatically. Testing this now prevents an awkward conversation later.

    Freshbooks signup page
    Freshbooks signup (image: freshbooks.com)

    Step 5 — Track expenses and bills

    Record expenses as they happen rather than saving a shoebox for year end. Photograph receipts and categorise them while the context is fresh.

    Track billable expenses against the right client so they can be passed through on an invoice instead of quietly absorbed as a cost.

    Step 6 — Check your first reports

    Open the reports a week in and make sure the numbers match reality. A profit-and-loss view and an aged-receivables list are the two most useful starting points.

    We do not quote prices — accounting plans and client limits change, so check the current plans on FreshBooks’ own pricing page against the features you actually use.

    Freshbooks y about page
    Freshbooks y about (image: freshbooks.com)

    Where this fits

    Start from the independent FreshBooks review and the payments hub. For the day-to-day side, see how to use FreshBooks for a small business. Explore related guides such as how to invoice clients, best expense tracking apps, and best subscription billing software.

    Freshbooks y mobile page
    Freshbooks y mobile (image: freshbooks.com)

    Frequently asked

    Is FreshBooks only for freelancers?

    No. It is built for freelancers and small service teams, and works for any business that invoices clients for time, projects or retainers.

    Do I need to import all clients at once?

    No. Add clients as you work with them; the records you use most build up quickly.

    Should I track expenses myself or leave it to an accountant?

    Track them as they happen. Even a light habit saves a painful reconstruction at year end, whatever your accountant does later.

    How often should I check reports?

    Weekly for unpaid invoices, monthly for profit and cash flow. Little and often beats one annual panic.

    Invoice and track with FreshBooks

    Invoices, expenses and reports in one place.

    Some links on this page may be referral links — we may earn a reward if you sign up, at no extra cost to you. We are an independent publisher. See our Affiliate Disclosure.

    Related reading

  • How to use Kartra for a small business

    How to use Kartra for a small business

    Home / Funnel Builders / Guides / How to use Kartra for a small business

    Guide · funnel builders · updated October 9, 2026

    How to use Kartra for a small business

    A small business does not need a dozen funnels or a dozen tools. It needs a few that map to how customers actually arrive and buy. These workflows show where Kartra earns its place in a small operation without over-building.

    Independent analysis. This page may contain affiliate links. If you sign up through a link on this page we may earn a reward at no extra cost to you, and it never changes what we recommend. We are an independent publisher and are not affiliated with, endorsed by, or an official partner of any tool mentioned. See our Affiliate Disclosure.

    TL;DR

    • Replace overlapping subscriptions with one account.
    • Build only the funnels that match a real goal.
    • Use email to keep buyers warm between offers.
    • Add membership only when recurring revenue is the goal.
    • Follow the numbers, not the feature list.

    On this page: Replace your stack · Build only what you need · Keep in touch · Recurring offers · Automate follow-up · Track conversions

    Kartra home page
    Kartra home (image: kartra.com)

    Replace a cluttered stack with one account

    Most small businesses pay for a page builder, an email tool, a checkout and a membership plugin separately. Kartra folds those into one account, which cuts both cost and the number of places something can break.

    List what you already pay for and mark which parts Kartra covers. Keep any specialist tool you genuinely rely on, and consolidate the rest.

    Kartra blog page
    Kartra blog (image: kartra.com)

    Build only the funnels you need

    Start with the one customer path that already works. A lead-capture funnel and a simple sales funnel cover most small-business goals.

    Resist building a funnel for every idea at once. Each live funnel needs traffic and attention; two that convert beat ten that sit idle.

    Kartra help page
    Kartra help (image: kartra.com)

    Use email to stay in touch

    Email is the cheapest way to turn a one-time visitor into a repeat buyer. Send a short welcome sequence, then a useful message at a sensible rhythm.

    Segment by what people bought or clicked so you send relevant offers rather than the same blast to everyone.

    Add membership only for recurring revenue

    Membership makes sense when you have something worth delivering every month: ongoing training, templates or community. Without that, a one-time offer is simpler.

    If you do go recurring, price it against the value you deliver monthly and check the current Kartra plans for the membership limits on each tier.

    Kartra marketing page
    Kartra marketing (image: kartra.com)

    Automate the follow-up

    The follow-up is where small teams lose sales. Automate a reminder after a cart is abandoned and a thank-you after each purchase.

    Keep automation short and honest. One reminder that helps is better than five that nag.

    Track what actually converts

    Watch opt-in rate, checkout conversion and revenue per funnel rather than counting traffic. A busy funnel that never converts is a redesign project, not a success.

    Review the numbers monthly and cut the funnel that consistently underperforms instead of propping it up with more traffic.

    Kartra pricing page
    Kartra pricing (image: kartra.com)

    Where this fits

    Begin with the independent Kartra review and the funnel builders hub. For setup mechanics, see how to set up Kartra. Compare the field with best funnel builders and the Systeme.io review, and borrow structure from how to create a sales page.

    Kartra sales page
    Kartra sales (image: kartra.com)

    Frequently asked

    Is Kartra overkill for a very small business?

    It can be if you only need a single landing page. It fits best when you want pages, email and checkout in one account rather than three subscriptions.

    Do I need memberships on day one?

    No. Add membership only when you have something to deliver every month; most small businesses start with a one-time offer.

    How many funnels should I run at once?

    One or two. Give them traffic and attention before you build more.

    What metric matters most?

    Checkout conversion and revenue per funnel. Traffic without conversion just costs money.

    Run your funnels on Kartra

    Pages, email, checkout and memberships in one account.

    Some links on this page may be referral links — we may earn a reward if you sign up, at no extra cost to you. We are an independent publisher. See our Affiliate Disclosure.

    Related reading

  • How to set up Kartra (step-by-step)

    How to set up Kartra (step-by-step)

    Home / Funnel Builders / Guides / How to set up Kartra

    Tutorial · funnel builders · updated October 9, 2026

    How to set up Kartra: from account to your first live funnel

    Kartra bundles pages, funnels, email, checkout and memberships into one account. Setting it up means creating the account, choosing a funnel, building the steps, connecting your domain and payment, then testing the whole path before you send any traffic.

    Independent analysis. This page may contain affiliate links. If you sign up through a link on this page we may earn a reward at no extra cost to you, and it never changes what we recommend. We are an independent publisher and are not affiliated with, endorsed by, or an official partner of any tool mentioned. See our Affiliate Disclosure.

    TL;DR

    • Create the account and pick the plan that matches your funnel count.
    • Start from a funnel template rather than a blank page.
    • Set up your email list and one follow-up sequence early.
    • Connect a payment method before you publish a checkout.
    • Test the funnel end to end before you advertise it.

    On this page: Create your account · Build a funnel · Email and automations · Checkout and payments · Connect your domain · Test and launch

    Kartra home page
    Kartra home (image: kartra.com)

    Step 1 — Create your account

    Create a Kartra account and choose the plan by how many funnels and contacts you need, not by the largest advertised tier. We do not quote prices — check the current plans on Kartra’s own pricing page.

    Set the account name and timezone correctly now. Timezone affects when automated emails send, and fixing it later means re-checking every campaign.

    Kartra blog page
    Kartra blog (image: kartra.com)

    Step 2 — Choose and build a funnel

    Start from a funnel template rather than an empty canvas. Pick the template closest to your goal — lead capture, a sales page, or a checkout and thank-you flow — then edit the copy.

    1. Choose a funnel type that matches your goal.
    2. Select the closest template and preview it.
    3. Replace the copy with your own offer.
    4. Swap in your logo, colours and images.
    5. Save each page and connect them in order.
    Kartra help page
    Kartra help (image: kartra.com)

    Step 3 — Set up your list and automations

    Create the list that funnel opt-ins will join, then build one short follow-up sequence: a welcome message and two or three useful emails.

    Do not build twenty automations on day one. One sequence that runs reliably beats a complex map that half-works.

    Step 4 — Connect checkout and payments

    Connect a payment method and attach a product to your checkout page. Confirm currency, tax handling and any trial or subscription settings before you test.

    Run a test purchase with a real card you can refund, and confirm the buyer receives the receipt and the access email. Almost every launch problem shows up here first.

    Kartra marketing page
    Kartra marketing (image: kartra.com)

    Step 5 — Connect your domain

    Add your own domain so funnel pages live at your brand address rather than a shared one. Follow the DNS records Kartra provides and re-publish the pages afterwards.

    Check that the padlock appears on every step of the funnel; a single page still on the old address is enough to break trust at checkout.

    Step 6 — Test end to end and launch

    Walk the funnel as a stranger would: land, opt in, receive the email, reach the checkout, pay and confirm the thank-you page. Note every place you had to guess.

    Only then send traffic. A funnel that leaks at step three costs real money once visitors arrive, and it is far cheaper to fix before launch than after.

    Kartra pricing page
    Kartra pricing (image: kartra.com)

    Where this fits

    Start from the independent Kartra review and the funnel builders hub. For the day-to-day side, see how to use Kartra for a small business. Compare the field with best funnel builders, and borrow page ideas from how to create a sales page.

    Kartra sales page
    Kartra sales (image: kartra.com)

    Frequently asked

    Do I need to build everything inside Kartra?

    No. Start with one funnel and the tools that support it. You can layer on memberships, help desks and video later once the core path works.

    Should I use a funnel template or a blank page?

    Use a template first. It encodes a working page order, and editing a working structure is faster than assembling one from scratch.

    When should I connect my domain?

    Before you promote the funnel. Publishing on a shared address and switching later breaks links people have already shared.

    How many automations do I need at launch?

    One short follow-up sequence. Add complexity after the basic sequence runs reliably and people are converting.

    Build your first funnel with Kartra

    Pages, funnels, email and checkout in one account.

    Some links on this page may be referral links — we may earn a reward if you sign up, at no extra cost to you. We are an independent publisher. See our Affiliate Disclosure.

    Related reading

  • How to use LearnWorlds for a small business

    How to use LearnWorlds for a small business

    Home / Course Platforms / Guides / How to use LearnWorlds for a small business

    Guide · course platforms · updated October 9, 2026

    How to use LearnWorlds for a small business

    Once a course is published, the question changes from how to build it to how a small team runs it without adding headcount. This guide covers the workflows that matter most: packaging knowledge, onboarding customers, training staff, and selling more without rebuilding everything.

    Independent analysis. This page may contain affiliate links. If you sign up through a link on this page we may earn a reward at no extra cost to you, and it never changes what we recommend. We are an independent publisher and are not affiliated with, endorsed by, or an official partner of any tool mentioned. See our Affiliate Disclosure.

    TL;DR

    • Turn what you already teach into a paid course.
    • Use one platform for public courses and internal training.
    • Bundle courses to raise average order value.
    • Automate onboarding so students start without you.
    • Watch completion and engagement, not just sign-ups.

    On this page: Package knowledge · Onboard customers · Train your team · Bundle and upsell · Sell more · Keep courses current

    Learnworlds home page
    Learnworlds home (image: learnworlds.com)

    Package the knowledge you already give away

    A small business usually explains the same things repeatedly: how you onboard clients, how a process works, what to avoid. That repeated explanation is course material.

    Record or write it once as a course and you turn support time into an asset. Start with the question customers ask most, not with the topic you find most interesting.

    Learnworlds blog page
    Learnworlds blog (image: learnworlds.com)

    Onboard customers without repeating yourself

    A short onboarding course gets a new customer to value faster than a welcome email alone. Map the first steps they must take, then teach each one.

    Automate enrolment so a new purchase or contract grants access automatically. That removes a manual step and makes the experience consistent for every customer, not just the ones you remember to help.

    Learnworlds features page
    Learnworlds features (image: learnworlds.com)

    Train staff and partners on the same material

    Internal training is the quiet win. Put policies, tools and role basics into a private course so a new hire or contractor learns the same way every time.

    Use completion tracking as a lightweight checklist. You get proof that training happened without maintaining a spreadsheet.

    Bundle courses and upsell

    Related courses sell better together. Bundle a beginner course with the advanced one, or pair a course with a template pack, to raise the average order value.

    Offer an occasional upgrade path from a free intro course to the paid one. The free course earns trust; the paid course earns revenue.

    Learnworlds integrations page
    Learnworlds integrations (image: learnworlds.com)

    Sell without learning a second tool

    Point existing traffic — a newsletter, a blog, a social audience — at the course rather than expecting the platform to find buyers for you.

    We do not quote prices; check the current plans on the LearnWorlds pricing page to see which tier includes the marketing and checkout features you plan to use.

    Keep courses current

    A stale course loses refunds and referrals. Put a review date in your calendar and update the lesson that changed, rather than rebuilding the whole course.

    Ask students for one improvement at the end of each course. Small, regular updates keep the material useful and keep completion rates from sliding.

    Learnworlds pricing page
    Learnworlds pricing (image: learnworlds.com)

    Where this fits

    Begin with the independent LearnWorlds review and the course platforms hub. For setup mechanics, see how to set up LearnWorlds. Explore formats with how to create a mini course and best email course platforms, and package products with best digital product platforms.

    Learnworlds x about page
    Learnworlds x about (image: learnworlds.com)

    Frequently asked

    Can a small business run both public and internal courses on one account?

    Yes. Keep public courses in one area and mark training courses as private, so customers never see internal material.

    Do I need a big catalogue to start?

    No. One course that solves a specific problem outperforms a large unfinished catalogue, and it is easier to keep current.

    How do bundles help a small business?

    Bundles lift average order value without extra marketing. Pair courses that a buyer would naturally want together.

    What should I measure first?

    Completion and refund behaviour, not just enrolments. High completion usually signals a course worth promoting harder.

    Run your courses on LearnWorlds

    One platform for public courses and private training.

    Some links on this page may be referral links — we may earn a reward if you sign up, at no extra cost to you. We are an independent publisher. See our Affiliate Disclosure.

    Related reading

  • How to set up LearnWorlds (step-by-step)

    How to set up LearnWorlds (step-by-step)

    Home / Course Platforms / Guides / How to set up LearnWorlds

    Tutorial · course platforms · updated October 9, 2026

    How to set up LearnWorlds: from account to your first published course

    Setting up LearnWorlds comes down to a short, ordered list: create your school, build one course, set a price, connect payments, and point your own domain at the site. This guide walks through each step the way a first-time course creator actually does it.

    Independent analysis. This page may contain affiliate links. If you sign up through a link on this page we may earn a reward at no extra cost to you, and it never changes what we recommend. We are an independent publisher and are not affiliated with, endorsed by, or an official partner of any tool mentioned. See our Affiliate Disclosure.

    TL;DR

    • Create the school first — everything else hangs off it.
    • Build one complete course before you add a catalogue.
    • Set a price you can test, not the highest tier.
    • Connect payments before you share a sales link.
    • Point your own domain at the school for credibility.

    On this page: Create your school · Build a course · Set a price · Connect payments · Use your domain · Test and publish

    Learnworlds home page
    Learnworlds home (image: learnworlds.com)

    Step 1 — Create your account and school

    Start by creating a LearnWorlds account and naming your school. The school is the workspace that holds your courses, pages, students and settings, so pick a name you are happy to show publicly — it appears in default page titles and student emails.

    Use a business email you actually monitor, and set the subdomain in the same flow. You can move to a custom domain later, but starting with a name that matches your brand saves a redirect step when you do.

    Learnworlds blog page
    Learnworlds blog (image: learnworlds.com)

    Step 2 — Build your first course

    Create a single course and fill it out end to end before you add a second one. Structure the outline into sections, then attach your content as text, video, quizzes or uploaded files.

    1. Create the course and give it a clear, specific title.
    2. Add sections that map to the learning journey.
    3. Attach content to each section.
    4. Add one quiz so you learn the assessment tools.
    5. Preview the course as a student before you set a price.
    Learnworlds features page
    Learnworlds features (image: learnworlds.com)

    Step 3 — Set your pricing

    Decide whether the course is free, one-time paid, a subscription or part of a bundle. Pick the simplest model that matches how you sell, and change it later once you have real sales data.

    We do not quote prices — course-platform pricing and plan limits change often, so check the current plans on LearnWorlds’ own pricing page.

    Step 4 — Connect a payment gateway

    Connect at least one payment method before you share a sales link. Which processors are available depends on your country, so confirm the options your school offers.

    Run a real test transaction end to end, including the receipt and any tax settings, then refund it. A checkout that fails only for real customers is the most expensive kind of bug.

    Learnworlds integrations page
    Learnworlds integrations (image: learnworlds.com)

    Step 5 — Point your own domain

    Move from the default subdomain to your own domain. Add the DNS records LearnWorlds shows you, then confirm the padlock appears on the homepage and inside a lesson, not just on the front page.

    Step 6 — Test the full journey and publish

    Before launch, walk through the journey as a brand-new student: sign up, buy, get access, complete a lesson and receive the completion email. Fix anything that needs you to explain it manually.

    Check the confirmation email, the student dashboard and any automated messages. Publish only when the whole loop works without you guiding it by hand.

    Learnworlds pricing page
    Learnworlds pricing (image: learnworlds.com)

    Where this fits

    Start from the independent LearnWorlds review and the course platforms hub. For the day-to-day side, see how to use LearnWorlds for a small business. Compare the field with best online learning platforms and best course platforms, and plan the offer with how to price a membership.

    Learnworlds x about page
    Learnworlds x about (image: learnworlds.com)

    Frequently asked

    Is LearnWorlds good for beginners?

    Yes. It is more feature-heavy than a simple course tool, but it rewards a little planning. Build one course first and the rest of the product becomes easier to read.

    Do I need my own domain on day one?

    No. The default subdomain is fine for a soft launch. Add a custom domain before you promote the course publicly, because changing the address later splits existing links.

    Can I sell a course without a payment gateway?

    No. You need at least one connected payment method before a student can buy. Confirm which processors your country and plan support.

    How many courses should I build first?

    One. Finish a single course, sell it and learn the workflow before you invest time in a full catalogue.

    Publish your first course on LearnWorlds

    School, course, price, payments, domain — in that order.

    Some links on this page may be referral links — we may earn a reward if you sign up, at no extra cost to you. We are an independent publisher. See our Affiliate Disclosure.

    Related reading