We’re reader-supported — some links are affiliate links. Learn more →

Skip to content

Independent software research. Some links may earn us a commission at no extra cost to you. Learn more →

ICode

Author: admin

  • How to set up FastComet (step-by-step)

    How to set up FastComet (step-by-step)

    Home / Hosting / Guides / How to set up FastComet

    Tutorial · hosting · updated October 9, 2026

    How to set up FastComet: hosting, domain and WordPress in one sitting

    Setting up FastComet follows the same four moves as any modern shared host: pick a plan, register or connect a domain, install WordPress, then switch on SSL and email. Do it in this order and you avoid rework. FastComet adds a few touches worth using from day one, such as free daily backups and 24/7 support.

    Independent analysis. This page may contain affiliate links. If you sign up through a link on this page we may earn a reward at no extra cost to you, and it never changes what we recommend. We are an independent publisher and are not affiliated with, endorsed by, or an official partner of any tool mentioned. See our Affiliate Disclosure.

    TL;DR

    • Choose a plan sized for one site and realistic traffic.
    • Register or connect the domain in the same flow.
    • Install WordPress from the host panel.
    • Turn on SSL before you share the link.
    • Create a business email and enable backups.

    On this page: Choose a plan · Get the domain · Install WordPress · Enable SSL · Business email · Sanity checks
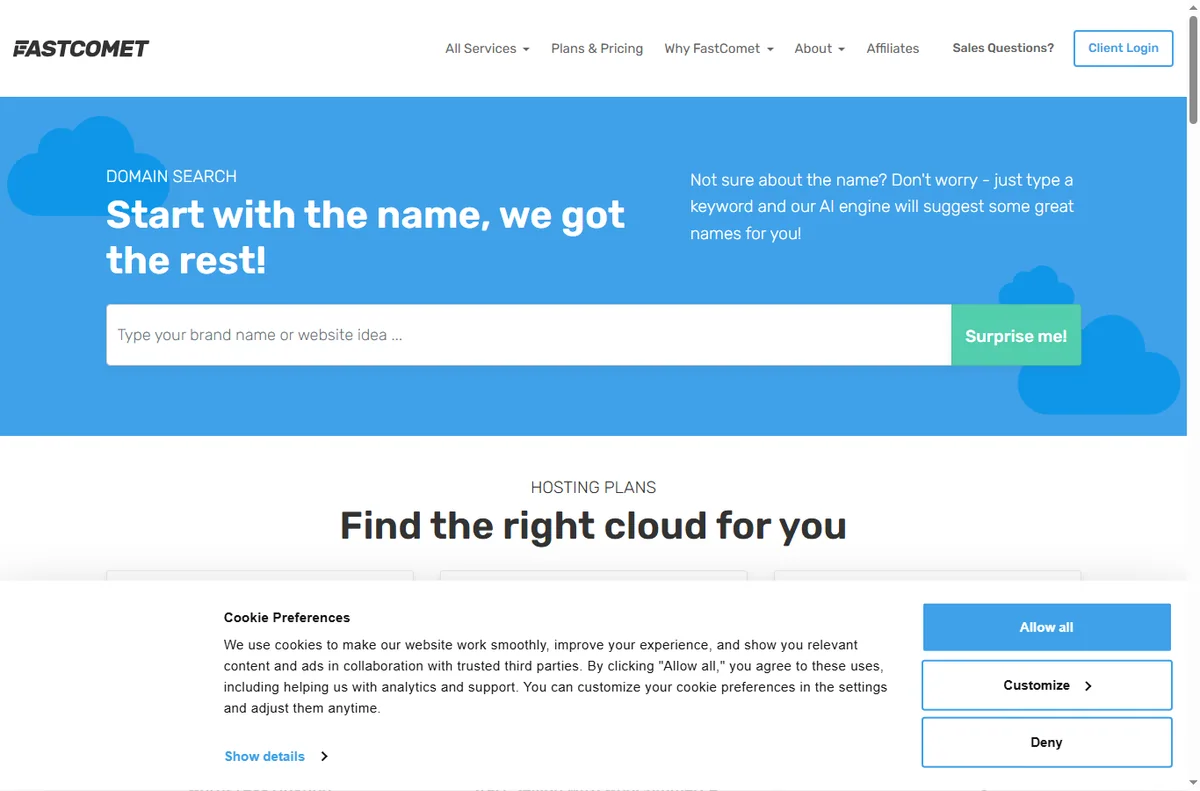
    Fastcomet home page
    Fastcomet home (image: fastcomet.com)

    Step 1 — Choose a plan for the job in front of you

    Match the plan to a single site and realistic traffic rather than the largest advertised tier. We do not quote prices — hosting prices and promotional terms change often, so check the current plans on FastComet’s own pricing page before you buy.

    Read the renewal terms, not just the introductory rate, and pick a data center region close to the customers you serve.
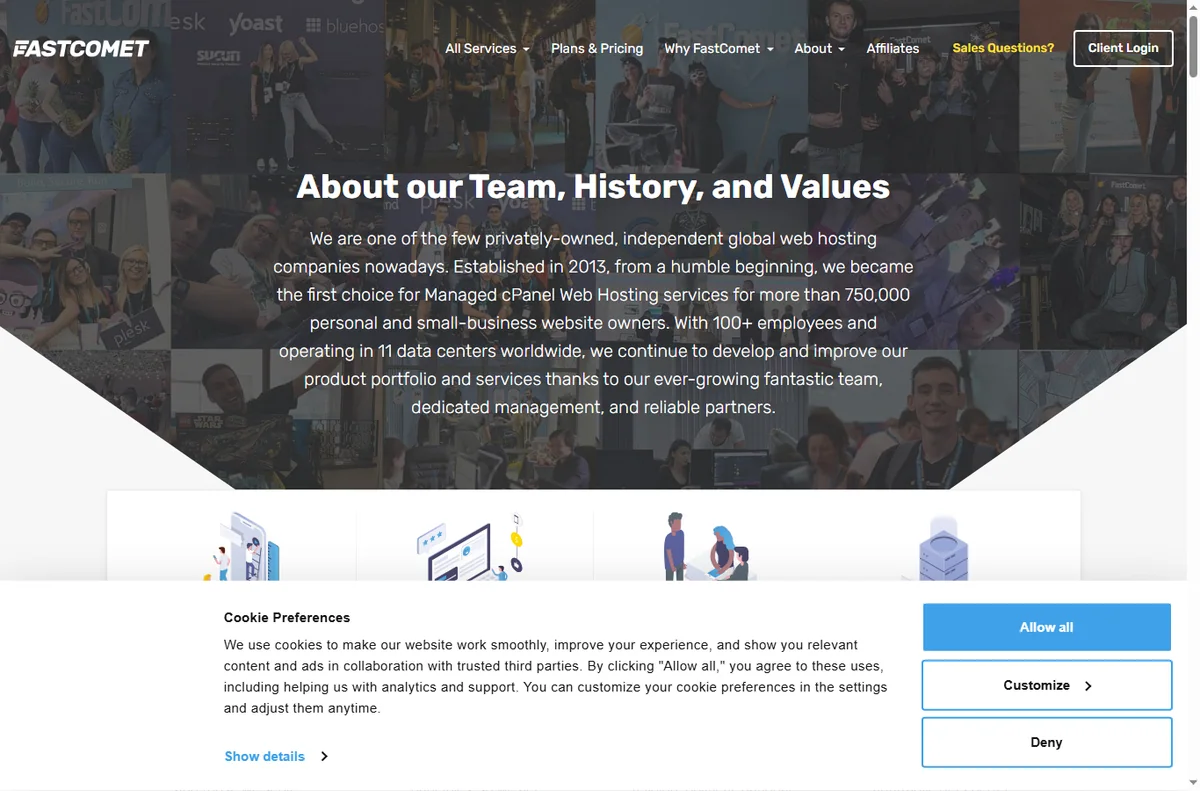
    Fastcomet about page
    Fastcomet about (image: fastcomet.com)

    Step 2 — Register or connect your domain

    Register a new domain during checkout, or point one you already own by updating its name servers. Connecting is usually faster than transferring, and it avoids any downtime at the registrar.

    Keep a copy of the nameservers FastComet gives you. Most “the site is not live yet” cases come down to a slow or mistyped DNS change.
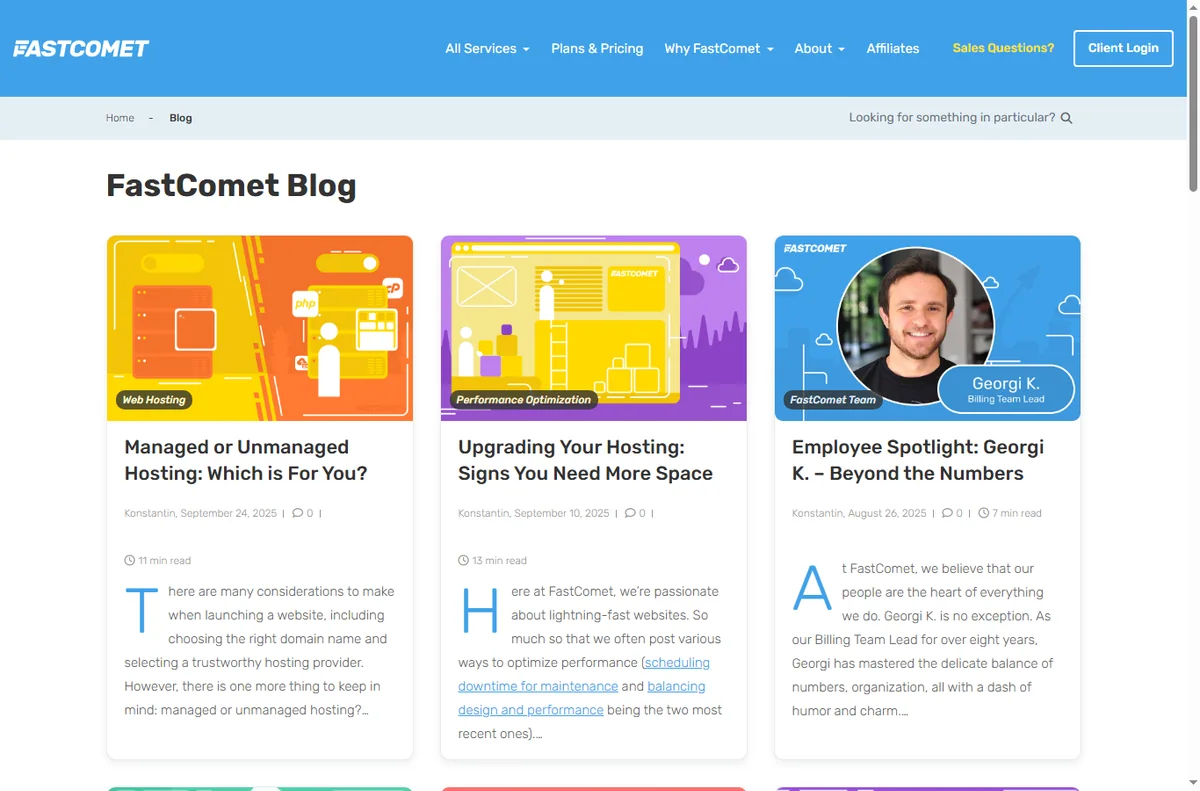
    Fastcomet blog page
    Fastcomet blog (image: fastcomet.com)

    Step 3 — Install WordPress

    1. Open the hosting panel and choose the WordPress installer.
    2. Enter a site title, an admin username that is not “admin”, a strong password and a monitored admin email.
    3. Let it install, then log in to the dashboard.
    4. Set permalinks to a readable structure and clear the sample content.

    If you plan to grow, install on the managed WordPress plan so updates and caching are handled for you.

    Step 4 — Enable SSL

    Turn on the free SSL certificate and force HTTPS across the site. Confirm the padlock on the homepage and on one inner page.

    Fix any mixed-content warnings from hard-coded http:// images or scripts, or the padlock will keep breaking on those pages.
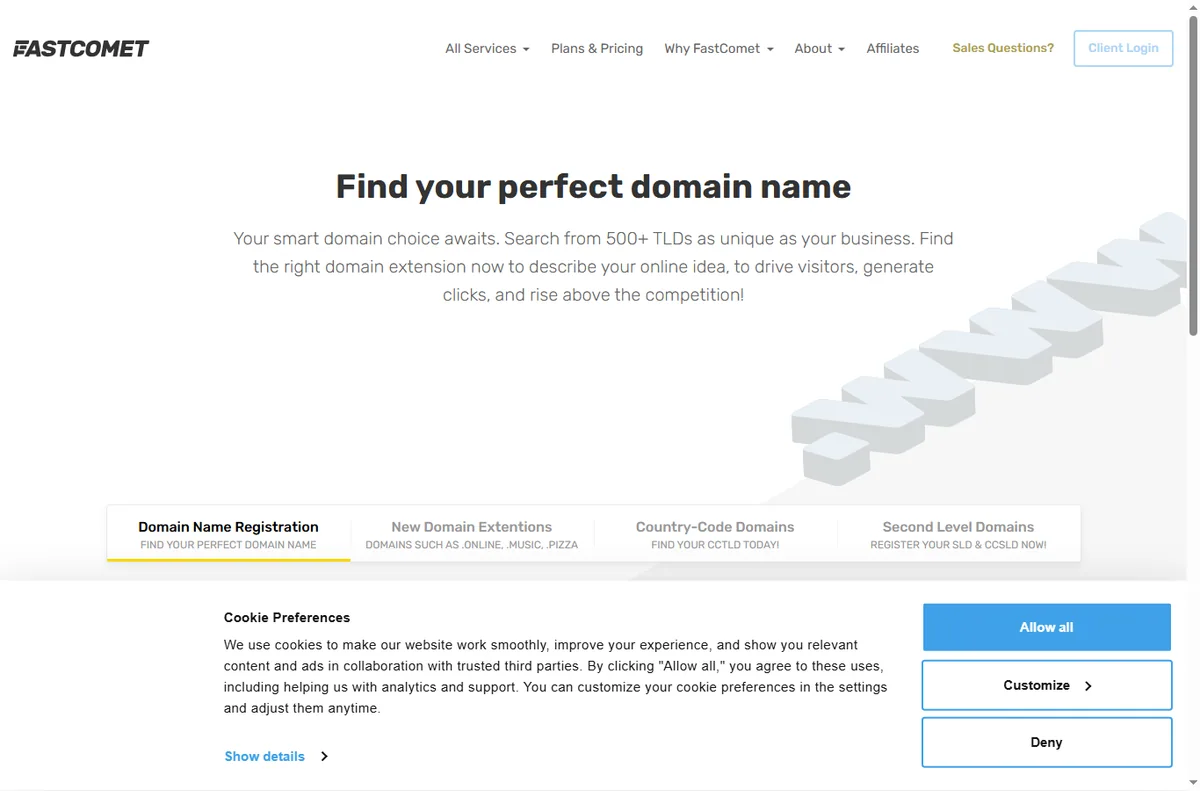
    Fastcomet domains page
    Fastcomet domains (image: fastcomet.com)

    Step 5 — Create a business email

    Set up an address on your own domain for quotes, invoices and support. A branded address is more trustworthy than a free inbox and improves deliverability.

    Ask support to help with SPF and DKIM if you are unsure; correctly configured mail records keep you out of spam folders.

    Final checks before you build

    • Load the site over HTTPS and confirm the padlock.
    • Send a test email from the business address.
    • Confirm daily backups are switched on.
    • Note the renewal date and current plan limits.
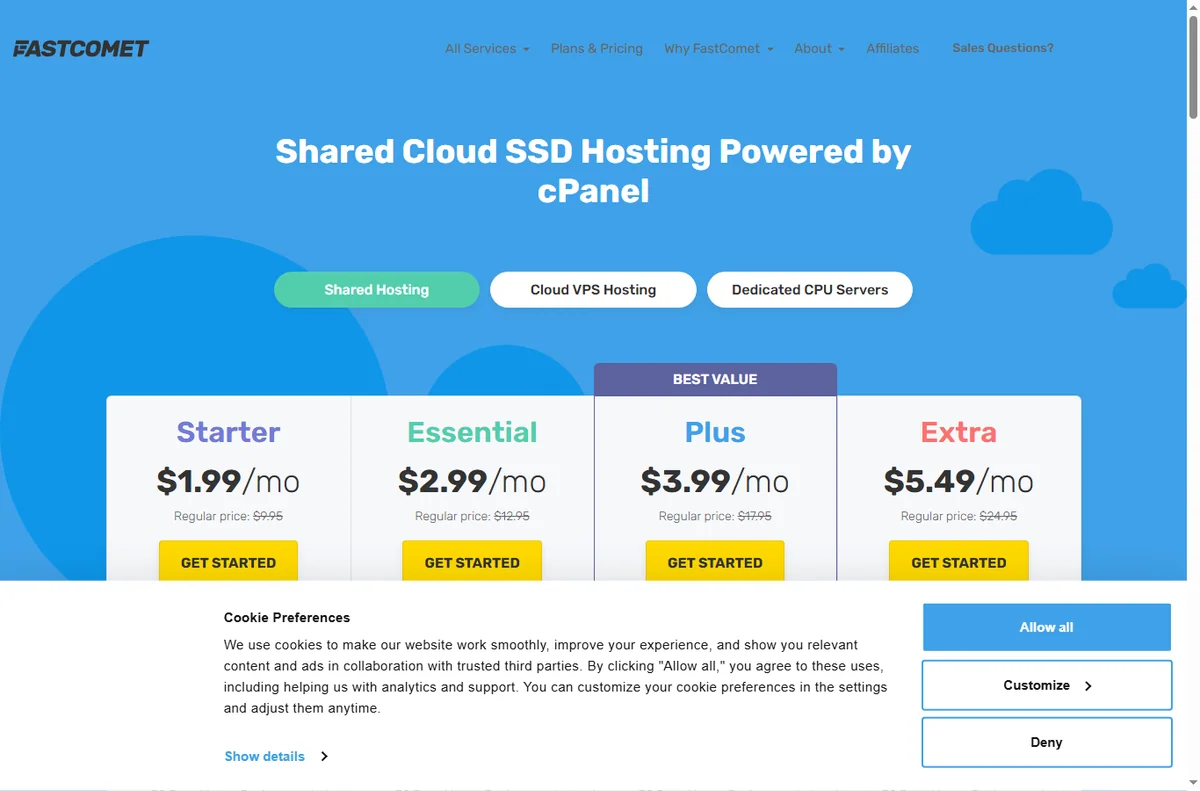
    Fastcomet pricing page
    Fastcomet pricing (image: fastcomet.com)

    Where this fits

    See the independent FastComet review and the hosting hub. For a shortlist sized to small business, see best web hosting for small business, and for the decision itself, how to choose web hosting. New to WordPress hosting? See the WordPress hosting beginners guide.
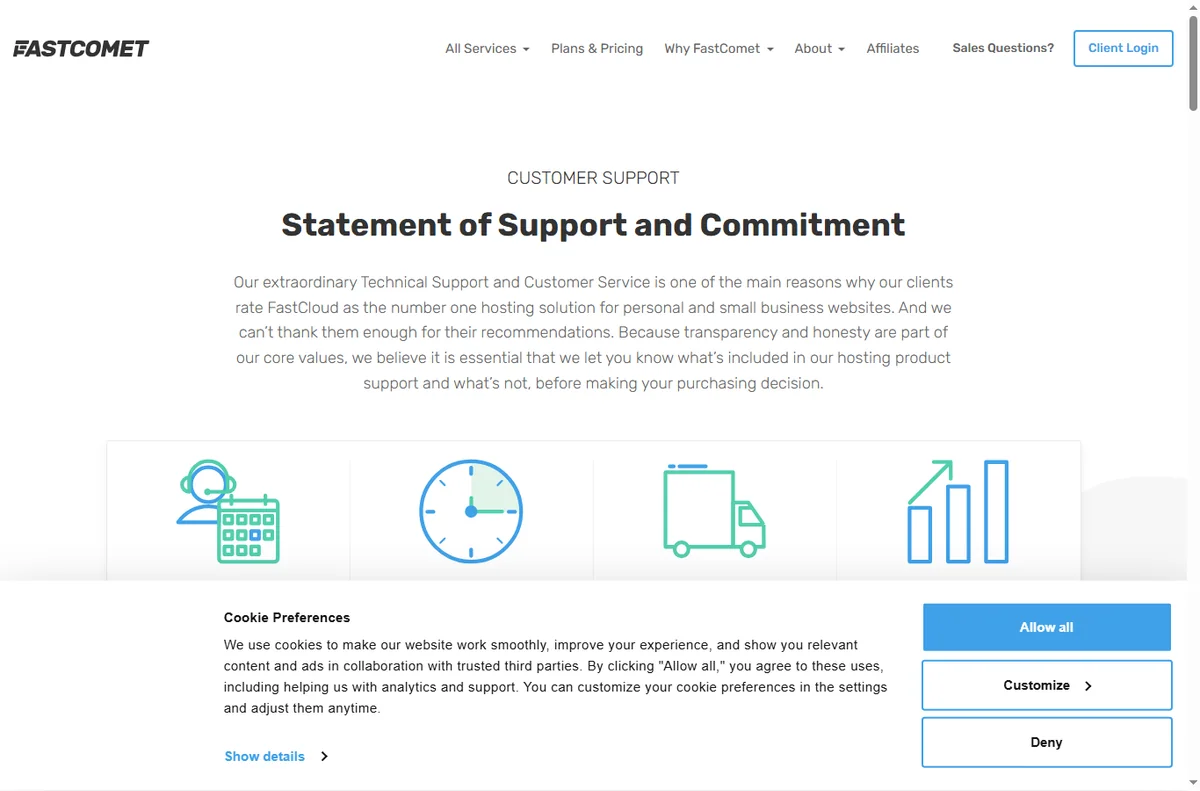
    Fastcomet support page
    Fastcomet support (image: fastcomet.com)

    Frequently asked

    Is FastComet good for beginners?

    Yes. One-click WordPress installs, daily backups and responsive 24/7 support make it approachable for a first site.

    Can I install WordPress manually?

    Yes, but the one-click installer is faster and configures the basics. Manual installs matter mainly on unmanaged hosting.

    Do I need a separate domain registrar?

    Not necessarily. You can register the domain with FastComet during setup, or point one you already own.

    Should I buy the longest term?

    Longer terms usually cost less per month but lock you in. A medium term lets you test reliability before committing further.

    Get your site live with FastComet

    Plan, domain, WordPress, SSL — in that order.

    Some links on this page may be referral links — we may earn a reward if you sign up, at no extra cost to you. We are an independent publisher. See our Affiliate Disclosure.

    See also: FastComet alternatives: 3 options compared (2026).

  • How to use HostPapa for a small business

    How to use HostPapa for a small business

    Home / Hosting / Guides / How to use HostPapa for a small business

    Guide · hosting · updated October 9, 2026

    How to use HostPapa for a small business

    Once the site is live, the question changes from how to set it up to how to run it without wasting time. This guide is the day-to-day playbook: keep the stack lean, launch only the pages you need, use the bundled email, and plan for renewal before it arrives.

    Independent analysis. This page may contain affiliate links. If you sign up through a link on this page we may earn a reward at no extra cost to you, and it never changes what we recommend. We are an independent publisher and are not affiliated with, endorsed by, or an official partner of any tool mentioned. See our Affiliate Disclosure.

    TL;DR

    • Keep the stack lean instead of buying every add-on.
    • Launch the handful of pages a small business actually needs.
    • Use a branded business email on the same domain.
    • Turn on backups and staging before you need them.
    • Plan for renewal pricing early.

    On this page: Keep it lean · Launch pages · Business email · Sell online · Backups and staging · Renewal planning

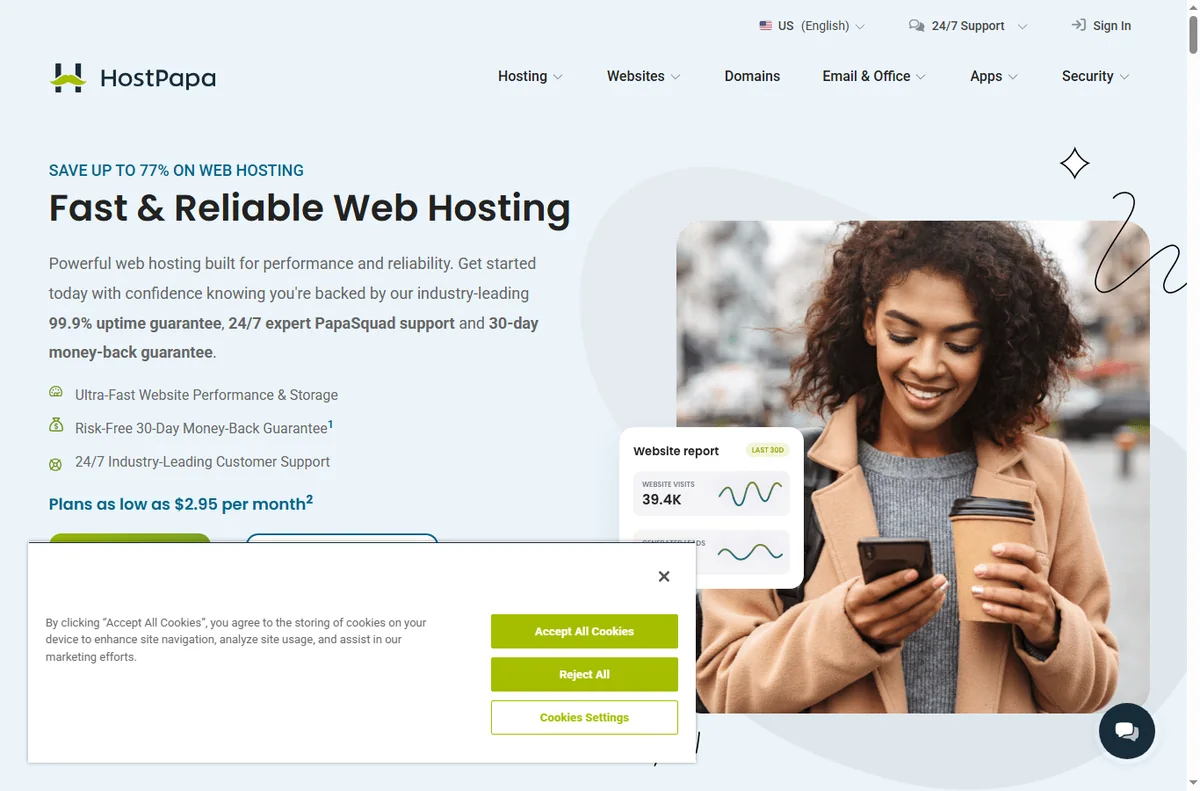
    Hostpapa home page
    Hostpapa home (image: hostpapa.com)

    Keep the stack lean

    HostPapa bundles hosting, a website builder, email and basic marketing tools. The value is in using what is included instead of stacking unrelated subscriptions on top.

    List the tools you already pay for and check whether the bundle replaces any of them. If it does not, a simpler host may cost less overall.

    Hostpapa blog page
    Hostpapa blog (image: hostpapa.com)

    Launch the pages a small business actually needs

    Most small-business sites do not need dozens of pages at launch. Start with a clear homepage, a services or products page, an about page, and a contact page with a working form.

    Every page should answer one question and point to one next step. Fewer, clearer pages convert better than a large unfinished site.

    Hostpapa domains page
    Hostpapa domains (image: hostpapa.com)

    Give the business a real email address

    Use an address on your own domain for quotes, invoices and support. Customers trust it more, and it keeps business correspondence separate from personal mail.

    Forward it to your phone and set an auto-responder for the hours you are closed, so nobody is left wondering whether you received their message.

    If you sell online

    A small shop can run on WordPress with an ecommerce plugin, or on a dedicated store platform. Both work; the deciding factor is how many products and how much checkout customisation you need.

    Whatever you pick, test a real order end to end, including the confirmation email, before you announce the store.

    Hostpapa email page
    Hostpapa email (image: hostpapa.com)

    Use backups and staging like a pro

    Switch on daily backups and confirm you can restore one. A backup you have never restored is only a hope, not a plan.

    Test theme and plugin changes on a staging copy first. HostPapa offers staging on suitable plans, and it prevents a broken update from taking the live site down.

    Plan for renewal pricing

    Introductory rates are temporary. Put the renewal date in your calendar and check the price a month before it arrives so it is a decision, not a surprise.

    If the renewal price no longer fits, that is the moment to compare hosts and migrate during a quiet period, not during your busiest week.

    Hostpapa x websitebuilder page
    Hostpapa x websitebuilder (image: hostpapa.com)

    Where this fits

    Start from the independent HostPapa review and the hosting hub. For setup mechanics, see how to set up HostPapa. Compare the field with best web hosting for small business and plan costs with hosting renewal pricing.

    Icode editorial illustration
    Icode editorial illustration (image: icode.io.vn)

    Frequently asked

    Do I need a website builder if I use WordPress?

    No. Pick one and commit to it. WordPress is more flexible long term; the bundled builder is faster for a very simple site.

    Can I run email and hosting in one account?

    Yes, and for most small businesses that is the point — one vendor, one bill, one place to get help.

    How many pages should I launch with?

    Four to six well-written pages beat twenty thin ones. Add more once the first pages are converting.

    When should I think about migrating?

    When renewal pricing, speed or support stops fitting the business. Migrate in a slow period and keep a fresh backup first.

    Run your site on HostPapa

    Hosting, email and a builder from one vendor.

    Some links on this page may be referral links — we may earn a reward if you sign up, at no extra cost to you. We are an independent publisher. See our Affiliate Disclosure.

  • How to set up HostPapa (step-by-step)

    How to set up HostPapa (step-by-step)

    Home / Hosting / Guides / How to set up HostPapa

    Tutorial · hosting · updated October 9, 2026

    How to set up HostPapa: hosting, domain and WordPress in one sitting

    Setting up HostPapa comes down to a short, ordered list: choose a plan, register or connect a domain, install WordPress, switch on SSL, and create a business email. Work in that order and you avoid clean-up work later. This guide walks through each step the way a first-time site owner actually does it.

    Independent analysis. This page may contain affiliate links. If you sign up through a link on this page we may earn a reward at no extra cost to you, and it never changes what we recommend. We are an independent publisher and are not affiliated with, endorsed by, or an official partner of any tool mentioned. See our Affiliate Disclosure.

    TL;DR

    • Choose a plan sized for one website, not the biggest sale.
    • Register or connect the domain during the same flow.
    • Install WordPress from the host panel — no manual upload needed.
    • Turn on SSL before you share the link.
    • Set up a business email address on the same domain.

    On this page: Choose a plan · Get the domain · Install WordPress · Enable SSL · Business email · Sanity checks

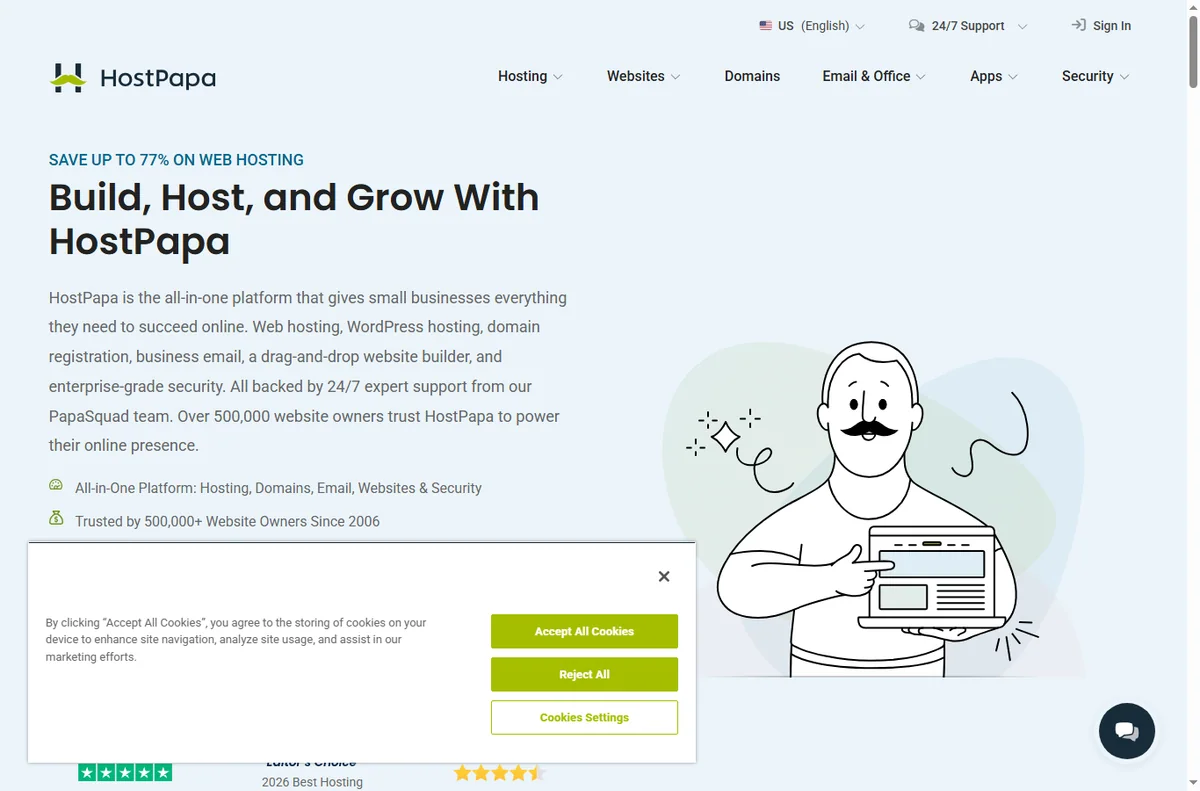
    Hostpapa home page
    Hostpapa home (image: hostpapa.com)

    Step 1 — Choose a plan for the job in front of you

    Match the plan to a single site and realistic traffic rather than the largest advertised tier. We do not quote prices — hosting prices and promotional terms change often, so check the current plans on HostPapa’s own pricing page before you buy.

    Prefer a term that lets you test the host without a long lock-in, and read the renewal terms, not just the introductory rate. A plan that looks cheap in month one can cost more in year three.

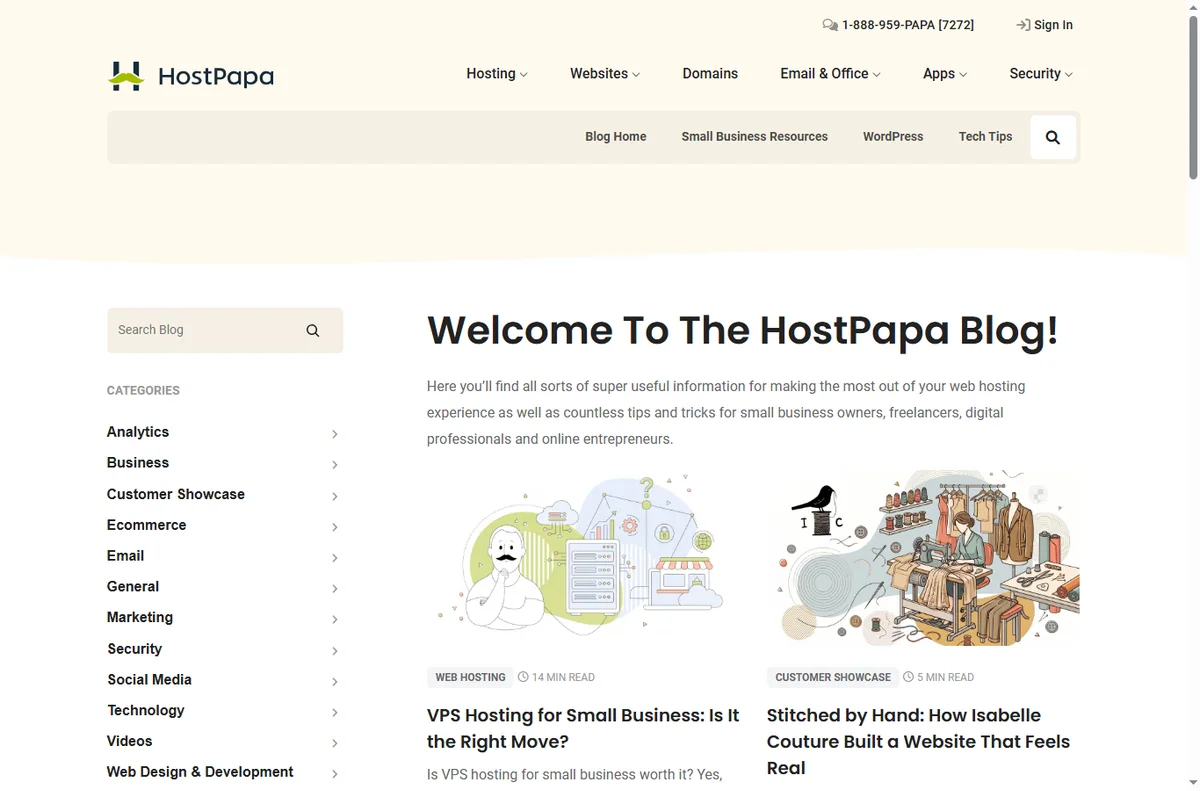
    Hostpapa blog page
    Hostpapa blog (image: hostpapa.com)

    Step 2 — Register or connect your domain

    Register a new domain in the same flow, or point an existing one by updating its name servers. If you already own the domain, connecting it is usually faster than transferring it, and it keeps your registrar history intact.

    Write down the nameservers HostPapa gives you. If the site does not load after a few hours, a wrong or half-updated nameserver record is the most common cause.

    Hostpapa domains page
    Hostpapa domains (image: hostpapa.com)

    Step 3 — Install WordPress

    1. Open the HostPapa control panel and choose the WordPress installer.
    2. Enter a site title, admin username, password and admin email.
    3. Let it install, then log in to your new dashboard.
    4. Set permalinks to a readable structure and remove the default sample content.

    Avoid using “admin” as the username, and keep the admin email one you actually monitor — it is the address used for password resets.

    Step 4 — Enable SSL

    Turn on the SSL certificate for your domain and redirect all traffic to HTTPS. Check that the padlock appears on the homepage and on at least one inner page, because a mixed-content image can quietly break HTTPS on a single template.

    Once HTTPS works on every page, update any hard-coded links in your content to use https:// so visitors are never bounced back to an insecure address.

    Hostpapa email page
    Hostpapa email (image: hostpapa.com)

    Step 5 — Create a business email

    Set up an address on your own domain rather than using a personal inbox. A branded address looks more trustworthy than a free one and improves deliverability when you email customers.

    Add SPF and DKIM records if the panel offers them. These are the difference between landing in an inbox and landing in a spam folder.

    Final checks before you build

    • Load the site over HTTPS and confirm the padlock.
    • Send a test email from the business address.
    • Note where backups are configured and switch them on.
    • Record your renewal date so it does not surprise you.
    Hostpapa x websitebuilder page
    Hostpapa x websitebuilder (image: hostpapa.com)

    Where this fits

    See the independent HostPapa review and the hosting hub for context. For a shortlist sized to small business, see best web hosting for small business, and for the decision itself, how to choose web hosting. Watch the long-term cost with hosting renewal pricing.

    Icode editorial illustration
    Icode editorial illustration (image: icode.io.vn)

    Frequently asked

    Is HostPapa good for beginners?

    Yes. The guided setup, bundled tools and phone support make it one of the friendlier entry points for a first website.

    Can I install WordPress manually instead?

    Yes, but the one-click installer is faster and configures the basics for you. Manual installs make sense mainly on custom or unmanaged hosting.

    Do I need a separate domain registrar?

    Not necessarily. You can register the domain with HostPapa during setup, or point a domain you already own. Keeping both in one place simplifies DNS.

    Should I buy the longest hosting term?

    Longer terms usually cost less per month but lock you in. A medium term lets you test reliability and support before committing further.

    Get your site live with HostPapa

    Plan, domain, WordPress, SSL — in that order.

    Some links on this page may be referral links — we may earn a reward if you sign up, at no extra cost to you. We are an independent publisher. See our Affiliate Disclosure.

  • How to Use PureVPN for a Small Business

    How to Use PureVPN for a Small Business

    Home / Security & Privacy / Guides / How to use PureVPN for a small business

    Use case · security & privacy · updated October 8, 2026

    How to use PureVPN for a small business: a practical guide

    For a small business, PureVPN is most useful as a consistent layer under everyday work: the same protection on every laptop and phone, wherever the team happens to be. This guide covers the practical ways it earns its place, from remote access to simple administration, and the habits that keep it effective.

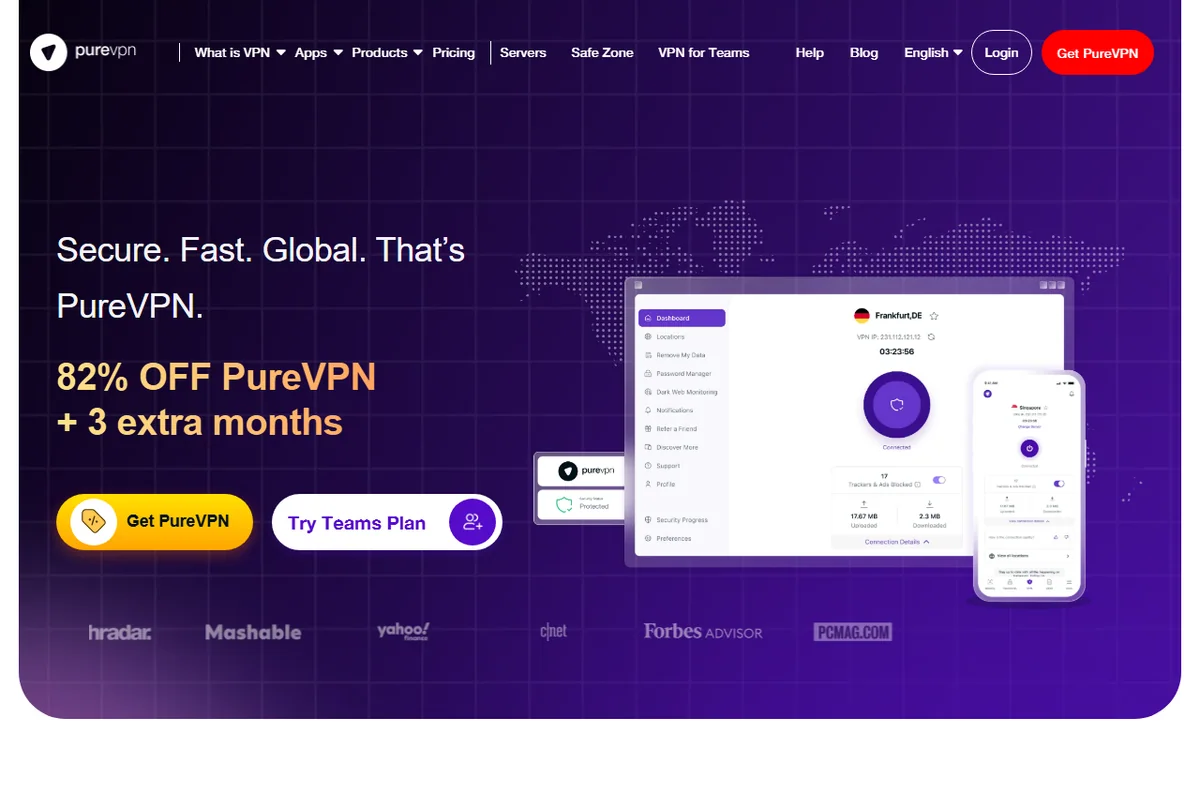
    PureVPN official homepage for its VPN service
    PureVPN official homepage (image: purevpn.com)

    Independent analysis. This page may contain affiliate links. Some links here are referral links; if you sign up through one we may earn a reward at no extra cost to you, and it never changes what we recommend. We are an independent publisher and are not affiliated with, endorsed by, or an official partner of any tool mentioned. See our Affiliate Disclosure.

    TL;DR

    • Keep the tunnel on whenever staff leave a trusted network, especially when travelling.
    • Treat the account as shared infrastructure and track who is connected on which device.
    • Use the dashboard for a quick periodic review rather than auditing every machine.
    • Watch the renewal date and device limit so cost stays predictable.
    • Write a short internal rule so everyone knows when the VPN should be on.

    On this page: What this covers · What matters most for a small business · Remote access and untrusted networks · Shared access without sharing passwords · Simple admin and device management · Keeping cost predictable · A short internal VPN policy · Common mistakes to avoid · Where this fits in your wider stack

    What this covers

    Most small businesses do not need every feature a VPN advertises. They need a few reliable outcomes: staff protected on networks they do not control, a workable way to share access, and a routine that keeps working when the week gets busy.

    This page maps those outcomes to how PureVPN is used day to day, and points out the decisions that cause trouble later.

    PureVPN features overview
    PureVPN features (image: purevpn.com)

    What matters most for a small business

    Before you turn on settings one by one, decide which of these priorities actually apply to your team. They are listed in the order they tend to cause real problems at small scale.

    Priority Why it matters How to handle it
    Untrusted networksStaff on public or shared Wi-Fi expose their traffic to snooping.Enable auto-connect so the tunnel starts on unknown networks.
    Device sprawlLaptops, phones and tablets multiply the endpoints.Track who installed the app and on what, and stay within your device limit.
    Shared credentialsOne login shared by many people is hard to audit or revoke.Keep the owner list short, and change the password when someone leaves.
    Cost driftSubscriptions renew quietly and grow with headcount.Note the renewal date and re-check the official pricing page before it renews.
    Based on publicly documented behaviour, checked October 8, 2026.
    PureVPN server locations page
    PureVPN VPN servers (image: purevpn.com)

    Remote access and untrusted networks

    The clearest benefit is remote work. A laptop that moves between home, cafes, hotels and client sites keeps joining networks you do not control. With auto-connect enabled, the user does not have to remember to switch anything on.

    Travelling staff benefit most of all. Public networks are convenient and hard to trust, and a tunnel turns an unknown network into a consistent one for the length of the session.

    PureVPN business VPN page
    PureVPN business (image: purevpn.com)

    Shared access without sharing passwords

    Sharing one login across a small company is common and generally workable, but it needs a little discipline. Keep the number of people who know the credentials as small as practical, and store them centrally rather than in a chat thread.

    When someone leaves, treat it like any other access change: rotate the password, sign out the devices that should no longer connect, and reconnect the ones that should. A short checklist turns this into a five-minute job.

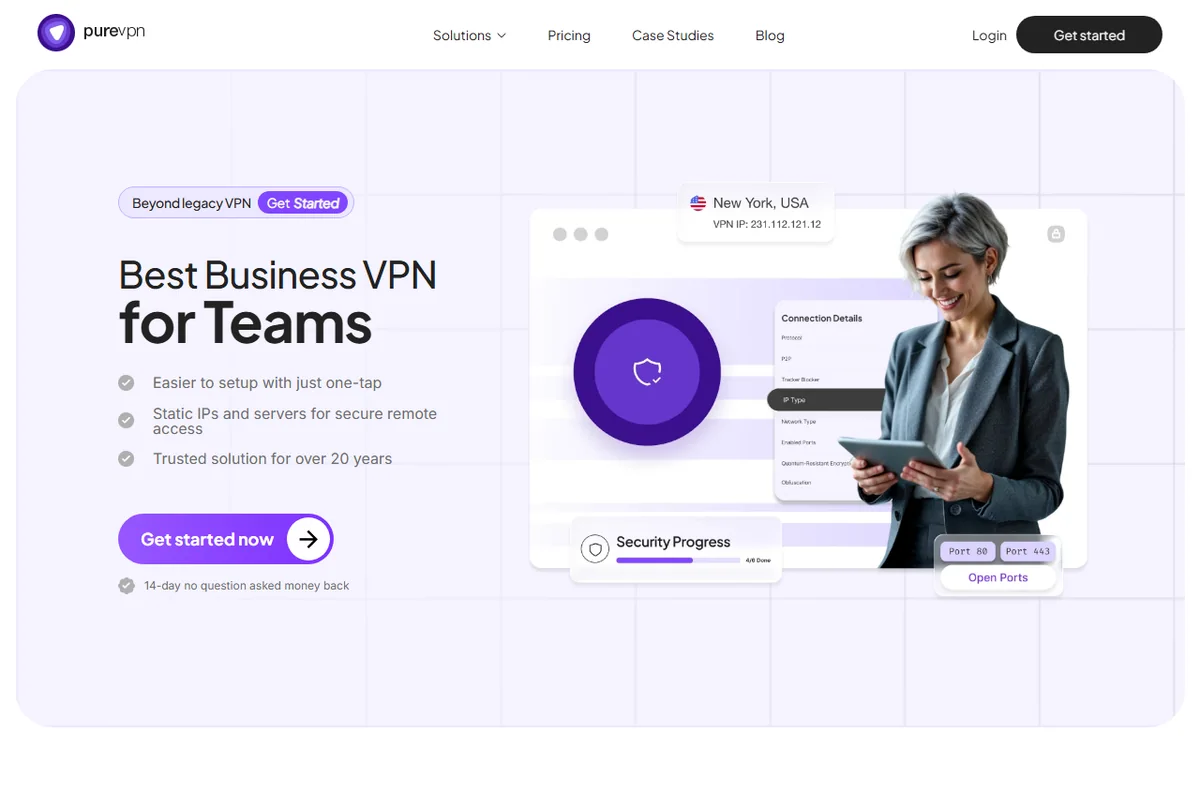
    PureVPN for Teams page
    PureVPN for Teams (image: purevpn.com)

    Simple admin and device management

    If your account includes a dashboard, make it your home base. A single view of connected devices is far easier than asking each person what they installed.

    For a business without dedicated IT, that single view is often the difference between knowing your posture and guessing. A review every few weeks is usually enough.

    PureVPN order and pricing page
    PureVPN order (image: purevpn.com)

    Keeping cost predictable

    VPN spending stays predictable when you treat it like any other subscription. Record the renewal date, the device allowance and the plan you are on in one place, and revisit it before renewal rather than after.

    If headcount grows, check whether the current allowance still covers everyone at once. If it does not, compare the next tier against the cost of a second account before deciding.

    A short internal VPN policy

    You do not need a long document. A few clear lines are enough, and the team is more likely to read them.

    • When the VPN should be on: always on untrusted networks, optional on trusted office networks.
    • Who holds the account details, and who may add or remove devices.
    • What to do if a device is lost: rotate the password and remove the device promptly.
    • Where to check plan limits and renewal dates, so nobody is caught out.
    PureVPN blog with security guides
    PureVPN blog (image: purevpn.com)

    Common mistakes to avoid

    Most issues come from setup habits rather than the tool. Installing the app without verifying the connection, forgetting to check the device count, and leaving credentials with people who have left are the recurring three.

    A short verification step after each device is set up, plus one regular account review, removes nearly all of it.

    Where this fits in your wider stack

    To decide whether PureVPN suits your team, read the independent PureVPN review and start from the security and privacy hub. Comparing options? See Surfshark vs PureVPN and review VPNs suited to remote work before you commit.

    Frequently asked

    Do we need a VPN if the whole team works from one office?

    Not always for the office network itself, but it still helps for laptops that leave the building, home workers and anyone using public Wi-Fi. If devices never leave a trusted network, the value is much smaller.

    Is sharing one account across the team acceptable?

    It is common in small teams and generally workable, but it needs discipline. Keep the list of credential holders short, store the login centrally, and rotate the password when someone leaves.

    How often should we review connected devices?

    Every few weeks is usually enough for a small team. The goal is to catch devices that should have been removed, not to watch the dashboard every day.

    Will this replace our other security tools?

    No. A VPN protects traffic in transit. Antivirus, patching and password management remain separate and still matter.

    PureVPN dedicated IP page
    PureVPN dedicated IP (image: purevpn.com)

    Protect your team with PureVPN

    Review the current plans and device limits on the official site before you choose.

    Referral link — we may earn a reward if you sign up, at no extra cost to you. We are an independent publisher. See our Affiliate Disclosure.

  • How to Set Up PureVPN: VPN, Step by Step

    How to Set Up PureVPN: VPN, Step by Step

    Home / Security & Privacy / Guides / How to set up PureVPN

    Tutorial · security & privacy · updated October 8, 2026

    How to set up PureVPN: a practical walkthrough

    A VPN only helps once it is running on the devices your team actually uses. This walkthrough covers a standard PureVPN setup from start to finish: choosing a plan, creating the account, installing the apps, connecting, verifying the connection, and switching on the features that carry most of the value for a small team.

    PureVPN official homepage for its VPN service
    PureVPN official homepage (image: purevpn.com)

    Independent analysis. This page may contain affiliate links. Some links here are referral links; if you sign up through one we may earn a reward at no extra cost to you, and it never changes what we recommend. We are an independent publisher and are not affiliated with, endorsed by, or an official partner of any tool mentioned. See our Affiliate Disclosure.

    TL;DR

    • Choose a plan on the official PureVPN site based on how many devices and people you need to cover.
    • Install the app on each device and sign in with the same account.
    • Connect to a server, then confirm your visible IP address and DNS have actually changed.
    • Enable the kill switch and auto-connect so protection survives a dropped connection.
    • Check the official pricing page for current plans, device limits and billing terms.

    On this page: What this covers · Before you start · Choosing a plan · Step 1 — Create your account · Step 2 — Install on your devices · Step 3 — Connect and verify · Step 4 — Turn on the features that matter · Step 5 — Roll it out to a team · Where this fits in your wider stack

    What this covers

    This guide takes you through a normal PureVPN setup in a sensible order: plan, account, install, connect, verify, then the settings worth keeping on. It assumes no technical background and no prior use of a VPN.

    Work through it once end to end. Skipping the verification step is the most common reason people are never quite sure whether the VPN is doing anything.

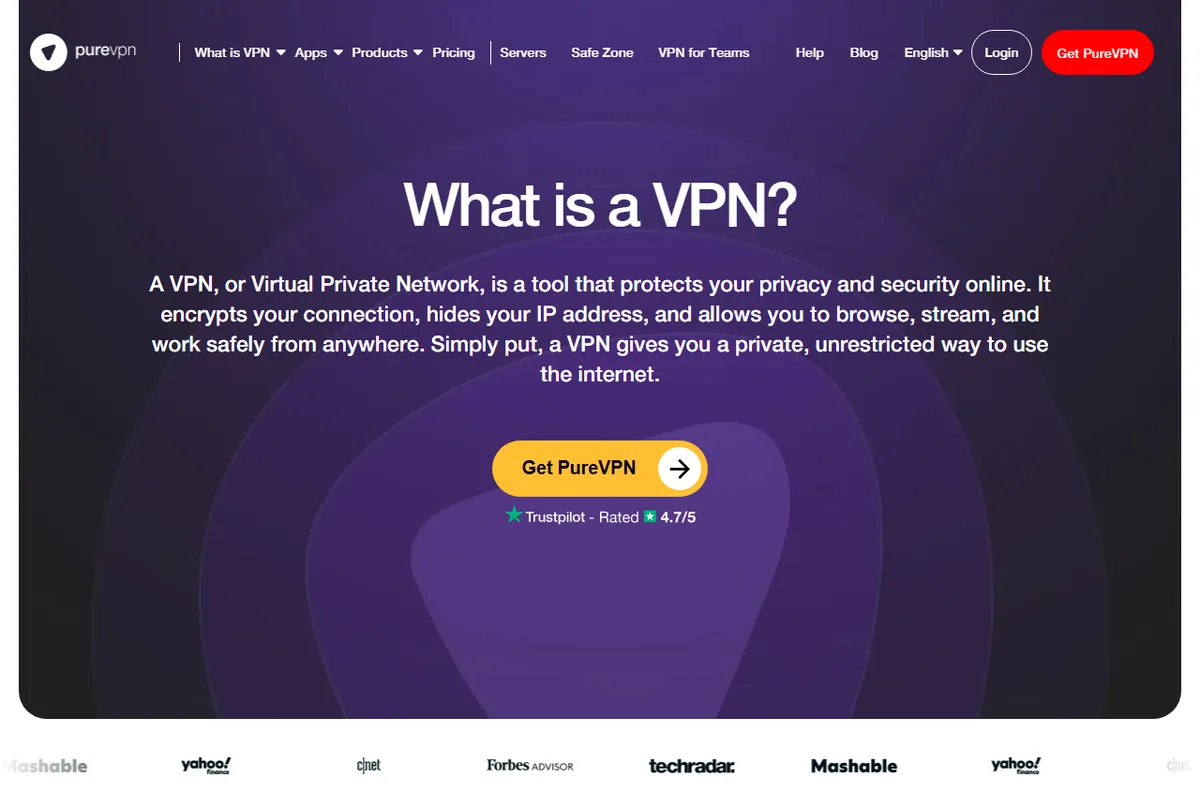
    PureVPN what is a VPN explainer page
    PureVPN what is a VPN (image: purevpn.com)

    Before you start

    • A list of the devices and operating systems you plan to cover.
    • Logins for the people who will use the account, or one owner who sets it up for everyone.
    • A few minutes per device to download, install and sign in.
    • A password manager to store the account login safely.
    • Your usual network details, in case a service needs to be excluded later.
    PureVPN order and pricing page
    PureVPN order (image: purevpn.com)

    Choosing a plan

    PureVPN offers a small number of plans, and the decision usually comes down to how many devices and people you are covering. Terms, device allowances and features change over time, so check the official pricing page for the current options before you buy.

    Option What it means Choose it when
    Single-user planAn account tied to one person and their devices.Only one person needs the VPN.
    Multi-device planA higher device allowance to share across staff.Several people need to connect at the same time.
    Longer billing termA lower effective monthly rate across a longer commitment.You expect to keep the service and want fewer renewals.
    Based on publicly documented behaviour, checked October 8, 2026.
    PureVPN for Teams page
    PureVPN for Teams (image: purevpn.com)

    Step 1 — Create your account

    1. Go to the official PureVPN site and choose a plan.
    2. Create an account using an email address you control and will keep.
    3. Confirm the email, then save the login in your password manager.
    4. Note the renewal date and price before the first term ends.
    PureVPN download page for all devices
    PureVPN download (image: purevpn.com)

    Step 2 — Install on your devices

    1. Download the app for each operating system from the official downloads page.
    2. Install it and sign in with the account you just created.
    3. Repeat on phones, laptops and any other devices the team uses.
    4. Check how many simultaneous connections your plan allows before adding more.
    PureVPN server locations page
    PureVPN VPN servers (image: purevpn.com)

    Step 3 — Connect and verify

    1. Open the app and pick a server location, starting with a nearby one for speed.
    2. Connect and wait until the status clearly shows as active.
    3. Check your visible IP address in a search engine and confirm it has changed.
    4. Run a DNS leak test and confirm your real network details are not showing.
    PureVPN features overview
    PureVPN features (image: purevpn.com)

    Step 4 — Turn on the features that matter

    Beyond the basic tunnel, a few settings do most of the work for a small team. Turn these on first and leave the rest until you have a specific reason for them.

    • Kill switch, so traffic stops rather than leaking if the connection drops.
    • Auto-connect on untrusted networks such as public Wi-Fi.
    • Split tunnelling, if your plan includes it, to keep one app off the tunnel.
    • A dedicated IP, if your plan offers one, for services that prefer a stable address.
    PureVPN business VPN page
    PureVPN business (image: purevpn.com)

    Step 5 — Roll it out to a team

    Once one device works, repeat the process with a record. Keep a simple list of who has the app and on which device, so gaps are obvious and nobody is forgotten.

    If a dashboard is available, use it to review connected devices in one place. When someone leaves, rotate the account password and reconnect only the devices that should stay.

    PureVPN blog with security guides
    PureVPN blog (image: purevpn.com)

    Where this fits in your wider stack

    If you are still comparing providers, begin with the independent PureVPN review and the security and privacy hub. A direct comparison helps too: see Surfshark vs PureVPN, then check the best VPN options for small business before you choose.

    Frequently asked

    Do I need technical skills to set PureVPN up?

    No. The apps are graphical and the flow is the same on most platforms: install, sign in, connect. The step worth slowing down for is verifying that the connection is actually active.

    How many devices can I use at once?

    It depends on the plan and can change over time. Check the official pricing page for the current device allowance before you plan how many people to cover.

    Will a VPN slow my connection down?

    Any VPN adds overhead because traffic is encrypted and routed through a server. The effect varies with server and distance, so a closer location is usually the faster choice.

    Does a VPN replace antivirus or a password manager?

    No. A VPN protects traffic in transit only. It does not scan for malware or store your passwords, so keep those tools in place.

    Get PureVPN for your team

    Review the current plans, device limits and terms on the official site before you decide.

    Referral link — we may earn a reward if you sign up, at no extra cost to you. We are an independent publisher. See our Affiliate Disclosure.

  • How to Use Surfshark for a Small Business

    How to Use Surfshark for a Small Business

    Home / Security & Privacy / Guides / How to use Surfshark for a small business

    Use case · security & privacy · updated October 8, 2026

    How to use Surfshark for a small business: a practical guide

    For a small business, a VPN is less about hiding and more about consistency: the same protection on every laptop, phone and network your team happens to use. This guide covers the ways Surfshark earns its place in a small operation, from remote work to shared access, and the habits that keep it useful rather than forgotten.

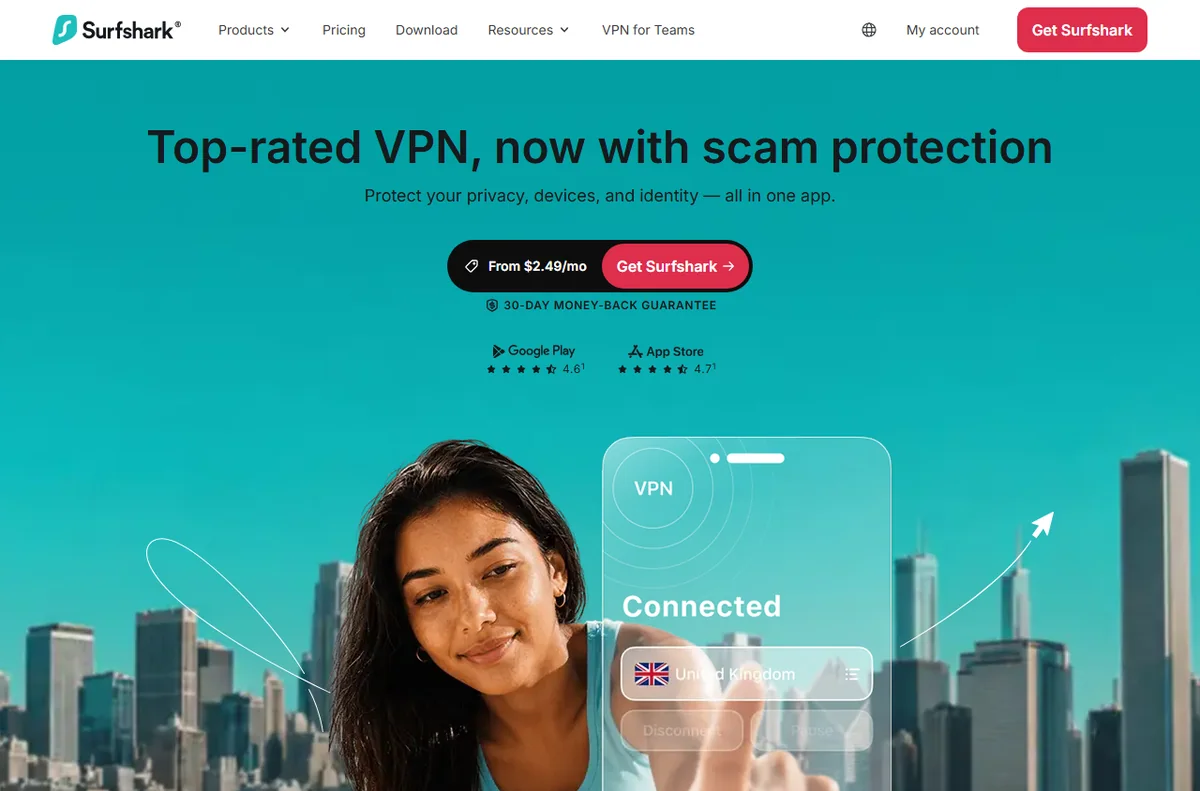
    Surfshark official homepage for its VPN and security products
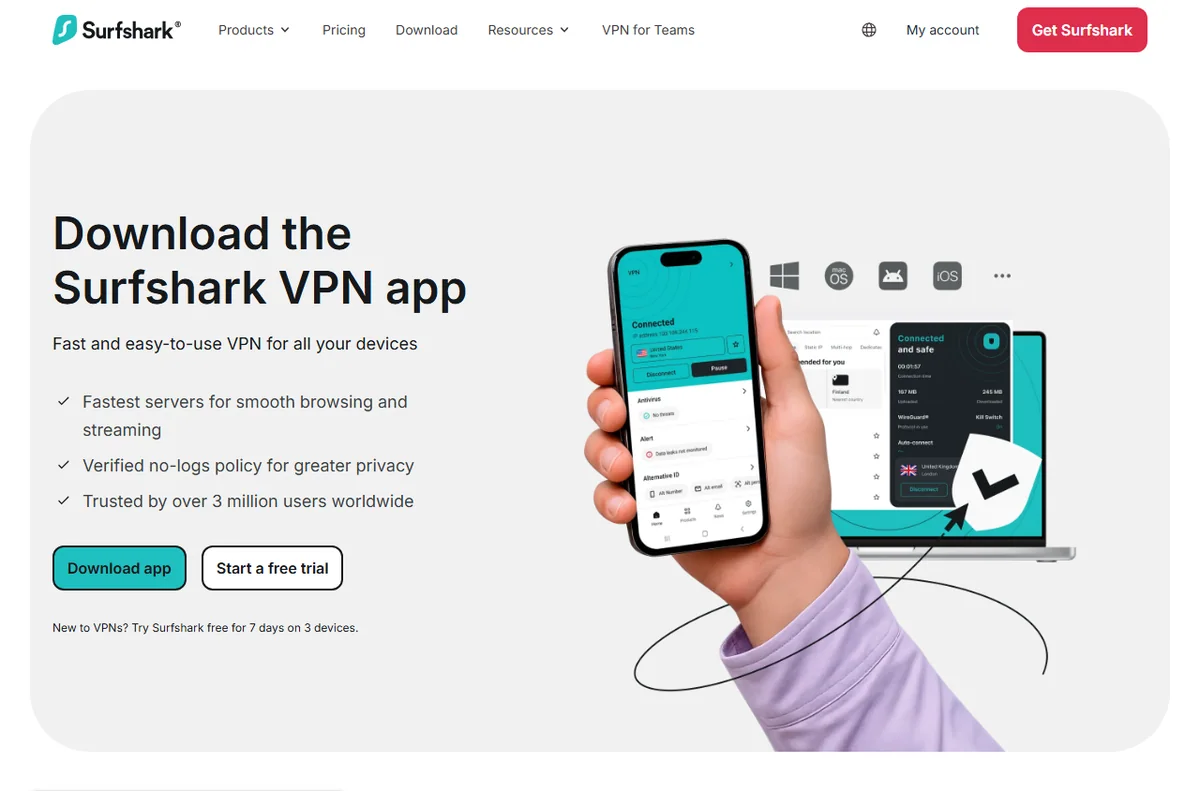
    Surfshark official homepage (image: surfshark.com)

    Independent analysis. This page may contain affiliate links. Some links here are referral links; if you sign up through one we may earn a reward at no extra cost to you, and it never changes what we recommend. We are an independent publisher and are not affiliated with, endorsed by, or an official partner of any tool mentioned. See our Affiliate Disclosure.

    TL;DR

    • Protect remote and travelling staff by keeping the tunnel on whenever they leave a trusted network.
    • Treat the account as shared infrastructure: track who is connected and on which device.
    • Use the dashboard for a quick device review instead of auditing each machine by hand.
    • Keep cost predictable by noting the renewal date and plan limits in advance.
    • Write a short internal rule so everyone knows when the VPN should be on.

    On this page: What this covers · What matters most for a small business · Remote work and untrusted networks · Shared access without sharing passwords · Simple admin and device management · Keeping cost predictable · A short internal VPN policy · Common mistakes to avoid · Where this fits in your wider stack

    What this covers

    A small business rarely needs every feature a VPN offers. It needs a few outcomes: staff protected on untrusted networks, a workable way to share access, and a low-friction routine that survives a busy week.

    This page maps those outcomes to how Surfshark is actually used day to day, and flags the decisions that tend to cause trouble later.

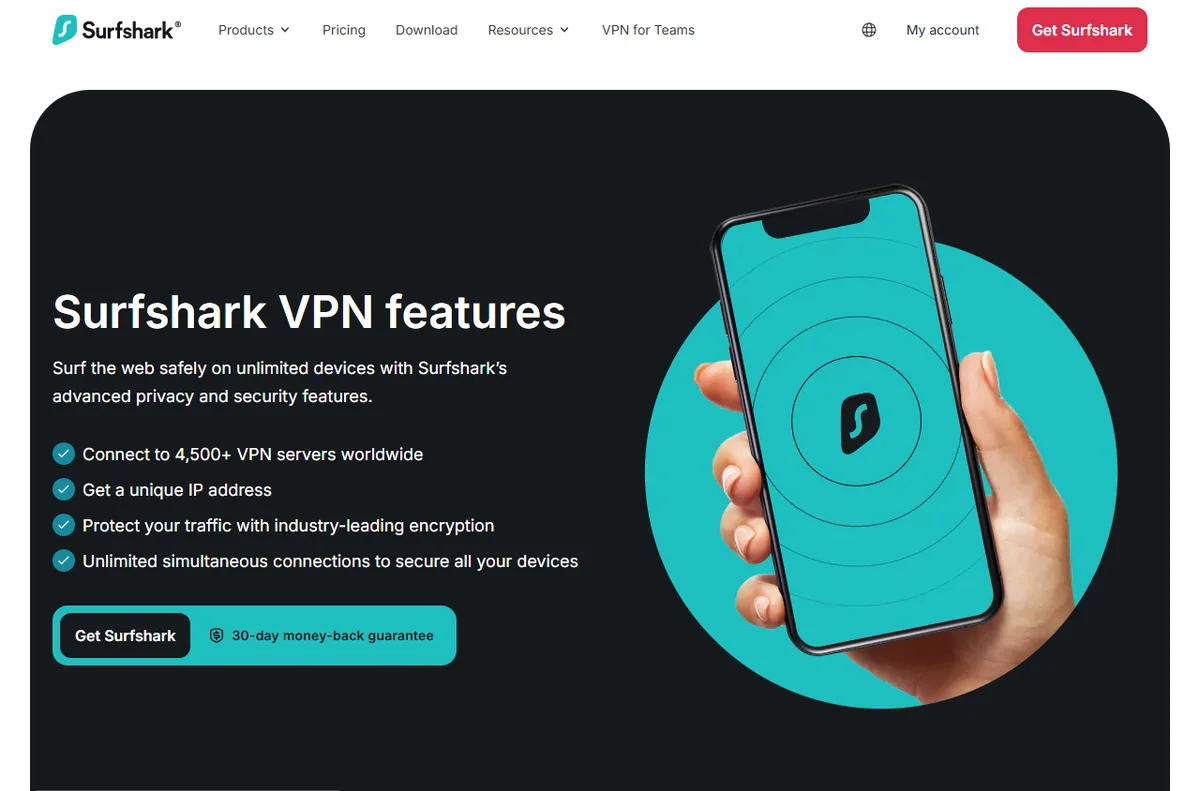
    Surfshark VPN features overview
    Surfshark features (image: surfshark.com)

    What matters most for a small business

    Before turning on features one by one, decide which of these priorities apply to you. They are ordered by how often they cause real problems in small teams.

    Priority Why it matters How to handle it
    Untrusted networksStaff on public or shared Wi-Fi expose their traffic to snooping.Enable auto-connect so the tunnel starts on unknown networks.
    Device sprawlLaptops, phones and tablets multiply the endpoints.Track who installed the app and on what, and stay within your device limit.
    Shared credentialsOne login shared by many people is hard to audit or revoke.Keep the owner list short, and change the password when someone leaves.
    Cost driftSubscriptions renew quietly and grow with headcount.Note the renewal date and re-check the official pricing page before it renews.
    Based on publicly documented behaviour, checked October 8, 2026.
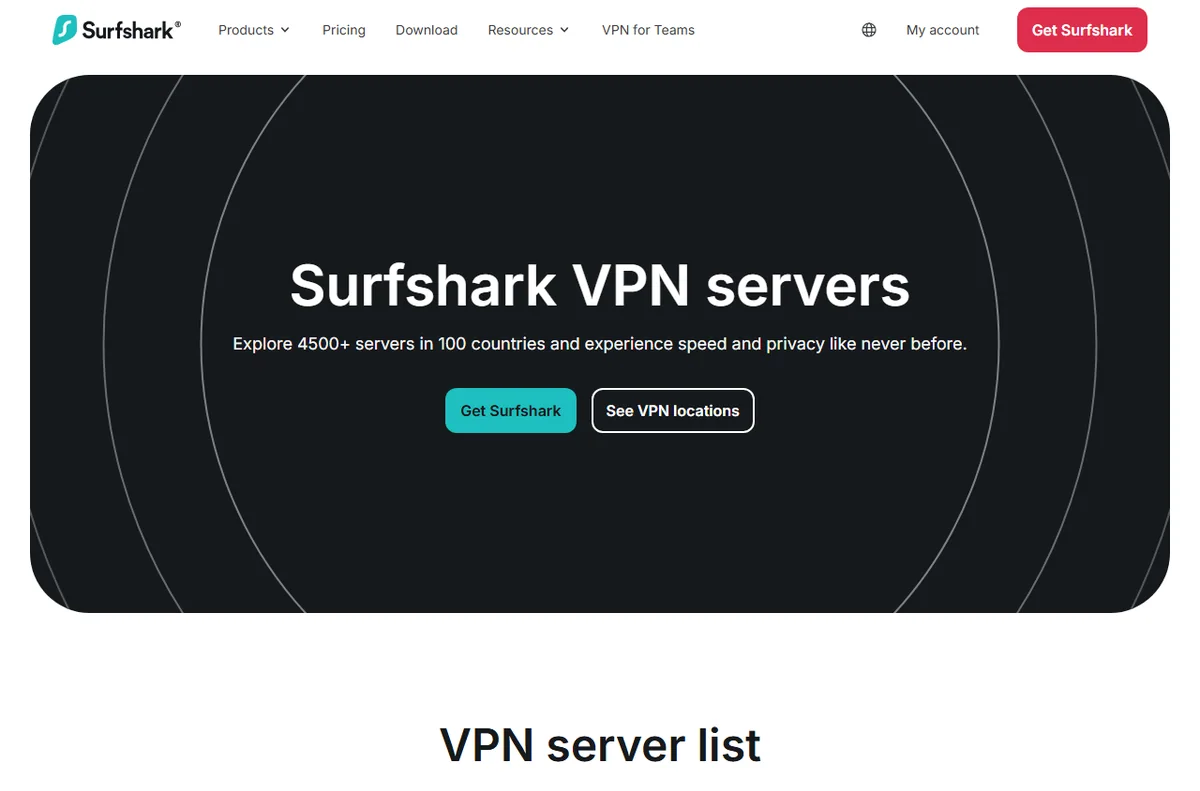
    Surfshark VPN server location list
    Surfshark servers (image: surfshark.com)

    Remote work and untrusted networks

    The clearest win is remote work. A laptop that roams between home, cafes, hotels and client offices is repeatedly joining networks you do not control. With the VPN set to connect automatically, the user does not have to remember anything.

    Travelling staff benefit most. Airports and hotel networks are convenient and hard to trust, and a tunnel turns an unknown network into a consistent one. Confirm the settings on each device once, then let auto-connect handle the rest.

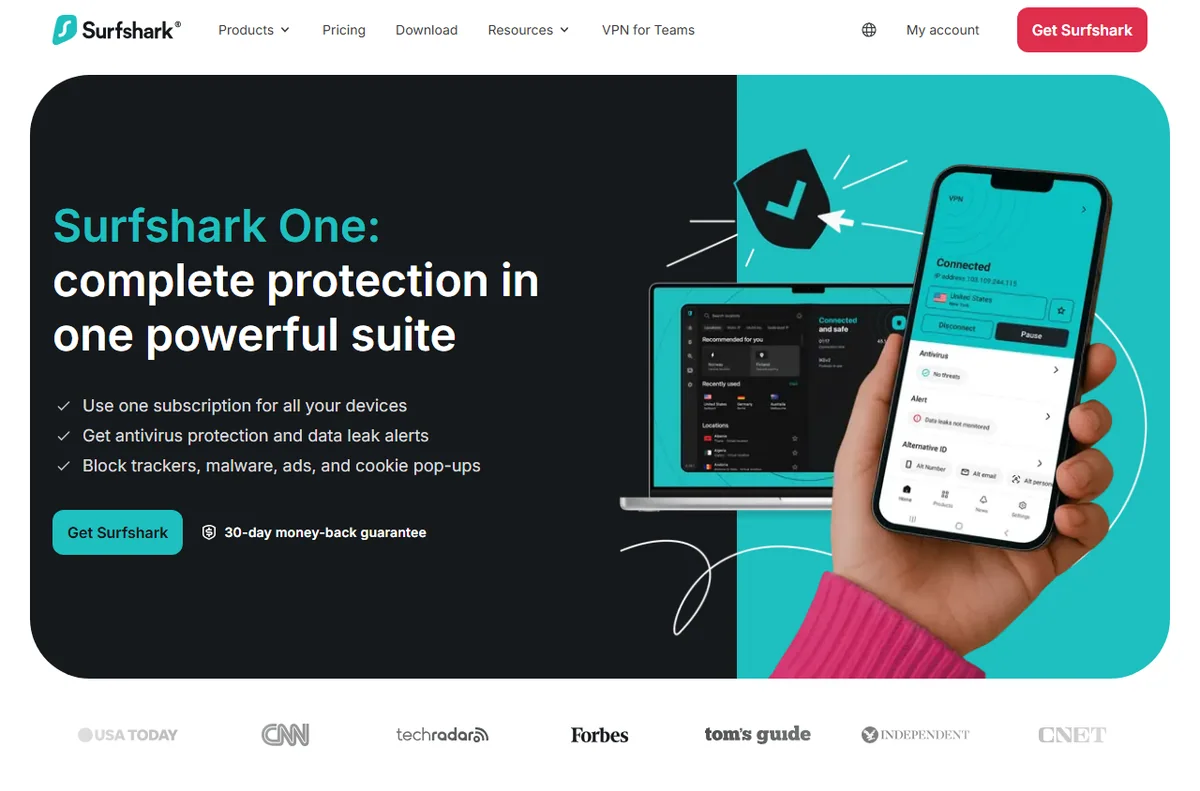
    Surfshark One protective bundle page
    Surfshark One (image: surfshark.com)

    Shared access without sharing passwords

    Sharing one login across the whole company is common and workable at a small scale, but it needs a little discipline. Keep the number of people who know the credentials as small as practical, and store them somewhere central rather than in a chat thread.

    When someone leaves, treat it like any other access change: rotate the password, sign out the devices that should no longer connect, and reconnect the ones that should. A short checklist makes this a five-minute job instead of a scramble.

    Surfshark download page for all devices
    Surfshark download (image: surfshark.com)

    Simple admin and device management

    If your account includes a dashboard, use it as your home base. It gives you a single view of connected devices, which is far easier than asking every person what they installed.

    For a business without dedicated IT, that single view is often the difference between knowing your security posture and guessing. Review it every few weeks, not every day.

    Surfshark pricing plans
    Surfshark pricing (image: surfshark.com)

    Keeping cost predictable

    VPN costs stay predictable when you treat them like any other subscription. Record the renewal date, the device allowance and the plan you are on in one place, and revisit it before renewal rather than after.

    If headcount grows, check whether the current allowance still covers everyone at once. If it does not, compare the next tier against the cost of a second account before deciding.

    A short internal VPN policy

    You do not need a long document. A few clear lines will do, and the team will actually read them.

    • When the VPN should be on: always on untrusted networks, optional on trusted office networks.
    • Who holds the account details, and who is allowed to add or remove devices.
    • What to do if a device is lost: rotate the password and remove the device promptly.
    • Where to check plan limits and renewal dates, so nobody is surprised.
    Surfshark CleanWeb feature page
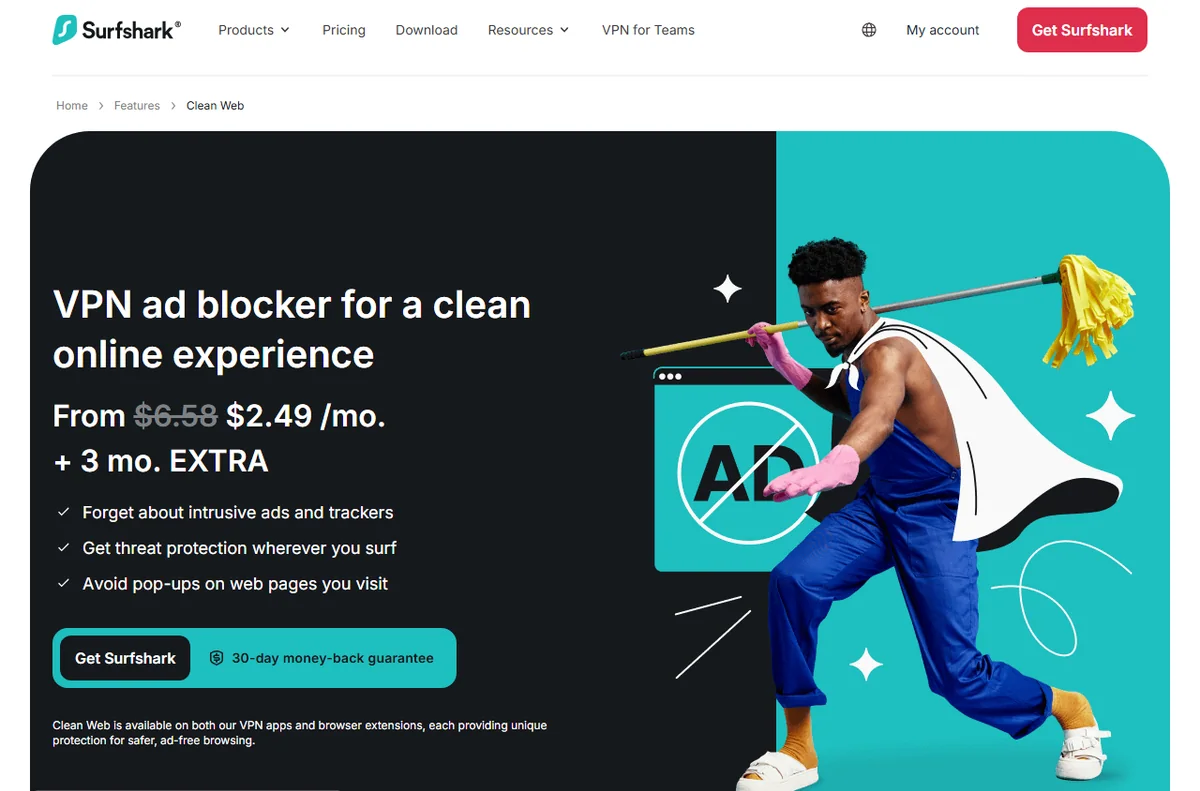
    Surfshark CleanWeb (image: surfshark.com)

    Common mistakes to avoid

    Most problems come from setup habits rather than the tool. Installing the app without checking the connection, forgetting to verify the device count, and leaving the account details with people who have left are the recurring three.

    A short verification step after each device is set up, plus one regular account review, removes nearly all of it.

    Surfshark blog with privacy guides
    Surfshark blog (image: surfshark.com)

    Where this fits in your wider stack

    To judge whether Surfshark is the right pick for your team, read the independent Surfshark review and start from the security and privacy hub. Weighing alternatives? Compare providers in Surfshark vs PureVPN and review VPNs suited to remote work before you commit.

    Frequently asked

    Do we need a VPN if the whole team works from one office?

    Not always for the office network itself, but it still helps for laptops that leave the building, home workers and anyone using public Wi-Fi. If devices never leave a trusted network, the value is much smaller.

    Is sharing one account across the team acceptable?

    It is common in very small teams and generally workable, but it needs discipline. Keep the list of credential holders short, store the login centrally, and rotate the password when someone leaves.

    How often should we review connected devices?

    Every few weeks is usually enough for a small team. The point is to spot devices that should have been removed, not to watch the dashboard daily.

    Will this replace our other security tools?

    No. A VPN protects traffic in transit. Antivirus, patching and password management still matter and are separate jobs.

    Protect your team with Surfshark

    Review the current plans and device limits on the official site before you choose.

    Referral link — we may earn a reward if you sign up, at no extra cost to you. We are an independent publisher. See our Affiliate Disclosure.

  • How to Set Up Surfshark: VPN, Step by Step

    How to Set Up Surfshark: VPN, Step by Step

    Home / Security & Privacy / Guides / How to set up Surfshark

    Tutorial · security & privacy · updated October 8, 2026

    How to set up Surfshark: a practical walkthrough

    Setting up a VPN for a small team is mostly a matter of order: pick the plan, install the apps, connect, then tighten the settings you actually care about. This walkthrough covers a standard Surfshark setup from first login to a working rollout across a handful of devices, and it assumes no technical background.

    Surfshark official homepage for its VPN and security products
    Surfshark official homepage (image: surfshark.com)

    Independent analysis. This page may contain affiliate links. Some links here are referral links; if you sign up through one we may earn a reward at no extra cost to you, and it never changes what we recommend. We are an independent publisher and are not affiliated with, endorsed by, or an official partner of any tool mentioned. See our Affiliate Disclosure.

    TL;DR

    • Create your account on the official site and pick the plan that matches how many devices you need to cover.
    • Install the app on each device, then sign in with the same account.
    • Connect, confirm the IP and DNS have changed, then switch on the settings that matter for your team.
    • Use the account dashboard to keep an eye on connected devices instead of checking them one by one.
    • Check the official pricing page for current plans, device limits and billing terms.

    On this page: What this covers · Before you start · Choosing a plan · Step 1 — Create your account · Step 2 — Install on your devices · Step 3 — Connect and verify · Step 4 — Turn on the features that matter · Step 5 — Roll it out to a team · Where this fits in your wider stack

    What this covers

    This guide walks through a normal Surfshark setup end to end: choosing a plan, creating the account, installing the app on each device, connecting, and confirming that the connection is really doing what you expect. It then covers the handful of settings that carry most of the value for a small team.

    The order matters more than the speed. If you install first and plan later, you end up re-installing apps and re-sharing logins. Read the whole page once, then work through it.

    Before you start

    • A list of the devices and operating systems you intend to cover.
    • Logins for the people who will use the account, or one trusted owner if you are setting it up on their behalf.
    • A few minutes per device for downloading and installing the app.
    • Your password manager, so the account login is stored rather than reused.
    • Access to your usual network details, in case a service needs to be excluded later.
    Surfshark pricing plans
    Surfshark pricing (image: surfshark.com)

    Choosing a plan

    Surfshark keeps its lineup fairly simple, and the right choice comes down to how many devices and people you are protecting. Terms and device allowances change, so check the official pricing page for the current options before you commit.

    Option What it means Choose it when
    Single accountOne login used across your own devices.One person manages everything and the team is very small.
    Higher device allowanceMore simultaneous connections to share with staff.Several people need to be online at the same time.
    Longer billing termA lower effective monthly rate across a longer commitment.You expect to keep the service and want fewer renewal decisions.
    Based on publicly documented behaviour, checked October 8, 2026.
    Surfshark One protective bundle page
    Surfshark One (image: surfshark.com)

    Step 1 — Create your account

    1. Go to the official Surfshark site and choose a plan.
    2. Create an account with an email address you control and will keep.
    3. Confirm the email, then save the login in your password manager.
    4. Note the renewal date and price somewhere you will find it again before it renews.
    Surfshark download page for all devices
    Surfshark download (image: surfshark.com)

    Step 2 — Install on your devices

    1. Download the app for each operating system from the official downloads page.
    2. Install it and sign in with the account you just created.
    3. Repeat on phones, laptops and any other devices the team uses.
    4. Check how many simultaneous connections your plan allows before adding more.
    Surfshark VPN server location list
    Surfshark servers (image: surfshark.com)

    Step 3 — Connect and verify

    1. Open the app and choose a server location, starting with one nearby for speed.
    2. Connect and wait until the status clearly shows as active.
    3. Check your visible IP address in a search engine to confirm it has changed.
    4. Run a DNS leak test and confirm your real network details are not showing.
    Surfshark CleanWeb ad and tracker blocker feature page
    Surfshark CleanWeb (image: surfshark.com)

    Step 4 — Turn on the features that matter

    Surfshark bundles more than a plain tunnel. For a small team, a few settings carry most of the value, and the rest can wait until you have a reason to use them.

    • Kill switch, so traffic stops instead of leaking if the connection drops.
    • Auto-connect on untrusted networks such as public Wi-Fi.
    • Multi-hop, which routes traffic through a second server for an extra layer.
    • Tracker and ad filtering, to cut down on nuisance scripts while browsing.
    Surfshark VPN features overview for teams
    Surfshark features (image: surfshark.com)

    Step 5 — Roll it out to a team

    Once a single device works, the next step is repetition with a record. Keep a short list of who has installed the app and on what, so you are not hunting for gaps later.

    If the account includes a web dashboard, use it to review connected devices rather than checking each machine by hand. When someone leaves, change the account password and reconnect the devices that stay.

    Surfshark blog with privacy guides
    Surfshark blog (image: surfshark.com)

    Where this fits in your wider stack

    If you are still deciding whether Surfshark is the right fit, start with the independent Surfshark review and the security and privacy hub. Comparing providers directly? See Surfshark vs PureVPN, or browse the best VPN options for small business before you settle.

    Frequently asked

    Do I need technical skills to set Surfshark up?

    No. The apps are graphical, and the steps are the same on most platforms: install, sign in, connect. The only part that deserves care is verifying the connection after the first one.

    How many devices can I use at once?

    That depends on the plan, and it changes over time. Check the official pricing page for the current device allowance before you plan a rollout across a team.

    Will a VPN slow my connection down?

    Any VPN adds some overhead because traffic is encrypted and routed. In practice the effect varies by server and distance, so pick a nearby location when speed matters more than the country shown.

    Is a VPN a replacement for antivirus or a password manager?

    No. A VPN protects traffic in transit. It does not scan files or store your passwords, so keep those tools separate and running.

    Get Surfshark for your team

    Compare the current plans and device allowances on the official site before you decide.

    Referral link — we may earn a reward if you sign up, at no extra cost to you. We are an independent publisher. See our Affiliate Disclosure.

  • How to Use Surfer SEO for a Small Business

    How to Use Surfer SEO for a Small Business

    Home / SEO Tools / Guides / How to use Surfer SEO for a small business

    Use case · seo tools · updated October 8, 2026

    How to use Surfer SEO for a small business

    A small team cannot optimise everything at once. What it can do is build a repeatable habit: brief a page well, check it before publishing, and revisit the pages that carry commercial weight. Surfer SEO supports exactly that rhythm.

    Surfer official homepage for the SEO content platform
    Surfer official homepage (image: surferseo.com)

    Independent analysis. This page may contain affiliate links. Some links here are referral links; if you sign up through one we may earn a reward at no extra cost to you, and it never changes what we recommend. We are an independent publisher and are not affiliated with, endorsed by, or an official partner of any tool mentioned. See our Affiliate Disclosure.

    TL;DR

    • Use the editor to build clear briefs for every new page.
    • Improve pages that already get impressions before writing more.
    • Audit service and product pages, not only blog posts.
    • Document a workflow so anyone can follow the same steps.
    • Review tracking on a steady cadence and report trends, not noise.

    On this page: What this covers · What a small business needs · Content briefs for a small team · Improving pages you already have · Auditing the site, not one page · A workflow your team can repeat · Tracking that stays honest · Keeping effort and cost in check · Where this fits

    What this covers

    A small team cannot optimise everything at once. What it can do is build a repeatable habit: brief a page well, check it before publishing, and revisit the pages that carry commercial weight.

    This guide looks at how Surfer SEO supports that rhythm in practice, and where it needs a human hand.

    Surfer pricing plans
    Surfer pricing (image: surferseo.com)

    What a small business needs from an SEO tool

    The value of a tool comes down to a few practical needs.

    Need Why it matters How Surfer helps
    Clear briefsWriters need direction, not guessworkThe editor suggests terms and structure to cover
    Less reworkSmall teams cannot rewrite endlesslyAudits show what to change before publishing
    ConsistencySeveral people edit the same siteA shared editor gives everyone the same target
    PriorityYou cannot optimise everything at onceTracking shows which pages are moving
    Simple reportingYou need to explain progressPosition tracking gives a plain view over time
    Based on publicly documented behaviour, checked October 8, 2026.
    Surfer Content Editor for content briefs
    Surfer Content Editor (image: surferseo.com)

    Content briefs for a small team

    A brief is the cheapest quality lever a small team has. Use the editor to build one that names the target term, the questions to answer, and an approximate length.

    Give the writer the brief and the score as guidance. Judge the finished page on whether it helps the reader, not on the number alone.

    Surfer AI content optimization page
    Surfer AI (image: surferseo.com)

    Improving pages you already have

    Start with pages that already get impressions but few clicks. A clearer title and a more complete answer often move the needle faster than a new post.

    Work in small passes: fix the structure, cover the missing terms, tighten the introduction. Then re-audit.

    Surfer Content Audit for site-wide audits
    Surfer Content Audit (image: surferseo.com)

    Auditing the site, not just one page

    Run audits across your main money pages, not only blog posts. Service and product pages often carry the most commercial value.

    Group fixes by effort. Quick wins, such as missing headings, come first.

    Surfer integrations page
    Surfer integrations (image: surferseo.com)

    A workflow your team can repeat

    Document the steps: pick a keyword, build a brief, draft, audit, edit, publish, then add to tracking.

    Keep one person responsible for the final check so quality does not depend on who happened to publish.

    Surfer keyword research tool page
    Surfer keyword research (image: surferseo.com)

    Tracking that stays honest

    Review tracking on a weekly or monthly cadence. Report movement and what you changed, not just rankings.

    Be honest about noise. Short-term shifts are common; trends over weeks matter more.

    Surfer Academy tutorials
    Surfer Academy (image: surferseo.com)

    Keeping effort and cost in check

    The main cost is the subscription plus your time. Weigh it against the value of the pages you improve. Check the official pricing page for current tiers.

    Start small, prove the workflow on a handful of pages, then expand.

    Where this fits in your wider stack

    For the full picture, read the independent Surfer SEO review and start from the SEO tools hub. If you want a broader shortlist, see best SEO tools for small business, or dig into best SEO audit tools.

    Frequently asked

    Is Surfer SEO worth it for a small team?

    It helps most when you publish regularly and want a repeatable way to brief and check content. If you rarely publish, the value is lower.

    Can it replace a writer?

    No. It guides structure and coverage. The writing and judgement still come from a person.

    How often should we audit pages?

    Audit a page when you write it, then revisit the ones that matter every few months or when rankings slip.

    Which plan suits a small business?

    It depends on how many pages you manage. Check the official pricing page to match a tier to your volume.

    Surfer blog with SEO workflow guides
    Surfer blog (image: surferseo.com)

    Build a repeatable SEO workflow

    See the current plans and pick the tier that fits your site.

    Referral link — we may earn a reward if you sign up, at no extra cost to you. We are an independent publisher. See our Affiliate Disclosure.

  • How to Set Up Surfer SEO: Step by Step

    How to Set Up Surfer SEO: Step by Step

    Home / SEO Tools / Guides / How to set up Surfer SEO

    Tutorial · seo tools · updated October 8, 2026

    How to set up Surfer SEO: a practical walkthrough

    Surfer SEO is a content optimisation tool that compares your draft against the pages already ranking for a keyword. This guide covers a clean setup: creating a project, running the content editor, auditing a page, and making the tool part of a repeatable workflow.

    Surfer official homepage for the SEO content platform
    Surfer official homepage (image: surferseo.com)

    Independent analysis. This page may contain affiliate links. Some links here are referral links; if you sign up through one we may earn a reward at no extra cost to you, and it never changes what we recommend. We are an independent publisher and are not affiliated with, endorsed by, or an official partner of any tool mentioned. See our Affiliate Disclosure.

    TL;DR

    • Create a project and add your domain and target keywords.
    • Use the Content Editor to get term and structure guidance while drafting.
    • Audit existing pages to find gaps against top results.
    • Connect your CMS so suggestions flow into your drafts.
    • Track pages over weeks, not days, and act on the trends.

    On this page: What this covers · Before you start · Step 1 – create a project · Step 2 – the content editor · Step 3 – audit a page · Choosing where to start · Step 4 – connect your CMS · Step 5 – track and iterate · Where this fits

    What this covers

    Surfer SEO is a content optimisation tool. It compares your draft or a live page against the results already ranking for a keyword, then suggests terms and a structure to cover.

    This walkthrough gets you from a blank account to a working routine, without leaning on tactics you do not understand.

    Surfer Academy with SEO tutorials
    Surfer Academy (image: surferseo.com)

    Before you start

    • A target keyword or topic, and a page or draft to work on.
    • Access to your site so you can publish changes.
    • A note of the competitors currently ranking for your keyword.
    • Your CMS login if you plan to use the integrations.
    Surfer account sign-up screen
    Surfer sign-up (image: surferseo.com)

    Step 1 — Create an account and a project

    1. Sign up and open the dashboard.
    2. Create a project and add your domain.
    3. Add the URLs and keywords you want to track.
    4. Confirm the language and location settings for your market.
    Surfer Content Editor product page
    Surfer Content Editor (image: surferseo.com)

    Step 2 — Run your first content editor

    Open the Content Editor and enter your target keyword. Surfer returns a suggested word count, a list of terms, and a structure based on what ranks.

    Treat the recommendations as guidance, not a checklist to force. Write for the reader first, then use the terms to cover gaps you missed.

    Use the score as a rough signal. A high score from padding is worse than a clear page that answers the question.

    Surfer Content Audit product page
    Surfer Content Audit (image: surferseo.com)

    Step 3 — Audit an existing page

    Run the audit on a page that already ranks, or one that should but does not.

    Review the flagged terms and headings, then decide which changes genuinely improve the page.

    Re-audit after editing to see whether the page moved closer to the recommendation.

    Surfer keyword research tool page
    Surfer keyword research (image: surferseo.com)

    Choosing where to start

    Surfer has several entry points. Pick the one that matches the job in front of you.

    Starting point Best for What you get
    Content EditorWriting something newTerm and structure guidance as you draft
    AuditImproving a live pageA comparison of your page against top results
    Topic researchPlanning a clusterRelated topics and keyword groups
    TrackingMonitoring progressA view of position changes over time
    Based on publicly documented behaviour, checked October 8, 2026.
    Surfer integrations page for WordPress and Google Docs
    Surfer integrations (image: surferseo.com)

    Step 4 — Connect your CMS

    Surfer integrates with WordPress and Google Docs, which lets you apply suggestions without copy-pasting between tools.

    If you use a different platform, keep the workflow manual but consistent: draft, check, then publish.

    Set a clear rule for when a page is ready to publish, so the team does not over-optimise.

    Surfer AI content optimization page
    Surfer AI (image: surferseo.com)

    Step 5 — Track and iterate

    Add the pages you care about to tracking and review progress on a set cadence, not daily.

    Use the data to decide where to update next. A page losing position is often a better use of time than a new draft.

    Keep a short log of what you changed so you can connect edits to results.

    Surfer blog with SEO guides
    Surfer blog (image: surferseo.com)

    Where this fits in your wider stack

    Before you commit, read the independent Surfer SEO review and browse the SEO tools hub. If auditing is your main need, see best SEO audit tools, and to give your pages the best base, compare best SEO friendly themes.

    Frequently asked

    Do I need to follow every suggestion?

    No. The recommendations are guides. Prioritise the terms and headings that make the page genuinely more complete, and ignore the rest.

    Can Surfer optimise an existing page?

    Yes. The audit compares a live page with top results and flags terms and structure you could add or adjust.

    Does Surfer publish content for me?

    It guides writing and audits pages. Publishing stays with you or your CMS, though integrations make it faster.

    What does Surfer cost?

    Plans change over time. Check the official pricing page for current tiers and limits before choosing.

    Surfer pricing plans
    Surfer pricing (image: surferseo.com)

    Set up Surfer SEO with a clear plan

    Check the current plans and what each tier includes.

    Referral link — we may earn a reward if you sign up, at no extra cost to you. We are an independent publisher. See our Affiliate Disclosure.

  • How to Use Divi for a Small Business

    How to Use Divi for a Small Business

    Home / Developer Tools / Guides / How to use Divi for a small business

    Use case · developer tools · updated October 8, 2026

    How to use Divi for a small business

    A small business rarely needs a sprawling website. It needs a handful of pages that load quickly, look consistent and are easy to update without a developer on call. Divi is built for exactly that middle ground between a rigid template and a custom build.

    Divi by Elegant Themes WordPress theme and visual page builder
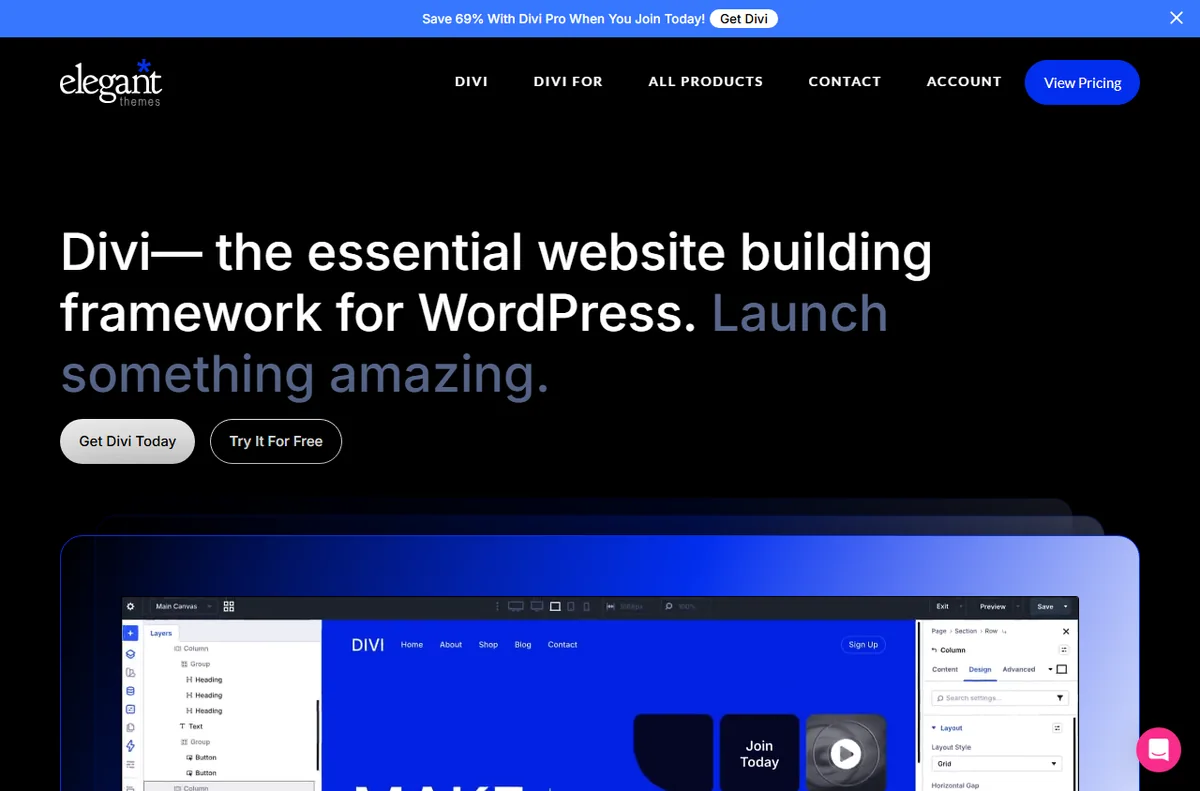
    Divi by Elegant Themes (image: elegantthemes.com)

    Independent analysis. This page may contain affiliate links. Some links here are referral links; if you sign up through one we may earn a reward at no extra cost to you, and it never changes what we recommend. We are an independent publisher and are not affiliated with, endorsed by, or an official partner of any tool mentioned. See our Affiliate Disclosure.

    TL;DR

    • Start from saved templates so every page shares a consistent structure.
    • Keep one clear action per page instead of several competing buttons.
    • Use the Divi library to reuse sections across campaigns and pages.
    • Assign global headers, footers and post templates in the Theme Builder.
    • Document your setup so anyone can edit pages later.

    On this page: What this covers · What a small business needs · Getting the foundations right · Landing pages that do a job · Reusable layouts and the library · Theme Builder across the site · Maintenance and handover · Keeping effort and cost in check · Where this fits

    What this covers

    A small business rarely needs a sprawling website. It needs a handful of pages that work hard, look consistent and are quick to update.

    This guide looks at how Divi fits that reality: where it saves time, where it needs discipline, and how to keep the site easy to maintain.

    Elegant Themes homepage
    Elegant Themes homepage (image: elegantthemes.com)

    What a small business needs from a builder

    Not every feature matters equally. These are the priorities that usually decide whether a builder earns its place.

    Priority Why it matters How Divi helps
    Fast page creationYou need pages live without a long build cycleLayout packs and the Visual Builder get a page up quickly
    ConsistencyYour brand should look the same everywhereGlobal defaults and Theme Builder templates apply styling site-wide
    Low maintenanceYou may not have a full-time developerVisual edits and a library reduce the need to touch code
    ReuseSimilar pages should not be rebuilt each timeSaved sections can be dropped into new pages
    Cost controlBudgets are tightOne licence covers design and layout without a stack of separate tools
    Based on publicly documented behaviour, checked October 8, 2026.
    Divi documentation and help center
    Divi documentation (image: elegantthemes.com)

    Getting the foundations right

    Set your brand colours, fonts and button styles once, then leave them alone. Consistency is what makes a small site look considered rather than assembled.

    Decide on a simple set of page types: home, a service or product page, about, and contact. Build each from a saved template so they share structure.

    Divi Marketplace with layout packs
    Divi Marketplace (image: elegantthemes.com)

    Landing pages that do a job

    Most small business pages have one job: to get a call, a form fill or a purchase. Keep the primary action obvious on every page. One clear button beats five competing calls to action.

    Build a reusable hero section and reuse it, changing only the headline and image. That keeps campaign pages quick to ship without losing consistency.

    Divi Layouts library of reusable layouts
    Divi Layouts library (image: elegantthemes.com)

    Reusable layouts and the library

    Save the sections you like to the Divi library and give them clear names, such as Hero Services or CTA Contact.

    A tidy library is the difference between a ten-minute page and an afternoon of rebuilding. It also makes it easy to reuse a layout across campaigns.

    Elegant Themes blog with Theme Builder tutorials
    Elegant Themes blog (image: elegantthemes.com)

    Theme Builder across the site

    Assign a global header and footer so navigation and contact details stay consistent on every page.

    Add templates for blog posts and archives if you publish content, so new posts inherit the right layout automatically.

    Maintenance and handover

    Document which template controls which part of the site. A short note saves time when a colleague or a freelancer edits a page later.

    Keep a staging copy for larger changes and push them live once checked. It is far cheaper than fixing a live page in a hurry.

    Keeping effort and cost in check

    The main cost is your time plus the licence. Compare that with what a custom build would take. Check the official pricing page for current licence options.

    Avoid buying add-ons you do not need. A focused setup is easier to maintain than a large stack of overlapping plugins.

    GreenGeeks hosting/Div plan page
    Elegant Themes pricing (image: elegantthemes.com)

    Where this fits in your wider stack

    For a fuller picture, read the independent Divi review and browse the developer tools hub. If you are filling gaps around the builder, see best WordPress plugins for small business, or step back and compare best website builders for small business.

    Frequently asked

    Is Divi a good fit for a small business site?

    It suits teams that want visual control and consistency without a developer for every change. Large, highly custom projects may still need code.

    Can I reuse one design across several pages?

    Yes. Save sections and pages to the library and assign templates in the Theme Builder to apply styling site-wide.

    Do I need extra plugins with Divi?

    You can run a functional site without many. Add plugins only when a specific need, such as SEO or forms, is not already covered.

    How do I know which licence to buy?

    Licence tiers and site limits change. Check the official pricing page to match a plan to the number of sites you run.

    Put Divi to work on your site

    Review the current plans and what each licence covers.

    Referral link — we may earn a reward if you sign up, at no extra cost to you. We are an independent publisher. See our Affiliate Disclosure.