Home / Security & Privacy / Guides / How to set up PureVPN
Tutorial · security & privacy · updated October 8, 2026
How to set up PureVPN: a practical walkthrough
A VPN only helps once it is running on the devices your team actually uses. This walkthrough covers a standard PureVPN setup from start to finish: choosing a plan, creating the account, installing the apps, connecting, verifying the connection, and switching on the features that carry most of the value for a small team.
Independent analysis. This page may contain affiliate links. Some links here are referral links; if you sign up through one we may earn a reward at no extra cost to you, and it never changes what we recommend. We are an independent publisher and are not affiliated with, endorsed by, or an official partner of any tool mentioned. See our Affiliate Disclosure.
TL;DR
- Choose a plan on the official PureVPN site based on how many devices and people you need to cover.
- Install the app on each device and sign in with the same account.
- Connect to a server, then confirm your visible IP address and DNS have actually changed.
- Enable the kill switch and auto-connect so protection survives a dropped connection.
- Check the official pricing page for current plans, device limits and billing terms.
On this page: What this covers · Before you start · Choosing a plan · Step 1 — Create your account · Step 2 — Install on your devices · Step 3 — Connect and verify · Step 4 — Turn on the features that matter · Step 5 — Roll it out to a team · Where this fits in your wider stack
What this covers
This guide takes you through a normal PureVPN setup in a sensible order: plan, account, install, connect, verify, then the settings worth keeping on. It assumes no technical background and no prior use of a VPN.
Work through it once end to end. Skipping the verification step is the most common reason people are never quite sure whether the VPN is doing anything.
Before you start
- A list of the devices and operating systems you plan to cover.
- Logins for the people who will use the account, or one owner who sets it up for everyone.
- A few minutes per device to download, install and sign in.
- A password manager to store the account login safely.
- Your usual network details, in case a service needs to be excluded later.

Choosing a plan
PureVPN offers a small number of plans, and the decision usually comes down to how many devices and people you are covering. Terms, device allowances and features change over time, so check the official pricing page for the current options before you buy.
| Option What it means Choose it when | ||
|---|---|---|
| Single-user plan | An account tied to one person and their devices. | Only one person needs the VPN. |
| Multi-device plan | A higher device allowance to share across staff. | Several people need to connect at the same time. |
| Longer billing term | A lower effective monthly rate across a longer commitment. | You expect to keep the service and want fewer renewals. |
Step 1 — Create your account
- Go to the official PureVPN site and choose a plan.
- Create an account using an email address you control and will keep.
- Confirm the email, then save the login in your password manager.
- Note the renewal date and price before the first term ends.

Step 2 — Install on your devices
- Download the app for each operating system from the official downloads page.
- Install it and sign in with the account you just created.
- Repeat on phones, laptops and any other devices the team uses.
- Check how many simultaneous connections your plan allows before adding more.
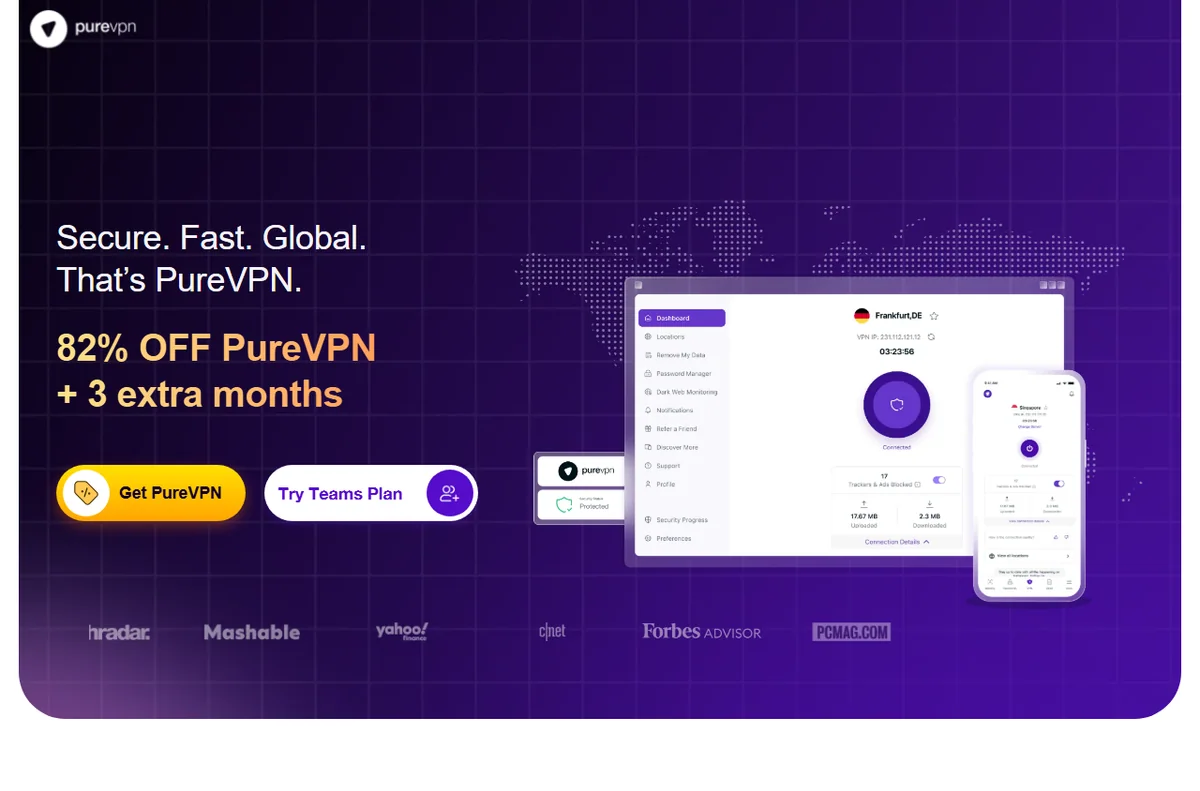
Step 3 — Connect and verify
- Open the app and pick a server location, starting with a nearby one for speed.
- Connect and wait until the status clearly shows as active.
- Check your visible IP address in a search engine and confirm it has changed.
- Run a DNS leak test and confirm your real network details are not showing.
Step 4 — Turn on the features that matter
Beyond the basic tunnel, a few settings do most of the work for a small team. Turn these on first and leave the rest until you have a specific reason for them.
- Kill switch, so traffic stops rather than leaking if the connection drops.
- Auto-connect on untrusted networks such as public Wi-Fi.
- Split tunnelling, if your plan includes it, to keep one app off the tunnel.
- A dedicated IP, if your plan offers one, for services that prefer a stable address.

Step 5 — Roll it out to a team
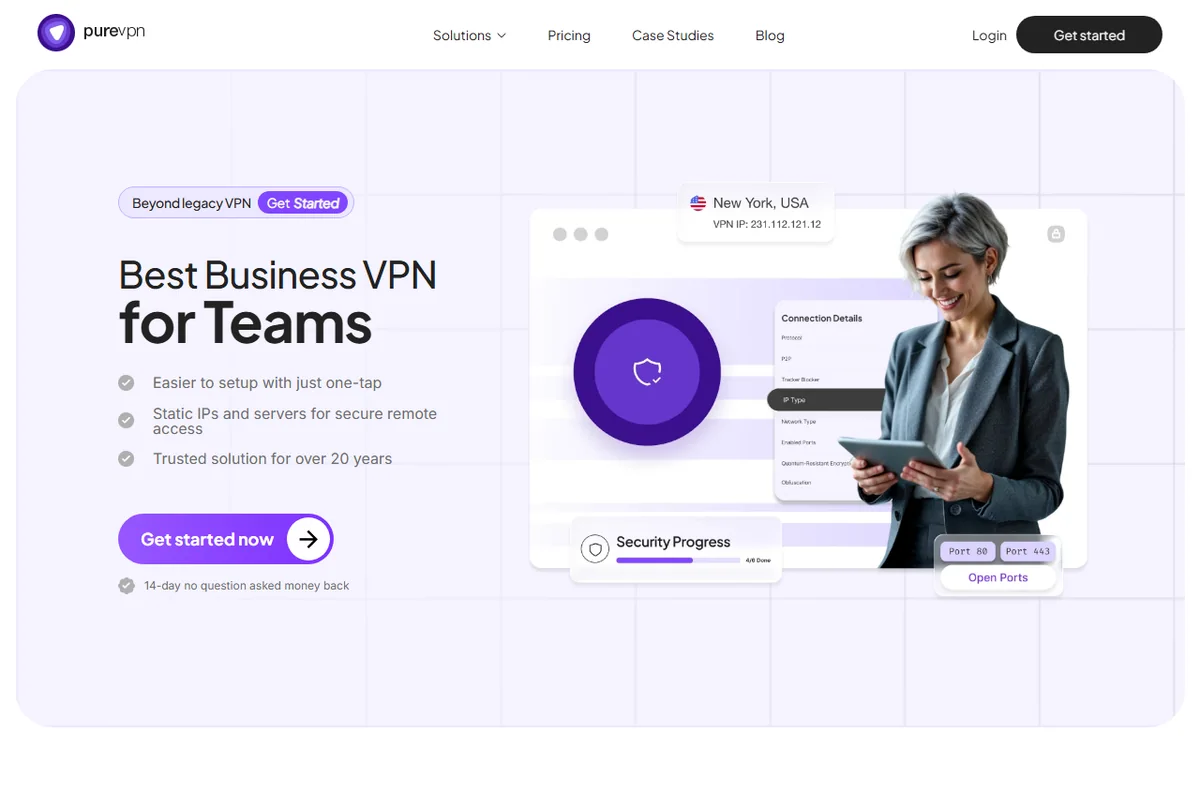
Once one device works, repeat the process with a record. Keep a simple list of who has the app and on which device, so gaps are obvious and nobody is forgotten.
If a dashboard is available, use it to review connected devices in one place. When someone leaves, rotate the account password and reconnect only the devices that should stay.
Where this fits in your wider stack
If you are still comparing providers, begin with the independent PureVPN review and the security and privacy hub. A direct comparison helps too: see Surfshark vs PureVPN, then check the best VPN options for small business before you choose.
Frequently asked
Do I need technical skills to set PureVPN up?
No. The apps are graphical and the flow is the same on most platforms: install, sign in, connect. The step worth slowing down for is verifying that the connection is actually active.
How many devices can I use at once?
It depends on the plan and can change over time. Check the official pricing page for the current device allowance before you plan how many people to cover.
Will a VPN slow my connection down?
Any VPN adds overhead because traffic is encrypted and routed through a server. The effect varies with server and distance, so a closer location is usually the faster choice.
Does a VPN replace antivirus or a password manager?
No. A VPN protects traffic in transit only. It does not scan for malware or store your passwords, so keep those tools in place.
Get PureVPN for your team
Review the current plans, device limits and terms on the official site before you decide.
Referral link — we may earn a reward if you sign up, at no extra cost to you. We are an independent publisher. See our Affiliate Disclosure.
Leave a Reply