Home / Hosting / Guides / How to set up HostPapa
Tutorial · hosting · updated October 9, 2026
How to set up HostPapa: hosting, domain and WordPress in one sitting
Setting up HostPapa comes down to a short, ordered list: choose a plan, register or connect a domain, install WordPress, switch on SSL, and create a business email. Work in that order and you avoid clean-up work later. This guide walks through each step the way a first-time site owner actually does it.
Independent analysis. This page may contain affiliate links. If you sign up through a link on this page we may earn a reward at no extra cost to you, and it never changes what we recommend. We are an independent publisher and are not affiliated with, endorsed by, or an official partner of any tool mentioned. See our Affiliate Disclosure.
TL;DR
- Choose a plan sized for one website, not the biggest sale.
- Register or connect the domain during the same flow.
- Install WordPress from the host panel — no manual upload needed.
- Turn on SSL before you share the link.
- Set up a business email address on the same domain.
On this page: Choose a plan · Get the domain · Install WordPress · Enable SSL · Business email · Sanity checks
Step 1 — Choose a plan for the job in front of you
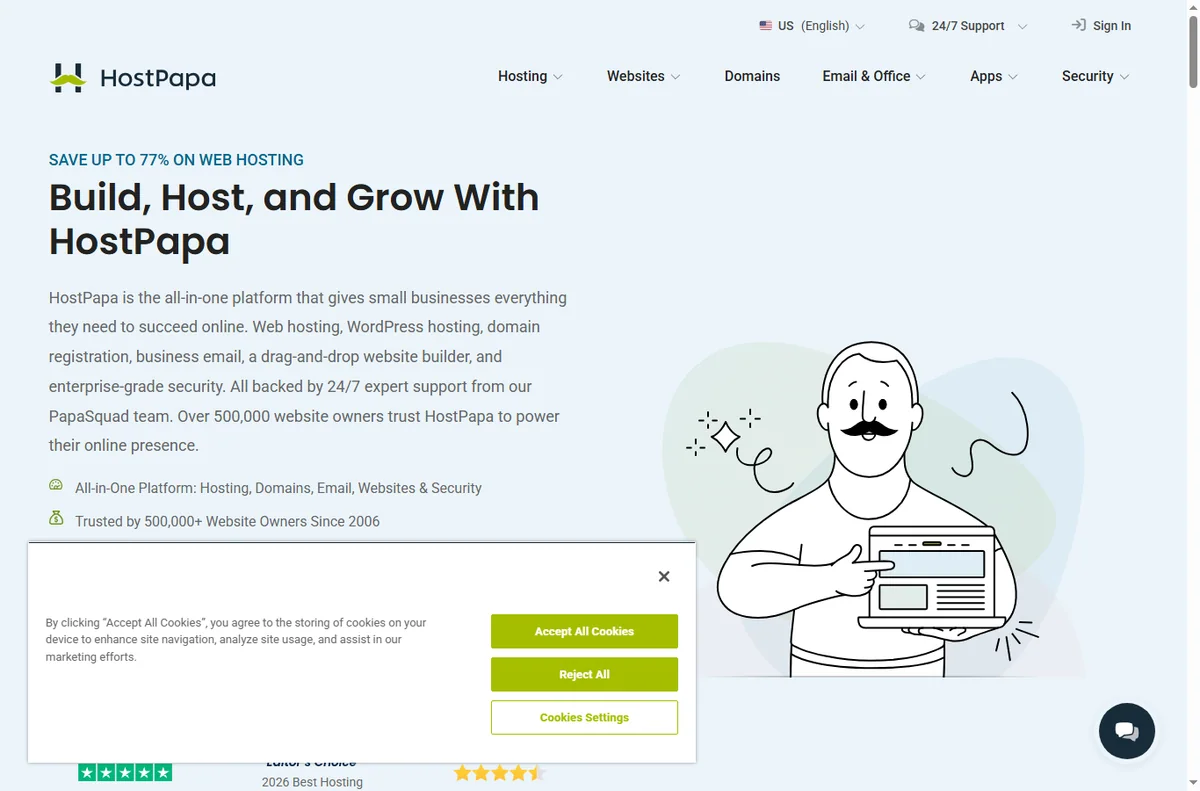
Match the plan to a single site and realistic traffic rather than the largest advertised tier. We do not quote prices — hosting prices and promotional terms change often, so check the current plans on HostPapa’s own pricing page before you buy.
Prefer a term that lets you test the host without a long lock-in, and read the renewal terms, not just the introductory rate. A plan that looks cheap in month one can cost more in year three.
Step 2 — Register or connect your domain
Register a new domain in the same flow, or point an existing one by updating its name servers. If you already own the domain, connecting it is usually faster than transferring it, and it keeps your registrar history intact.
Write down the nameservers HostPapa gives you. If the site does not load after a few hours, a wrong or half-updated nameserver record is the most common cause.

Step 3 — Install WordPress
- Open the HostPapa control panel and choose the WordPress installer.
- Enter a site title, admin username, password and admin email.
- Let it install, then log in to your new dashboard.
- Set permalinks to a readable structure and remove the default sample content.
Avoid using “admin” as the username, and keep the admin email one you actually monitor — it is the address used for password resets.
Step 4 — Enable SSL
Turn on the SSL certificate for your domain and redirect all traffic to HTTPS. Check that the padlock appears on the homepage and on at least one inner page, because a mixed-content image can quietly break HTTPS on a single template.
Once HTTPS works on every page, update any hard-coded links in your content to use https:// so visitors are never bounced back to an insecure address.
Step 5 — Create a business email
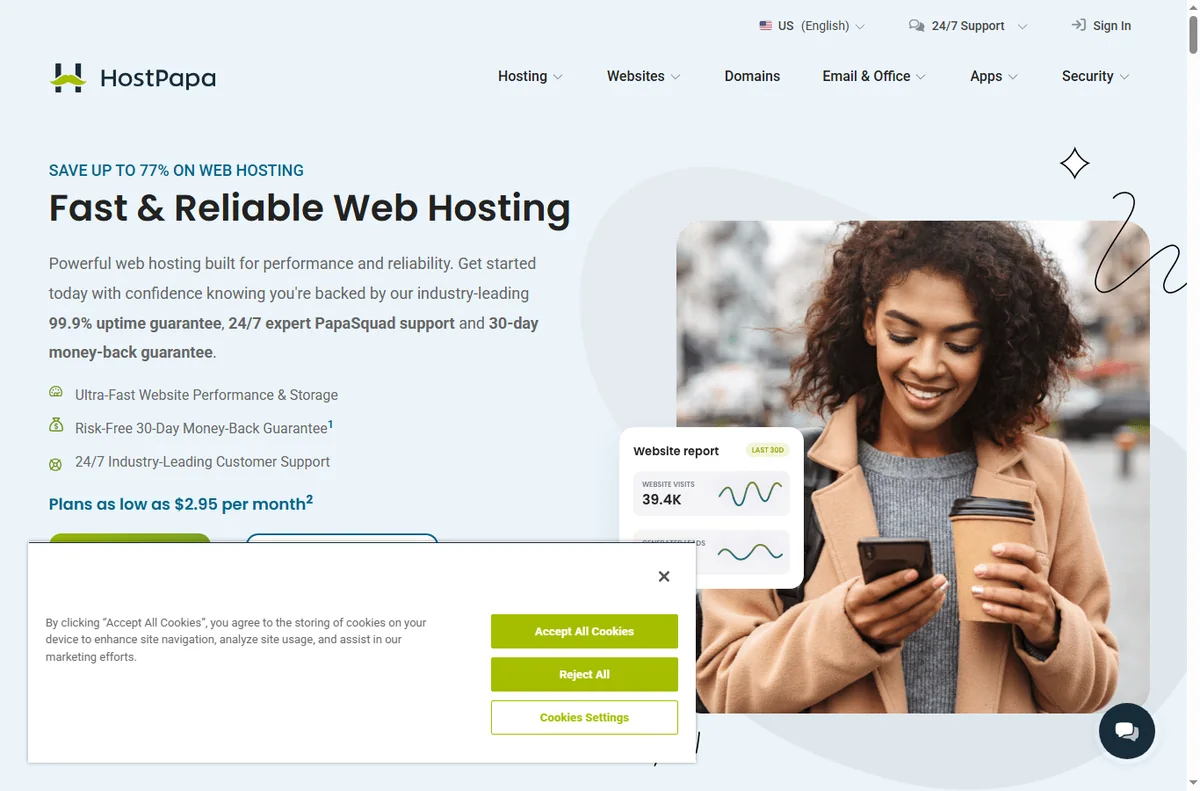
Set up an address on your own domain rather than using a personal inbox. A branded address looks more trustworthy than a free one and improves deliverability when you email customers.
Add SPF and DKIM records if the panel offers them. These are the difference between landing in an inbox and landing in a spam folder.
Final checks before you build
- Load the site over HTTPS and confirm the padlock.
- Send a test email from the business address.
- Note where backups are configured and switch them on.
- Record your renewal date so it does not surprise you.

Where this fits
See the independent HostPapa review and the hosting hub for context. For a shortlist sized to small business, see best web hosting for small business, and for the decision itself, how to choose web hosting. Watch the long-term cost with hosting renewal pricing.
Frequently asked
Is HostPapa good for beginners?
Yes. The guided setup, bundled tools and phone support make it one of the friendlier entry points for a first website.
Can I install WordPress manually instead?
Yes, but the one-click installer is faster and configures the basics for you. Manual installs make sense mainly on custom or unmanaged hosting.
Do I need a separate domain registrar?
Not necessarily. You can register the domain with HostPapa during setup, or point a domain you already own. Keeping both in one place simplifies DNS.
Should I buy the longest hosting term?
Longer terms usually cost less per month but lock you in. A medium term lets you test reliability and support before committing further.
Get your site live with HostPapa
Plan, domain, WordPress, SSL — in that order.
Some links on this page may be referral links — we may earn a reward if you sign up, at no extra cost to you. We are an independent publisher. See our Affiliate Disclosure.
Leave a Reply