We’re reader-supported — some links are affiliate links. Learn more →

Skip to content

Independent software research. Some links may earn us a commission at no extra cost to you. Learn more →

ICode

Tag: setup

  • How to Set Up Elementor: WordPress Page Builder, Step by Step

    How to Set Up Elementor: WordPress Page Builder, Step by Step

    Home / Developer Tools / Guides / How to set up Elementor

    Tutorial · developer tools · updated October 8, 2026

    How to set up Elementor: a practical walkthrough

    Elementor is a drag-and-drop page builder for WordPress, and setting it up properly saves hours later. This walkthrough covers installation, global styles, your first page, reusable templates and the performance settings worth touching on day one.
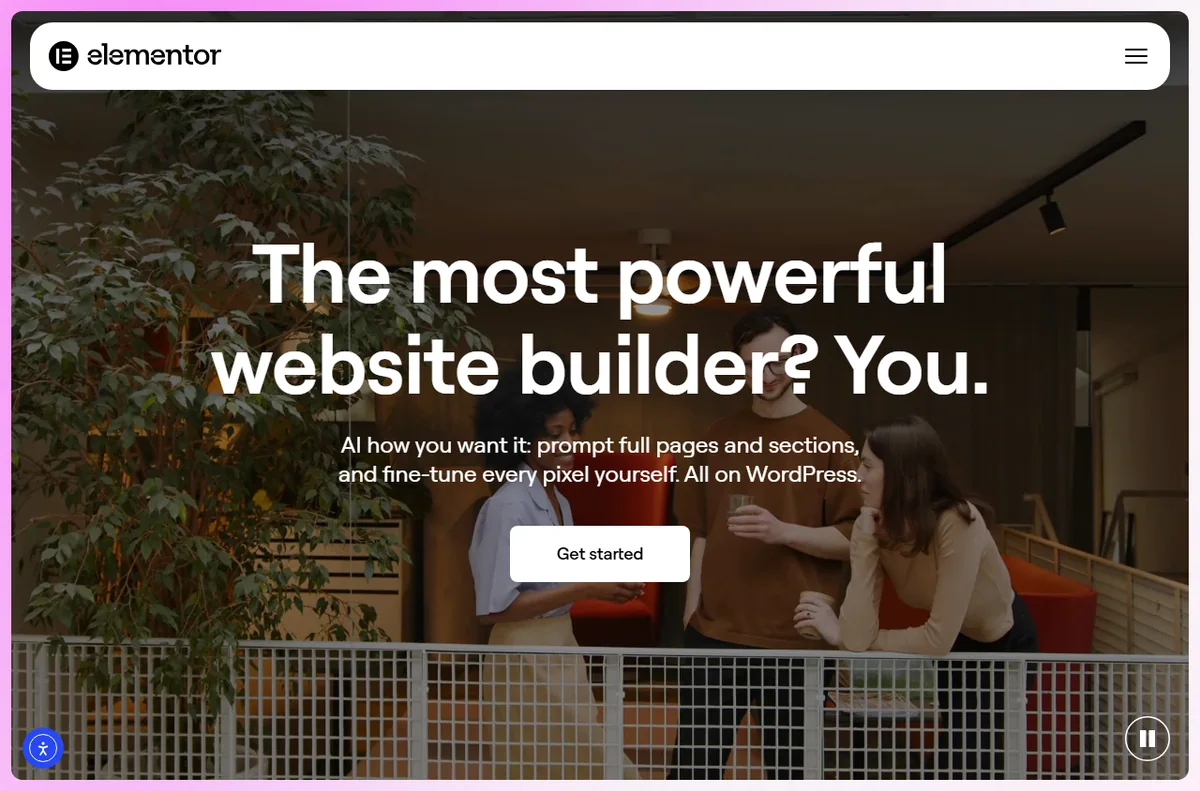
    Elementor official homepage for the WordPress page builder
    Elementor official homepage (image: elementor.com)

    Independent analysis. This page may contain affiliate links. Some links here are referral links; if you sign up through one we may earn a reward at no extra cost to you, and it never changes what we recommend. We are an independent publisher and are not affiliated with, endorsed by, or an official partner of any tool mentioned. See our Affiliate Disclosure.

    TL;DR

    • Install Elementor from the WordPress plugin directory, then activate it.
    • Connect a license so the extra widgets and templates become available.
    • Set global colours and fonts once, before you build any pages.
    • Save repeated layouts as templates instead of rebuilding them.
    • Check performance settings and image sizes before you launch.

    On this page: What this covers · Before you start · Step 1 — Install and activate the plugin · Step 2 — Connect a license if you need more · Step 3 — Set global colours and fonts · Step 4 — Build your first page · Step 5 — Save reusable templates · Step 6 — Cover performance basics · Choosing how you build · Where this fits in your wider stack

    What this covers

    Elementor replaces the classic WordPress editor with a visual canvas. You drag widgets onto a page and style them without writing CSS, which is why it is popular with small teams that do not have a full-time developer.

    This guide assumes a working WordPress install and administrator access. It walks through a clean setup so your styles, templates and performance settings are sensible from the start rather than patched in later.

    Before you start

    • A WordPress site on hosting that meets Elementor’s requirements.
    • Administrator access to the WordPress dashboard.
    • A staging copy if the site is already live and busy.
    • Your brand colours and font names written down.
    • A recent backup, so a failed experiment costs minutes rather than days.
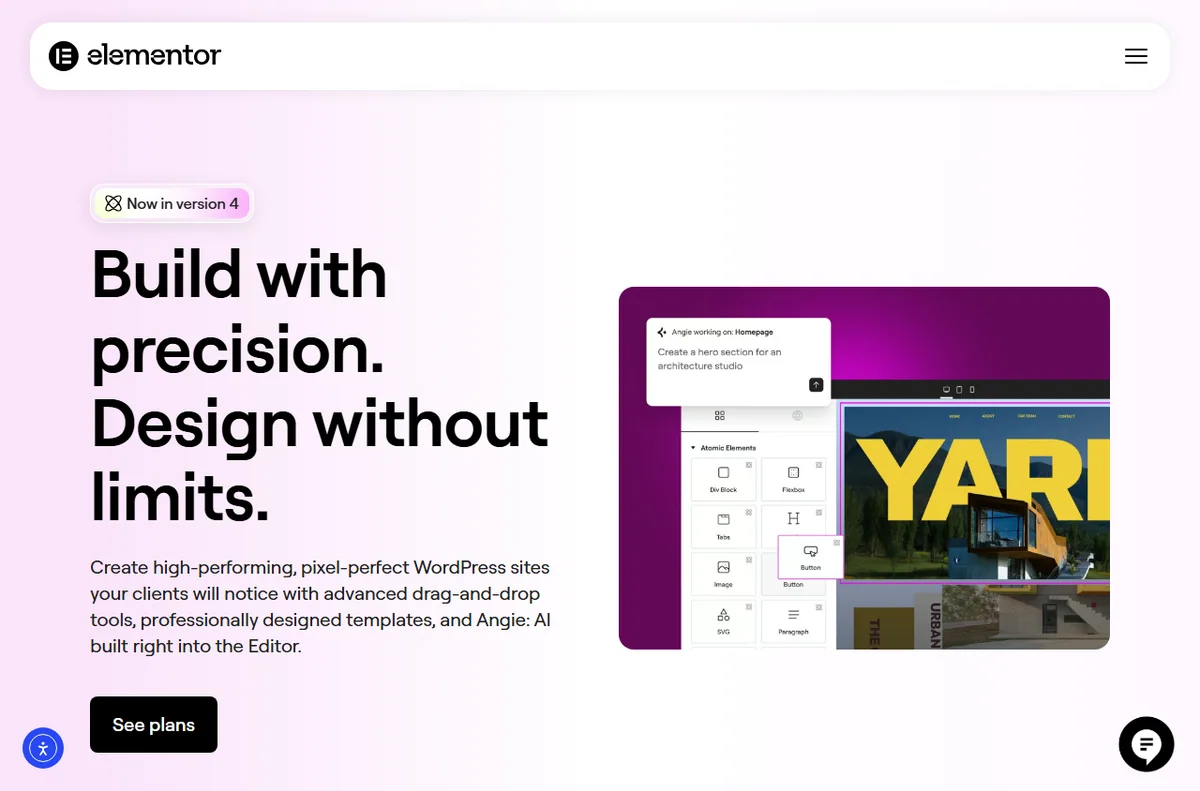
    Elementor website builder product page for WordPress
    Elementor website builder (image: elementor.com)

    Step 1 — Install and activate the plugin

    1. In the dashboard, open Plugins and choose Add New.
    2. Search for Elementor and locate the plugin by its publisher.
    3. Install it, then activate it and follow the onboarding prompt.
    4. Confirm the Elementor menu appears in the sidebar.
    Elementor pricing plans including Pro licenses
    Elementor pricing and Pro licenses (image: elementor.com)

    Step 2 — Connect a license if you need more

    Elementor has a free core plugin and paid plans. If you need the additional widgets, the theme builder and support, connect a license from the account screen inside Elementor. Do not guess at what a plan includes; check the official pricing page and match the tier to the features you actually plan to use.
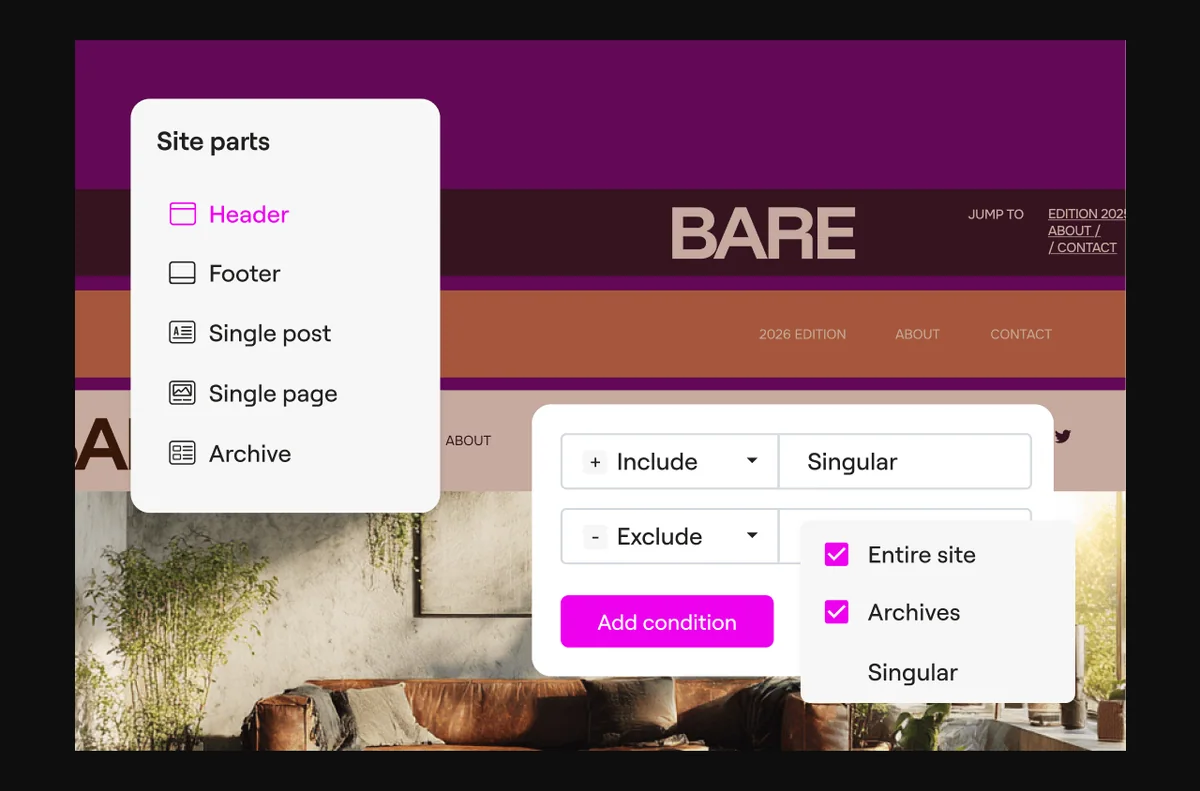
    Elementor Theme Builder for site-wide templates and styles
    Elementor Theme Builder (image: elementor.com)

    Step 3 — Set global colours and fonts

    Open Site Settings and define your global colours and typography first. Every widget then inherits those values, so a brand refresh later is a handful of edits rather than a hunt through dozens of pages.

    Elementor template library of ready-made website sections
    Elementor template library (image: elementor.com)

    Step 4 — Build your first page

    1. Create a new page and choose Edit with Elementor.
    2. Pick a container structure that matches the layout you have in mind.
    3. Drag heading, text and image widgets into the container.
    4. Style each widget in the panel on the left.
    5. Preview on a mobile width before you publish.
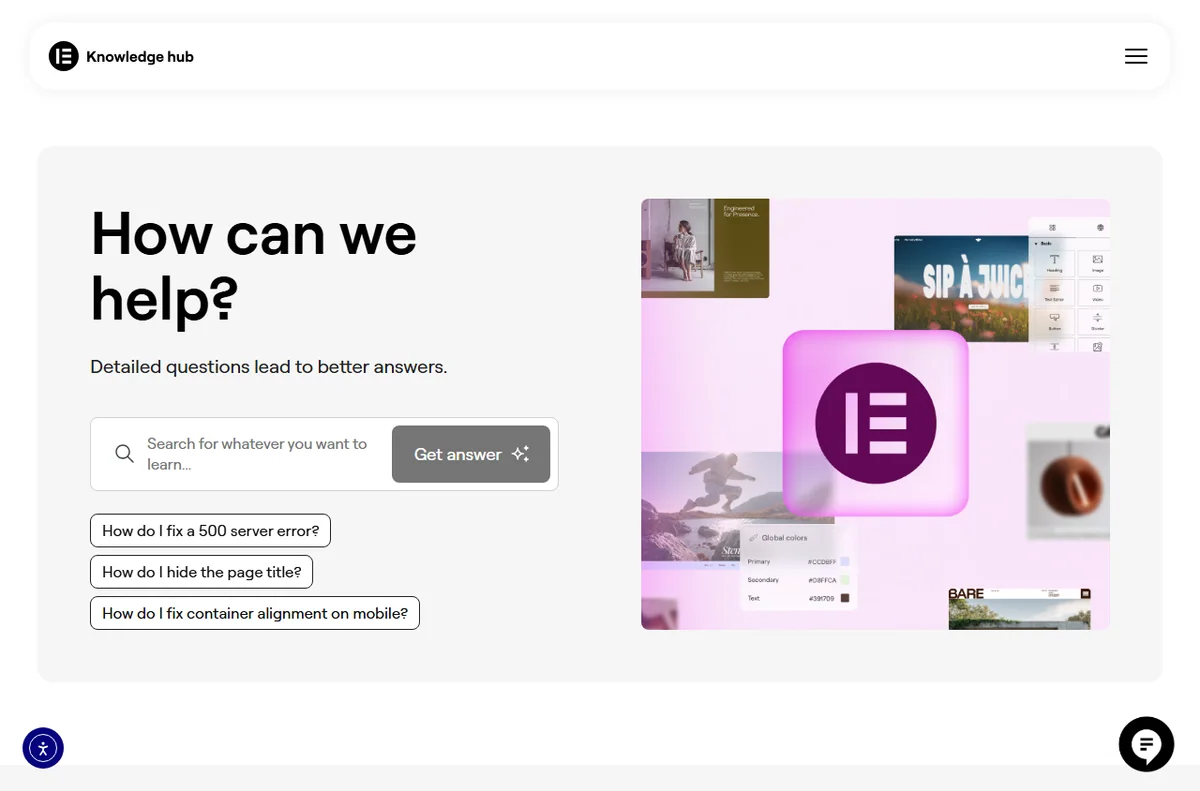
    Elementor Knowledge Hub with tutorials and reusable resources
    Elementor Knowledge Hub (image: elementor.com)

    Step 5 — Save reusable templates

    When a section works, save it as a template so you can drop it into future pages. Reusable sections keep spacing and styling consistent, and they cut the time spent rebuilding the same hero or call-to-action block.
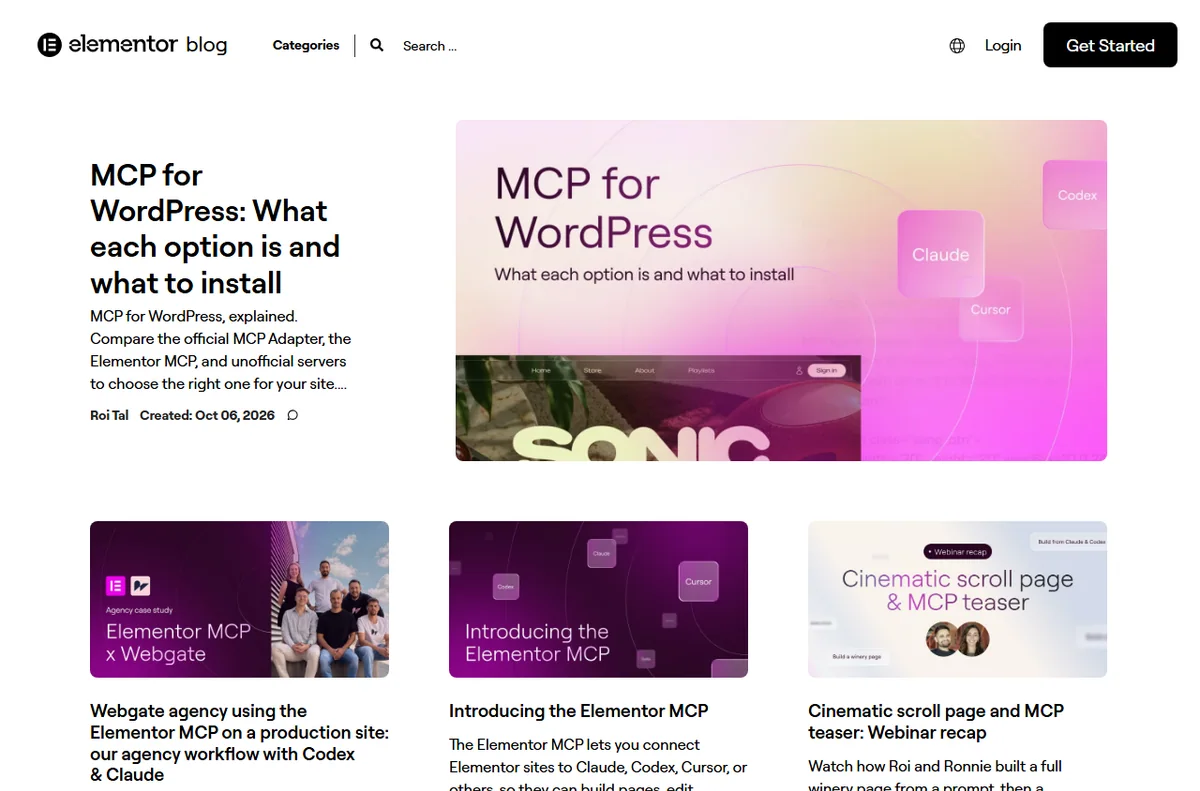
    Elementor blog with performance and optimization guides
    Elementor blog (image: elementor.com)

    Step 6 — Cover performance basics

    Page builders add markup, so a few habits keep pages fast: compress images before upload, avoid stacking background videos, and enable the performance features your stack supports. Test with a real page rather than an empty one.

    Elementor Hello theme page for a lightweight WordPress theme
    Elementor Hello theme (image: elementor.com)

    Choosing how you build

    A quick way to decide what to install and how much to configure up front.

    Situation What to do Why
    New site, no theme yetUse Elementor with a lightweight themeKeeps markup lean and lets the builder own the layout
    Existing site with a custom themeAdd Elementor to specific templates firstLimits risk while you learn the builder
    Marketing landing pagesEnable the theme builder on paid plansLets you design headers and footers without code
    Tight performance budgetKeep plugins minimal and optimise imagesAddresses the main sources of slow pages
    Based on publicly documented behaviour, checked October 8, 2026.

    Where this fits in your wider stack

    If you are still comparing builders, read the independent Elementor review and the Elementor vs Divi comparison. To see the wider picture, start from the developer tools hub, weigh best website builders for small business, and keep an eye on website performance tools.

    Frequently asked

    How much does Elementor cost?

    Pricing depends on the tier and changes over time, so check the official pricing page for current plans and what each one includes.

    Do I need a paid plan to start?

    No. The free core plugin covers the basics, while paid plans add widgets, the theme builder and support.

    Will Elementor slow down my site?

    It adds markup like any builder, but sensible image sizes and a lean plugin stack keep the effect small.

    Can I use Elementor with my existing theme?

    Yes. You can enable it per page or template, which is a safe way to test it on a live site.

    Elementor account sign-up page
    Elementor account sign-up (image: elementor.com)

    Build your first page with Elementor

    Install the plugin, set your globals once and design from there.

    Referral link — we may earn a reward if you sign up, at no extra cost to you. We are an independent publisher. See our Affiliate Disclosure.

  • How to Set Up DreamHost: Hosting, Step by Step

    How to Set Up DreamHost: Hosting, Step by Step

    Home / Hosting / Guides / How to set up DreamHost

    Tutorial · hosting · updated October 8, 2026

    How to set up DreamHost: a practical walkthrough

    DreamHost is a long-standing web host with a control panel that covers domains, email, and one-click WordPress installs in one place. This walkthrough takes you from choosing a plan to a working WordPress site on your own domain.

    DreamHost web hosting homepage
    DreamHost official homepage (image: dreamhost.com)

    Independent analysis. This page may contain affiliate links. Some links here are referral links; if you sign up through one we may earn a reward at no extra cost to you, and it never changes what we recommend. We are an independent publisher and are not affiliated with, endorsed by, or an official partner of any tool mentioned. See our Affiliate Disclosure.

    TL;DR

    • Pick the hosting type that matches your site, not the cheapest line.
    • Register or connect your domain during checkout to save a step.
    • Use the one-click WordPress install for a clean starting point.
    • Point DNS carefully and keep the old site up until the new one resolves.
    • Run through permalinks, forms, and email after any migration.

    On this page: What this covers · Before you start · Choosing a plan · Registering or connecting a domain · Installing WordPress · Pointing your domain · Moving an existing site · Where this fits

    What this covers

    Setting up hosting is mostly a matter of doing a few things in the right order. DreamHost bundles domain registration, email, and WordPress installs into one control panel, which keeps the moving parts in one place.

    The steps below assume a new site. If you are moving an existing one, the migration section covers the extra checks that matter.

    Before you start

    • A domain name in mind, or an existing domain you will point at the host.
    • An email address for account and payment confirmations.
    • An idea of whether you want shared hosting or a managed WordPress setup.
    • A strong password ready for your new admin account.
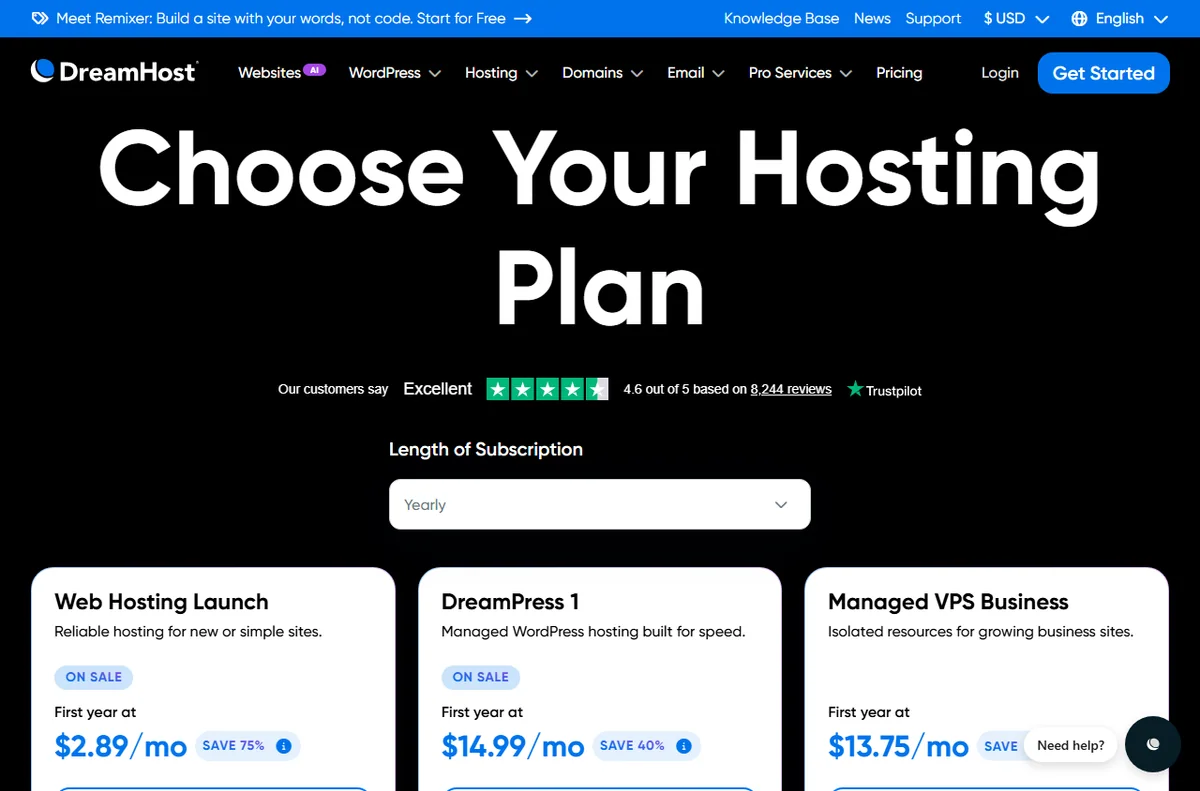
    DreamHost web hosting plans page
    DreamHost hosting plans (image: dreamhost.com)

    Choosing a plan

    The main decision is the type of hosting, because it shapes the tooling and the support you get. Term length and included domains then set the day-to-day cost.

    Decision What it affects Pick it when
    Hosting typeThe kind of server and tooling you getYou want simple shared hosting or a managed WordPress path
    Term lengthHow much you pay up front and when it renewsA longer term fits your budget and you are settled on the host
    Included domainsHow many sites and domains you can hostYou run more than one small site
    Email hostingWhether mailbox features come with the planYou want business email alongside the site
    Based on publicly documented behaviour, checked October 8, 2026.
    DreamHost domain registration page
    DreamHost domains (image: dreamhost.com)

    Registering or connecting a domain

    During checkout you can register a new domain or connect one you already own. If you already have a domain, you can keep it where it is and point it at the host, or transfer it if you would rather manage everything in one place.

    Wait for the registration or transfer to complete before you build the site on that domain, so the install is tied to a name that already works.

    DreamHost WordPress hosting page
    DreamHost WordPress hosting (image: dreamhost.com)

    Installing WordPress

    The installer creates the database and core files for you, so you can go straight to choosing a theme and adding pages.

    1. From the control panel, choose the one-click WordPress install.
    2. Select the domain you want the site to live on.
    3. Set a strong admin password and a real admin email you can access.
    4. Open the new site and remove any default content you do not want.
    DreamHost plans and pricing page used during sign-up
    DreamHost sign-up (image: dreamhost.com)

    Pointing your domain

    Point the domain by updating its nameservers at your registrar, or by adding the records the panel shows you. Propagation can take a while, so keep any previous site online until the new one resolves reliably.

    If email is involved, double-check the mail records before you switch, so messages keep arriving without a gap.

    DreamHost hosting features page
    DreamHost features (image: dreamhost.com)

    Moving an existing site

    To move an existing site, use the panel tools to copy files and the database, or migrate manually with a plugin. After the move, check permalinks, forms, and outgoing email, since these are the usual trouble spots.

    Review the site on the new host before you point DNS at it, so visitors never see a half-finished move.

    DreamHost account sign-in page
    DreamHost sign-in (image: dreamhost.com)

    Where this fits in your wider stack

    For a closer look at the host itself, read the independent DreamHost review. To compare it with the wider market, see best web hosting for small business and best hosting for bloggers, then plan for later increases with hosting renewal pricing.

    Frequently asked

    Can I host more than one site on one plan?

    Many plans allow several domains and sites. Check the plan details on the official pricing page for the current limits before you buy.

    Do I have to register my domain with DreamHost?

    No. You can point a domain registered elsewhere at your hosting, or transfer it if you would rather manage everything in one place.

    Is WordPress installed automatically?

    There is a one-click WordPress install in the control panel that sets up the database and core files for you.

    How long does DNS take to update?

    It varies by registrar and location. Keep your previous site running until the new one reliably resolves for you.

    Ready to set up DreamHost?

    Choose a hosting type that fits your site, then follow the install steps.

    Referral link — we may earn a reward if you sign up, at no extra cost to you. We are an independent publisher. See our Affiliate Disclosure.
    See also: What is DreamHost?.

  • How to Set Up Kinsta: WordPress Hosting, Step by Step

    How to Set Up Kinsta: WordPress Hosting, Step by Step

    Home / Hosting / Guides / How to set up Kinsta

    Tutorial · hosting · updated October 8, 2026

    How to set up Kinsta: a practical walkthrough

    Kinsta is managed WordPress hosting, which means the platform handles the server layer while you focus on the site itself. This walkthrough covers the decisions that matter at setup: picking a plan, adding a site, pointing your domain, and going live without downtime.

    Kinsta managed WordPress hosting homepage
    Kinsta official homepage (image: kinsta.com)

    Independent analysis. This page may contain affiliate links. Some links here are referral links; if you sign up through one we may earn a reward at no extra cost to you, and it never changes what we recommend. We are an independent publisher and are not affiliated with, endorsed by, or an official partner of any tool mentioned. See our Affiliate Disclosure.

    TL;DR

    • Match the plan tier to peak traffic and staging needs, not to a guess.
    • Add the site first and build on the temporary URL before touching DNS.
    • Point your domain last, so the old site stays up until the new one resolves.
    • Confirm SSL, caching, and forms before you call it live.
    • Keep a staging copy for every future change.

    On this page: What this covers · Before you start · Choosing a plan · Adding your first site · Pointing your domain · SSL, caching and going live · Migrating an existing site · Where this fits

    What this covers

    Kinsta is managed WordPress hosting, which means the platform runs the servers, patching, and caching layer while you focus on content and design. That removes a lot of routine maintenance, but it still helps to set the account up in the right order.

    Everything below is reversible. You can add a site, build it on a temporary URL, and only switch DNS when you are satisfied. Nothing here locks you in on day one.

    Before you start

    • The domain you plan to use, and access to its DNS records at your registrar.
    • An email address you can check, for verification and account messages.
    • A note of any existing WordPress site you may want to migrate later.
    • A rough sense of expected traffic so you can match it to a plan tier.
    Kinsta pricing page with managed WordPress hosting plans
    Kinsta pricing (image: kinsta.com)

    Choosing a plan

    Plans are organised by hosting type and by the resources a site can draw on. The right tier depends less on today’s traffic than on your peak, your staging needs, and how many sites you run.

    Decision What it affects Pick it when
    Hosting typeWhether the plan targets WordPress sites, apps, or databasesYou run a WordPress site and want managed tooling
    Resource tierThe ceiling on visits and storage before you need to upgradeYour peaks are uneven or you host media-heavy pages
    Number of sitesHow many installs you can add under one accountYou manage a portfolio rather than a single site
    Environment needsAccess to staging and backup featuresYou change plugins or code often and want a safe preview
    Based on publicly documented behaviour, checked October 8, 2026.
    Kinsta managed WordPress hosting feature page
    Kinsta WordPress hosting (image: kinsta.com)

    Adding your first site

    Building on the temporary URL means you can install themes and plugins, and design the whole site, before any public visitor sees it.

    1. From the dashboard, choose to add a site and select WordPress.
    2. Pick a data centre close to your main audience to reduce latency.
    3. Name the site and let the platform provision it; this usually only takes a few minutes.
    4. Open the temporary URL and confirm the default install loads correctly.
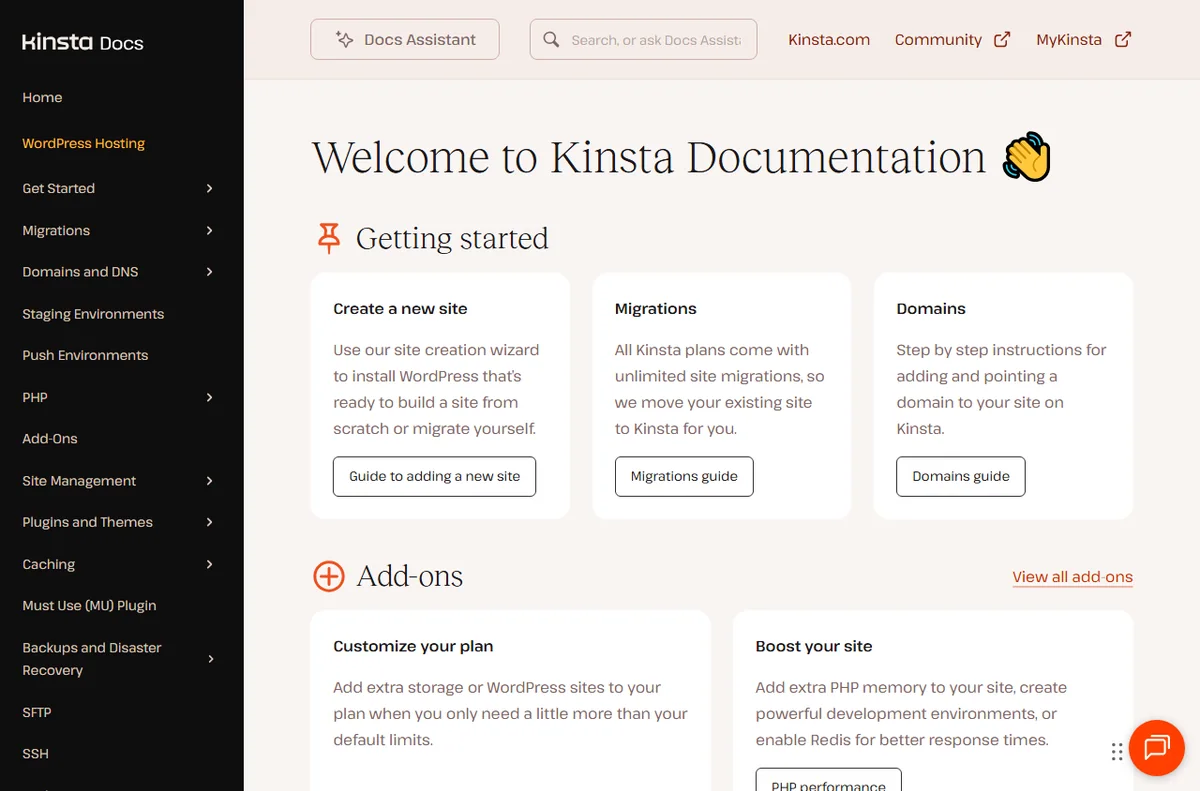
    Kinsta documentation site covering domains and setup
    Kinsta docs (image: kinsta.com)

    Pointing your domain

    Add your domain in the site settings, then copy the DNS records the dashboard shows you. If the domain is registered elsewhere, you either change its nameservers or add the specific records at your registrar.

    Changes can take time to propagate across the internet. Keep the old site running until the new one resolves reliably everywhere you can test.

    Kinsta homepage highlighting SSL, caching and performance
    Kinsta features (image: kinsta.com)

    SSL, caching and going live

    These four checks catch the majority of post-launch surprises. If a form or checkout misbehaves after caching is enabled, most setups let you exclude that page from the cache.

    1. Confirm the free SSL certificate is issued and that the site forces secure connections.
    2. Turn on the built-in caching and check that key pages still render correctly.
    3. Create a staging copy so future changes stay low risk.
    4. Re-check forms, checkout, and any login pages before you announce the launch.
    Kinsta guide on staging environments for WordPress sites
    Kinsta staging environments (image: kinsta.com)

    Migrating an existing site

    If you already run a WordPress site, the platform offers a migration route that copies files and the database. Start it from the dashboard and provide the source credentials it asks for.

    After the migration, re-check permalinks, scheduled tasks, and outgoing email, since those are the parts most likely to need attention after a move. Compare the old and new site side by side before you switch DNS.

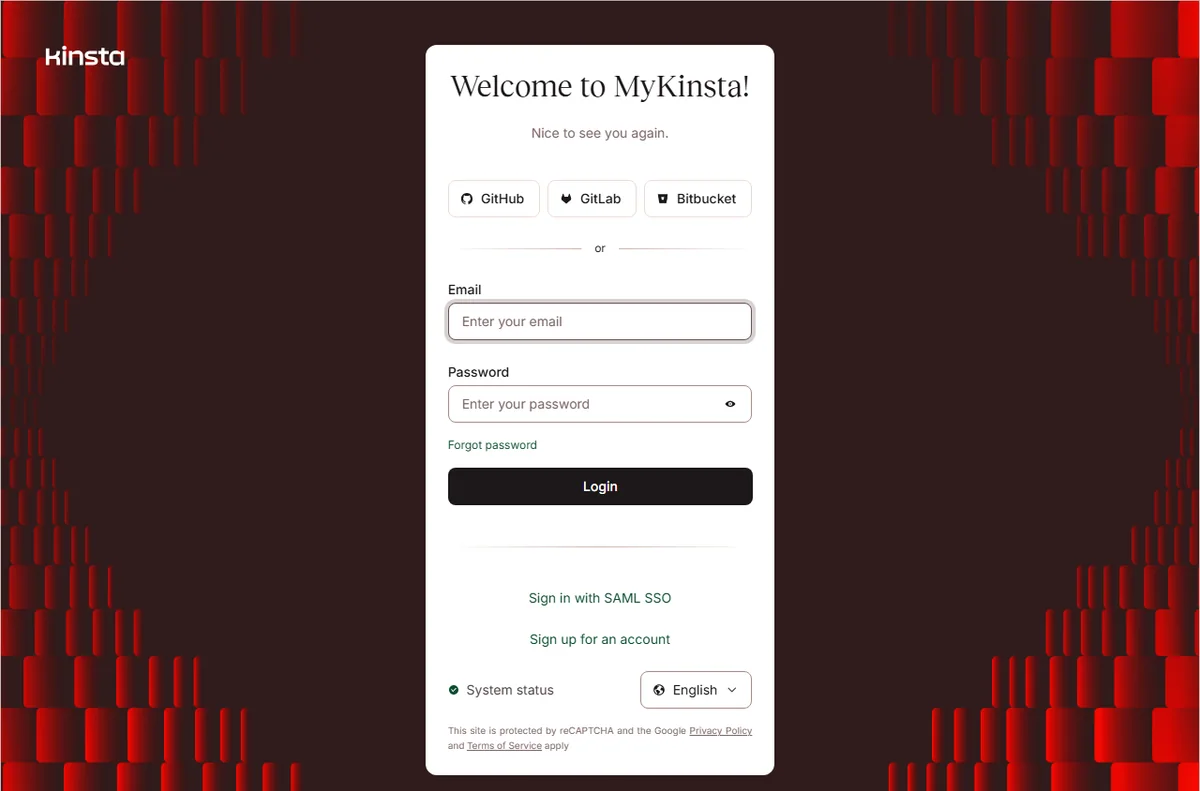
    Kinsta MyKinsta sign-in page
    Kinsta sign-in (image: kinsta.com)

    Where this fits in your wider stack

    If you are still weighing hosts, the independent Kinsta review and the Kinsta vs Hostinger comparison set out the trade-offs. To compare the field more broadly, see best web hosting for small business, and plan ahead for later increases with hosting renewal pricing.

    Frequently asked

    Do I need to move my domain to Kinsta to use it?

    No. You can keep the domain registered where it is and either point its nameservers or add the DNS records the dashboard provides.

    Can I build and test a site before changing DNS?

    Yes. Every new site gets a temporary URL, so you can install themes and plugins and review the result before any public traffic reaches it.

    What happens if I outgrow my plan?

    Plans can be upgraded as needs grow, and the dashboard shows the resources a site is using so you can judge when to move up.

    Is staging included?

    Staging is part of the managed tooling; check the official pricing page for exactly which tiers include which features.

    Ready to set up Kinsta?

    Start with a plan that matches your current traffic and staging needs.

    Referral link — we may earn a reward if you sign up, at no extra cost to you. We are an independent publisher. See our Affiliate Disclosure.

  • How to Set Up 1Password: Teams and Vaults, Step by Step

    How to Set Up 1Password: Teams and Vaults, Step by Step

    Home / Security & Privacy / Guides / How to set up 1Password

    Tutorial · security & privacy · updated October 8, 2026

    How to set up 1Password: a practical walkthrough

    A password manager only pays off once the whole team actually uses it, and that starts with a clean setup. This walkthrough takes a 1Password account from creation to a first shared vault, then shows how to bring people in without losing control of who can see what.

    1Password home for password and secrets management
    1Password official homepage (image: 1password.com)

    Independent analysis. This page may contain affiliate links. Some links here are referral links; if you sign up through one we may earn a reward at no extra cost to you, and it never changes what we recommend. We are an independent publisher and are not affiliated with, endorsed by, or an official partner of any tool mentioned. See our Affiliate Disclosure.

    TL;DR

    • Create the account with a strong master password you can recover.
    • Start with a small number of vaults, not one per person.
    • Install the browser and mobile apps before inviting anyone.
    • Invite the team and set permissions by vault, not by habit.
    • Turn on two-factor and agree a shared security baseline.

    On this page: What this covers · Before you start · Step 1 — Create the account and choose a plan · Step 2 — Build your first vaults · Step 3 — Install apps and save a first login · Step 4 — Invite the team and set permissions · Step 5 — Enforce good hygiene · Choosing the right plan shape · Where this fits in your wider stack

    What this covers

    1Password stores logins, keys and secure notes behind one strong master password, and it is built for teams as much as individuals. The setup is not difficult, but the choices you make early about vaults and permissions shape everything that follows.

    This guide follows a business setup in order. It avoids quoting plan prices or trial lengths, since those are best confirmed on the official pricing page.

    Before you start

    • A recovery plan for your master password, so a forgotten login does not lock you out.
    • A list of the logins and shared secrets the team reaches for most often.
    • A short agreement on who owns which accounts and who should see them.
    • The email addresses of anyone who will be invited.
    • A device with a modern browser and, ideally, a phone for two-factor.
    1Password sign-up entry for creating an account
    1Password sign-up (image: 1password.com)

    Step 1 — Create the account and choose a plan

    Create the account with an email you control and set a master password that is long and unique. This one password protects everything else, so it deserves more care than any other login you own.

    Store the emergency kit or recovery details somewhere safe and offline. If the account covers a team, decide now whether you need individual or team-based billing, because changing that later touches every user.

    1Password password manager product page explaining vaults
    1Password features (image: 1password.com)

    Step 2 — Build your first vaults

    Vaults are the unit of access control in 1Password, so they do the heavy lifting for permissions. A common mistake is creating a vault per person; a better starting point is a small set organised by function.

    Create a private vault for each person plus a shared vault for the team, then add a separate vault only when a group genuinely needs its own boundary, such as finance or contractors.

    1Password downloads page for installing the app
    1Password downloads (image: 1password.com)

    Step 3 — Install apps and save a first login

    Install the desktop and mobile apps and sign in so the vault syncs across devices. The browser extension is the piece that turns the manager from a filing cabinet into a habit, so add it early.

    Save one real login as a test. Watch how it fills, then confirm it works on a second device. That single loop teaches the whole workflow better than any amount of reading.

    1Password business page for team access and permissions
    1Password for business (image: 1password.com)

    Step 4 — Invite the team and set permissions

    Invite people by email and decide their access vault by vault. Most team members need read access to shared vaults, while a small number need permission to manage them.

    Resist the urge to give everyone full access for convenience. Tight defaults with a clear way to request more access keeps the audit trail meaningful and the blast radius small.

    1Password app sign-in page for daily use
    1Password app sign-in (image: 1password.com)

    Step 5 — Enforce good hygiene

    Setup is not finished until habits are. Turn on two-factor authentication for the account itself, and encourage it for the logins stored inside.

    Agree a short baseline: unique passwords everywhere, no shared logins sent over chat, and a review when someone leaves. Writing it down makes it enforceable rather than aspirational.

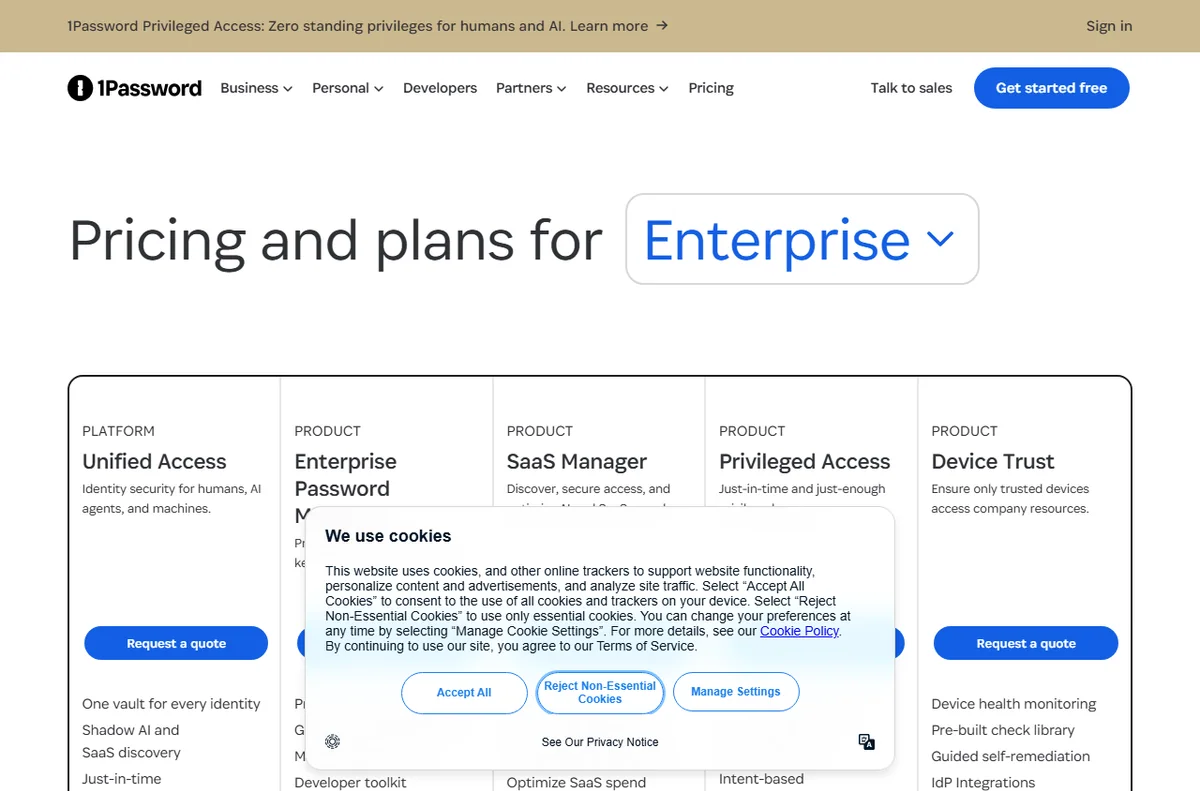
    1Password pricing page with plan tiers
    1Password pricing (image: 1password.com)

    Choosing the right plan shape

    The plan question comes down to who needs their own account and how much control you want over access. Use the table below as a starting point.

    Plan shape Who it suits Watch out for
    Single userA founder or freelancer working aloneHard to hand over if the team grows quickly
    Small teamA few people sharing a handful of vaultsDecide vault ownership before you invite anyone
    Team with rolesGroups with different access needsOver-complicated vaults if you plan too finely
    Mixed contractorsStaff plus external helpersMake sure offboarding is quick and complete
    Based on publicly documented behaviour, checked October 8, 2026.
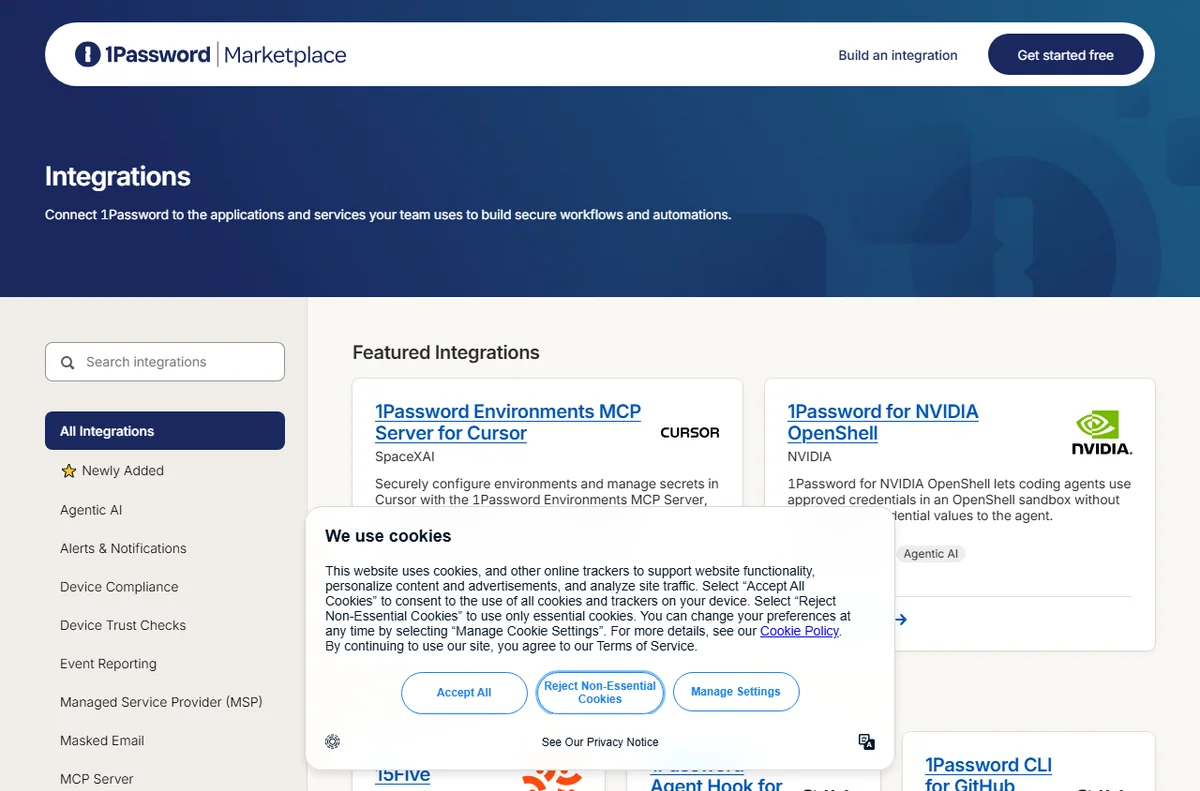
    1Password Marketplace of integrations
    1Password integrations (image: 1password.com)

    Where this fits in your wider stack

    A password manager is one layer of a sensible security setup. Weigh the alternatives in the 1Password vs Bitwarden comparison, then look at the best password managers for small business and the broader best security tools for small business. If remote work is part of your setup, the best VPN for small business is the natural next read.

    Frequently asked

    What happens if I forget my master password?

    Recovery depends on the details you saved at setup, such as the emergency kit. Store them offline and somewhere you will still find them months later.

    Should every person get their own vault?

    Everyone gets a private vault, but shared access should live in a small number of team vaults so permissions stay easy to reason about.

    Do I need two-factor authentication if I use a password manager?

    Yes. Two-factor on the account itself protects the vault, and it is worth enabling for the important logins stored inside as well.

    How many vaults should a small team start with?

    Start with a private vault per person and one shared team vault. Add more only when a group genuinely needs its own boundary.

    Set up 1Password for your team

    Create the account, build your first vaults and invite people with the right access.

    Referral link — we may earn a reward if you sign up, at no extra cost to you. We are an independent publisher. See our Affiliate Disclosure.

  • How to Set Up PayPal: Business Account, Step by Step

    How to Set Up PayPal: Business Account, Step by Step

    Home / Payments / Guides / How to set up PayPal

    Tutorial · payments · updated October 8, 2026

    How to set up PayPal: a practical walkthrough

    Setting up PayPal is mostly a matter of picking the right account type, finishing verification and connecting the account to how you already sell. The steps are short, but the order matters, so this walkthrough takes them one at a time.

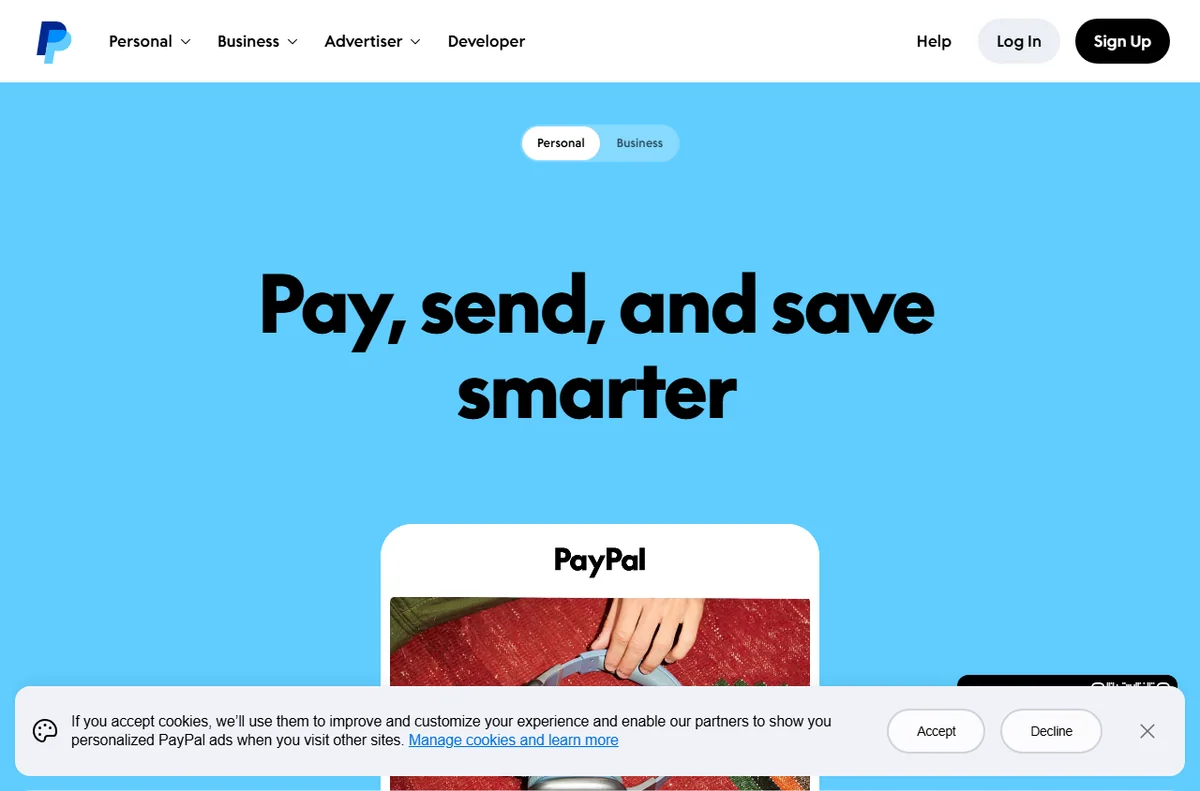
    PayPal official homepage for sending and accepting payments
    PayPal official homepage (image: paypal.com)

    Independent analysis. This page may contain affiliate links. Some links here are referral links; if you sign up through one we may earn a reward at no extra cost to you, and it never changes what we recommend. We are an independent publisher and are not affiliated with, endorsed by, or an official partner of any tool mentioned. See our Affiliate Disclosure.

    TL;DR

    • Choose a business account from the start if you sell at all.
    • Verification is what unlocks receiving and withdrawing money.
    • Connect PayPal to your checkout, invoices or in-person sales.
    • Run one small live test payment before you announce anything.
    • Skip pricing questions for now; check the official pricing page.

    On this page: What this covers · Before you start · Step 1 — Choose the right account type · Step 2 — Open and upgrade the account · Step 3 — Verify identity and bank details · Step 4 — Connect PayPal to how you sell · Step 5 — Take a first test payment · Choosing your setup path · Where this fits in your wider stack

    What this covers

    PayPal is one of the most widely recognised ways to send and receive money online, and for a small business it doubles as a checkout option and an invoicing tool. The setup itself is quick, but the order of the steps matters: get the account type right, then verify, then connect payments.

    This guide walks through a business account setup end to end. It does not quote prices or plan limits, because those change; check the official pricing page for current figures before you commit.

    Before you start

    • Your legal business details exactly as they appear on official records.
    • A business email address you intend to keep long term.
    • A bank account and, where relevant, a card for verification.
    • A rough idea of where you sell: your own site, a marketplace, invoices or in person.
    • Ten quiet minutes, because verification may ask for document uploads.
    PayPal account selection and sign-up page for personal and business accounts
    PayPal sign-up and account types (image: paypal.com)

    Step 1 — Choose the right account type

    PayPal separates personal and business accounts. A personal account is fine for occasional purchases, but it lacks the business tooling: invoicing, multiple users and the ability to trade under a business name.

    If you sell at all, start with a business account. It takes slightly longer to open, but converting later is more disruptive than choosing correctly now.

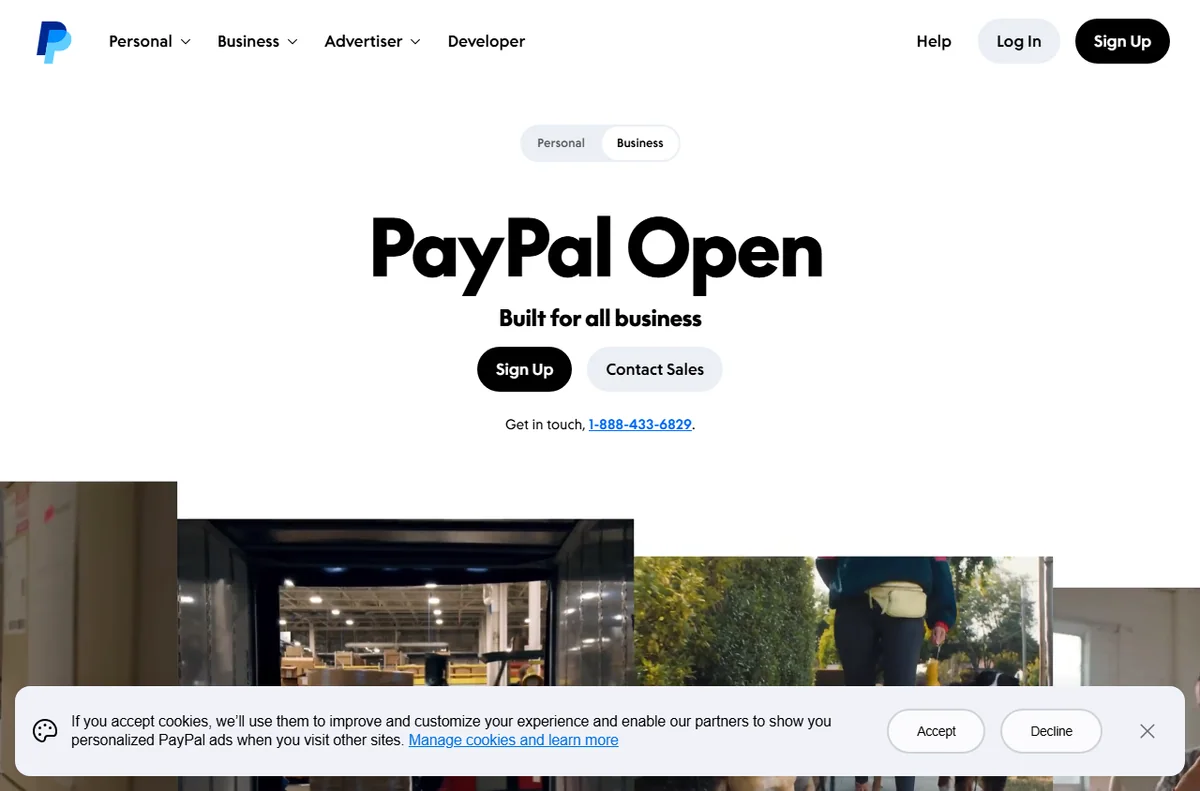
    PayPal business solutions page for merchant accounts
    PayPal business solutions (image: paypal.com)

    Step 2 — Open and upgrade the account

    1. Create the account with your business email and a strong, unique password.
    2. Choose the business account option during signup, or upgrade an existing personal account from the settings area.
    3. Enter the legal business name, address and type so they match your registration documents.
    4. Add a contact number you actually answer, since it may be used for verification.
    PayPal Security Center page for account protection and verification
    PayPal Security Center (image: paypal.com)

    Step 3 — Verify identity and bank details

    Verification is what turns a limited account into one that can hold and withdraw money. Expect to confirm your email, add a bank account and, in most cases, upload identity documents for the account owner.

    Business accounts often require additional proof such as a registration document. Submit clear, uncropped images the first time; rejected documents are the most common cause of delay.

    PayPal accept payments page for online and in-person checkout
    PayPal accept payments (image: paypal.com)

    Step 4 — Connect PayPal to how you sell

    With verification under way, connect PayPal to your selling channels. The exact buttons differ, but the categories are the same.

    • Website checkout: add a payment button or a gateway integration to your store.
    • Invoices: send a payable invoice by email and track its status.
    • In person: use a card reader or QR code where PayPal supports it in your region.
    • Marketplaces: link the account where the platform pays sellers through PayPal.
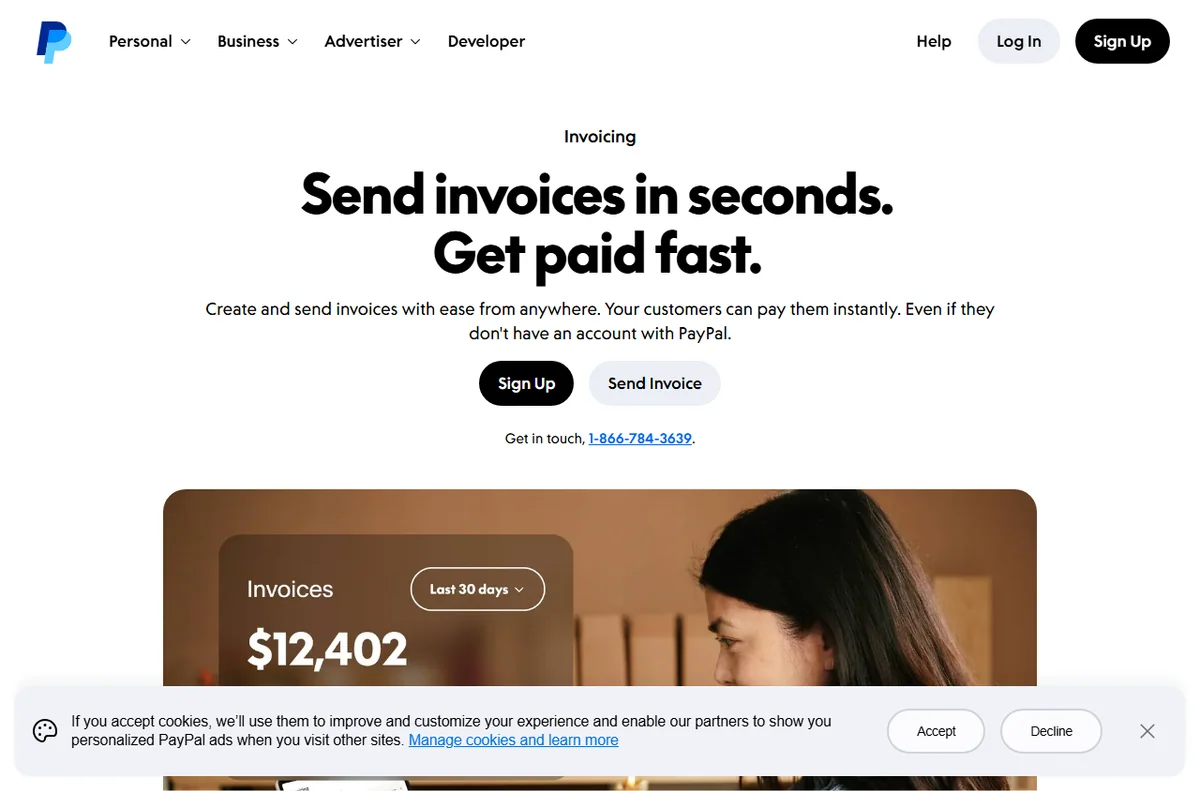
    PayPal invoicing page to create and send an invoice online
    PayPal invoicing (image: paypal.com)

    Step 5 — Take a first test payment

    Before announcing anything, run a small live test. Buy something from your own store with a different account, confirm the money arrives, then refund it.

    This single test surfaces the problems that matter: wrong currency, missing tax settings, a broken return URL. Fixing them now is cheaper than fixing them after a customer hits them.

    PayPal merchant fees page showing transaction pricing
    PayPal fees (image: paypal.com)

    Choosing your setup path

    Most small businesses fall into one of a few patterns. Find the row that matches your situation and start there.

    Situation Suggested approach Why
    Occasional sales, one personBusiness account, single userKeeps reporting simple while still allowing a business name
    Selling on your own websiteBusiness account plus a gateway integrationGives a familiar checkout option alongside cards
    Invoice-based servicesBusiness account with invoicingTracking and reminders are built in
    Growing teamBusiness account with multiple usersAvoids sharing one login between people
    Based on publicly documented behaviour, checked October 8, 2026.
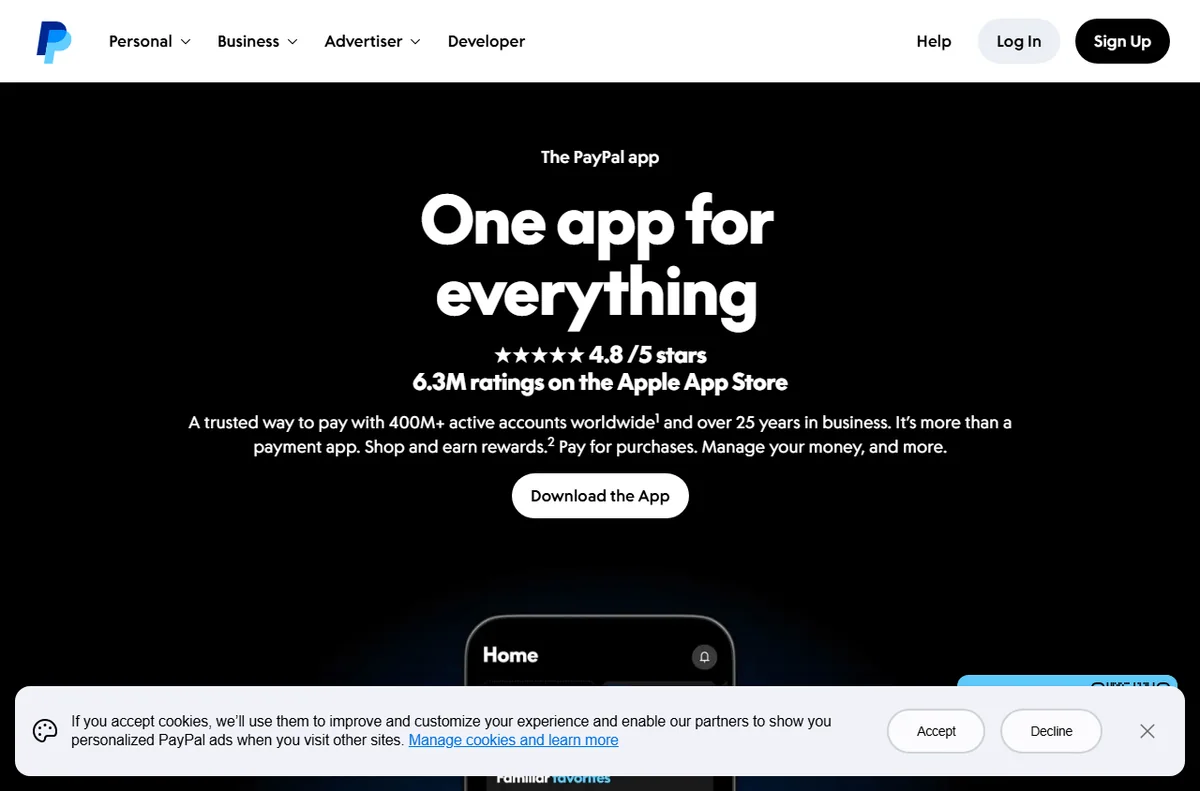
    PayPal digital wallet app for managing money
    PayPal digital wallet (image: paypal.com)

    Where this fits in your wider stack

    If you are still choosing between providers, start with the independent Wise vs PayPal comparison, then browse the wider payments hub. For a fuller view of the alternatives, weigh the best payment gateways for small business and the best money transfer services before you settle on a primary account.

    Frequently asked

    Do I need a business account to sell?

    If you sell regularly, yes. A business account unlocks invoicing, multiple users and a business name, and it avoids the disruption of converting a busy personal account later.

    How long does verification take?

    It depends on how quickly you supply documents and how clearly they scan. Submitting correct, uncropped files the first time is the single biggest factor you control.

    Can I use PayPal and another provider together?

    Yes. Many small businesses keep PayPal alongside a card gateway so buyers can choose the method they already trust.

    What should I check before going live?

    Confirm the currency, tax settings and return URLs with one small test payment, then refund it. That test catches the mistakes customers would otherwise find.

    Ready to take payments with PayPal

    Open a business account and work through the steps above at your own pace.

    Referral link — we may earn a reward if you sign up, at no extra cost to you. We are an independent publisher. See our Affiliate Disclosure.
  • How to Set Up Thinkific: Account, Course and Checkout

    How to Set Up Thinkific: Account, Course and Checkout

    Home / Course Platforms / Guides / How to set up Thinkific

    Tutorial · course platforms · updated October 8, 2026

    How to set up Thinkific: from account to first enrolment

    Thinkific focuses on course delivery: build a course, price it and take payment. This walkthrough covers the account, your first course, pricing and a test enrolment so you can launch without touching every setting.

    Thinkific homepage for selling online courses
    Thinkific official homepage (image: thinkific.com)

    Independent analysis. This page may contain affiliate links. Some links here are referral links; if you sign up through one we may earn a reward at no extra cost to you, and it never changes what we recommend. We are an independent publisher and are not affiliated with, endorsed by, or an official partner of any tool mentioned. See our Affiliate Disclosure.

    TL;DR

    • Thinkific is course-first: strong delivery, lighter on marketing than all-in-one tools.
    • Build one small course fully before adding more.
    • Set pricing and a checkout before you invite students.
    • Run a test enrolment to confirm access works.
    • Confirm current plan limits, fees and pricing on Thinkific’s own pricing page.

    On this page: What setting up Thinkific means · Before you start · Create your account · Build the course · Add pricing and checkout · Enrol and test · Common setup mistakes · Where this fits

    What setting up Thinkific actually means

    Thinkific is built around the course experience: lessons, quizzes and student progress. Setup is therefore content-first, with checkout and marketing as supporting pieces.

    The milestones are: account, course content, pricing and checkout, then a test enrolment. Do them in order and you are live.

    Before you start

    • The outcome your course delivers, stated in one sentence.
    • An outline of modules and lessons.
    • Your price and whether it is one-time or subscription.
    • A payment method, and a company name for receipts if relevant.
    Thinkific sign-up screen to create an account
    Thinkific sign-up (image: thinkific.com)

    Step 1 — Create your account

    Sign up, name your school, and finish onboarding. Choose a plan based on how you will charge and what fees apply; changing later is possible but do it before a launch if you can.

    The free or entry tiers are fine to learn on. Upgrade when you are ready to sell, not while you are still outlining the course.

    Thinkific courses feature page
    Thinkific courses (image: thinkific.com)

    Step 2 — Build the course

    Create a course, then add chapters and lessons. Publish one lesson completely — content plus any file or quiz — before building the next so students always have a coherent path.

    Keep the first course tight. A short course that delivers its promise is easier to sell and easier to improve than a sprawling one.

    Thinkific payments feature page
    Thinkific payments (image: thinkific.com)

    Step 3 — Add pricing and checkout

    Set a price and choose one-time or subscription. Add the checkout page and, if you want a sales page, a simple one with a single call to action and a clear price.

    Decide how students get access after payment: instant enrolment is simplest. Test the flow before you promote it.

    Thinkific landing pages feature page
    Thinkific landing pages (image: thinkific.com)

    Step 4 — Enrol and test

    Enrol yourself as a student through checkout, using a discount code if the platform allows. Confirm the course unlocks, lessons play, and any quiz records.

    Also check the confirmation email and the sign-in experience on mobile. The first impression happens before the first lesson.

    Common setup mistakes

    Mistake Why it hurts Fix
    Building too much content firstYou never launchShip one complete course
    Skipping a test enrolmentAccess bugs hit buyersEnrol yourself first
    No clear price on the pageVisitors cannot decideShow price and one call to action
    Ignoring mobileMany students learn on phonesCheck lessons on a phone
    No onboarding emailStudents arrive confusedSend a welcome with next steps
    Based on publicly documented behaviour, checked October 8, 2026.
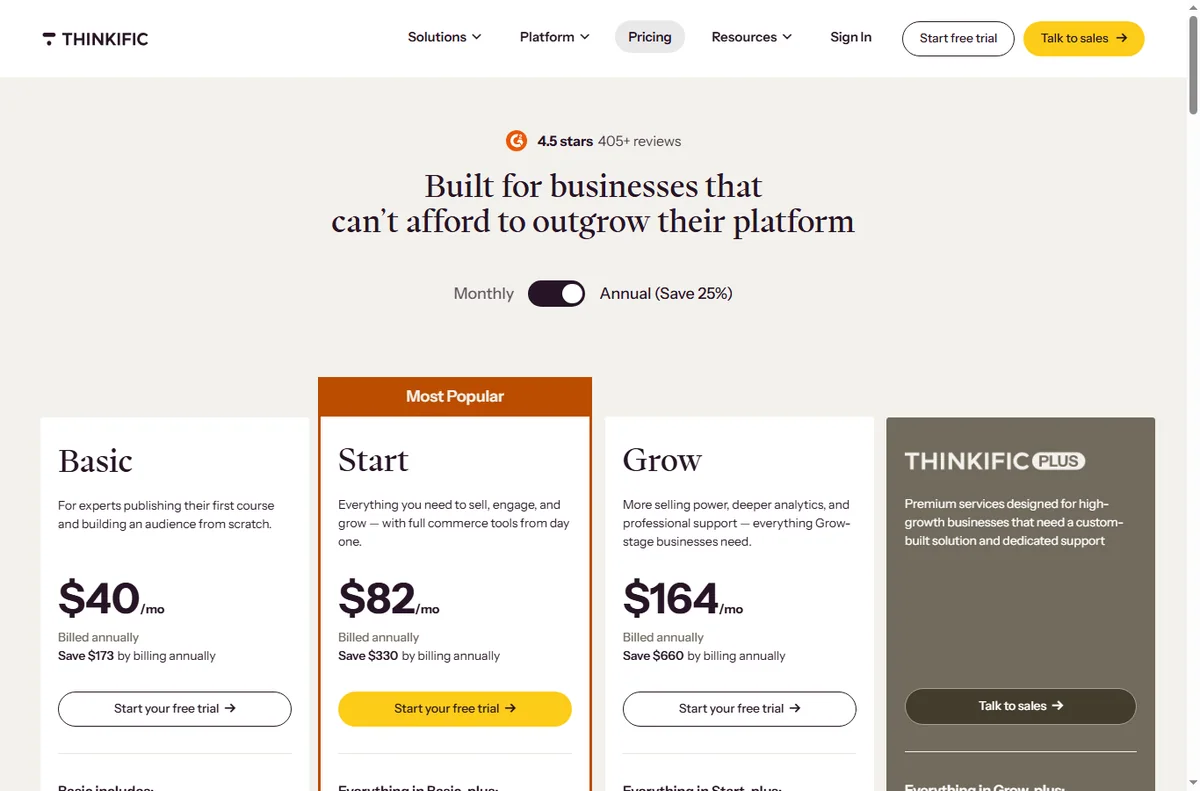
    Thinkific pricing page with plan tiers
    Thinkific pricing (image: thinkific.com)

    Where this fits in your wider stack

    Read the independent Thinkific review and start from the course platforms hub. Comparing tools? See Kajabi vs Thinkific and Teachable vs Thinkific. For cost, read the course platform pricing comparison.

    Frequently asked

    Is Thinkific good for beginners?

    Yes. The course builder is straightforward and course-first, which suits people who want to teach rather than configure a whole marketing stack.

    Can I sell a subscription?

    You can offer one-time or subscription pricing depending on your plan. Check the plan that matches how you want to charge.

    Do I need a separate website?

    Not always. Thinkific provides course and sales pages; some owners add their own site for a fuller brand presence.

    How do I test without paying myself?

    Use a discount code or a test transaction where supported, then refund or ignore it. The goal is to confirm access, not revenue.

    Ship your first course on Thinkific

    Build one complete course, set a clear price, and test enrolment before launch.

    Referral link — we may earn a reward if you sign up, at no extra cost to you. We are an independent publisher. See our Affiliate Disclosure.

  • How to Set Up Kajabi: Account, Product and First Course

    How to Set Up Kajabi: Account, Product and First Course

    Home / Course Platforms / Guides / How to set up Kajabi

    Tutorial · course platforms · updated October 8, 2026

    How to set up Kajabi: from account to first course

    Kajabi bundles course hosting, website and marketing in one platform. Setting it up means creating the account, defining a product, building the first course, and connecting payments so a student can actually enrol.

    Kajabi homepage for turning expertise into products
    Kajabi official homepage (image: kajabi.com)

    Independent analysis. This page may contain affiliate links. Some links here are referral links; if you sign up through one we may earn a reward at no extra cost to you, and it never changes what we recommend. We are an independent publisher and are not affiliated with, endorsed by, or an official partner of any tool mentioned. See our Affiliate Disclosure.

    TL;DR

    • Kajabi is an all-in-one: courses, site and marketing in one account.
    • Create the product before the course so pricing and access are defined.
    • Build one small course end to end rather than a sprawling curriculum.
    • Connect payments and test enrolment before you announce anything.
    • Confirm current plan limits and pricing on Kajabi’s own pricing page.

    On this page: What setting up Kajabi means · Before you start · Create your account · Add a product · Build the first course · Payments and enrolment · Test before launch · Common setup mistakes · Where this fits

    What setting up Kajabi actually means

    Kajabi is positioned as an all-in-one platform: it hosts your courses, gives you pages and email, and takes payments. Setup is therefore broader than a single-purpose tool, but the path is still short.

    The milestones are: account, product, course content, then payments. Do them in order and you can launch a first course without touching every feature.

    Before you start

    • A clear outcome for the course: what a student can do at the end.
    • A rough outline of modules and lessons.
    • The price you intend to charge and the access you will grant.
    • Payment details and, if relevant, a company name for receipts.
    Kajabi pricing page with plans and a free trial
    Kajabi pricing (image: kajabi.com)

    Step 1 — Create your account

    Sign up, name your site, and complete the onboarding. Pick the plan that matches the number of products and contacts you expect; changing tier later is possible but messy mid-launch.

    If you are unsure, start smaller than you think you need. You can grow a plan; you cannot get back the time spent configuring features you never use.

    Kajabi online courses product page
    Kajabi online courses (image: kajabi.com)

    Step 2 — Add a product

    Create a product and give it a price and access rules. The product is the container that decides who gets in and what they pay, so define it before you build the content.

    Keep the first product simple: one price, one access level. Bundles and upsells can come after the first launch.

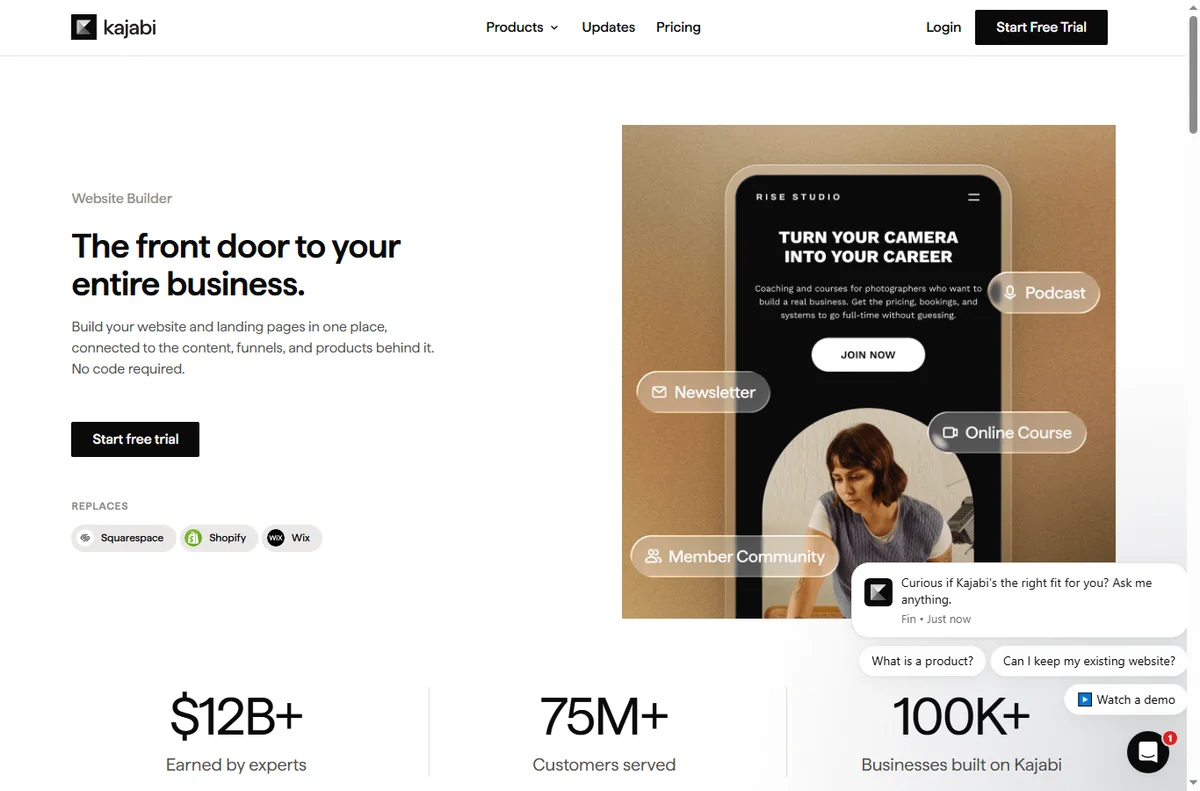
    Kajabi website and page builder feature page
    Kajabi website builder (image: kajabi.com)

    Step 3 — Build the first course

    Add modules, then lessons inside them. Publish one lesson fully — video or text, plus any resource — before building the next, so you always have a complete path.

    Resist building ten lessons before testing one. A short, finished course beats a long, unfinished one, and you will rewrite it after the first students anyway.

    Kajabi payments feature page
    Kajabi payments (image: kajabi.com)

    Step 4 — Payments and enrolment

    Connect a payment provider and set the product to sell. Then walk through enrolment as a student: land on the offer, pay, and reach the member area.

    Set up the welcome email before launch so a new student knows exactly what happens next.

    Test before you launch

    1. Buy your own product with a test card or discount code.
    2. Confirm the member area unlocks the right content.
    3. Check the welcome email arrives.
    4. Load the offer page on mobile.
    5. Only then tell your audience it is live.

    Common setup mistakes

    Mistake Why it hurts Fix
    Building content before the productPricing and access are undefinedCreate the product first
    Too many lessons at launchYou never shipShip one complete module
    Skipping a test enrolmentAccess bugs hit real buyersBuy your own product first
    No welcome emailStudents feel lostSet the welcome sequence before launch
    Over-configuring featuresTime lost for no benefitUse only what the first course needs
    Based on publicly documented behaviour, checked October 8, 2026.
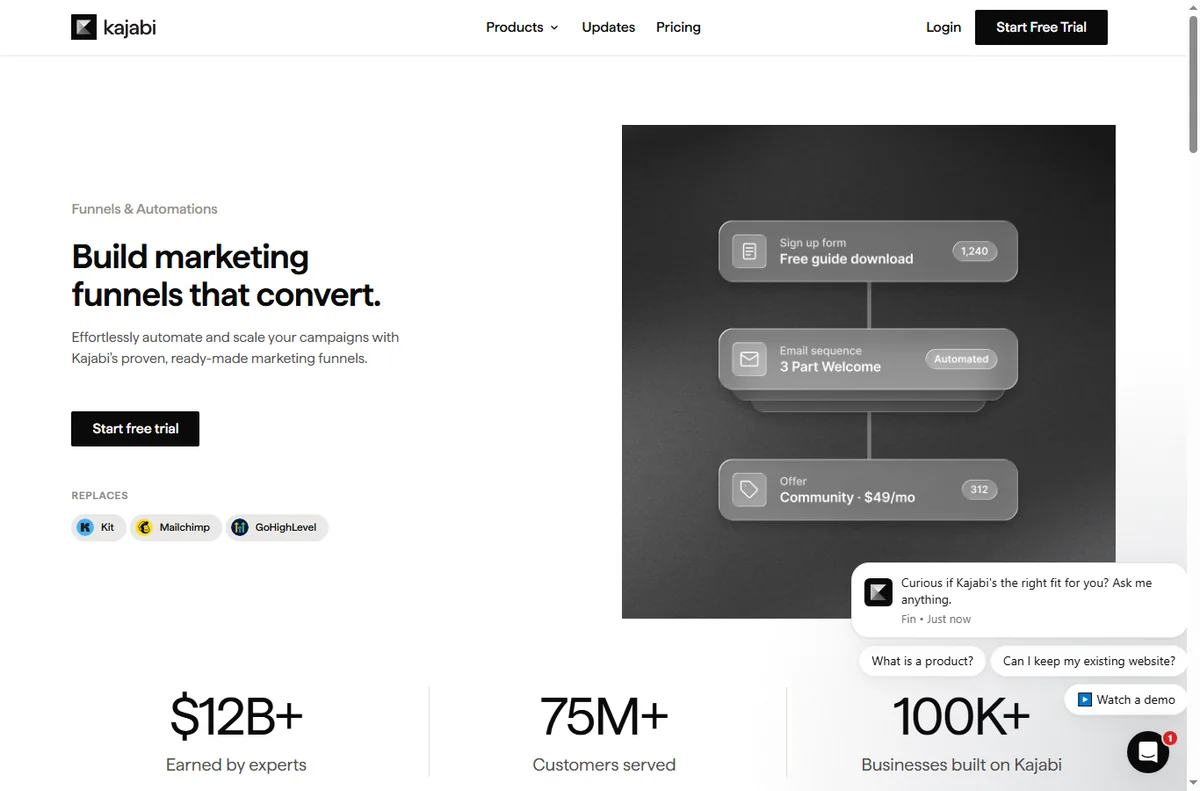
    Kajabi funnels feature page
    Kajabi funnels (image: kajabi.com)

    Where this fits in your wider stack

    Read the independent Kajabi review and start from the course platforms hub. Comparing platforms? See Kajabi vs Thinkific and the course platform pricing comparison. For a shortlist, read best course platforms.

    Frequently asked

    Do I need a website before Kajabi?

    No. Kajabi includes the pages you need, so you can launch a course without building a separate site first.

    How many lessons should my first course have?

    Enough to deliver the promised outcome, and no more. Three to five focused lessons ship faster and teach you what students need.

    Can I sell without a payment provider?

    You need a connected payment provider to charge. Connect it and run a test enrolment before launch.

    Is Kajabi suitable for one small course?

    It can be, if you also want the marketing and site features. If you only need course hosting, a lighter platform may fit better — see the comparison.

    Launch your first course on one platform

    Define the product, ship one complete module, and test enrolment before you announce.

    Referral link — we may earn a reward if you sign up, at no extra cost to you. We are an independent publisher. See our Affiliate Disclosure.
  • How to Set Up ClickFunnels: Account, Funnel and First Page

    How to Set Up ClickFunnels: Account, Funnel and First Page

    Home / Funnel Builders / Guides / How to set up ClickFunnels

    Tutorial · funnel builders · updated October 8, 2026

    How to set up ClickFunnels: from account to first funnel

    ClickFunnels is built around the funnel, not the page. Setting it up means creating an account, picking a funnel type, building the steps, then connecting your domain and payment so a real visitor can convert.

    ClickFunnels homepage for marketing funnels
    ClickFunnels official homepage (image: clickfunnels.com)

    Independent analysis. This page may contain affiliate links. Some links here are referral links; if you sign up through one we may earn a reward at no extra cost to you, and it never changes what we recommend. We are an independent publisher and are not affiliated with, endorsed by, or an official partner of any tool mentioned. See our Affiliate Disclosure.

    TL;DR

    • Start from a funnel template rather than a blank page; it teaches the structure.
    • A funnel is a sequence of steps, each a page with one job.
    • Connect your domain before you drive traffic so links and tracking are correct.
    • Add a payment integration only when a step actually needs to take money.
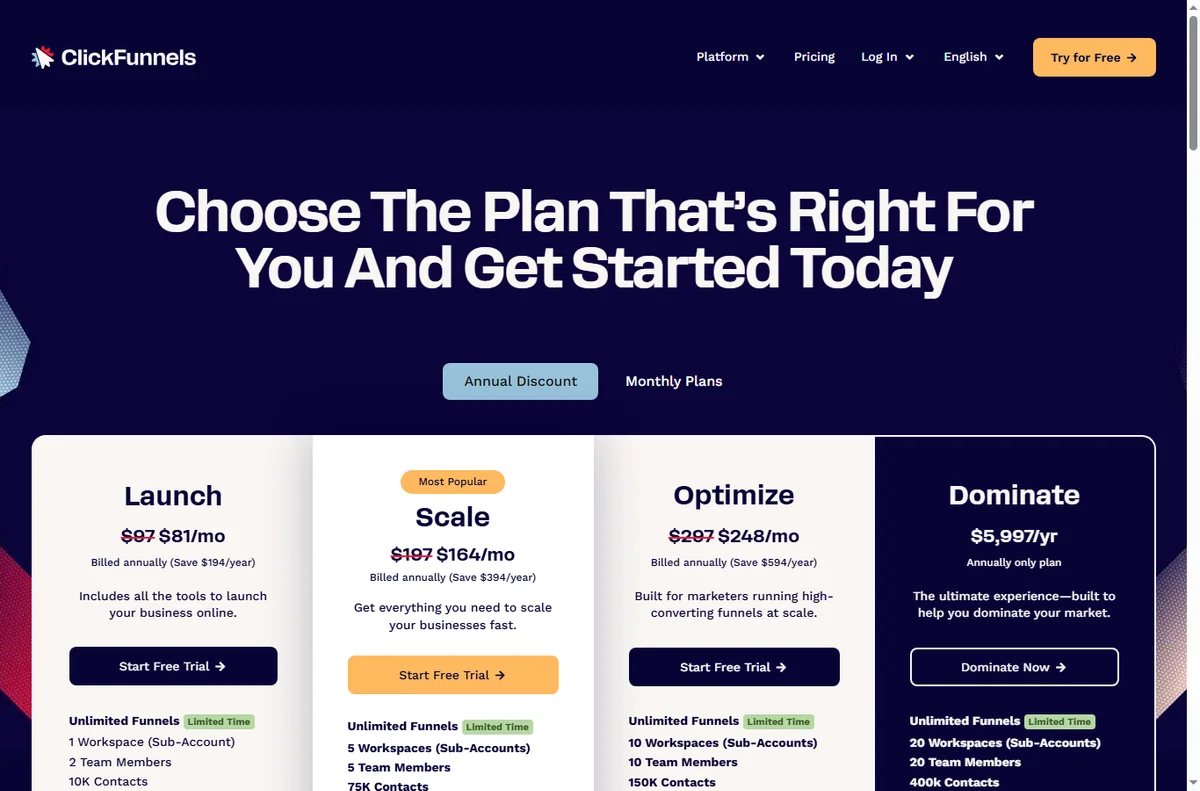
    • Confirm current plan limits and pricing on ClickFunnels’ own pricing page.

    On this page: What setting up ClickFunnels means · Before you start · Create your account · Choose a funnel · Build the first page · Domain and payments · Test the funnel · Common setup mistakes · Where this fits

    What setting up ClickFunnels actually means

    ClickFunnels organises work around funnels: an ordered set of steps that move a visitor toward one outcome. Setting it up is not just building a page; it is choosing the sequence and giving each step a single conversion job.

    The practical milestones are: account, funnel template, first page, then domain and payments. Do them in that order and you have a live funnel.

    Before you start

    • A clear offer: what you sell and the single action you want a visitor to take.
    • The words for your headline and call to action, even roughly.
    • A domain you control, or willingness to launch on the default subdomain first.
    • A payment method if the funnel will take money.
    ClickFunnels sign-up screen to create an account
    ClickFunnels sign-up (image: clickfunnels.com)

    Step 1 — Create your account

    Sign up, confirm your email, and land in the funnel dashboard. Take a moment on the plan choice: the features you get decide how many funnels and steps you can run.

    If you are only exploring, build one funnel end to end before upgrading. You learn more from a finished funnel than from a feature checklist.

    ClickFunnels sales funnels feature page
    ClickFunnels sales funnels (image: clickfunnels.com)

    Step 2 — Choose a funnel

    ClickFunnels ships templates for common sequences: lead capture, sales, webinar registration, order forms. Pick the one closest to your goal rather than starting blank.

    Templates are scaffolding, not handcuffs. Starting from one gets the step order right, which is the part beginners most often get wrong.

    ClickFunnels page editor feature page
    ClickFunnels editor (image: clickfunnels.com)

    Step 3 — Build the first page

    Open the first step and replace the template’s placeholder copy with your own. Keep one job per page: if it is a landing page, its job is to get the opt-in, not to sell three things.

    Use the editor’s sections and rows to lay out a headline, a short explanation, and one prominent call to action. Fewer elements usually convert better than a crowded page.

    ClickFunnels pricing page with plans and checkout options
    ClickFunnels pricing (image: clickfunnels.com)

    Step 4 — Connect domain and payments

    Point your domain at the funnel so links, tracking and email all reference your brand. Add a payment integration on the step that takes money and test it with a real transaction you refund afterwards.

    Set the destination of each call to action explicitly. A button that goes nowhere is the most common reason a new funnel underperforms.

    Test the funnel before you launch

    1. Walk the whole sequence as a visitor on desktop and mobile.
    2. Check every button and form actually submits.
    3. Confirm the confirmation or thank-you step is reached.
    4. Send a test transaction if payments are connected.
    5. Only then point paid or organic traffic at it.

    Common setup mistakes

    Mistake Why it hurts Fix
    Starting from a blank pageStep order and structure sufferStart from a template
    Multiple calls to action per pageVisitors freeze and convert lessOne job per page
    Launching without a domainLinks and trust look unfinishedConnect your domain first
    Untested payment stepYou lose real sales to errorsRun a test transaction
    No follow-up stepLeads are captured but not nurturedAdd an email step
    Based on publicly documented behaviour, checked October 8, 2026.
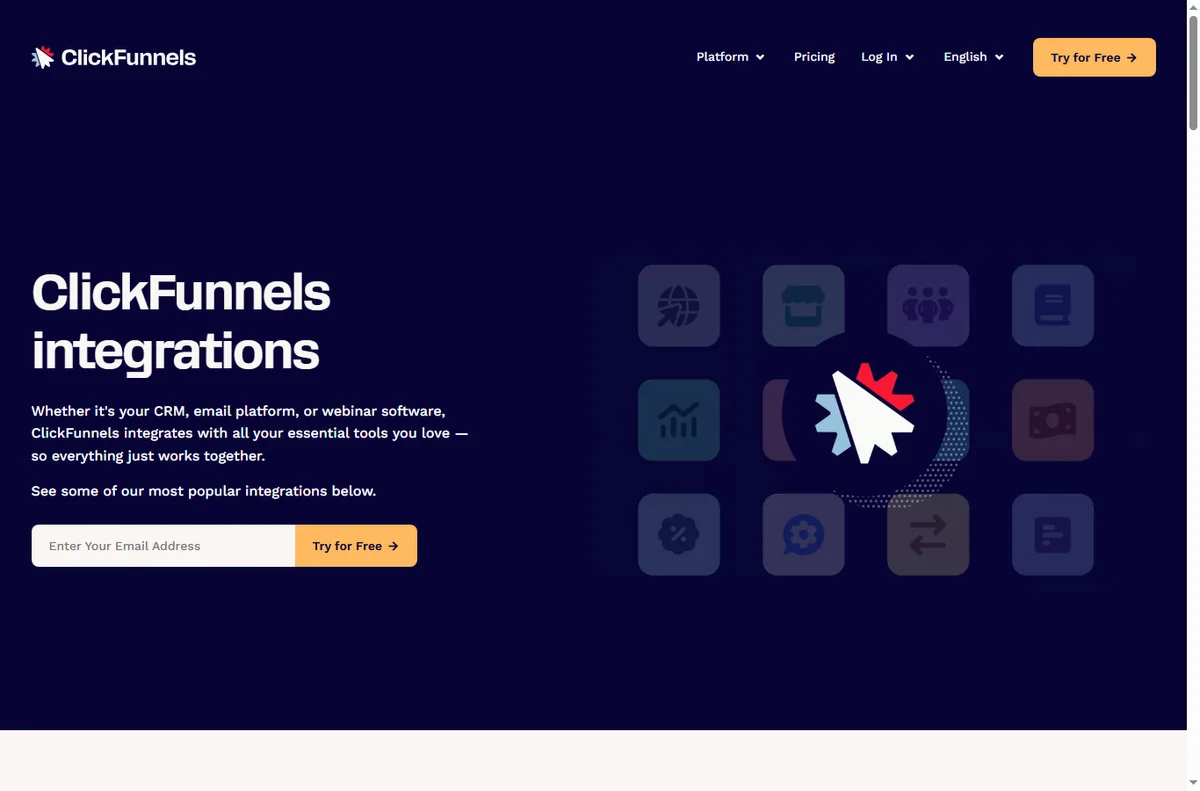
    ClickFunnels integrations directory connecting other apps
    ClickFunnels integrations (image: clickfunnels.com)

    Where this fits in your wider stack

    Before you commit, read the independent ClickFunnels review and start from the funnel builders hub. Comparing options? See Systeme.io vs ClickFunnels and the funnel builder pricing guide. For a shortlist, read best funnel builders.

    Frequently asked

    Do I need a domain to start?

    You can build and preview on the default subdomain, but connect your own domain before driving real traffic so links, tracking and trust are right.

    Which funnel template should I pick?

    Choose the one closest to your goal: lead capture if you want emails, a sales funnel if you want a purchase, a webinar funnel if you run live sessions.

    Can I take payments without an integration?

    Most funnels need a connected payment provider to charge. Add it on the step that takes money and test it before launch.

    How long does setup take?

    A single funnel can be live in an afternoon. The time goes into copy and testing, not the tool.

    Build your first ClickFunnels step by step

    Start from a template, keep one job per page, and test before you drive traffic.

    Referral link — we may earn a reward if you sign up, at no extra cost to you. We are an independent publisher. See our Affiliate Disclosure.

  • How to Set Up n8n: Self-Hosted or Cloud, Step by Step

    How to Set Up n8n: Self-Hosted or Cloud, Step by Step

    Home / Automation / Guides / How to set up n8n

    Tutorial · automation · updated October 8, 2026

    How to set up n8n: from install to your first workflow

    n8n is a workflow automation tool you can run in the cloud or host yourself. Setting it up is a short list of choices: which deployment, how you connect the apps you use, and how you build and run one workflow end to end.

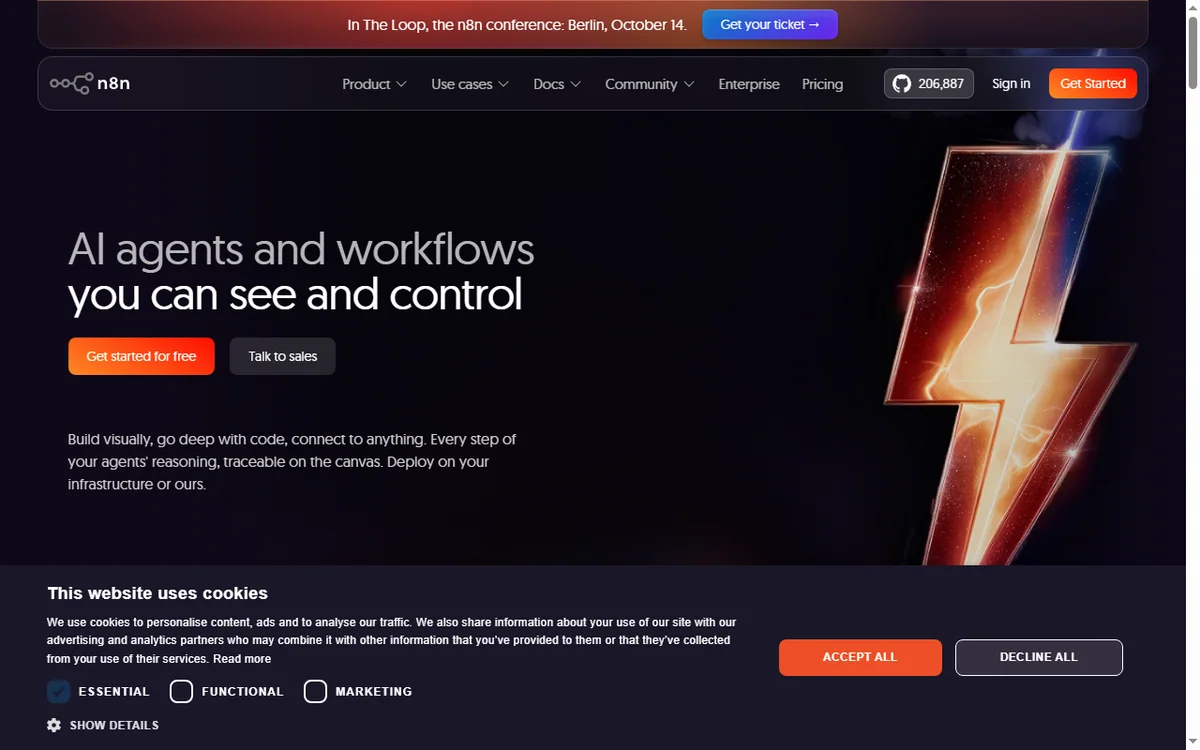
    n8n homepage for AI workflow automation, cloud or self-hosted
    n8n official homepage (image: n8n.io)

    Independent analysis. This page may contain affiliate links. Some links here are referral links; if you sign up through one we may earn a reward at no extra cost to you, and it never changes what we recommend. We are an independent publisher and are not affiliated with, endorsed by, or an official partner of any tool mentioned. See our Affiliate Disclosure.

    TL;DR

    • n8n connects apps on a canvas and can be self-hosted, which most visual automation tools cannot.
    • Cloud is the fastest start; self-hosting lowers marginal cost at volume but adds maintenance.
    • A workflow is a trigger node plus nodes that act on the data as it moves.
    • Test with manual execution before you schedule or webhook-trigger anything.
    • Confirm current plan limits and pricing on n8n’s own pricing page before you commit.

    On this page: What setting up n8n means · Cloud or self-hosted · Before you start · Create an account or instance · Connect an app · Build your first workflow · Test, then activate · Common setup mistakes · Where this fits

    What setting up n8n actually means

    n8n is a workflow automation platform: you connect nodes on a canvas and let data move between apps without writing a full application. The difference from most tools in this category is that n8n can be self-hosted, so setup is partly a deployment decision.

    There are three milestones: choose cloud or self-hosted, connect the apps you actually use, and run one workflow from trigger to finish. Everything after that is iteration.

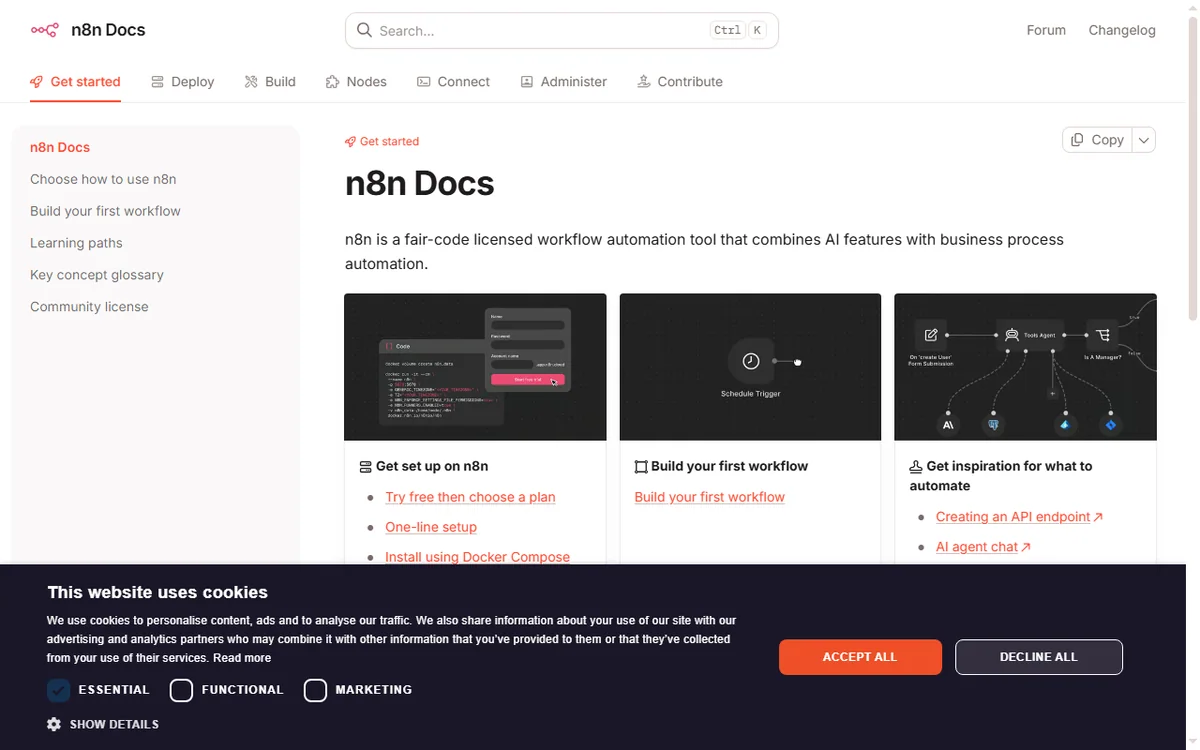
    n8n documentation covering cloud and self-hosted hosting options
    n8n documentation (image: n8n.io)

    Cloud or self-hosted

    The first fork is where n8n runs. Cloud removes the server work and is the fastest path to a first workflow. Self-hosting puts the runtime on a machine you control: it usually lowers marginal cost at higher volume, but you own updates, backups and uptime.

    Option What it means Choose it when
    Cloudn8n hosts it; you sign in and buildYou want to start today and not run a server
    Self-hostedYou run n8n on your own server or containerYou want control, custom nodes or high volume
    Self-hosted on a VPSYou rent a VPS and deploy n8n thereYou want self-hosted economics without a home machine
    Based on publicly documented behaviour, checked October 8, 2026.

    Before you start

    • A clear idea of the first task you want to automate, written as a sentence.
    • Access to the apps involved (for example a form tool and a spreadsheet).
    • Either an n8n account or a server/VPS if you plan to self-host.
    • A rough sense of volume, because it decides which plan tier you need.
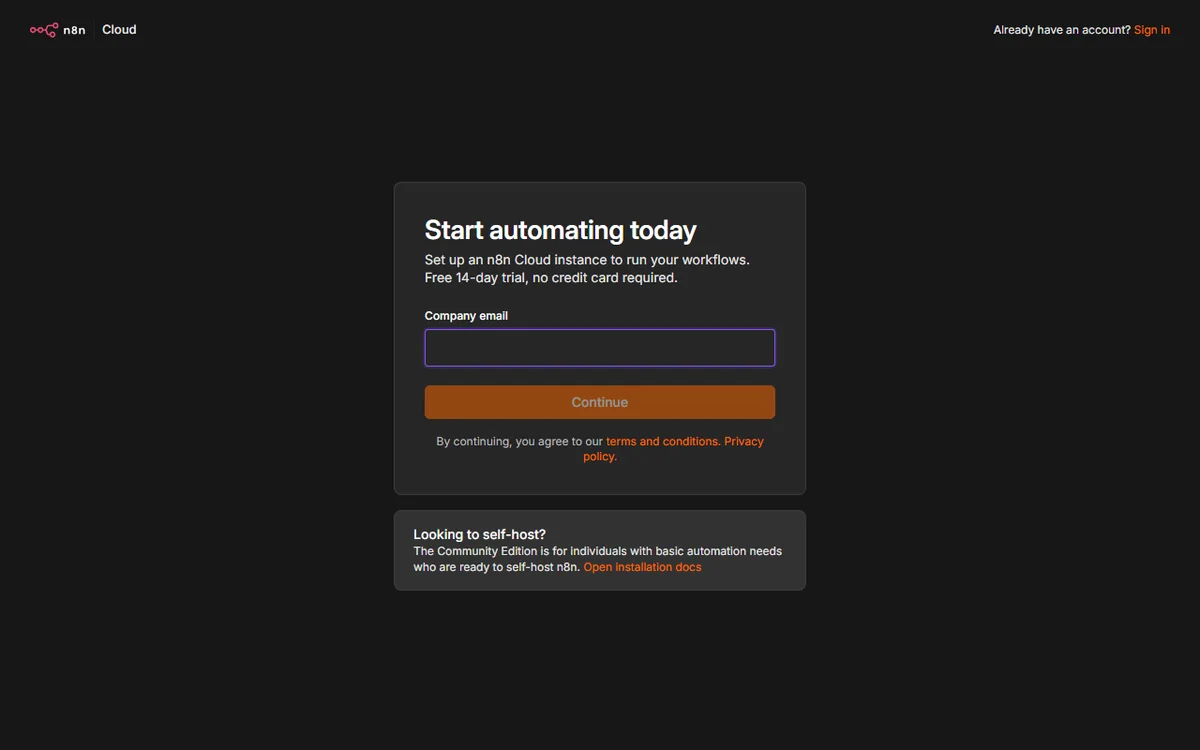
    n8n cloud registration screen used to create an instance
    n8n cloud sign-up (image: n8n.io)

    Step 1 — Create your account or instance

    On cloud, sign up and you land in an empty workspace ready to build. Self-hosting takes longer: you deploy n8n with Docker or npm, set an environment variable for encryption, and open the editor at your instance URL.

    Whichever route you take, the editor looks the same. If you are unsure, start on cloud, learn the editor, and migrate later if volume makes self-hosting worthwhile.

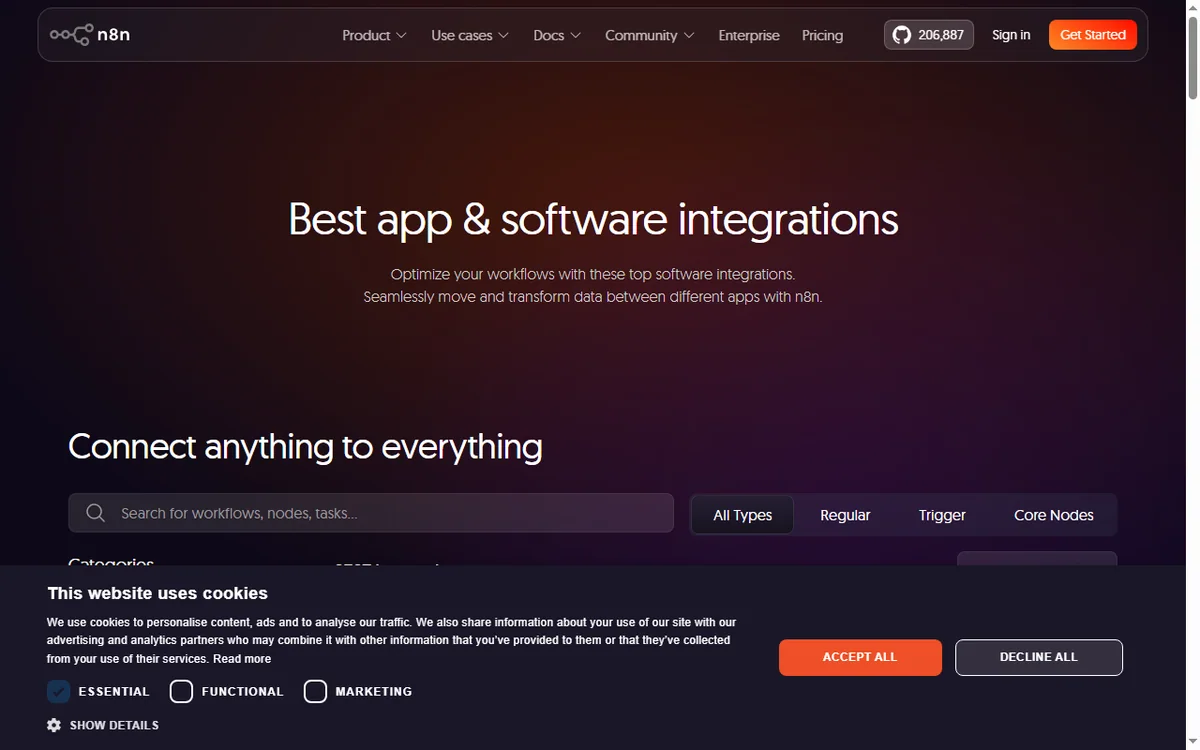
    n8n integrations directory for connecting apps and services
    n8n integrations (image: n8n.io)

    Step 2 — Connect an app

    Credentials are created once and reused across workflows. Depending on the app you either authorise OAuth in a browser window or paste an API key. Store them in n8n’s credential store rather than hard-coding values into nodes.

    Start with the two apps in your first automated task. You can add the rest as you grow; there is no prize for connecting everything up front.

    n8n community workflow library of ready-made automations
    n8n workflow library (image: n8n.io)

    Step 3 — Build your first workflow

    1. Add a trigger node — a schedule, a webhook, or an app event.
    2. Add one action node and choose the operation you want (create, update, fetch).
    3. Map the fields: drag the value from the incoming data into the field you need.
    4. Add a second action node only when the first one works.

    Step 4 — Test, then activate

    Run the workflow manually and inspect the input and output of each node. Fix mapping problems while the data is in front of you. You can pin sample data so you do not have to re-trigger every time.

    Only when a manual run succeeds should you activate the workflow so it fires on its trigger. Keep the first version small; a workflow you understand is worth more than one you copied.

    Common setup mistakes

    Mistake Why it hurts Fix
    Building too big a first workflowToo many failure points to debugStart with trigger plus one action
    Hard-coding credentialsSecrets leak if you share the workflowUse the credential store
    Skipping manual testsErrors surface only in productionRun manually, then activate
    Ignoring volumeCosts surprise you laterEstimate executions before choosing a plan
    No error handlingA silent failure loses dataAdd an error branch or notification
    Based on publicly documented behaviour, checked October 8, 2026.
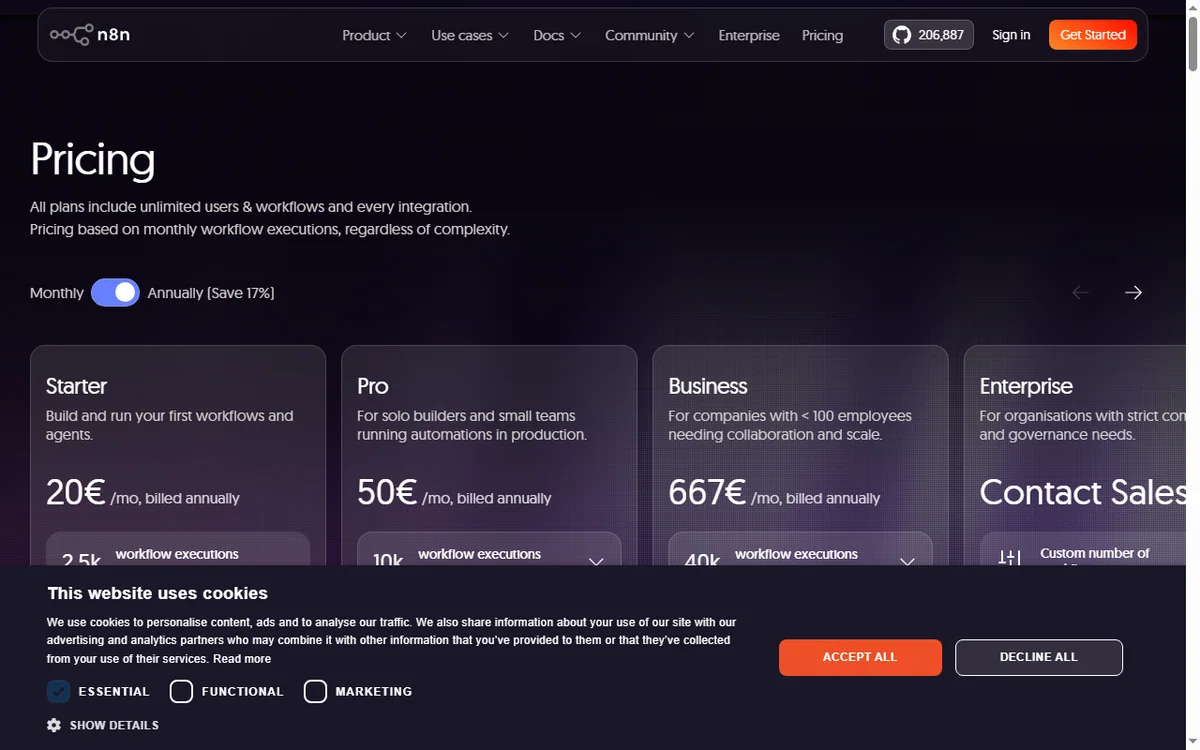
    n8n pricing page with cloud and self-hosted plans
    n8n pricing (image: n8n.io)

    Where this fits in your wider stack

    If you are still choosing a tool, read the independent n8n review and start from the automation hub. Weighing options? See Make vs n8n, and if you plan to host it yourself read the n8n self-hosting guide. For a broader shortlist, see best workflow automation tools.

    Frequently asked

    Do I need to know how to code to use n8n?

    No. Most workflows are built by connecting nodes and mapping fields. Coding helps for custom logic, but it is not required to get value from the tool.

    Is self-hosting really cheaper?

    It tends to be cheaper at higher volume because you pay for a server rather than per execution. At low volume the cloud plan is usually simpler and comparable in cost.

    How long does setup take?

    Cloud setup is minutes. A self-hosted instance depends on your server skills, and the first workflow is where most of the learning happens.

    Can I move from cloud to self-hosted later?

    You can export workflows and import them into another instance. Plan the move before you build dozens of automations to keep it tidy.

    Build one workflow on n8n and see the difference

    Start with the single task that costs you the most time today, then expand.

    Referral link — we may earn a reward if you sign up, at no extra cost to you. We are an independent publisher. See our Affiliate Disclosure.

  • How to Set Up ActiveCampaign: Contacts, Forms and Your First Automation

    How to Set Up ActiveCampaign: Contacts, Forms and Your First Automation

    Home / Email marketing / Guides / How to set up ActiveCampaign

    Tutorial · email marketing · updated October 8, 2026

    How to set up ActiveCampaign: from contacts to your first automation

    ActiveCampaign is an email and automation platform, and setting it up is really about getting one automation to run correctly. This walkthrough takes you from a blank account to a working welcome sequence.

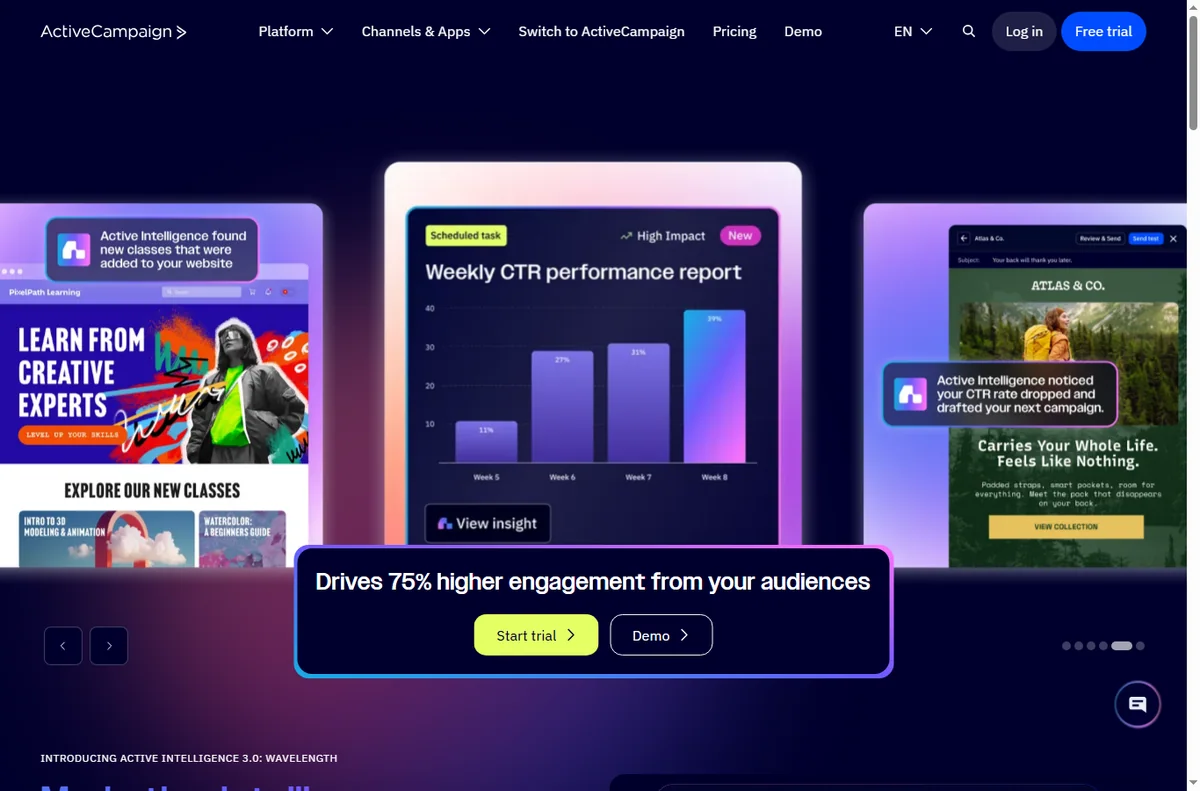
    ActiveCampaign homepage for marketing automation
    ActiveCampaign official homepage (image: activecampaign.com)

    Independent analysis. This page may contain affiliate links. Some links here are referral links; if you sign up through one we may earn a reward at no extra cost to you, and it never changes what we recommend. We are an independent publisher and are not affiliated with, endorsed by, or an official partner of any tool mentioned. See our Affiliate Disclosure.

    TL;DR

    • Setup is three milestones: import contacts, add a way to capture them, and build one automation.
    • Import with consent; how you collected the contacts matters.
    • A simple form is enough to prove the flow end to end.
    • Test the automation with a real contact before switching it on.
    • Upgrade only when your list or features outgrow the current plan.

    On this page: What setup means · Before you start · Create your account · Import contacts · Build a form · Create your first automation · Test it · When to upgrade · Common mistakes · Where this fits

    What setting up ActiveCampaign actually means

    ActiveCampaign connects contacts, a way to capture them and automations that act on them. Setting it up is about getting one automation to run correctly rather than exploring every feature.

    Three milestones cover most of it: import your contacts, add a capture form, and build one automation. Advanced flows and integrations come later.

    Before you start

    • An email address you can confirm right away.
    • A contact list you are allowed to email, with consent on record.
    • One clear job for the first automation, such as a welcome sequence.
    • A tagged way to organise contacts from day one.
    ActiveCampaign sign-up screen to create a new account
    ActiveCampaign sign-up (image: activecampaign.com)

    Step 1 — Create your account

    Sign up and confirm your email. Take a moment to set your sending domain and default sender details before importing anything, because it affects deliverability from the first send.

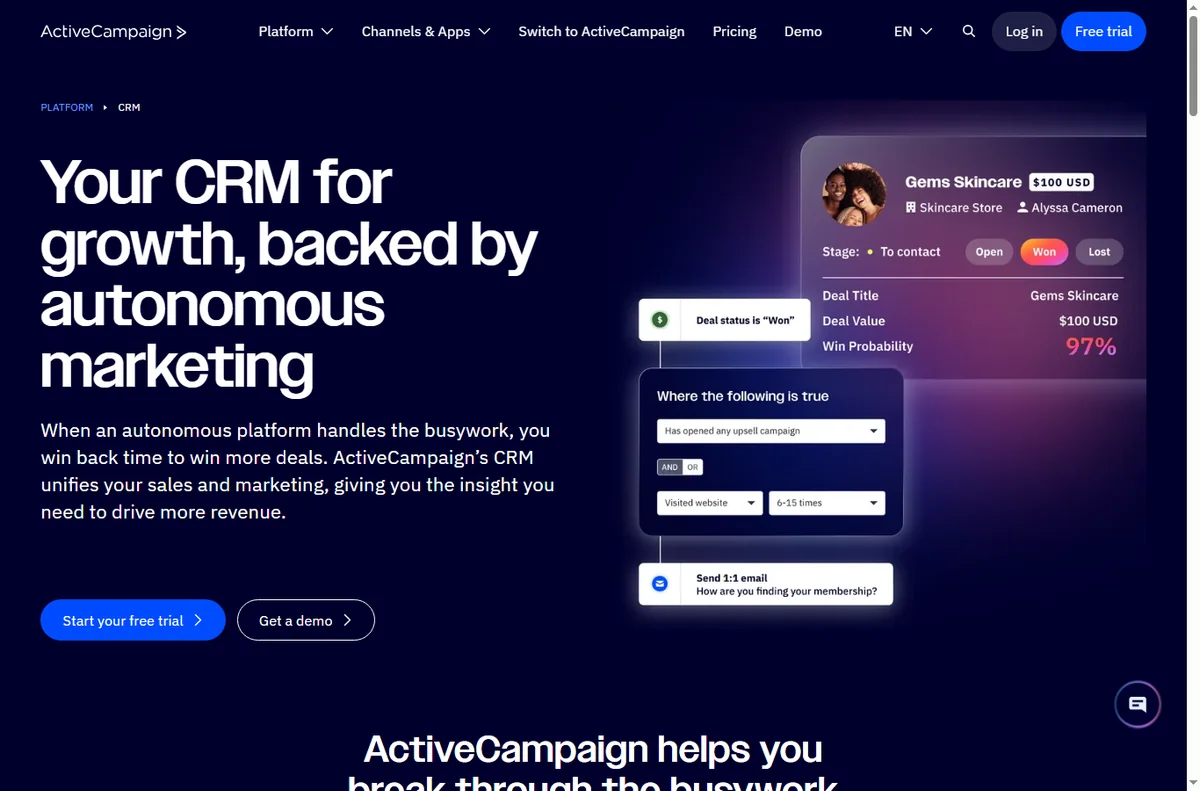
    ActiveCampaign contacts and CRM view for importing contacts
    ActiveCampaign CRM and contacts (image: activecampaign.com)

    Step 2 — Import contacts with consent

    Import your list, but only contacts who agreed to hear from you. Tag them at import so you can segment later without guesswork.

    Consent is not just a rule: it is what keeps your deliverability healthy. Importing a purchased list damages your reputation for everyone.

    ActiveCampaign lead form builder page
    ActiveCampaign forms (image: activecampaign.com)

    Step 3 — Build a simple form

    Create a form connected to the right list and tag. Test it yourself: submit the form and confirm the contact appears with the expected tag. That proves capture works before you build anything on top.

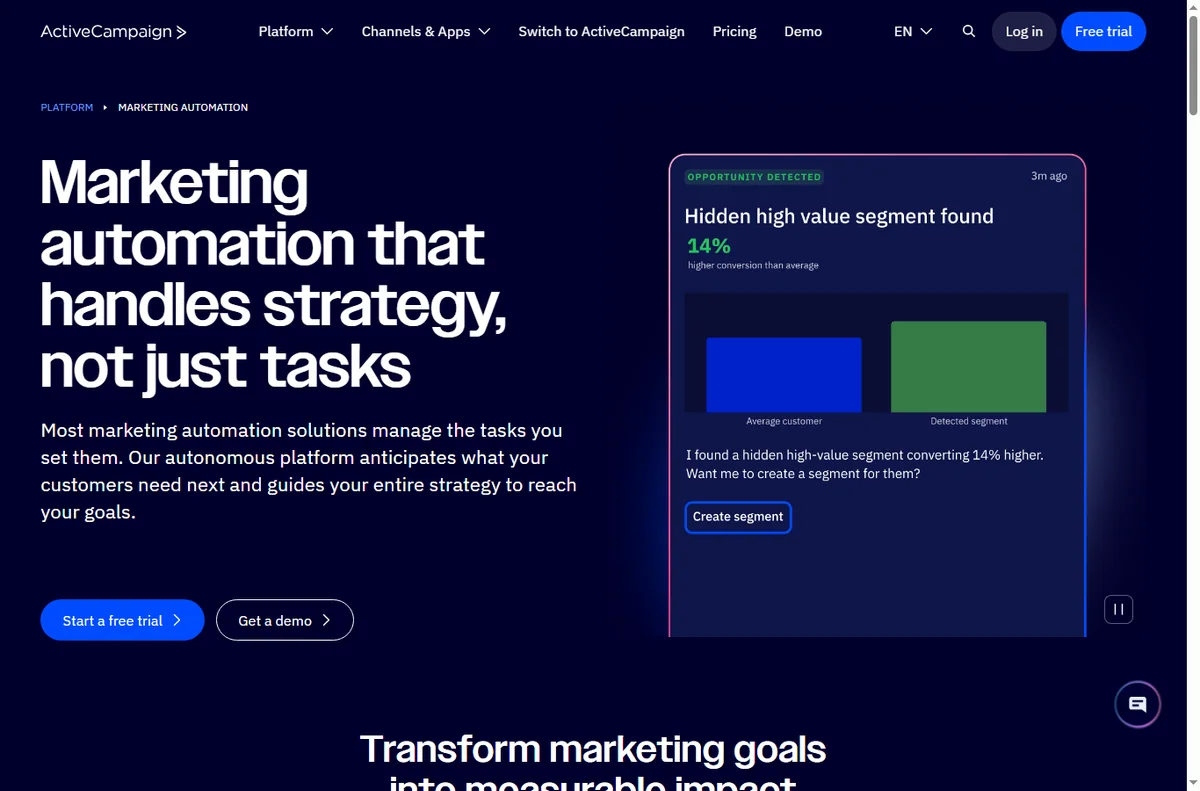
    ActiveCampaign marketing automation feature page
    ActiveCampaign marketing automation (image: activecampaign.com)

    Step 4 — Create your first automation

    1. Start from a “form submitted” trigger rather than a template, so you learn the parts.
    2. Add a condition or tag check if you want to route different contacts differently.
    3. Add the first action: send a welcome email.
    4. Add a short wait, then a follow-up, so the sequence is not a wall of emails on day one.

    Step 5 — Test before you trust it

    Submit the form with a real address and follow the contact through the automation. The first failure is almost always a tag that did not apply, or a condition that never matched.

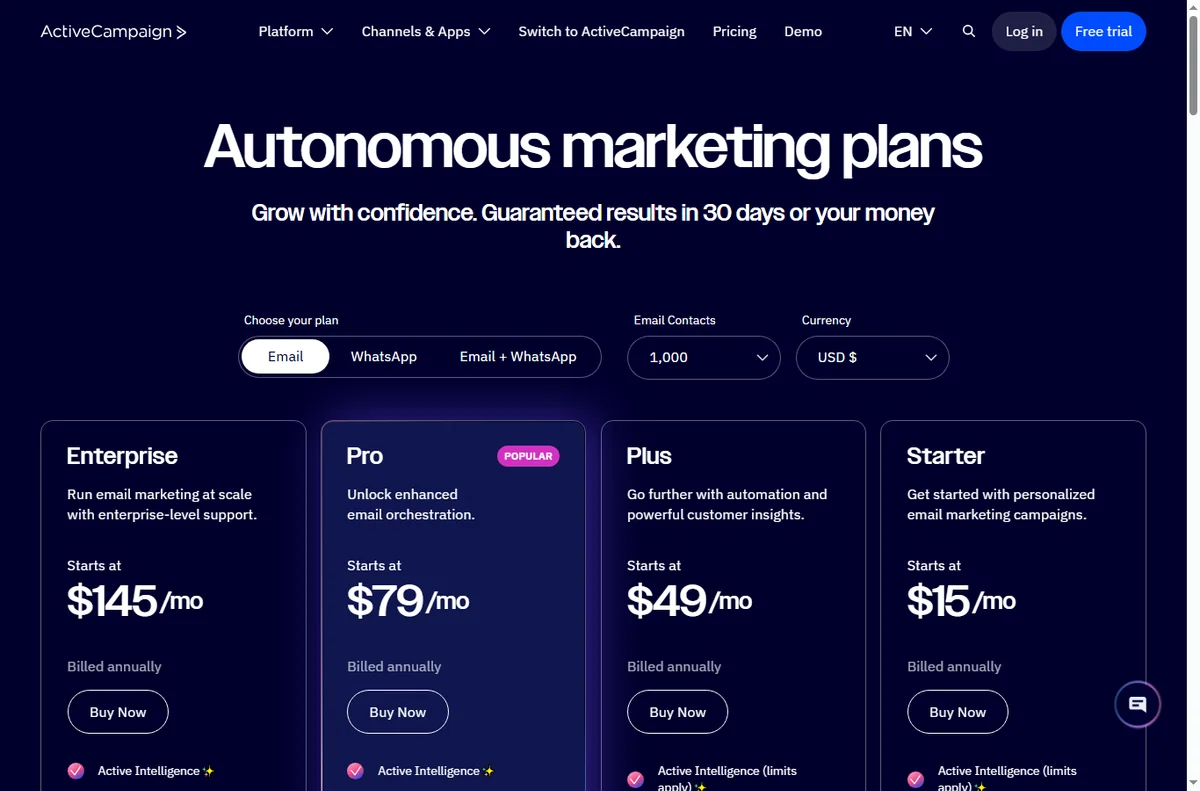
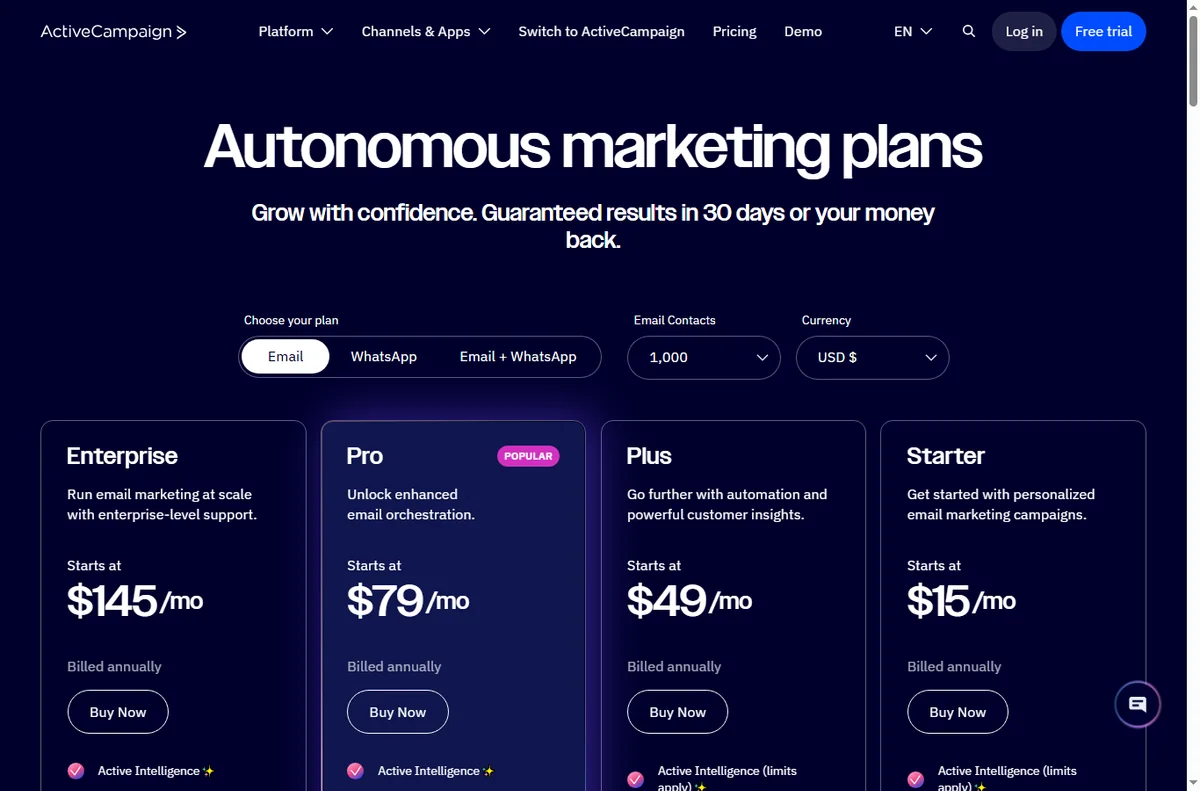
    ActiveCampaign pricing page with plan tiers
    ActiveCampaign pricing (image: activecampaign.com)

    Step 6 — Know when to upgrade

    Upgrade when your contact count or the features you actually use outgrow the current plan, not before. We do not quote prices: tiers change, so confirm current figures on the vendor’s pricing page.

    Common setup mistakes

    Mistake Why it hurts Fix
    Importing without consentDamages deliverabilityOnly import opted-in contacts
    No tags at importSegmentation becomes guessworkTag contacts as you import
    Automation with no waitContacts get a wall of emailAdd waits between steps
    Testing with a fake addressYou cannot follow the real flowTest with a real inbox
    Turning on before testingFirst real contact gets an errorRun the flow once first
    Based on publicly documented behaviour, checked October 8, 2026.
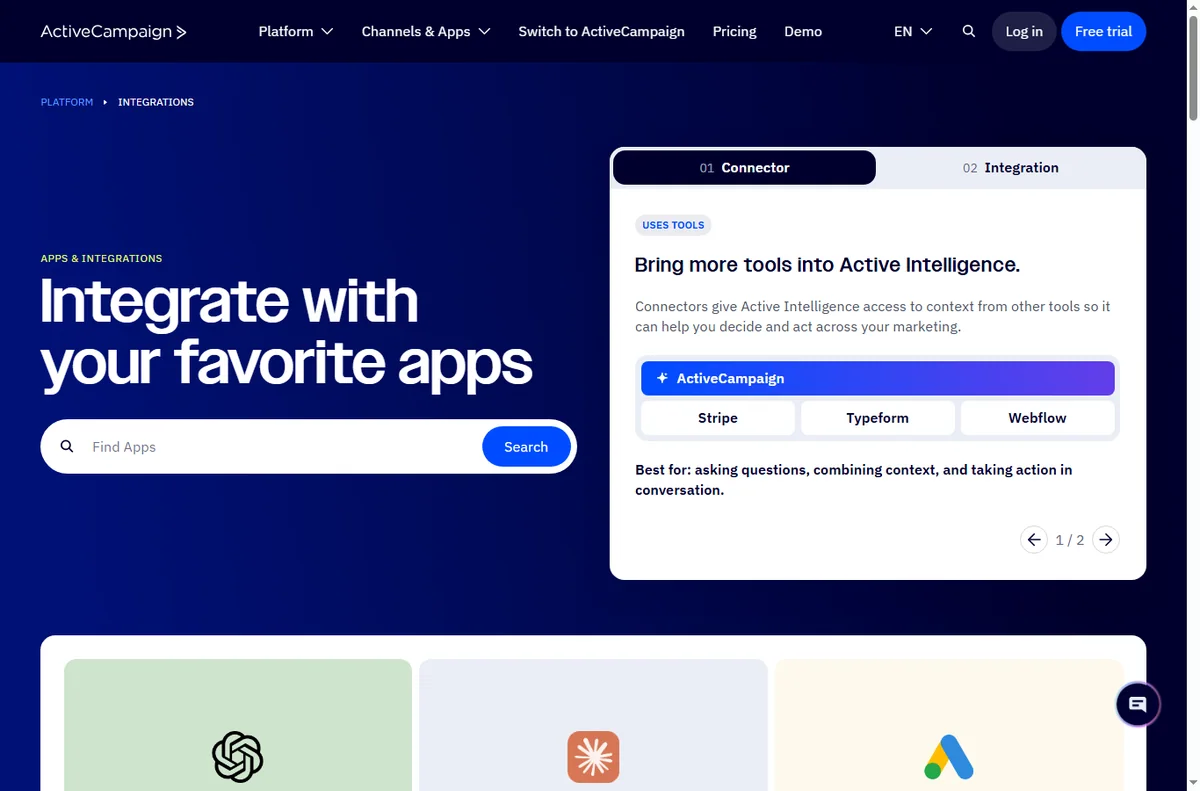
    ActiveCampaign integrations directory connecting other apps
    ActiveCampaign integrations (image: activecampaign.com)

    Where this fits in your wider stack

    Start with the email marketing hub and the independent ActiveCampaign review. For cost, see the ActiveCampaign pricing guide; if you are comparing, read GetResponse vs ActiveCampaign and HubSpot vs ActiveCampaign.

    Frequently asked

    How long does setup take?

    The account, an import and one simple automation take a couple of hours for a first-timer. Complex flows take longer because they add concepts, not because setup is slow.

    Do I need to authenticate a domain?

    Yes. Authenticating your sending domain improves deliverability, so do it before your first real send.

    Can I import my existing list?

    You can, but only contacts who opted in. Importing a list without consent harms deliverability for everyone.

    What should my first automation be?

    A simple welcome sequence triggered by a form submission. It is the clearest way to learn triggers, tags and waits.

    Build one automation, then judge the platform

    Get capture and a welcome sequence working before anything else.

    Referral link — we may earn a reward if you sign up, at no extra cost to you. We are an independent publisher. See our Affiliate Disclosure.