We’re reader-supported — some links are affiliate links. Learn more →

Skip to content

Independent software research. Some links may earn us a commission at no extra cost to you. Learn more →

ICode

Tag: setup

  • How to Set Up Zapier: Your First Zap, Step by Step

    How to Set Up Zapier: Your First Zap, Step by Step

    Home / Automation / Guides / How to set up Zapier

    Tutorial · automation · updated October 8, 2026

    How to set up Zapier: from sign-up to your first Zap

    Zapier connects apps so work happens without you. Setup is really about getting one Zap to run correctly end to end. This walkthrough takes you from a blank account to a working automation without the usual detours.

    Zapier homepage for building AI-powered workflow automations
    Zapier official homepage (image: zapier.com)

    Independent analysis. This page may contain affiliate links. Some links here are referral links; if you sign up through one we may earn a reward at no extra cost to you, and it never changes what we recommend. We are an independent publisher and are not affiliated with, endorsed by, or an official partner of any tool mentioned. See our Affiliate Disclosure.

    TL;DR

    • A Zap is a trigger plus one or more actions.
    • Start on the free tier to learn; it meters tasks.
    • Connect one app first and prove a two-step Zap works.
    • Always test the Zap by hand before switching it on.
    • Upgrade only when a real workflow outgrows the free task cap.

    On this page: What setting up Zapier means · Before you start · Create your account · Learn three words · Build a two-step Zap · Test it · Turn it on · When to upgrade · Common mistakes · Where this fits

    Icode editorial illustration
    Icode editorial illustration (image: icode.io.vn)

    What setting up Zapier actually means

    Zapier is a connector service built around Zaps: a trigger that starts a workflow and one or more actions that follow. Setting it up is less about installation and more about getting a single Zap to behave.

    Three milestones cover most of it: create the account, connect an app, and run one Zap successfully. Multi-step Zaps and filters come later.

    Before you start

    • An email address you can confirm right away.
    • One app you already use that can act as a trigger.
    • A one-sentence job description: when this happens, do that.
    • A few minutes to run the Zap by hand once.
    Zapier sign-up screen used to create a free account
    Zapier sign-up (image: zapier.com)

    Step 1 — Create your account

    Sign up and confirm your email. You land in a dashboard that lists Zaps and apps rather than in the editor, which surprises people who expect to start building immediately.

    Begin on the free tier. It meters tasks, so treat it as a sandbox rather than production.

    Step 2 — Learn three words

    • Trigger — the event that starts a Zap.
    • Action — a step that does one job, such as creating a record or sending a message.
    • Task — one unit of work an action consumes; this is what paid plans meter.
    Zapier integrations library for choosing trigger and action apps
    Zapier app integrations (image: zapier.com)

    Step 3 — Build a two-step Zap

    1. Choose “Create Zap” rather than a template, so you learn the parts.
    2. Pick your trigger app and event, then connect the app by authorising it once.
    3. Add an action and pick what it should do with the data.
    4. Map fields so the trigger output flows into the action input.

    Step 4 — Test before you trust it

    Use the test control to pull sample data through the Zap. Read each step’s input and output; the first failure is almost always a mis-mapped field or an authorisation that expired.

    Step 5 — Turn it on and watch the first runs

    Once a manual test succeeds, switch the Zap on and watch the first few runs rather than assuming they are fine — especially the first time real traffic hits it.
    Zapier pricing page with plan tiers and task limits
    Zapier pricing (image: zapier.com)

    Step 6 — Know when to upgrade

    Upgrade when a genuine workflow outgrows the free task cap, not before. Estimate monthly tasks from real volume, then pick the smallest paid tier that covers it comfortably. We do not quote prices — vendors change tiers often, so confirm current figures on the vendor’s pricing page.

    Common setup mistakes

    Mistake Why it hurts Fix
    Starting from a complex templateYou inherit logic you do not understandBuild one simple Zap first
    Ignoring the task countThe free cap is hit mid-monthModel monthly volume early
    No error handlingA silent failure breaks the flowAdd a fallback step
    Testing with live data onlyFailures are hard to reproduceUse sample data, then a live run
    Turning on before a manual testThe first real run failsAlways test by hand once
    Based on publicly documented behaviour, checked October 8, 2026.
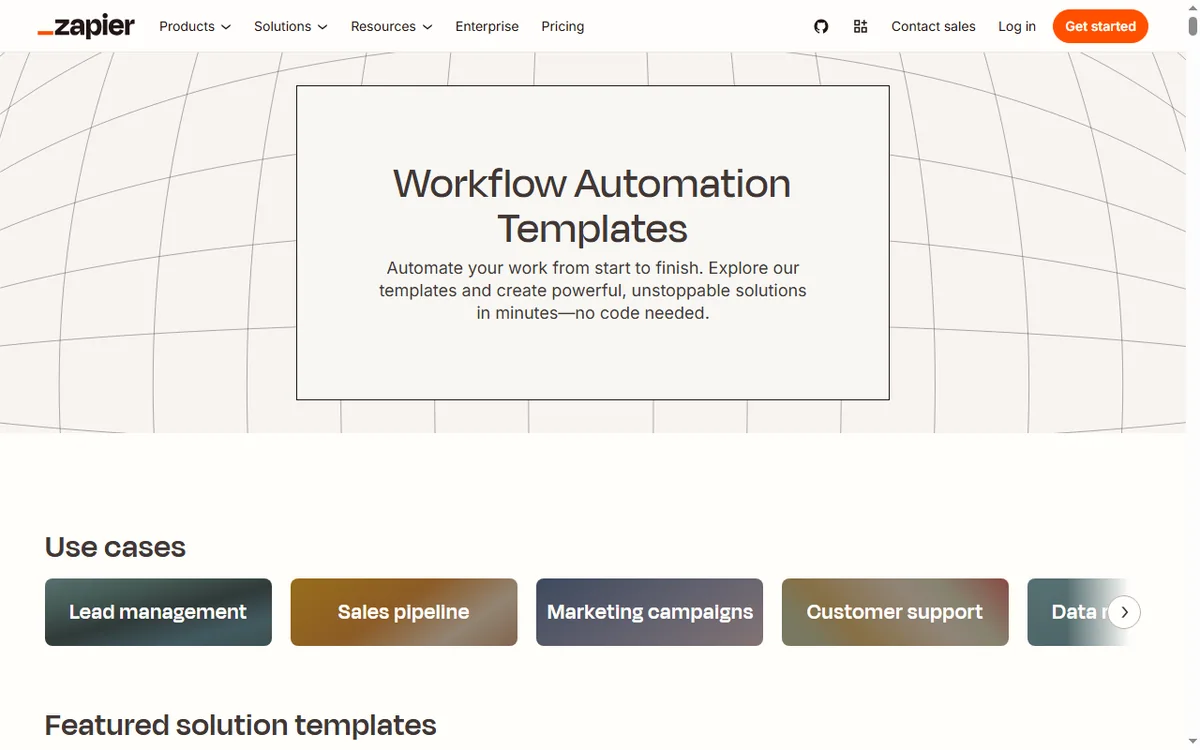
    Zapier template library of ready-made automation workflows
    Zapier workflow templates (image: zapier.com)

    Where this fits in your wider stack

    If you are still choosing a platform, start with the business automation hub and the independent Zapier review. For cost, see the Zapier pricing guide; if you are weighing platforms, read Make vs Zapier and the best workflow automation tools roundup.

    Frequently asked

    How long does it take to set up Zapier?

    The account and first simple Zap take roughly 20–40 minutes for a first-timer. Multi-step Zaps take longer because they add concepts, not because setup itself is long.

    Do I need to know how to code?

    No. The first Zaps are built by clicking steps and mapping fields.

    Is the free plan enough to start?

    It is enough to learn and to run low-volume workflows. It meters tasks, so busy automations reach the cap quickly — check the current cap on the vendor’s pricing page.

    What is a task, exactly?

    A task is one unit of work an action performs during a run. That is why volume matters more than the number of Zaps.

    Build one Zap, then judge the tool

    Count your steps first, then prototype on the free tier.

    Referral link — we may earn a reward if you sign up, at no extra cost to you. We are an independent publisher. See our Affiliate Disclosure.


  • How to Set Up Wise: Account, Verification and Your First Transfer

    How to Set Up Wise: Account, Verification and Your First Transfer

    Home / Payments / Guides / How to set up Wise

    Tutorial · payments · updated October 8, 2026

    How to set up Wise: from sign-up to your first transfer

    Wise is a multi-currency account and money-transfer service, and setting it up is mostly about verification and getting your first transfer priced correctly. This walkthrough covers the account, the identity checks, your first recipient, and how to read fees before you commit.

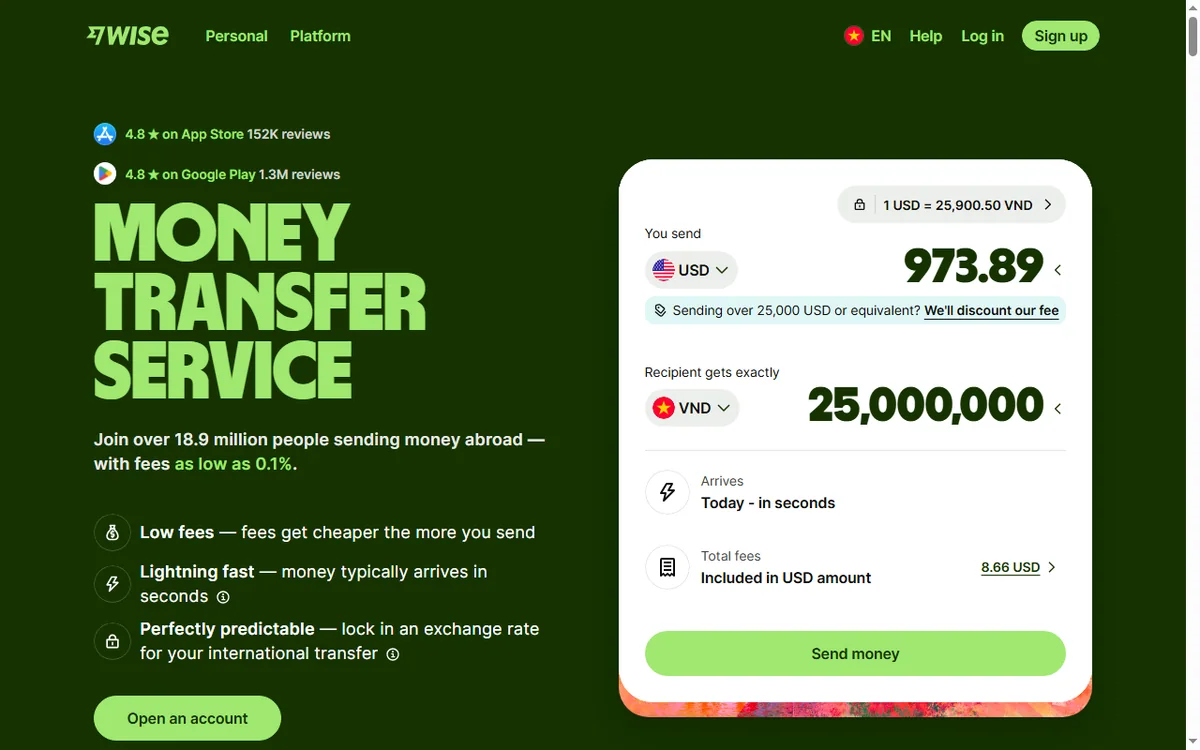
    Wise homepage for international money transfers
    Wise official homepage (image: wise.com)

    Independent analysis. This page may contain affiliate links. Some links here are referral links; if you sign up through one we may earn a reward at no extra cost to you, and it never changes what we recommend. We are an independent publisher and are not affiliated with, endorsed by, or an official partner of any tool mentioned. See our Affiliate Disclosure.

    TL;DR

    • Wise is a multi-currency account: you can hold, convert and send money in different currencies.
    • Opening the account is free; verification is the slow part, so have your ID ready.
    • Your first transfer is about choosing the route and checking the recipient-gets figure.
    • You can send to a bank account, receive into your own balances, or use a card where available.
    • Always confirm current fees and limits on Wise’s own pricing page — they change by route and region.

    On this page: What setting up Wise means · Before you start · Open the account · Verify your identity · Add a recipient · Make your first transfer · Read the fees · Common mistakes · Where this fits

    What setting up Wise actually means

    Wise is often described as “a cheap way to send money abroad”, but the product is really a multi-currency account with transfer rails attached. Setting it up has three milestones: create the account, pass identity verification, and complete one successful transfer.

    Because the value sits in the transfer, most of the effort lands on the middle step. Verification is what unlocks real balances and higher limits, and it is the step people underestimate.

    Before you start

    • A government ID (passport or national ID) and, for a business account, company documents.
    • A phone number and email you can access right away.
    • The recipient’s bank details for your first transfer.
    • A rough idea of how much you send and how often — that decides whether a personal or business account fits.
    Wise account creation screen
    Wise create account (image: wise.com)

    Step 1 — Open the account

    Sign up with your email, choose personal or business, and set your base currency. Your base currency is the one you think in; you can still hold others alongside it.

    Start with a personal account unless you are sending on behalf of a registered company. Business accounts add verification steps you do not want until you actually need them.

    Wise Help Centre covering account and identity verification
    Wise Help Centre (image: wise.com)

    Step 2 — Verify your identity

    Upload your ID and take a quick selfie if asked. Verification usually finishes within a day, but it can take longer if the photo is unclear or your details do not match.

    Once verified you can get local account details in supported currencies and higher sending limits. Until then you are in a limited state, which is normal.

    Wise international money transfer page to set up a recipient
    Wise send money (image: wise.com)

    Step 3 — Add a recipient

    Add the person or business you are paying: name, country and their bank details. The service checks that the name matches the account to reduce failed transfers.

    If you send to the same recipient often, save them so future transfers are two clicks.

    Wise multi-currency account page
    Wise multi-currency account (image: wise.com)

    Step 4 — Make your first transfer

    1. Enter the amount and the currency you are sending from.
    2. Check the recipient-gets figure — that is the number that actually matters.
    3. Pick the payment method; some methods settle faster than others.
    4. Confirm, then track the transfer until it shows as complete.
    Wise fees and pricing page
    Wise fees and pricing (image: wise.com)

    How to read the fees before you commit

    Two numbers decide the real cost: the exchange rate applied and any transfer fee. A “low fee” headline means little if the rate is worse than the mid-market rate.

    Compare the recipient-gets figure against what a bank would deliver for the same amount. We deliberately do not quote prices here because rates and fees move daily — confirm them on Wise’s own pricing page at the moment you send.

    Common setup mistakes

    Mistake Why it hurts Fix
    Sending before verificationTransfers stall or hit low limitsFinish verification first
    Ignoring the exchange rateA cheap fee can hide a poor rateCompare the recipient-gets figure
    Wrong recipient nameTransfer is rejected or delayedMatch the bank account name exactly
    Personal account for a companyVolume and records get messyOpen a business account if you invoice as a company
    Not saving recipientsYou re-enter details and risk typosSave frequent recipients
    Based on publicly documented behaviour, checked October 8, 2026.
    Wise Business international business account page
    Wise Business (image: wise.com)

    Where this fits in your wider stack

    If you are still choosing a provider, start with our payments hub and the independent Wise review. If you are weighing alternatives, see the Wise vs PayPal comparison, and for a broader shortlist read the best money transfer services and best currency exchange tools roundups.

    Frequently asked

    Is opening a Wise account free?

    Opening the account is free. You pay fees when you convert or send money; those depend on the route and are shown before you confirm. Check the current figures on the vendor’s pricing page.

    How long does verification take?

    Often within a day, sometimes longer if documents are unclear or your details do not match. A sharp photo and exact name spelling speed it up.

    Do I need a business account?

    Only if you send on behalf of a registered company or need business invoices and multi-user access. Solo senders usually stay on a personal account.

    Can I hold several currencies?

    Yes. The account supports multiple currency balances where available, and you convert between them as needed.

    Open the account, verify once, send with the real rate in view

    Finish verification, then compare the recipient-gets figure before your first transfer.

    Referral link — we may earn a reward if you sign up, at no extra cost to you. We are an independent publisher. See our Affiliate Disclosure.

  • How to Set Up Semrush: Projects, First Audit and Keyword Tracking

    How to Set Up Semrush: Projects, First Audit and Keyword Tracking

    Home / SEO Tools / Guides / How to set up Semrush

    Tutorial · seo tools · updated October 7, 2026

    How to set up Semrush: projects, your first audit and keyword tracking

    Semrush is a suite, not a single tool, so “setting it up” means configuring a few core tools around your own site and a couple of competitors. Do that once and the data starts accumulating.

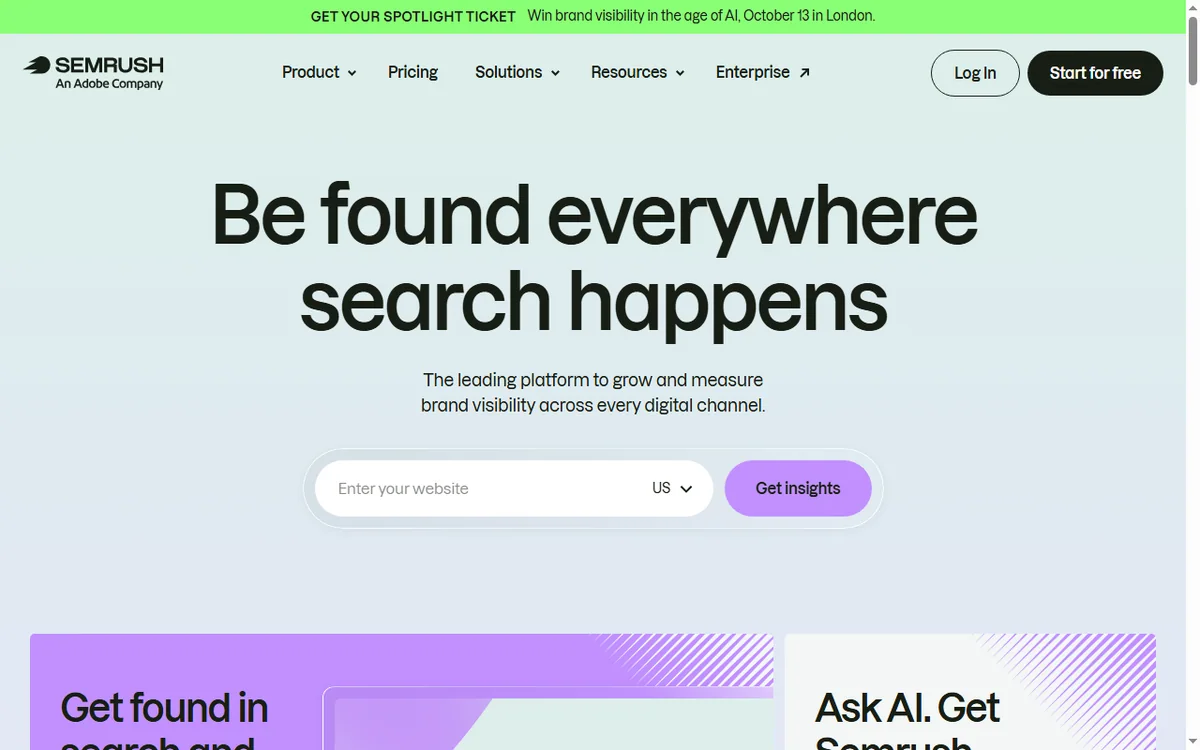
    Semrush homepage for SEO and competitor research
    Semrush official homepage (image: semrush.com)

    Independent analysis. This page may contain affiliate links. Some links here are referral links; if you sign up through one we may earn a reward at no extra cost to you, and it never changes what we recommend. We are an independent publisher and are not affiliated with, endorsed by, or an official partner of any tool mentioned. See our Affiliate Disclosure.

    TL;DR

    • Create a project so audits and rankings attach to your domain.
    • Run a site audit and fix the highest-severity issues first.
    • Set up position tracking for the keywords you actually care about.
    • Add two or three competitors for context, not a dozen.
    • Review on a schedule — data only helps if you act on it.

    On this page: Create the project · Run the site audit · Position tracking · Keyword research · Add competitors · Where this fits

    Semrush sign-up screen to create an account and first project
    Semrush sign-up (image: semrush.com)

    Step 1 — Create your account and first project

    Sign up, then create a project for your own domain. A project is the container that holds your audit history, tracked keywords and reports, so everything you set up later attaches to it.

    Semrush technical SEO audit feature page
    Semrush site audit (image: semrush.com)

    Step 2 — Run your first site audit

    1. Start the site audit and let it crawl your domain.
    2. Sort issues by severity rather than working top to bottom blindly.
    3. Fix blocking technical issues first: broken links, missing titles, redirect chains.
    4. Re-crawl after fixes so you can see progress rather than guessing.
    Semrush position tracking feature page for rank monitoring
    Semrush position tracking (image: semrush.com)

    Step 3 — Configure position tracking

    Add the keywords that matter to your business — the ones tied to revenue, not the ones with the biggest volume. Choose the right country and device type, then let it run for a few weeks before drawing conclusions.

    Semrush keyword research feature page
    Semrush keyword research (image: semrush.com)

    Step 4 — Do focused keyword research

    Use keyword research to find queries you can realistically win, then map each to a page that already exists or a genuinely new one. Resist creating a page for every phrase; group related queries by intent instead.

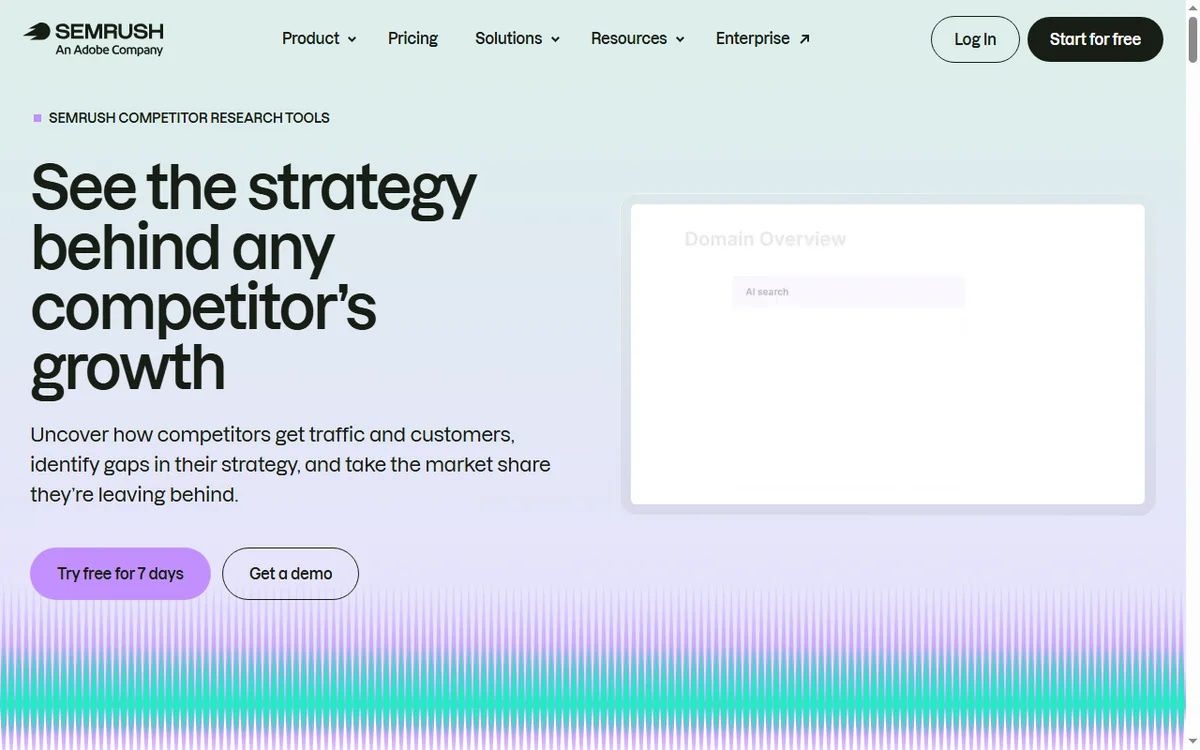
    Semrush competitor analysis feature page
    Semrush competitor analysis (image: semrush.com)

    Step 5 — Add two or three competitors

    Track a small set of real competitors. More domains sound thorough but dilute attention; two or three well-chosen ones reveal the gaps you can actually act on.

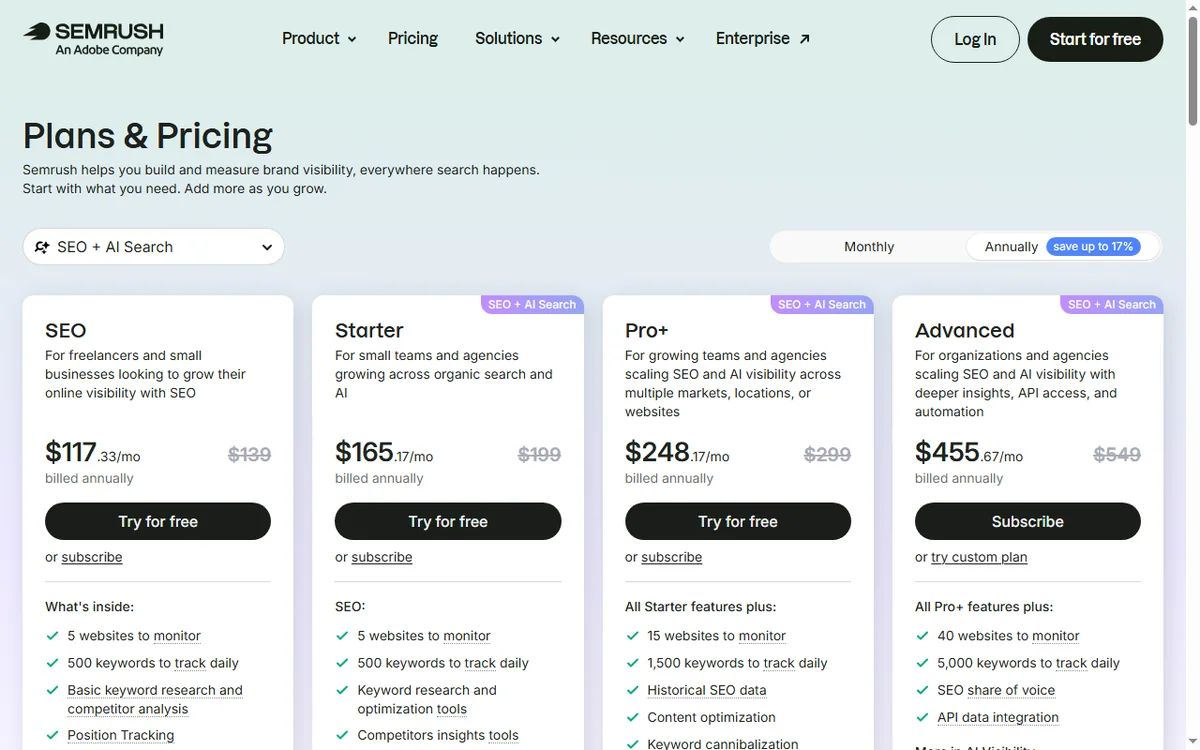
    Semrush pricing page with plan tiers
    Semrush pricing (image: semrush.com)

    Where this fits

    See the independent Semrush review and the Semrush pricing guide. For tool choice, start at the SEO tools hub and the best SEO tools for small business shortlist. New-site basics are covered in the SEO checklist for a new website.

    Frequently asked

    What should I set up first?

    A project for your own domain, then a site audit, then position tracking for your revenue keywords. Competitors and research tools come after the basics are running.

    How many keywords should I track?

    Start with the handful tied directly to your products or services. You can expand later; a short, relevant list is more useful than a long, generic one.

    Do I need the competitor tools?

    They are useful but optional. Add two or three real competitors; a large list usually produces noise rather than decisions.

    How often should I act on the audit?

    Treat it as a recurring task: fix high-severity issues promptly, and review the rest on a monthly rhythm rather than obsessing over every warning.

    Will this guarantee rankings?

    No tool guarantees rankings. Semrush surfaces issues and opportunities; rankings follow from fixing problems, publishing genuinely useful content and earning links over time.

    Configure it once, review it on a schedule

    Project, audit, tracking — then act.

    Referral link — we may earn a reward if you sign up, at no extra cost to you. We are an independent publisher. See our Affiliate Disclosure.
  • How to Set Up Hostinger: Hosting, Domain and WordPress in One Sitting

    How to Set Up Hostinger: Hosting, Domain and WordPress in One Sitting

    Home / Hosting / Guides / How to set up Hostinger

    Tutorial · hosting · updated October 7, 2026

    How to set up Hostinger: hosting, domain and WordPress in one sitting

    Setting up hosting sounds like a project, but on a modern shared host it is four steps: pick a plan, register a domain, install WordPress, and switch on SSL and email. This is the order that avoids clean-up work later.

    Hostinger homepage for web hosting and domains
    Hostinger official homepage (image: hostinger.com)

    Independent analysis. This page may contain affiliate links. Some links here are referral links; if you sign up through one we may earn a reward at no extra cost to you, and it never changes what we recommend. We are an independent publisher and are not affiliated with, endorsed by, or an official partner of any tool mentioned. See our Affiliate Disclosure.

    TL;DR

    • Choose a plan sized for one website, not the biggest sale.
    • Register or connect the domain during the same flow.
    • Install WordPress from the host panel — no manual upload needed.
    • Turn on SSL before you share the link.
    • Set up a business email address on the same domain.

    On this page: Choose a plan · Get the domain · Install WordPress · Enable SSL · Business email · Sanity checks · Where this fits

    Hostinger pricing page with hosting plans
    Hostinger pricing (image: hostinger.com)

    Step 1 — Choose a plan for the job in front of you

    Match the plan to one site and realistic traffic rather than the largest advertised tier. We do not quote prices — hosting prices and promotional terms change frequently, so check the current plans on the vendor’s own pricing page before you buy.

    Prefer a term that lets you test the host without a long lock-in, and read the renewal terms, not just the introductory rate.

    Hostinger domain registration and search page
    Hostinger domains (image: hostinger.com)

    Step 2 — Register or connect your domain

    Register a new domain in the same flow, or point an existing one by updating its name servers. If you already own the domain, connecting it is usually faster than transferring it.

    Hostinger WordPress hosting page
    Hostinger WordPress hosting (image: hostinger.com)

    Step 3 — Install WordPress

    1. Open the host panel and choose the WordPress installer.
    2. Enter a site title, admin username, password and admin email.
    3. Let it install, then log in to your new dashboard.
    4. Set permalinks to a readable structure and remove default sample content.

    Step 4 — Enable SSL

    Switch on the free SSL certificate and force HTTPS so the padlock is consistent across the site. Doing this before launch avoids mixed-content warnings and protects any forms.

    Hostinger business email page
    Hostinger business email (image: hostinger.com)

    Step 5 — Create a business email

    Create an address on your own domain and use it for the site and as the sender for transactional email. A branded address looks more trustworthy than a free one and improves deliverability.

    Final checks before you build

    • Load the site over HTTPS and confirm the padlock.
    • Send a test email from the business address.
    • Note where backups are configured and switch them on.
    • Record your renewal date so it does not surprise you.
    Hostinger tutorials library
    Hostinger tutorials (image: hostinger.com)

    Where this fits

    See the independent Hostinger review and the hosting hub for context. If you are comparing premium hosts, see Kinsta vs Hostinger. For a shortlist sized to small business, see best web hosting for small business, and for the decision itself, how to choose web hosting.

    Frequently asked

    Can I install WordPress manually instead?

    Yes, but the one-click installer is faster and configures the basics for you. Manual installs make sense mainly on custom or unmanaged hosting.

    Do I need a separate domain registrar?

    Not necessarily. You can register the domain with the host during setup, or point a domain you already own. Keeping both in one place simplifies DNS.

    Is the free SSL good enough?

    For a standard business site, yes. It encrypts traffic and removes browser warnings. Specialised needs, like extended validation, are rare for small businesses.

    Should I buy the longest hosting term?

    Longer terms usually cost less per month but lock you in. A medium term lets you test reliability and support before committing further.

    What should I do right after install?

    Set permalinks, remove sample content, enable backups, turn on SSL and create your business email — in that order.

    Get the site live this afternoon

    Plan, domain, WordPress, SSL — in that order.

    Referral link — we may earn a reward if you sign up, at no extra cost to you. We are an independent publisher. See our Affiliate Disclosure.
  • How to Set Up GetResponse: List, Forms and Your First Automation

    How to Set Up GetResponse: List, Forms and Your First Automation

    Home / Email Marketing / Guides / How to set up GetResponse

    Tutorial · email marketing · updated October 7, 2026

    How to set up GetResponse: from empty account to your first automation

    GetResponse is more than a send button: it is a contact database, a form builder and an automation engine. Setting it up well means getting the list clean and the first automation correct.

    GetResponse homepage for email marketing and automation
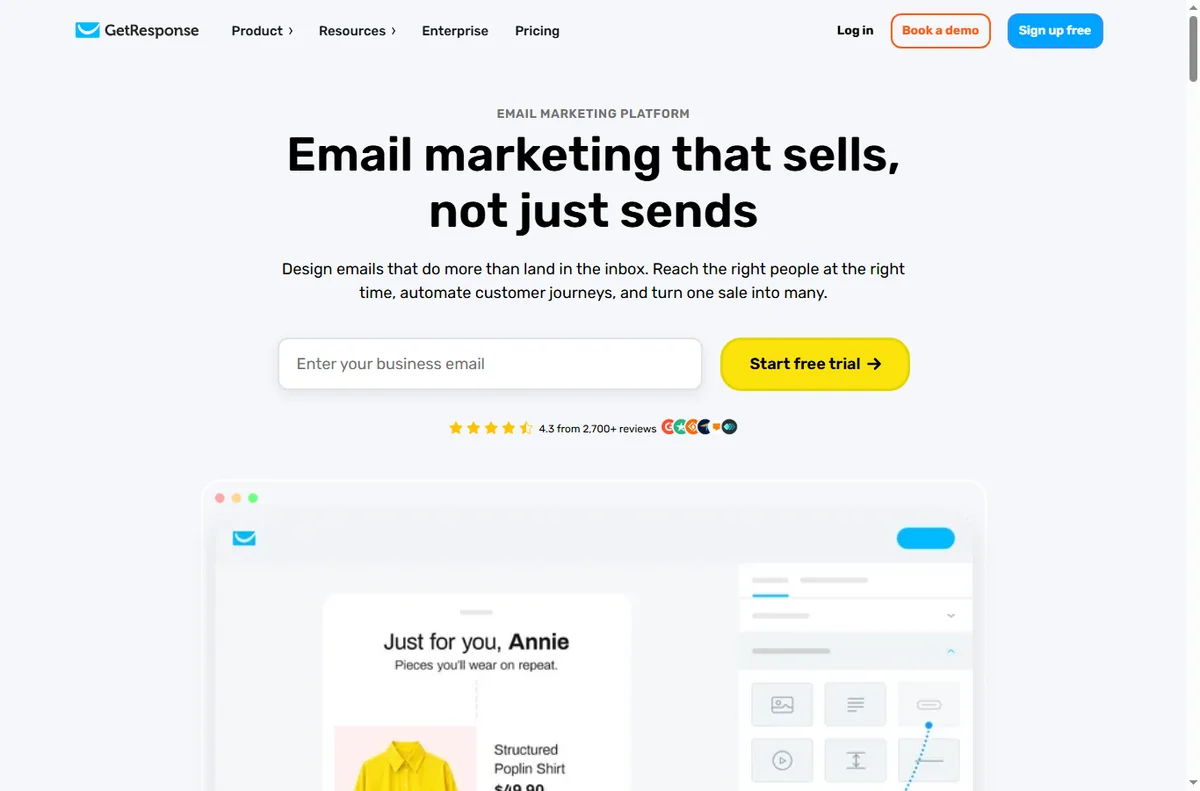
    GetResponse official homepage (image: getresponse.com)

    Independent analysis. This page may contain affiliate links. Some links here are referral links; if you sign up through one we may earn a reward at no extra cost to you, and it never changes what we recommend. We are an independent publisher and are not affiliated with, endorsed by, or an official partner of any tool mentioned. See our Affiliate Disclosure.

    TL;DR

    • Create the account, then set your sender identity before you send anything.
    • Import contacts only with a clear consent basis.
    • Build one signup form and connect it to one list.
    • Start with a single autoresponder, not a complex flowchart.
    • Verify deliverability with a real test before a campaign.

    On this page: What setup involves · Create account + sender identity · Import contacts · Build a signup form · First automation · Check deliverability · Where this fits

    What setting up GetResponse really involves

    Setup is four jobs: identify yourself as a sender, get contacts in with consent, connect a form so new contacts arrive automatically, and launch one automation that proves the system works.

    Do them in that order. Most new-account problems trace back to skipping the sender identity or importing contacts with no consent basis.

    GetResponse sign-up screen for a new account
    GetResponse sign-up (image: getresponse.com)

    Step 1 — Create the account and set your sender identity

    Sign up and confirm your email. Before anything else, set your sender name, from-address and reply-to. Use a real, monitored address on your own domain — deliverability depends on it.

    Step 2 — Import contacts with consent

    Only import people who agreed to hear from you. Purchased or scraped lists damage deliverability and usually break the provider’s terms. If consent is unclear, send a re-permission email rather than importing.

    GetResponse signup form builder page
    GetResponse form builder (image: getresponse.com)

    Step 3 — Build one signup form

    Create a single signup form with as few fields as you need, connect it to one list, and embed it on your site. One clear form beats five half-used ones.

    GetResponse marketing automation features page
    GetResponse marketing automation (image: getresponse.com)

    Step 4 — Launch your first automation

    1. Create a welcome automation triggered when someone joins the list.
    2. Add the delivery email for whatever you promised.
    3. Add one value email and one offer email.
    4. Turn it on and subscribe yourself to test the whole sequence.
    GetResponse email marketing features page
    GetResponse email marketing (image: getresponse.com)

    Step 5 — Check deliverability

    Before a big campaign, send a real test to yourself and to a free mailbox provider. Ask recipients to check the spam folder. Authentication basics like SPF and DKIM should be in place on your sending domain.

    GetResponse pricing page with plan tiers
    GetResponse pricing (image: getresponse.com)

    Where this fits

    See the independent GetResponse review and the GetResponse pricing guide. For platform choice, start at the email marketing hub and the best email marketing software shortlist. Deliverability basics are covered in the email deliverability guide.

    Frequently asked

    Can I import my old contacts?

    Only those who gave consent to receive email from you. Importing purchased or scraped lists risks deliverability and breaches provider terms; when in doubt, re-permission first.

    What is an autoresponder?

    An automated email (or sequence) triggered by an event such as joining a list. It sends without manual effort, which is why it is the first automation most accounts should build.

    Do I need to set up SPF and DKIM?

    They materially improve deliverability. Follow your provider’s authentication guidance on your sending domain before running campaigns.

    How many emails should my welcome sequence have?

    Start with three: deliver what you promised, add value, and make one clear offer. Add more only if you can keep the quality high.

    How do I test before sending?

    Subscribe using a real address, walk the sequence, and send a campaign test to a free mailbox provider to check inbox placement.

    Set the list straight, then automate

    One form, one list, one welcome sequence.

    Referral link — we may earn a reward if you sign up, at no extra cost to you. We are an independent publisher. See our Affiliate Disclosure.

  • How to Set Up Systeme.io: Funnel, Email and Payments Step by Step

    How to Set Up Systeme.io: Funnel, Email and Payments Step by Step

    Home / Funnel Builders / Guides / How to set up Systeme.io

    Tutorial · funnel builders · updated October 7, 2026

    How to set up Systeme.io: one account for funnels, email and payments

    Systeme.io bundles a funnel builder, email marketing and payments into one account. Setting it up is mostly about connecting those pieces in the right order so the whole funnel works, not just the pages.

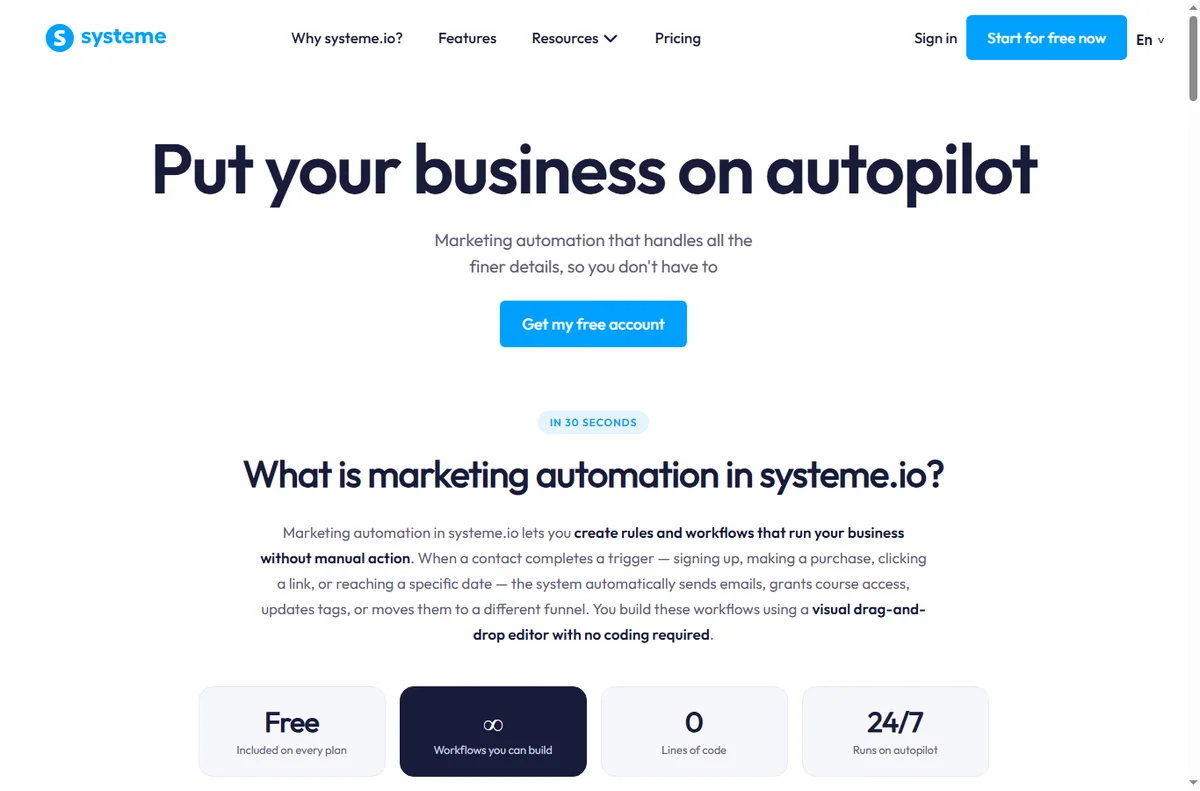
    Systeme.io homepage for building an online business
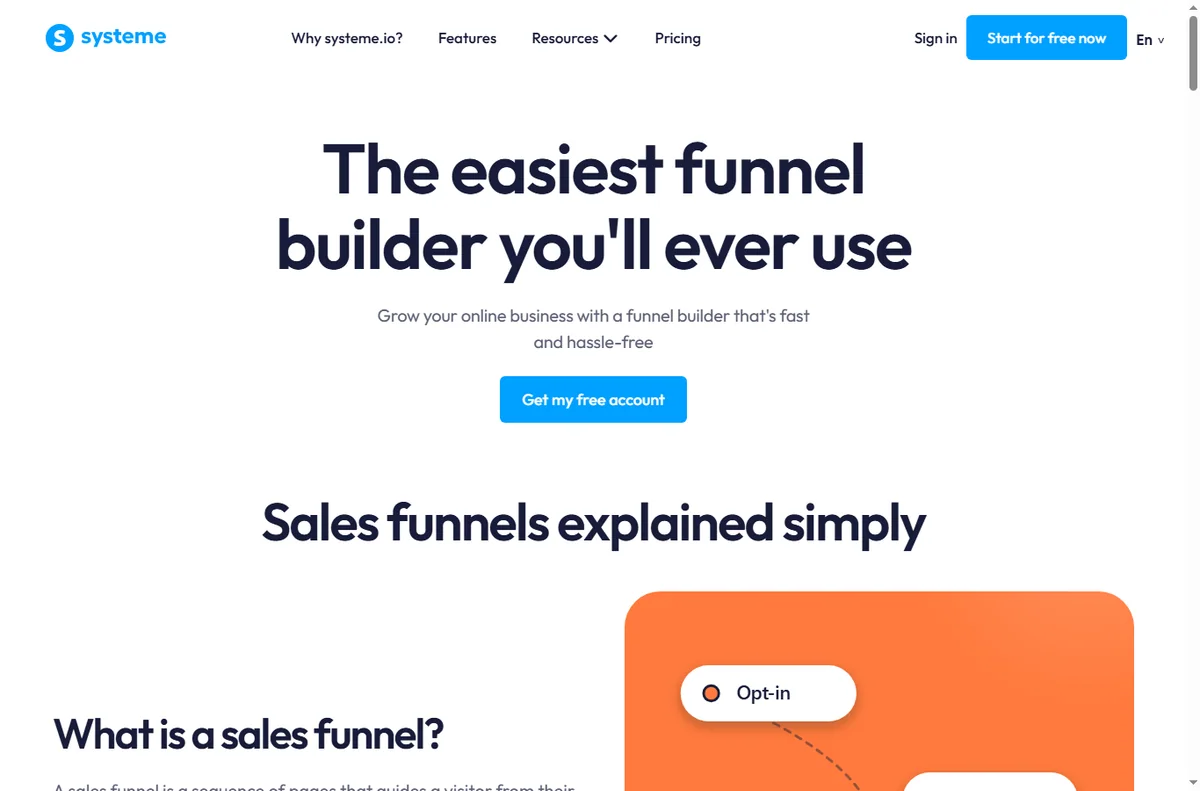
    Systeme.io official homepage (image: systeme.com)

    Independent analysis. This page may contain affiliate links. Some links here are referral links; if you sign up through one we may earn a reward at no extra cost to you, and it never changes what we recommend. We are an independent publisher and are not affiliated with, endorsed by, or an official partner of any tool mentioned. See our Affiliate Disclosure.

    TL;DR

    • Systeme.io replaces several separate tools with one account.
    • Set up in this order: account, domain, funnel, email, payment.
    • Test the complete path before you send real traffic.
    • Keep the first funnel simple — one opt-in, one offer.
    • Confirm current plan limits and prices on the vendor’s own page.

    On this page: What one account gives you · Create the account · Connect a domain · Build the funnel · Set up email · Add payments · Test the whole path · Where this fits

    What one account actually gives you

    Systeme.io aims to replace a stack: landing pages, a funnel builder, email marketing, online courses, and payment collection. The value is the integration — the pieces already talk to each other.

    That also means setup is a sequence. Build the pages, connect the email list, then add payments, because each step depends on the previous one.

    • Funnel and landing pages
    • Email marketing and automation
    • Online courses and memberships
    • Payments and order forms
    Systeme.io registration screen for a new account
    Systeme.io registration (image: systeme.com)

    Step 1 — Create your account

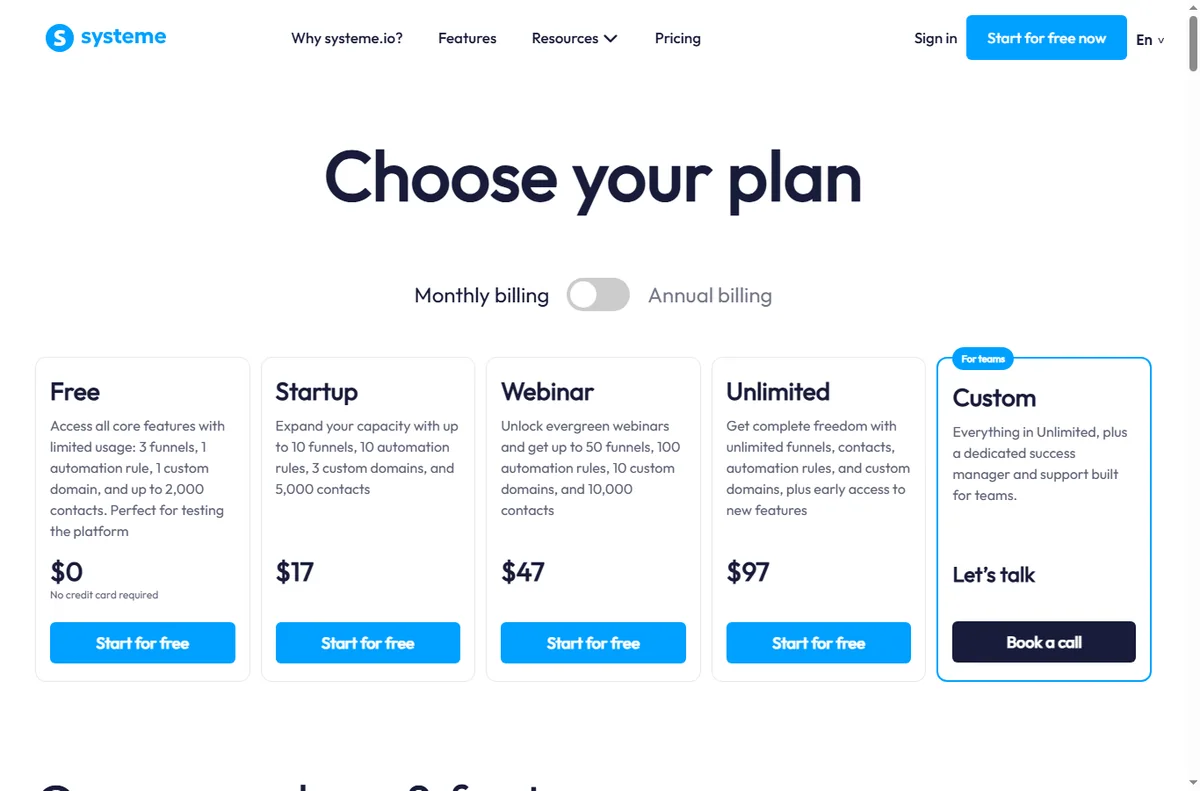
    Sign up and confirm your email. You begin on the entry plan, which is intentionally limited. It is enough to build and test a simple funnel, but check the current contact and feature limits before you plan a campaign.

    Step 2 — Connect your domain

    Add your custom domain and point its DNS records as instructed. Doing this before you build means every page you create already lives on your own domain rather than a temporary subdomain you later have to migrate.

    Systeme.io sales funnel builder page
    Systeme.io sales funnels (image: systeme.com)

    Step 3 — Build your first funnel

    1. Choose a funnel type, then pick a template closest to your goal.
    2. Edit the opt-in page: one clear headline, one offer, one call to action.
    3. Add a thank-you page and connect it to your email list.
    4. Add one sales or order page only if you are selling immediately.
    Systeme.io email marketing features page
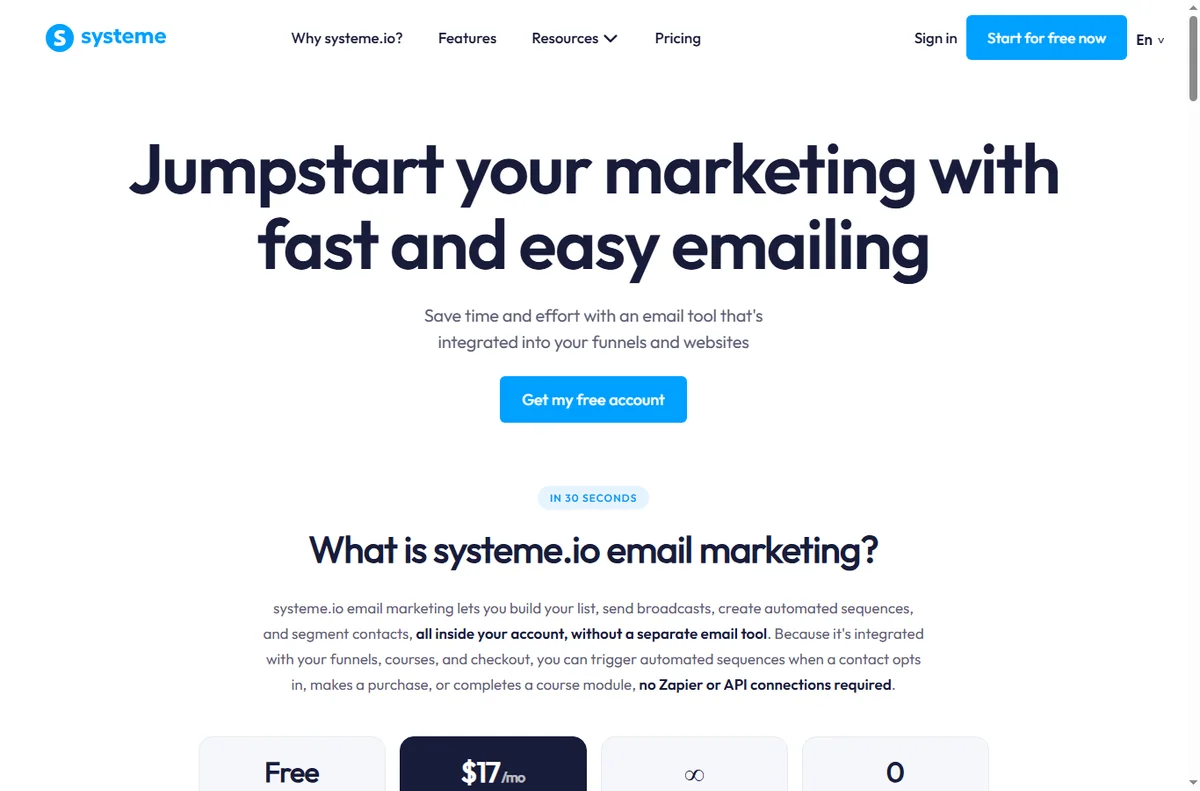
    Systeme.io email marketing (image: systeme.com)

    Step 4 — Set up email

    Create your list, then build a short welcome sequence: an immediate delivery email, a value email, and an offer. Connect the opt-in form to the list so new subscribers enter the sequence automatically.

    Set your sender name and reply-to before sending anything — deliverability depends on consistent, real sender details.

    Systeme.io pricing page with plan and payment options
    Systeme.io pricing (image: systeme.com)

    Step 5 — Add payments

    Connect your payment processor and create the order form or checkout for your offer. Run a live test purchase with a small amount to confirm the whole path works, then refund it.

    Step 6 — Test the complete flow

    Walk the funnel as a stranger would: opt in with a real address, confirm the sequence arrives, click through to the offer, and complete a test purchase. Only then point traffic at it.

    Systeme.io marketing automation features page
    Systeme.io marketing automation (image: systeme.com)

    Where this fits

    See the independent Systeme.io review for a full evaluation and the Systeme.io pricing guide for plan structure. If you are choosing a platform, start with the funnel builders hub and the best funnel builders shortlist. Many users also pair a funnel tool with a dedicated email marketing platform.

    Frequently asked

    Do I need a separate email tool?

    Not necessarily. Email is built in. A separate email platform only makes sense if you need deeper automation or deliverability features than the bundled version provides.

    Can I use my own domain?

    Yes, and you should connect it early so your pages and links live on your domain from day one.

    How do I take payments?

    You connect a supported payment processor and use the built-in order forms or checkout. Always run a small live test purchase before launch.

    Is it good for online courses?

    Yes — course hosting is part of the same account, which is useful if you sell a course alongside a funnel.

    How long does setup take?

    A single simple funnel can be built and tested in a few hours by a first-timer, longer if you write the copy from scratch.

    Build the funnel, then invite traffic

    Keep the first funnel to one opt-in and one offer.

    Referral link — we may earn a reward if you sign up, at no extra cost to you. We are an independent publisher. See our Affiliate Disclosure.

  • How to Set Up Make: First Scenario, Step by Step

    How to Set Up Make: First Scenario, Step by Step

    Home / Automation / Guides / How to set up Make

    Tutorial · automation · updated October 7, 2026

    How to set up Make: from sign-up to your first working scenario

    Make is a visual automation tool, and setting it up is really about getting one scenario to run end to end. This walkthrough takes you from a blank account to a working automation without the usual detours.

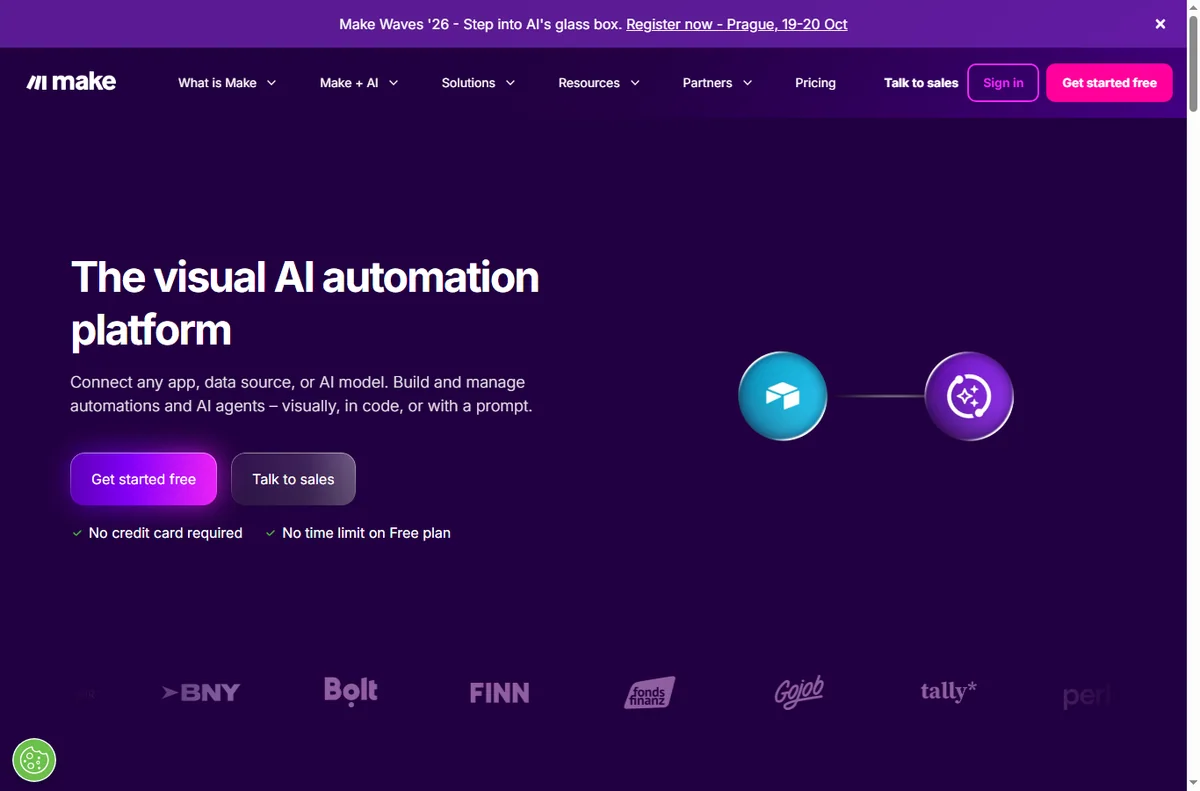
    Make homepage with workflow automation canvas
    Make official homepage (image: make.com)

    Independent analysis. This page may contain affiliate links. Some links here are referral links; if you sign up through one we may earn a reward at no extra cost to you, and it never changes what we recommend. We are an independent publisher and are not affiliated with, endorsed by, or an official partner of any tool mentioned. See our Affiliate Disclosure.

    TL;DR

    • Make is a visual automation tool: you build a “scenario” from a trigger plus one or more app modules.
    • Setup is free to start — create an account, connect one app, and run a two-step scenario.
    • You do not need code for the first scenario; you need one clear trigger and one clear action.
    • Watch your monthly operation count — that is what a paid plan meters.
    • Upgrade only when a real workflow outgrows the free cap.

    On this page: What setting up Make means · Before you start · Create your account · Three words that matter · Build a scenario · Test it · Turn it on · When to upgrade · Common mistakes · Where this fits

    Make login page
    Make login (image: make.com)

    What setting up Make actually means

    Make connects apps so that work happens without you. Unlike a simple “if this then that” tool, Make is built around scenarios: a visual canvas where a trigger starts a run and one or more modules act on the data.

    So “setting up Make” is three milestones rather than one install: create an account, learn the scenario editor, and get a single automation running correctly. Templates and advanced modules come later.

    Before you start

    • An email address you can confirm right away.
    • One app you already use that can act as a trigger — a form, a spreadsheet, a store or an inbox.
    • A one-sentence job description: “when this happens, do that”.
    • A few minutes to run the scenario by hand once.
    Make sign-up screen used to create a new account
    Make sign-up page (image: make.com)

    Step 1 — Create your account

    Sign up on the vendor’s site and confirm the email. You land in a dashboard that lists organizations, scenarios and templates — not in the editor, which surprises people who expect to start building immediately.

    Begin on the free tier. It is enough to learn on, but it meters a monthly operation cap, so treat it as a sandbox rather than production.

    Step 2 — Learn the three words that carry the meaning

    • Trigger — the event that starts a scenario (a new form entry, a new row, a new order).
    • Module — a step that does one job, such as creating a contact or sending a message.
    • Operation — one unit of work a module consumes; this is what your plan meters.
    Make template gallery for starting a scenario
    Make workflow template gallery (image: make.com)

    Step 3 — Build a two-step scenario

    1. Open Scenarios and choose “Create a new scenario” rather than a template, so you learn the parts.
    2. Click the first node, pick your trigger app and event, then create a connection (authorise the app once).
    3. Add the second node and pick the action: for example, “Create a row” in a spreadsheet or “Send a message”.
    4. Map the fields — drag the trigger’s output into the action’s input so the data flows across.

    Step 4 — Test before you trust it

    Use the run-once control to pull sample data through the scenario. Read the input and output of each module; the first failure is almost always a mis-mapped field or an authorisation that expired.

    Step 5 — Turn it on and watch the first runs

    Once a manual run succeeds, set the schedule or webhook and switch the scenario on. Watch the first few executions rather than assuming they are fine — especially the first time real traffic hits it.

    Make pricing page with plan tiers and operation limits
    Make pricing and plans (image: make.com)

    Step 6 — Know when to upgrade

    Upgrade when a genuine workflow outgrows the free operation cap, not before. Estimate your monthly operations from real volume, then pick the smallest paid tier that covers it comfortably. We deliberately do not quote prices — vendors change tiers and caps often, so confirm current figures on the vendor’s own pricing page.

    Common setup mistakes

    MistakeWhy it hurtsFix
    Starting from a complex templateYou inherit logic you do not understandBuild one simple scenario first
    Ignoring the operation countThe free cap is hit mid-monthModel monthly volume early
    No error handlingA silent failure breaks the flowAdd an error handler or fallback path
    Testing with live data onlyFailures are hard to reproduceUse sample data, then a live run
    Turning on before a manual runThe first real execution failsAlways run once by hand
    Based on publicly documented behaviour, checked October 7, 2026.
    Make integrations library connecting thousands of apps
    Make integrations library (image: make.com)

    Where this fits in your wider stack

    If you are still choosing a platform, start with the business automation hub and the independent Make review. For cost, see the Make pricing guide, and if you are weighing platforms, the Make vs n8n comparison. Teams that need the broadest connector catalogue often compare against the best workflow automation tools.

    Frequently asked

    How long does it take to set up Make?

    The account and first simple scenario take roughly 20–40 minutes for a first-timer. Multi-step scenarios with branching take longer because they add concepts, not because the setup itself is long.

    Do I need to know how to code?

    No. The first scenarios are built by clicking modules and mapping fields. Code only enters if you use a code module for a transformation the built-in functions cannot do.

    Is the free plan enough to start?

    It is enough to learn and to run low-volume workflows. It meters a monthly operation cap, so busy automations reach it quickly. Check the current cap on the vendor’s pricing page.

    What is an operation, exactly?

    An operation is one unit of work a module performs during a run. A scenario with three modules that runs once typically consumes three operations. That is why volume matters more than the number of scenarios.

    Should I use a template or build from scratch?

    Build your first scenario from scratch so you understand triggers and modules, then use templates once you can read what they do. Templates are shortcuts, not a substitute for understanding.

    Build one scenario, then judge the tool

    Count your steps first, then prototype on the free tier.

    Referral link — we may earn a reward if you sign up, at no extra cost to you. We are an independent publisher. See our Affiliate Disclosure.