We’re reader-supported — some links are affiliate links. Learn more →

Skip to content

Independent software research. Some links may earn us a commission at no extra cost to you. Learn more →

ICode

Tag: setup

  • How to set up Mangools (step-by-step)

    How to set up Mangools (step-by-step)

    Home / SEO Tools / Guides / How to set up Mangools

    Tutorial · seo tools · updated October 9, 2026

    How to set up Mangools: account, domain tracking and your first research

    Mangools is a suite of SEO tools — KWFinder for keyword research, SERPChecker for SERP analysis, SERPWatcher for rank tracking, LinkMiner for backlinks and SiteProfiler for site overviews. Setting it up means creating an account, picking a plan, adding the domain you want to track, and running one focused keyword search. Here is the order that gets you useful data fastest.

    Independent analysis. This page may contain affiliate links. If you sign up through a link on this page we may earn a reward at no extra cost to you, and it never changes what we recommend. We are an independent publisher and are not affiliated with, endorsed by, or an official partner of any tool mentioned. See our Affiliate Disclosure.

    TL;DR

    • Create the account with a business email you monitor.
    • Pick the smallest plan that matches your monthly workload.
    • Add the domain you want to track in SERPWatcher.
    • Run one focused keyword search in KWFinder.
    • Add two or three competitors and switch on a weekly report.

    On this page: Create account · Pick a plan · Add the domain · First research · Add competitors · Sanity checks
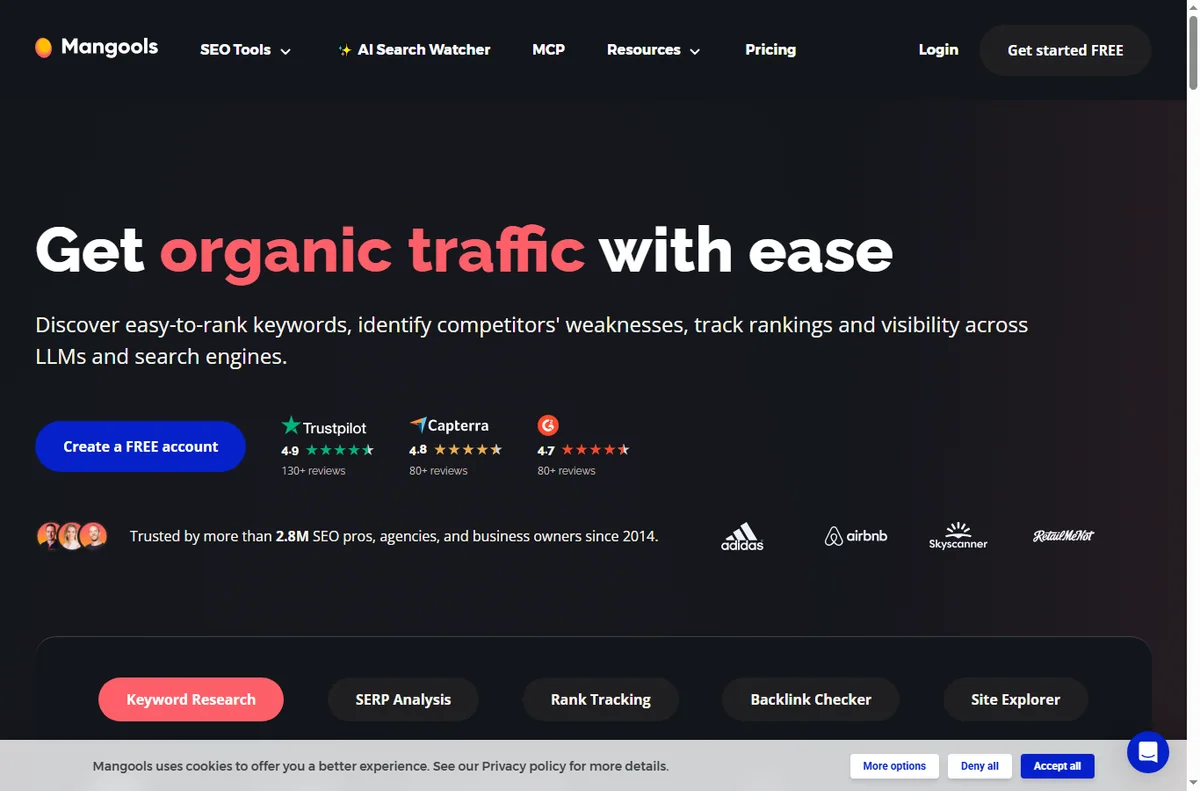
    Mangools home page
    Mangools home (image: mangools.com)

    Step 1 — Create your account

    Start by creating an account with an email address you check regularly. This is the login you will use across the whole suite, so a business address is worth using over a personal one.

    Confirm the verification email before going further; an unverified account cannot save projects or tracking data reliably.

    Mangools kwfinder page
    Mangools kwfinder (image: mangools.com)

    Step 2 — Pick a plan that matches your workload

    The suite is sold in tiers that differ mainly in how many searches, tracked keywords and seats you get. We do not quote prices — plans and limits change, so check the current plans and usage limits on Mangools’ pricing page before you buy.

    If you are testing, start on the smallest tier that covers your real monthly workload rather than the largest annual deal you may not need yet.
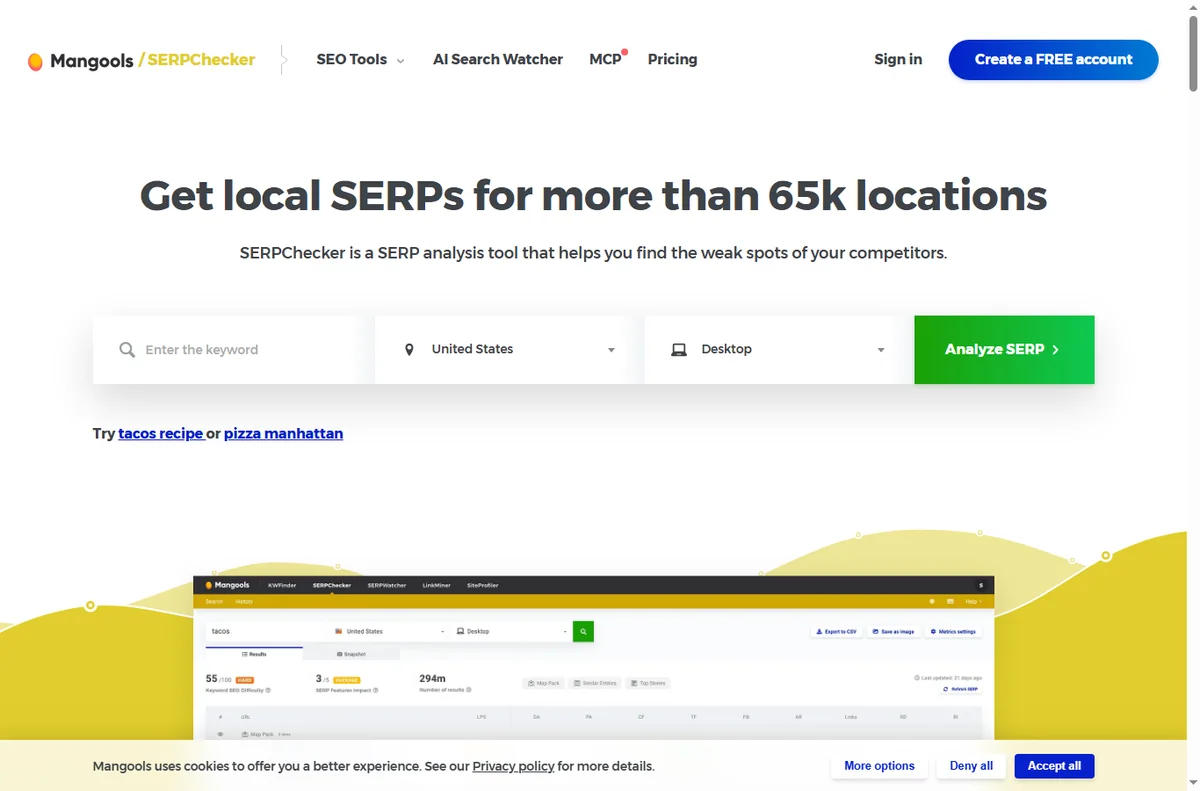
    Mangools serpchecker page
    Mangools serpchecker (image: mangools.com)

    Step 3 — Add the domain you want to track

    Open SERPWatcher and add the domain whose rankings you want to follow. Set the search engine and location to match your actual customers, not just your own country.

    Import the keywords you already care about, or add the handful you know matter most. Tracking your real terms beats tracking vanity phrases.

    Step 4 — Run your first keyword research

    Open KWFinder, enter a broad topic, and filter for keywords with realistic difficulty for a small site. Look for terms where the top results are pages you could plausibly outrank.

    Group the results by intent — informational, commercial, local — and keep a short list you can actually write about this quarter.

    Mangools serpwatcher page
    Mangools serpwatcher (image: mangools.com)

    Step 5 — Add two or three competitors

    Add a small set of direct competitors using SERPChecker and SERPWatcher. Two or three is enough to spot patterns; a long list just adds noise.

    Use them to see which pages earn their rankings and which keywords they overlook — those gaps are where a small site wins.

    Final checks before you rely on it

    • Confirm your tracked domain and keywords are reporting data.
    • Set a weekly email report so you review progress without logging in daily.
    • Check the tool’s stated data limits so you do not run out mid-research.
    • Note your renewal date and the current plan limits.
    Mangools siteprofiler page
    Mangools siteprofiler (image: mangools.com)

    Where this fits

    See the independent Mangools review and the SEO tools hub. For the method, see how to do keyword research and the on-page SEO guide. For a shortlist sized to a small business, see best SEO tools for small business.

    Mangools x blog page
    Mangools x blog (image: mangools.com)

    Frequently asked

    What is Mangools best at?

    Fast, affordable keyword research and rank tracking. It is aimed at people who need the core SEO tasks without a large platform.

    Do I need a paid plan to try it?

    There are limits on what you can do without paying. Check the current terms on the pricing page before you rely on it for client work.

    Can I track more than one website?

    Paid tiers support more sites and keywords; check the current limits on the pricing page.

    Does it replace a full SEO platform?

    For a small site it covers the essentials. Larger teams with advanced reporting needs may still want a broader platform.

    Start tracking with Mangools

    Account, domain tracking and your first research.

    Some links on this page may be referral links — we may earn a reward if you sign up, at no extra cost to you. We are an independent publisher. See our Affiliate Disclosure.

  • How to set up FastComet (step-by-step)

    How to set up FastComet (step-by-step)

    Home / Hosting / Guides / How to set up FastComet

    Tutorial · hosting · updated October 9, 2026

    How to set up FastComet: hosting, domain and WordPress in one sitting

    Setting up FastComet follows the same four moves as any modern shared host: pick a plan, register or connect a domain, install WordPress, then switch on SSL and email. Do it in this order and you avoid rework. FastComet adds a few touches worth using from day one, such as free daily backups and 24/7 support.

    Independent analysis. This page may contain affiliate links. If you sign up through a link on this page we may earn a reward at no extra cost to you, and it never changes what we recommend. We are an independent publisher and are not affiliated with, endorsed by, or an official partner of any tool mentioned. See our Affiliate Disclosure.

    TL;DR

    • Choose a plan sized for one site and realistic traffic.
    • Register or connect the domain in the same flow.
    • Install WordPress from the host panel.
    • Turn on SSL before you share the link.
    • Create a business email and enable backups.

    On this page: Choose a plan · Get the domain · Install WordPress · Enable SSL · Business email · Sanity checks

    Fastcomet home page
    Fastcomet home (image: fastcomet.com)

    Step 1 — Choose a plan for the job in front of you

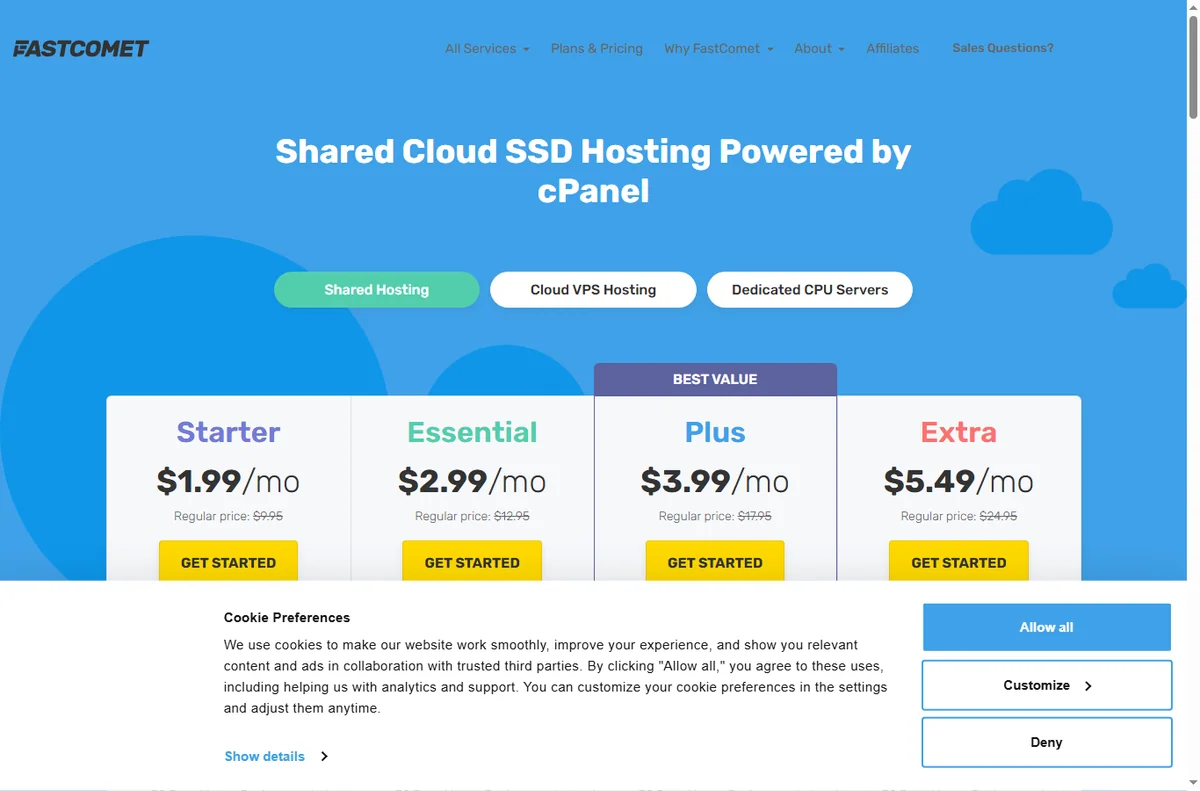
    Match the plan to a single site and realistic traffic rather than the largest advertised tier. We do not quote prices — hosting prices and promotional terms change often, so check the current plans on FastComet’s own pricing page before you buy.

    Read the renewal terms, not just the introductory rate, and pick a data center region close to the customers you serve.

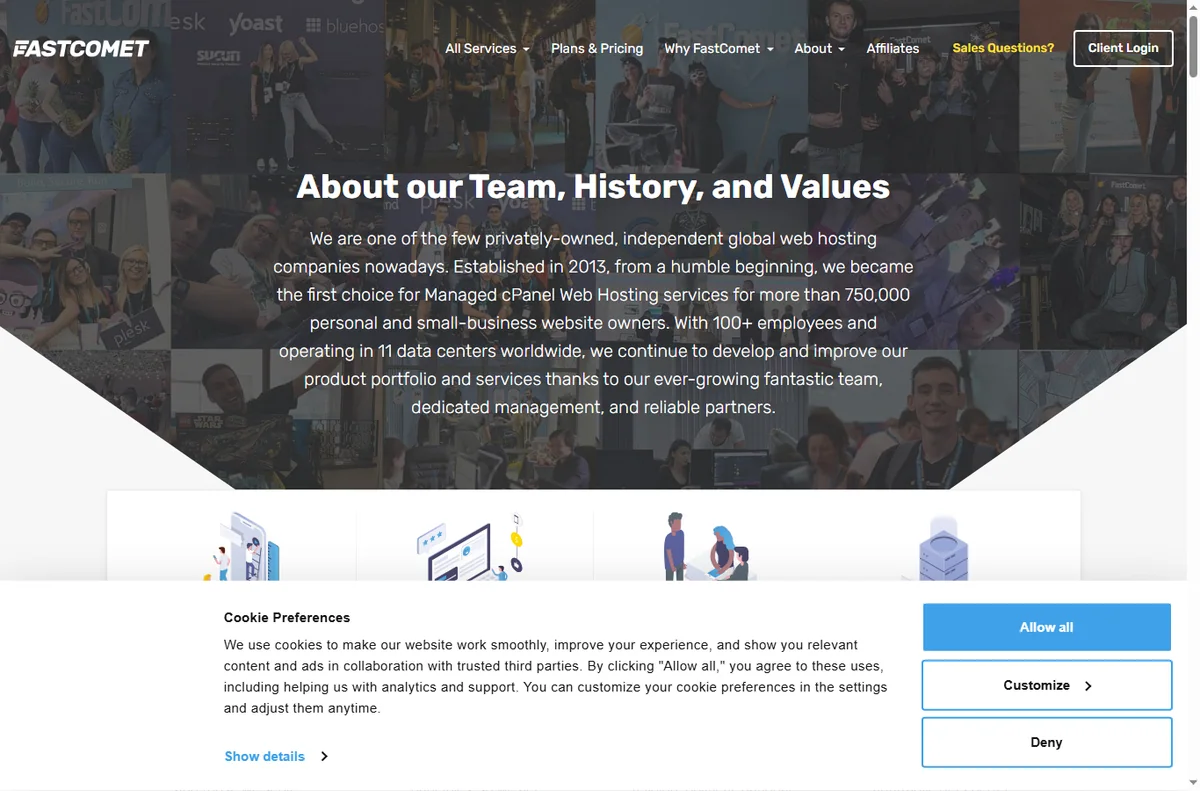
    Fastcomet about page
    Fastcomet about (image: fastcomet.com)

    Step 2 — Register or connect your domain

    Register a new domain during checkout, or point one you already own by updating its name servers. Connecting is usually faster than transferring, and it avoids any downtime at the registrar.

    Keep a copy of the nameservers FastComet gives you. Most “the site is not live yet” cases come down to a slow or mistyped DNS change.

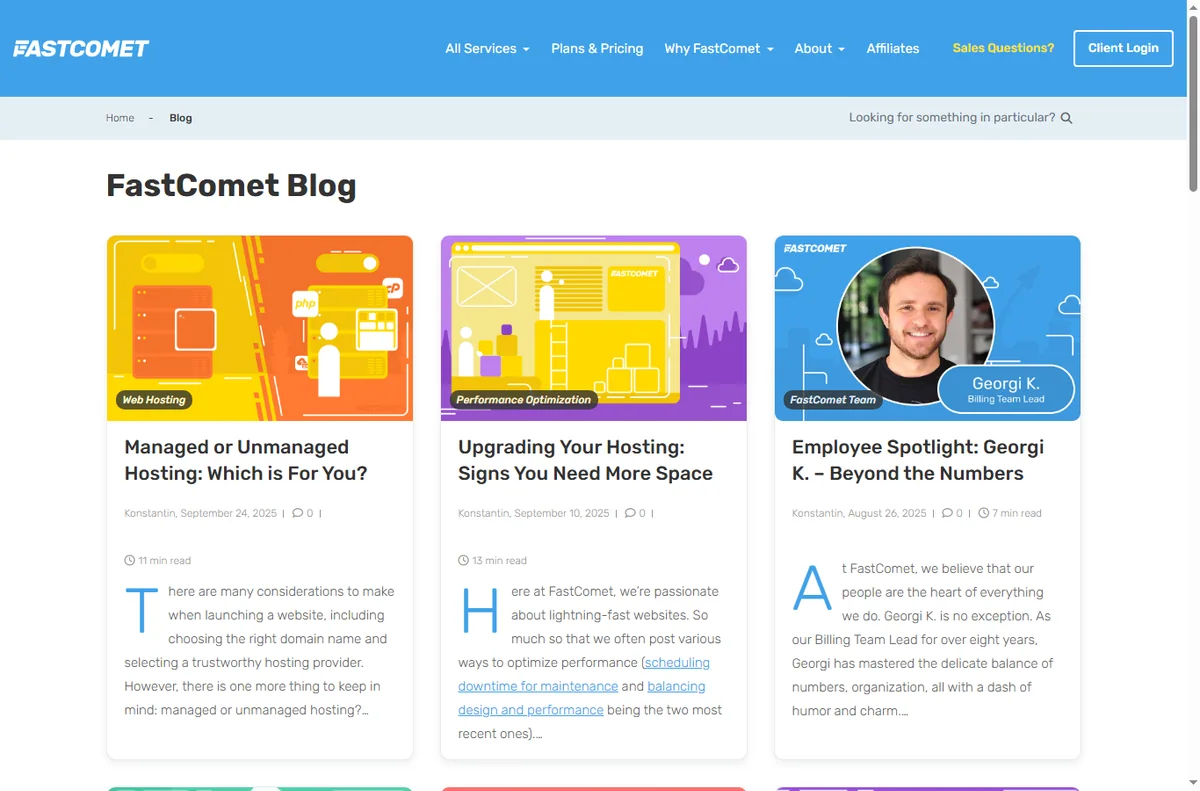
    Fastcomet blog page
    Fastcomet blog (image: fastcomet.com)

    Step 3 — Install WordPress

    1. Open the hosting panel and choose the WordPress installer.
    2. Enter a site title, an admin username that is not “admin”, a strong password and a monitored admin email.
    3. Let it install, then log in to the dashboard.
    4. Set permalinks to a readable structure and clear the sample content.

    If you plan to grow, install on the managed WordPress plan so updates and caching are handled for you.

    Step 4 — Enable SSL

    Turn on the free SSL certificate and force HTTPS across the site. Confirm the padlock on the homepage and on one inner page.

    Fix any mixed-content warnings from hard-coded http:// images or scripts, or the padlock will keep breaking on those pages.

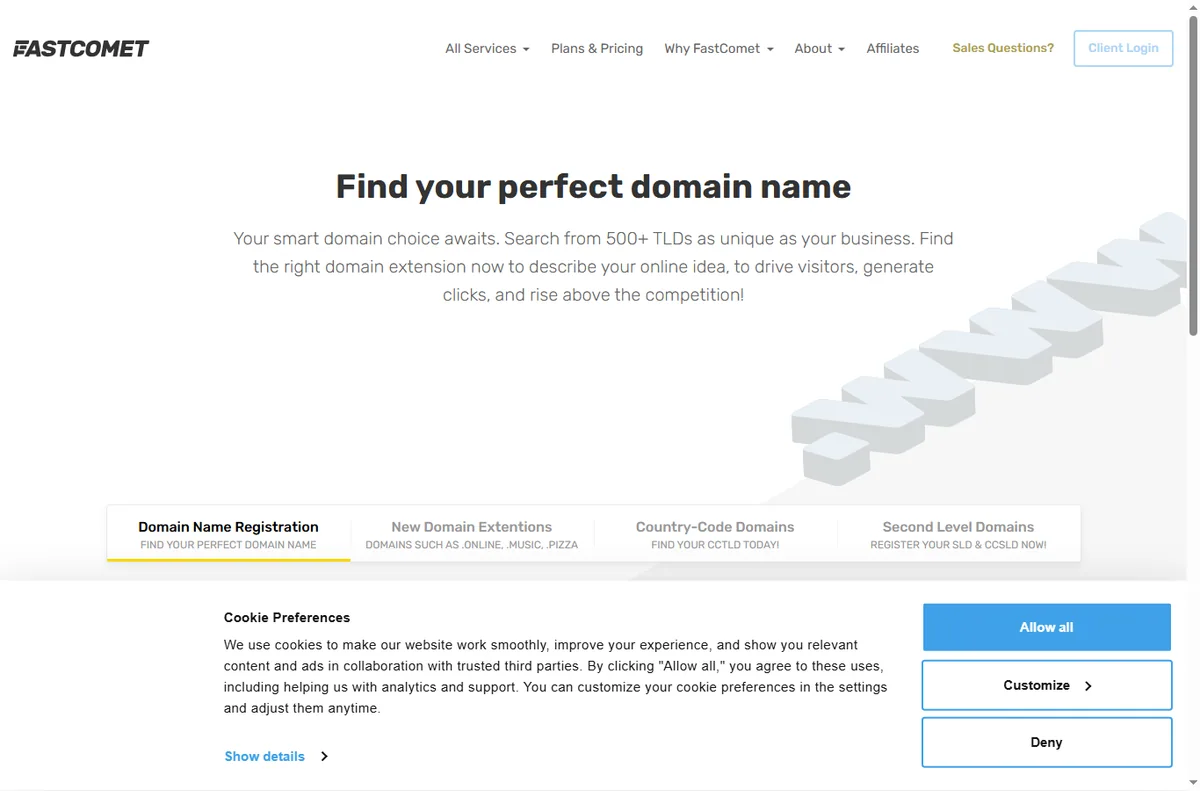
    Fastcomet domains page
    Fastcomet domains (image: fastcomet.com)

    Step 5 — Create a business email

    Set up an address on your own domain for quotes, invoices and support. A branded address is more trustworthy than a free inbox and improves deliverability.

    Ask support to help with SPF and DKIM if you are unsure; correctly configured mail records keep you out of spam folders.

    Final checks before you build

    • Load the site over HTTPS and confirm the padlock.
    • Send a test email from the business address.
    • Confirm daily backups are switched on.
    • Note the renewal date and current plan limits.
    Fastcomet pricing page
    Fastcomet pricing (image: fastcomet.com)

    Where this fits

    See the independent FastComet review and the hosting hub. For a shortlist sized to small business, see best web hosting for small business, and for the decision itself, how to choose web hosting. New to WordPress hosting? See the WordPress hosting beginners guide.

    Fastcomet support page
    Fastcomet support (image: fastcomet.com)

    Frequently asked

    Is FastComet good for beginners?

    Yes. One-click WordPress installs, daily backups and responsive 24/7 support make it approachable for a first site.

    Can I install WordPress manually?

    Yes, but the one-click installer is faster and configures the basics. Manual installs matter mainly on unmanaged hosting.

    Do I need a separate domain registrar?

    Not necessarily. You can register the domain with FastComet during setup, or point one you already own.

    Should I buy the longest term?

    Longer terms usually cost less per month but lock you in. A medium term lets you test reliability before committing further.

    Get your site live with FastComet

    Plan, domain, WordPress, SSL — in that order.

    Some links on this page may be referral links — we may earn a reward if you sign up, at no extra cost to you. We are an independent publisher. See our Affiliate Disclosure.
    See also: FastComet alternatives: 3 options compared (2026).

  • How to set up HostPapa (step-by-step)

    How to set up HostPapa (step-by-step)

    Home / Hosting / Guides / How to set up HostPapa

    Tutorial · hosting · updated October 9, 2026

    How to set up HostPapa: hosting, domain and WordPress in one sitting

    Setting up HostPapa comes down to a short, ordered list: choose a plan, register or connect a domain, install WordPress, switch on SSL, and create a business email. Work in that order and you avoid clean-up work later. This guide walks through each step the way a first-time site owner actually does it.

    Independent analysis. This page may contain affiliate links. If you sign up through a link on this page we may earn a reward at no extra cost to you, and it never changes what we recommend. We are an independent publisher and are not affiliated with, endorsed by, or an official partner of any tool mentioned. See our Affiliate Disclosure.

    TL;DR

    • Choose a plan sized for one website, not the biggest sale.
    • Register or connect the domain during the same flow.
    • Install WordPress from the host panel — no manual upload needed.
    • Turn on SSL before you share the link.
    • Set up a business email address on the same domain.

    On this page: Choose a plan · Get the domain · Install WordPress · Enable SSL · Business email · Sanity checks

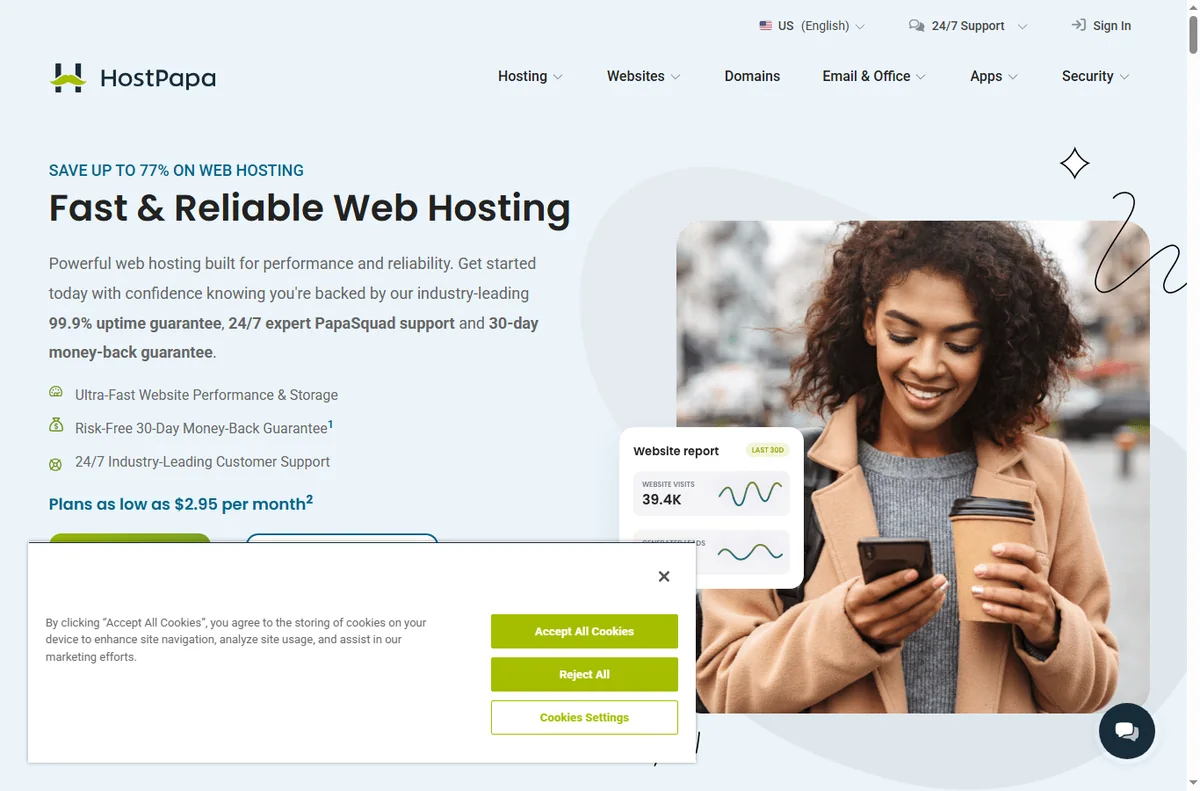
    Hostpapa home page
    Hostpapa home (image: hostpapa.com)

    Step 1 — Choose a plan for the job in front of you

    Match the plan to a single site and realistic traffic rather than the largest advertised tier. We do not quote prices — hosting prices and promotional terms change often, so check the current plans on HostPapa’s own pricing page before you buy.

    Prefer a term that lets you test the host without a long lock-in, and read the renewal terms, not just the introductory rate. A plan that looks cheap in month one can cost more in year three.

    Hostpapa blog page
    Hostpapa blog (image: hostpapa.com)

    Step 2 — Register or connect your domain

    Register a new domain in the same flow, or point an existing one by updating its name servers. If you already own the domain, connecting it is usually faster than transferring it, and it keeps your registrar history intact.

    Write down the nameservers HostPapa gives you. If the site does not load after a few hours, a wrong or half-updated nameserver record is the most common cause.

    Hostpapa domains page
    Hostpapa domains (image: hostpapa.com)

    Step 3 — Install WordPress

    1. Open the HostPapa control panel and choose the WordPress installer.
    2. Enter a site title, admin username, password and admin email.
    3. Let it install, then log in to your new dashboard.
    4. Set permalinks to a readable structure and remove the default sample content.

    Avoid using “admin” as the username, and keep the admin email one you actually monitor — it is the address used for password resets.

    Step 4 — Enable SSL

    Turn on the SSL certificate for your domain and redirect all traffic to HTTPS. Check that the padlock appears on the homepage and on at least one inner page, because a mixed-content image can quietly break HTTPS on a single template.

    Once HTTPS works on every page, update any hard-coded links in your content to use https:// so visitors are never bounced back to an insecure address.

    Hostpapa email page
    Hostpapa email (image: hostpapa.com)

    Step 5 — Create a business email

    Set up an address on your own domain rather than using a personal inbox. A branded address looks more trustworthy than a free one and improves deliverability when you email customers.

    Add SPF and DKIM records if the panel offers them. These are the difference between landing in an inbox and landing in a spam folder.

    Final checks before you build

    • Load the site over HTTPS and confirm the padlock.
    • Send a test email from the business address.
    • Note where backups are configured and switch them on.
    • Record your renewal date so it does not surprise you.
    Hostpapa x websitebuilder page
    Hostpapa x websitebuilder (image: hostpapa.com)

    Where this fits

    See the independent HostPapa review and the hosting hub for context. For a shortlist sized to small business, see best web hosting for small business, and for the decision itself, how to choose web hosting. Watch the long-term cost with hosting renewal pricing.

    Icode editorial illustration
    Icode editorial illustration (image: icode.io.vn)

    Frequently asked

    Is HostPapa good for beginners?

    Yes. The guided setup, bundled tools and phone support make it one of the friendlier entry points for a first website.

    Can I install WordPress manually instead?

    Yes, but the one-click installer is faster and configures the basics for you. Manual installs make sense mainly on custom or unmanaged hosting.

    Do I need a separate domain registrar?

    Not necessarily. You can register the domain with HostPapa during setup, or point a domain you already own. Keeping both in one place simplifies DNS.

    Should I buy the longest hosting term?

    Longer terms usually cost less per month but lock you in. A medium term lets you test reliability and support before committing further.

    Get your site live with HostPapa

    Plan, domain, WordPress, SSL — in that order.

    Some links on this page may be referral links — we may earn a reward if you sign up, at no extra cost to you. We are an independent publisher. See our Affiliate Disclosure.
  • How to Set Up PureVPN: VPN, Step by Step

    How to Set Up PureVPN: VPN, Step by Step

    Home / Security & Privacy / Guides / How to set up PureVPN

    Tutorial · security & privacy · updated October 8, 2026

    How to set up PureVPN: a practical walkthrough

    A VPN only helps once it is running on the devices your team actually uses. This walkthrough covers a standard PureVPN setup from start to finish: choosing a plan, creating the account, installing the apps, connecting, verifying the connection, and switching on the features that carry most of the value for a small team.

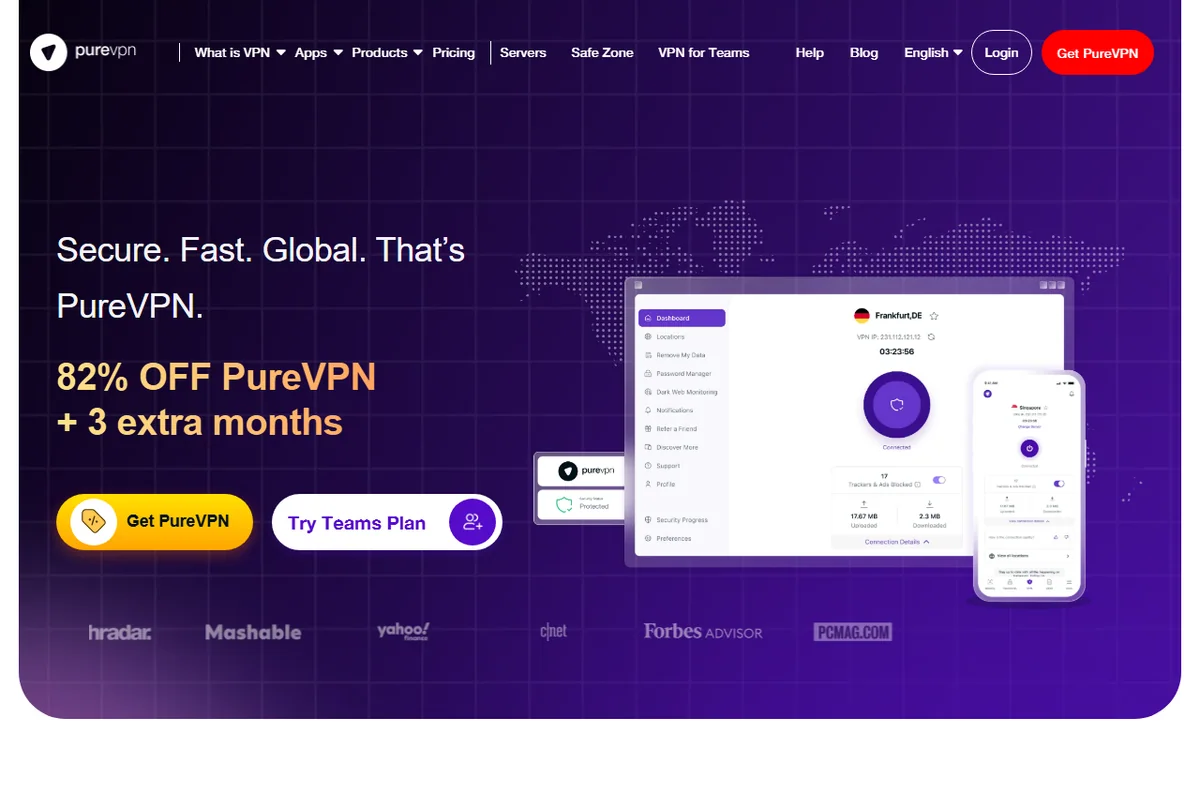
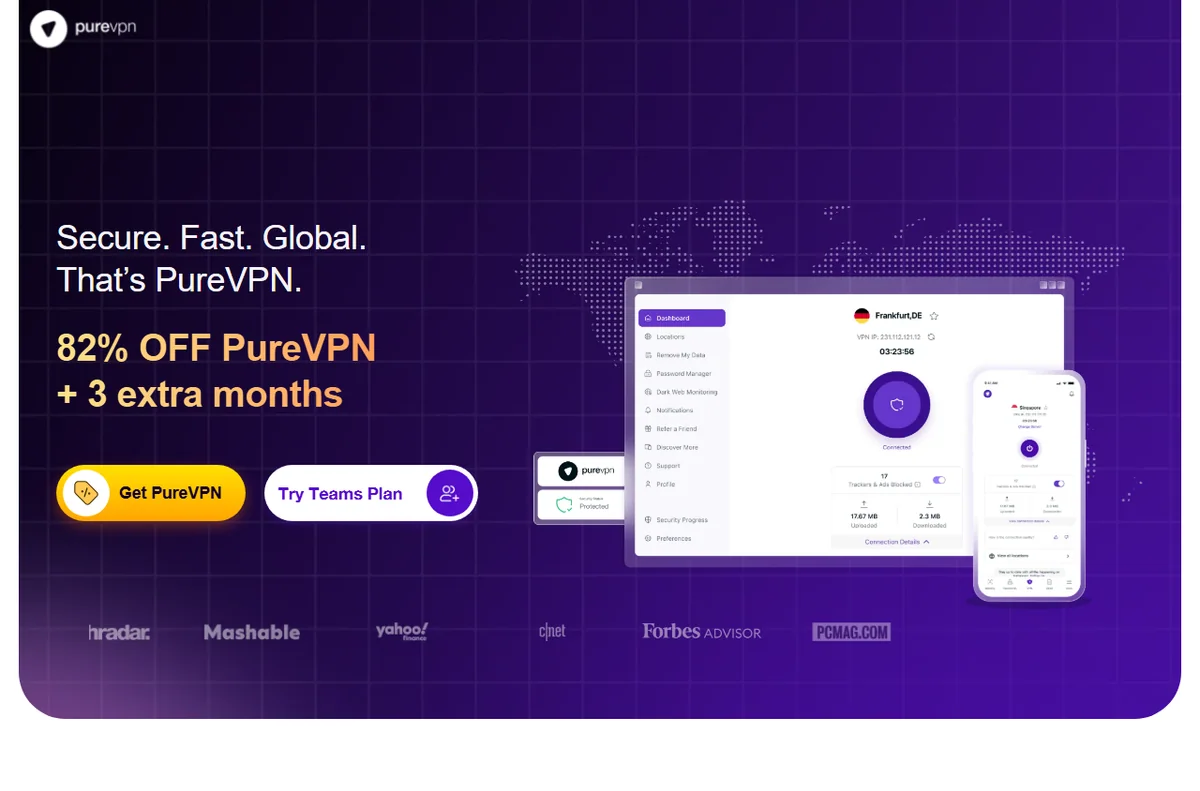
    PureVPN official homepage for its VPN service
    PureVPN official homepage (image: purevpn.com)

    Independent analysis. This page may contain affiliate links. Some links here are referral links; if you sign up through one we may earn a reward at no extra cost to you, and it never changes what we recommend. We are an independent publisher and are not affiliated with, endorsed by, or an official partner of any tool mentioned. See our Affiliate Disclosure.

    TL;DR

    • Choose a plan on the official PureVPN site based on how many devices and people you need to cover.
    • Install the app on each device and sign in with the same account.
    • Connect to a server, then confirm your visible IP address and DNS have actually changed.
    • Enable the kill switch and auto-connect so protection survives a dropped connection.
    • Check the official pricing page for current plans, device limits and billing terms.

    On this page: What this covers · Before you start · Choosing a plan · Step 1 — Create your account · Step 2 — Install on your devices · Step 3 — Connect and verify · Step 4 — Turn on the features that matter · Step 5 — Roll it out to a team · Where this fits in your wider stack

    What this covers

    This guide takes you through a normal PureVPN setup in a sensible order: plan, account, install, connect, verify, then the settings worth keeping on. It assumes no technical background and no prior use of a VPN.

    Work through it once end to end. Skipping the verification step is the most common reason people are never quite sure whether the VPN is doing anything.

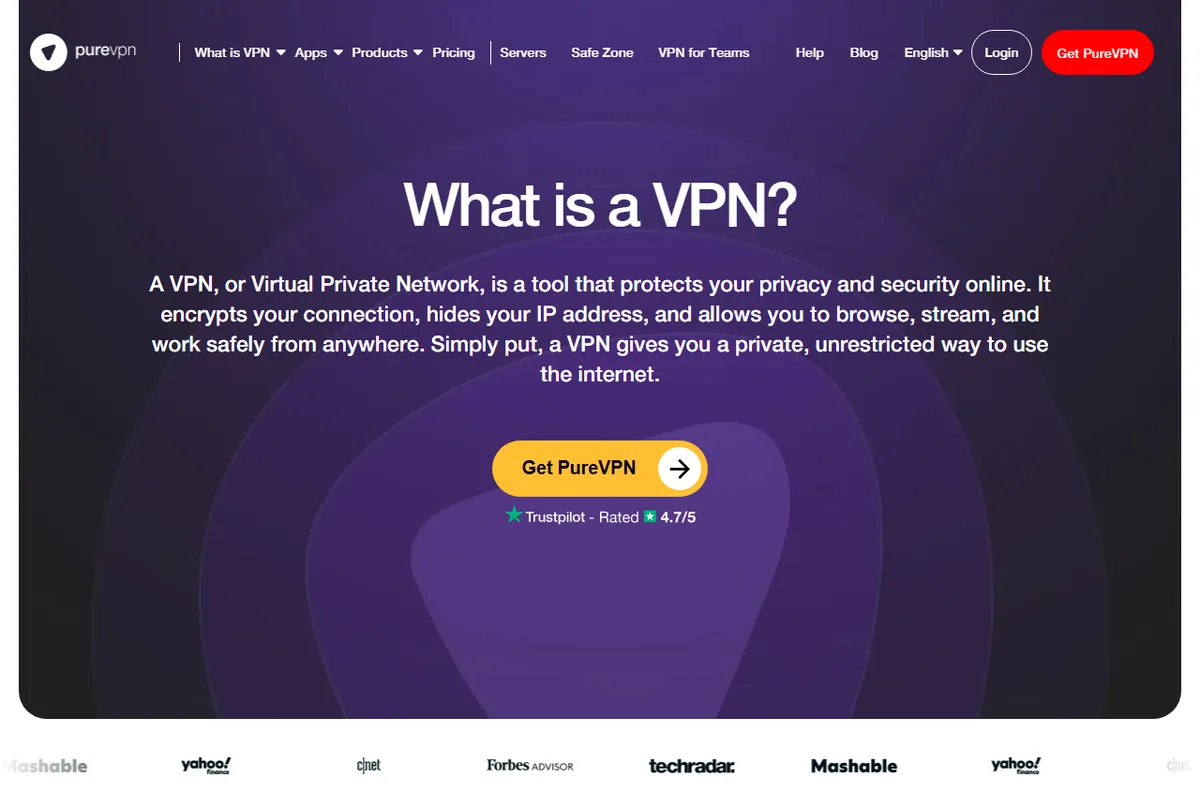
    PureVPN what is a VPN explainer page
    PureVPN what is a VPN (image: purevpn.com)

    Before you start

    • A list of the devices and operating systems you plan to cover.
    • Logins for the people who will use the account, or one owner who sets it up for everyone.
    • A few minutes per device to download, install and sign in.
    • A password manager to store the account login safely.
    • Your usual network details, in case a service needs to be excluded later.
    PureVPN order and pricing page
    PureVPN order (image: purevpn.com)

    Choosing a plan

    PureVPN offers a small number of plans, and the decision usually comes down to how many devices and people you are covering. Terms, device allowances and features change over time, so check the official pricing page for the current options before you buy.

    Option What it means Choose it when
    Single-user planAn account tied to one person and their devices.Only one person needs the VPN.
    Multi-device planA higher device allowance to share across staff.Several people need to connect at the same time.
    Longer billing termA lower effective monthly rate across a longer commitment.You expect to keep the service and want fewer renewals.
    Based on publicly documented behaviour, checked October 8, 2026.
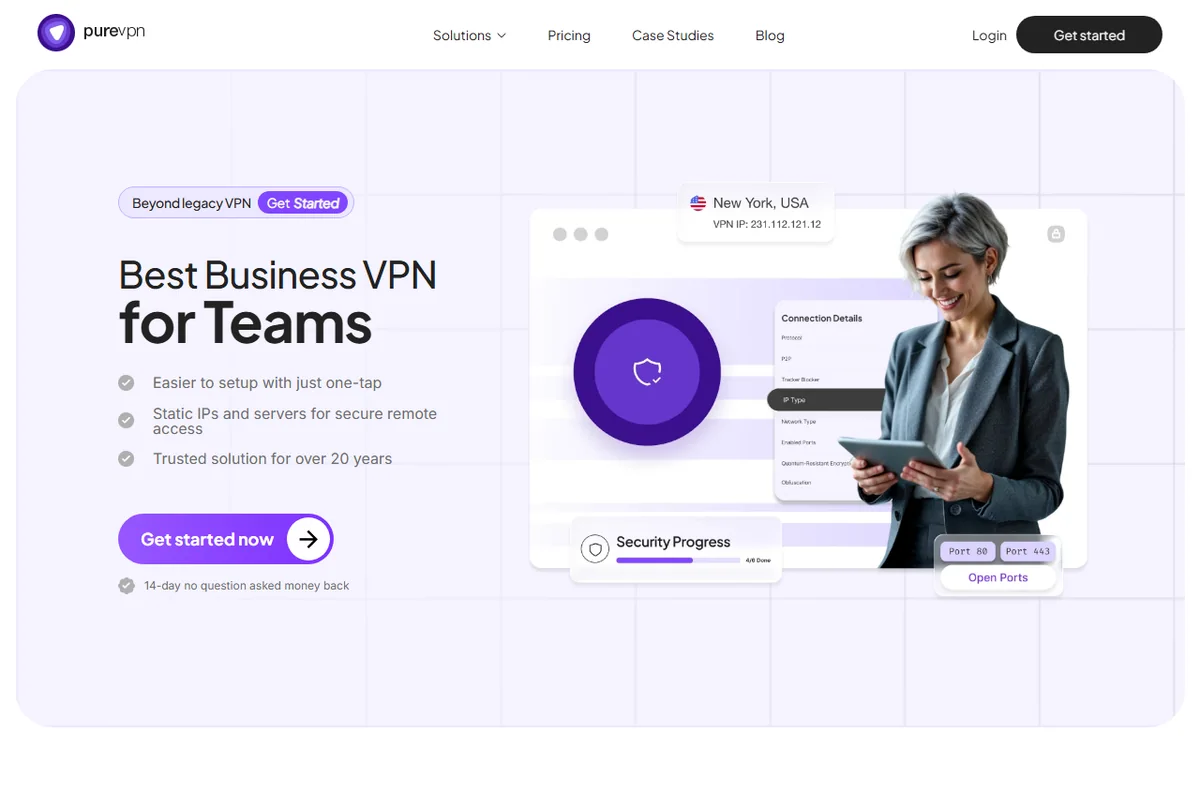
    PureVPN for Teams page
    PureVPN for Teams (image: purevpn.com)

    Step 1 — Create your account

    1. Go to the official PureVPN site and choose a plan.
    2. Create an account using an email address you control and will keep.
    3. Confirm the email, then save the login in your password manager.
    4. Note the renewal date and price before the first term ends.
    PureVPN download page for all devices
    PureVPN download (image: purevpn.com)

    Step 2 — Install on your devices

    1. Download the app for each operating system from the official downloads page.
    2. Install it and sign in with the account you just created.
    3. Repeat on phones, laptops and any other devices the team uses.
    4. Check how many simultaneous connections your plan allows before adding more.
    PureVPN server locations page
    PureVPN VPN servers (image: purevpn.com)

    Step 3 — Connect and verify

    1. Open the app and pick a server location, starting with a nearby one for speed.
    2. Connect and wait until the status clearly shows as active.
    3. Check your visible IP address in a search engine and confirm it has changed.
    4. Run a DNS leak test and confirm your real network details are not showing.
    PureVPN features overview
    PureVPN features (image: purevpn.com)

    Step 4 — Turn on the features that matter

    Beyond the basic tunnel, a few settings do most of the work for a small team. Turn these on first and leave the rest until you have a specific reason for them.

    • Kill switch, so traffic stops rather than leaking if the connection drops.
    • Auto-connect on untrusted networks such as public Wi-Fi.
    • Split tunnelling, if your plan includes it, to keep one app off the tunnel.
    • A dedicated IP, if your plan offers one, for services that prefer a stable address.
    PureVPN business VPN page
    PureVPN business (image: purevpn.com)

    Step 5 — Roll it out to a team

    Once one device works, repeat the process with a record. Keep a simple list of who has the app and on which device, so gaps are obvious and nobody is forgotten.

    If a dashboard is available, use it to review connected devices in one place. When someone leaves, rotate the account password and reconnect only the devices that should stay.

    PureVPN blog with security guides
    PureVPN blog (image: purevpn.com)

    Where this fits in your wider stack

    If you are still comparing providers, begin with the independent PureVPN review and the security and privacy hub. A direct comparison helps too: see Surfshark vs PureVPN, then check the best VPN options for small business before you choose.

    Frequently asked

    Do I need technical skills to set PureVPN up?

    No. The apps are graphical and the flow is the same on most platforms: install, sign in, connect. The step worth slowing down for is verifying that the connection is actually active.

    How many devices can I use at once?

    It depends on the plan and can change over time. Check the official pricing page for the current device allowance before you plan how many people to cover.

    Will a VPN slow my connection down?

    Any VPN adds overhead because traffic is encrypted and routed through a server. The effect varies with server and distance, so a closer location is usually the faster choice.

    Does a VPN replace antivirus or a password manager?

    No. A VPN protects traffic in transit only. It does not scan for malware or store your passwords, so keep those tools in place.

    Get PureVPN for your team

    Review the current plans, device limits and terms on the official site before you decide.

    Referral link — we may earn a reward if you sign up, at no extra cost to you. We are an independent publisher. See our Affiliate Disclosure.
  • How to Set Up Surfshark: VPN, Step by Step

    How to Set Up Surfshark: VPN, Step by Step

    Home / Security & Privacy / Guides / How to set up Surfshark

    Tutorial · security & privacy · updated October 8, 2026

    How to set up Surfshark: a practical walkthrough

    Setting up a VPN for a small team is mostly a matter of order: pick the plan, install the apps, connect, then tighten the settings you actually care about. This walkthrough covers a standard Surfshark setup from first login to a working rollout across a handful of devices, and it assumes no technical background.

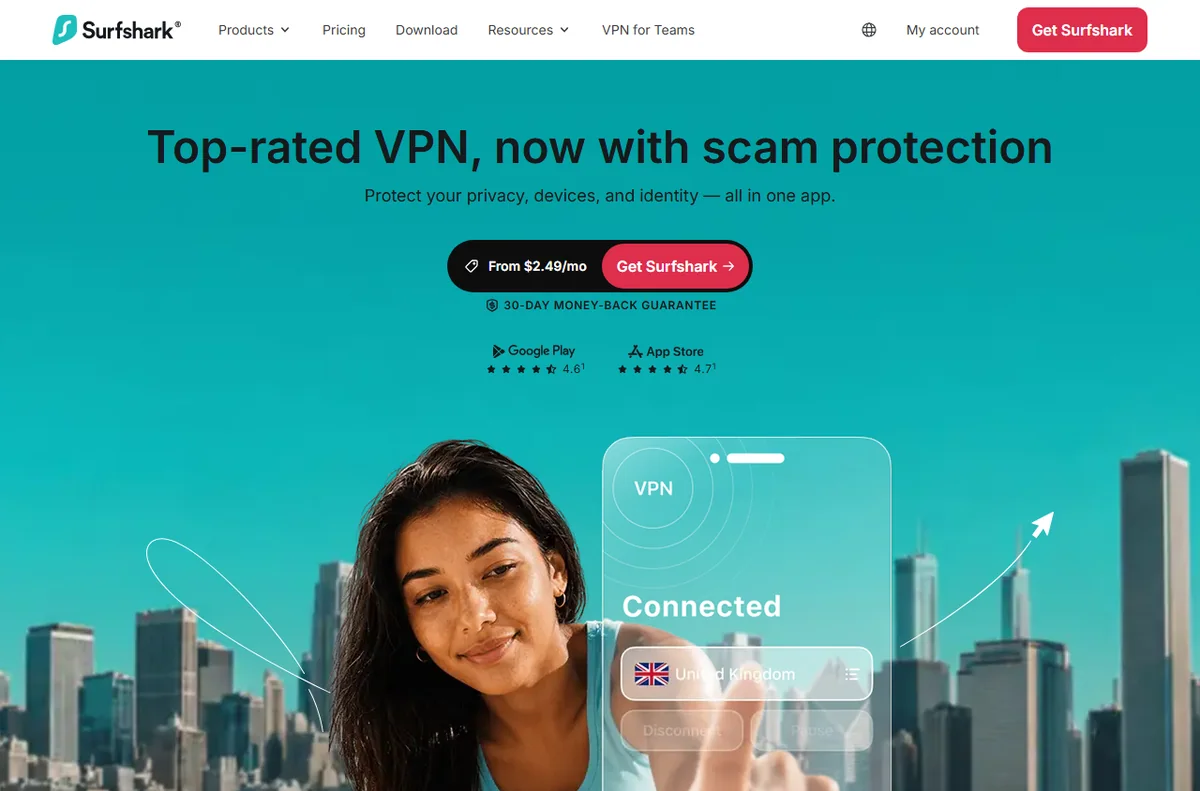
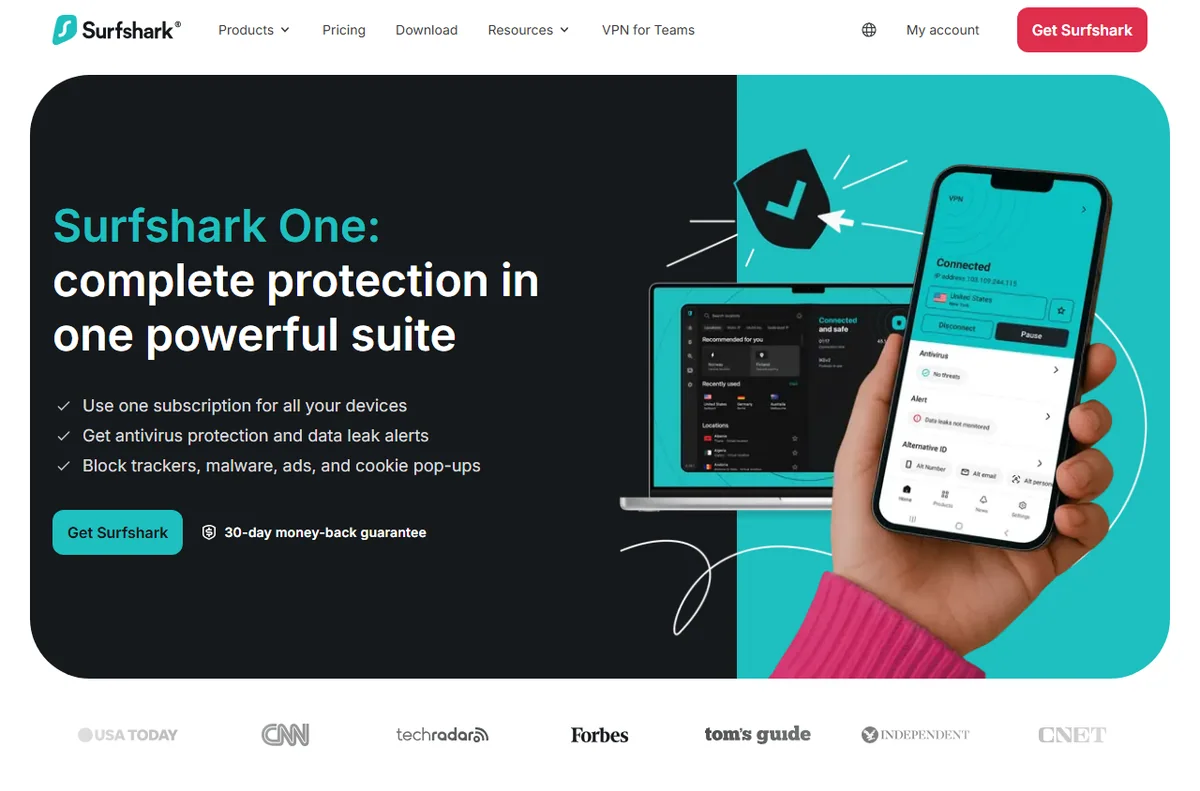
    Surfshark official homepage for its VPN and security products
    Surfshark official homepage (image: surfshark.com)

    Independent analysis. This page may contain affiliate links. Some links here are referral links; if you sign up through one we may earn a reward at no extra cost to you, and it never changes what we recommend. We are an independent publisher and are not affiliated with, endorsed by, or an official partner of any tool mentioned. See our Affiliate Disclosure.

    TL;DR

    • Create your account on the official site and pick the plan that matches how many devices you need to cover.
    • Install the app on each device, then sign in with the same account.
    • Connect, confirm the IP and DNS have changed, then switch on the settings that matter for your team.
    • Use the account dashboard to keep an eye on connected devices instead of checking them one by one.
    • Check the official pricing page for current plans, device limits and billing terms.

    On this page: What this covers · Before you start · Choosing a plan · Step 1 — Create your account · Step 2 — Install on your devices · Step 3 — Connect and verify · Step 4 — Turn on the features that matter · Step 5 — Roll it out to a team · Where this fits in your wider stack

    What this covers

    This guide walks through a normal Surfshark setup end to end: choosing a plan, creating the account, installing the app on each device, connecting, and confirming that the connection is really doing what you expect. It then covers the handful of settings that carry most of the value for a small team.

    The order matters more than the speed. If you install first and plan later, you end up re-installing apps and re-sharing logins. Read the whole page once, then work through it.

    Before you start

    • A list of the devices and operating systems you intend to cover.
    • Logins for the people who will use the account, or one trusted owner if you are setting it up on their behalf.
    • A few minutes per device for downloading and installing the app.
    • Your password manager, so the account login is stored rather than reused.
    • Access to your usual network details, in case a service needs to be excluded later.
    Surfshark pricing plans
    Surfshark pricing (image: surfshark.com)

    Choosing a plan

    Surfshark keeps its lineup fairly simple, and the right choice comes down to how many devices and people you are protecting. Terms and device allowances change, so check the official pricing page for the current options before you commit.

    Option What it means Choose it when
    Single accountOne login used across your own devices.One person manages everything and the team is very small.
    Higher device allowanceMore simultaneous connections to share with staff.Several people need to be online at the same time.
    Longer billing termA lower effective monthly rate across a longer commitment.You expect to keep the service and want fewer renewal decisions.
    Based on publicly documented behaviour, checked October 8, 2026.
    Surfshark One protective bundle page
    Surfshark One (image: surfshark.com)

    Step 1 — Create your account

    1. Go to the official Surfshark site and choose a plan.
    2. Create an account with an email address you control and will keep.
    3. Confirm the email, then save the login in your password manager.
    4. Note the renewal date and price somewhere you will find it again before it renews.
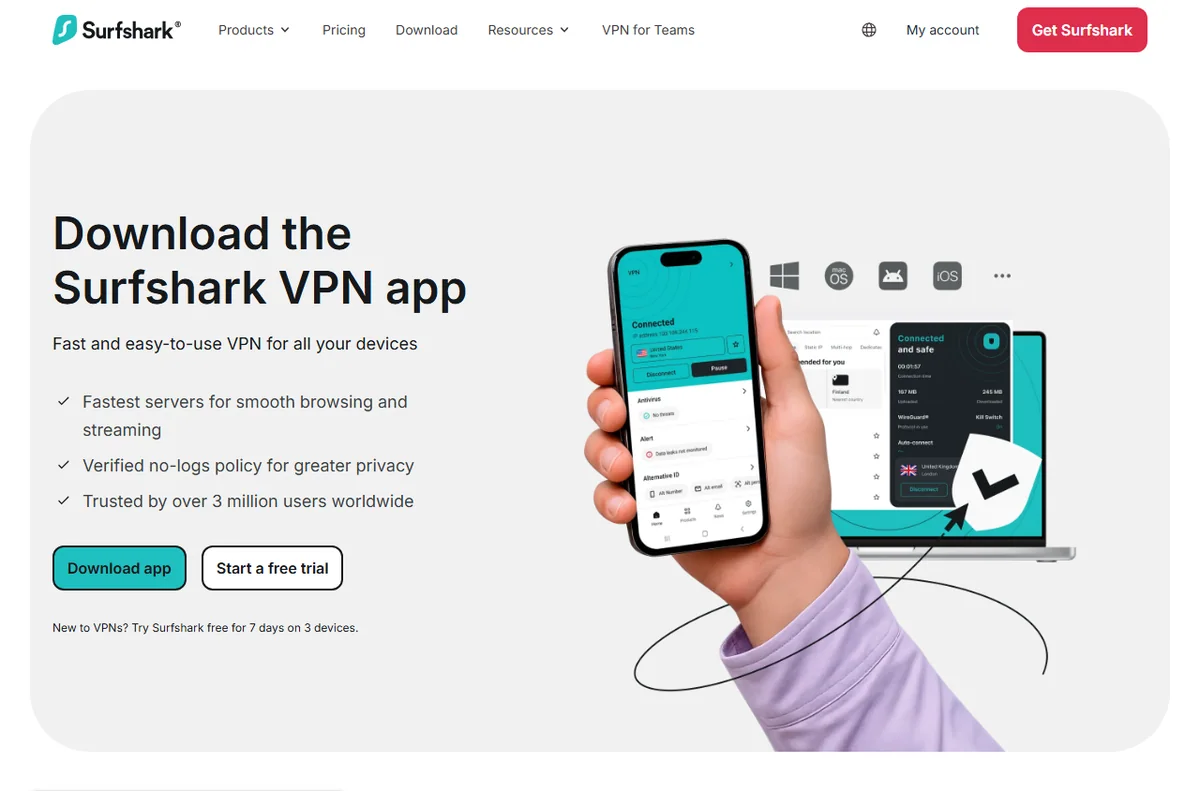
    Surfshark download page for all devices
    Surfshark download (image: surfshark.com)

    Step 2 — Install on your devices

    1. Download the app for each operating system from the official downloads page.
    2. Install it and sign in with the account you just created.
    3. Repeat on phones, laptops and any other devices the team uses.
    4. Check how many simultaneous connections your plan allows before adding more.
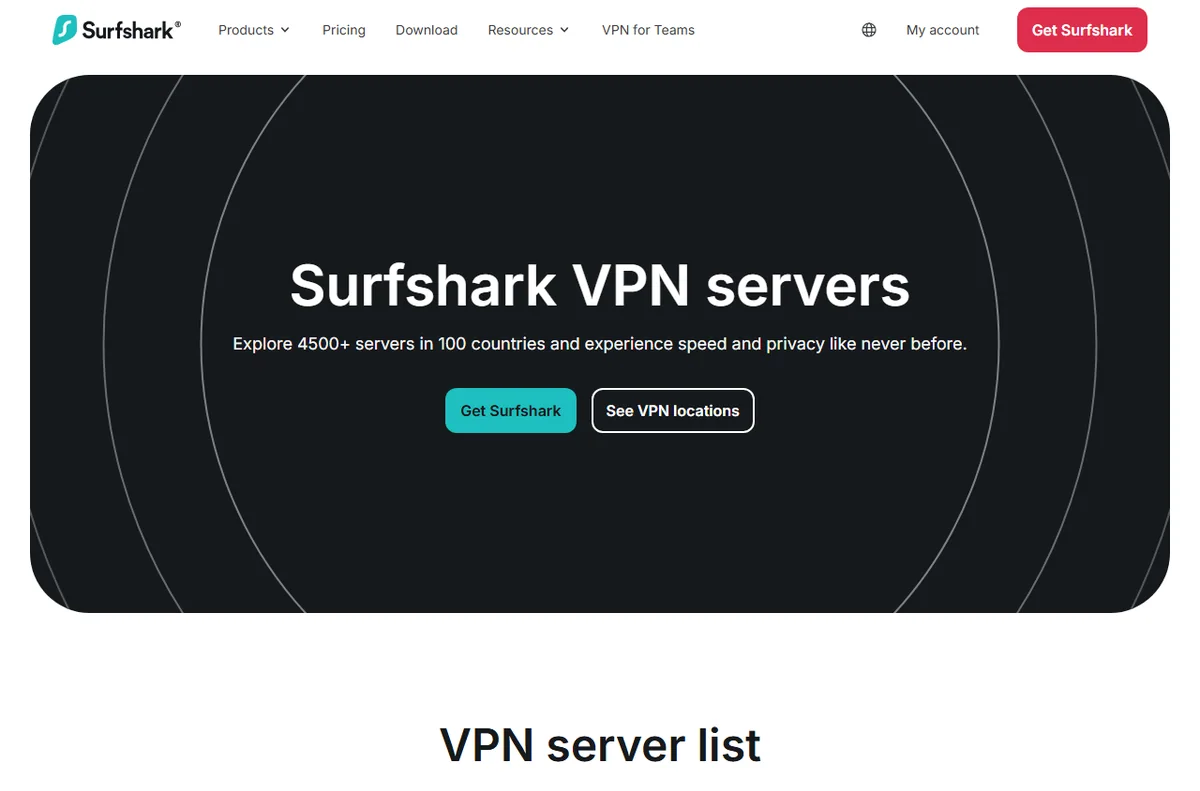
    Surfshark VPN server location list
    Surfshark servers (image: surfshark.com)

    Step 3 — Connect and verify

    1. Open the app and choose a server location, starting with one nearby for speed.
    2. Connect and wait until the status clearly shows as active.
    3. Check your visible IP address in a search engine to confirm it has changed.
    4. Run a DNS leak test and confirm your real network details are not showing.
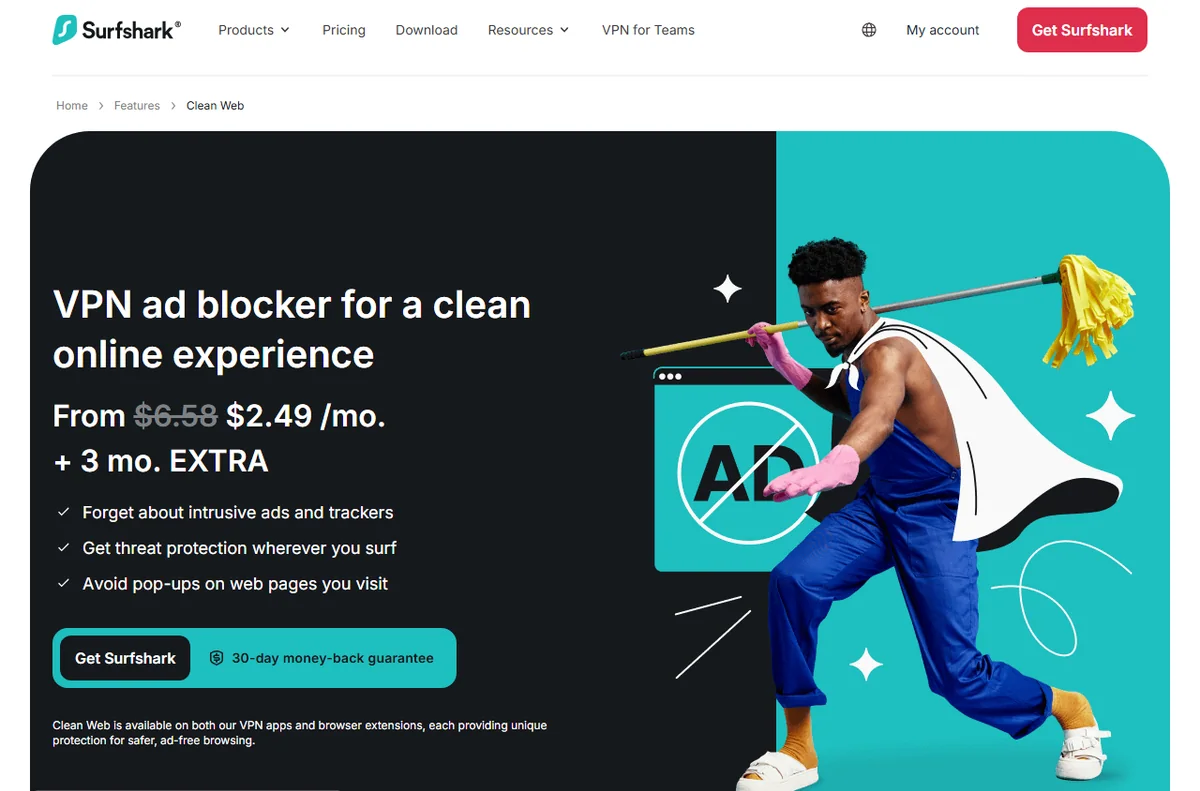
    Surfshark CleanWeb ad and tracker blocker feature page
    Surfshark CleanWeb (image: surfshark.com)

    Step 4 — Turn on the features that matter

    Surfshark bundles more than a plain tunnel. For a small team, a few settings carry most of the value, and the rest can wait until you have a reason to use them.

    • Kill switch, so traffic stops instead of leaking if the connection drops.
    • Auto-connect on untrusted networks such as public Wi-Fi.
    • Multi-hop, which routes traffic through a second server for an extra layer.
    • Tracker and ad filtering, to cut down on nuisance scripts while browsing.
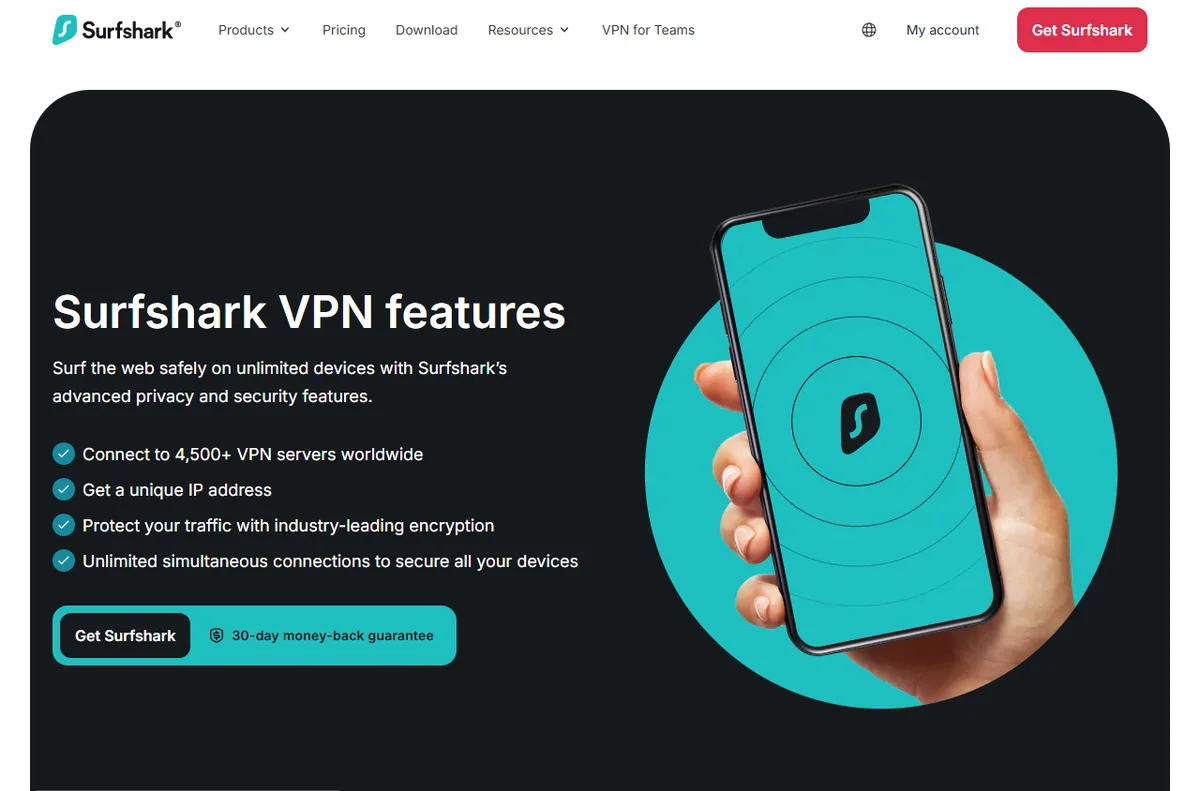
    Surfshark VPN features overview for teams
    Surfshark features (image: surfshark.com)

    Step 5 — Roll it out to a team

    Once a single device works, the next step is repetition with a record. Keep a short list of who has installed the app and on what, so you are not hunting for gaps later.

    If the account includes a web dashboard, use it to review connected devices rather than checking each machine by hand. When someone leaves, change the account password and reconnect the devices that stay.

    Surfshark blog with privacy guides
    Surfshark blog (image: surfshark.com)

    Where this fits in your wider stack

    If you are still deciding whether Surfshark is the right fit, start with the independent Surfshark review and the security and privacy hub. Comparing providers directly? See Surfshark vs PureVPN, or browse the best VPN options for small business before you settle.

    Frequently asked

    Do I need technical skills to set Surfshark up?

    No. The apps are graphical, and the steps are the same on most platforms: install, sign in, connect. The only part that deserves care is verifying the connection after the first one.

    How many devices can I use at once?

    That depends on the plan, and it changes over time. Check the official pricing page for the current device allowance before you plan a rollout across a team.

    Will a VPN slow my connection down?

    Any VPN adds some overhead because traffic is encrypted and routed. In practice the effect varies by server and distance, so pick a nearby location when speed matters more than the country shown.

    Is a VPN a replacement for antivirus or a password manager?

    No. A VPN protects traffic in transit. It does not scan files or store your passwords, so keep those tools separate and running.

    Get Surfshark for your team

    Compare the current plans and device allowances on the official site before you decide.

    Referral link — we may earn a reward if you sign up, at no extra cost to you. We are an independent publisher. See our Affiliate Disclosure.
  • How to Set Up Surfer SEO: Step by Step

    How to Set Up Surfer SEO: Step by Step

    Home / SEO Tools / Guides / How to set up Surfer SEO

    Tutorial · seo tools · updated October 8, 2026

    How to set up Surfer SEO: a practical walkthrough

    Surfer SEO is a content optimisation tool that compares your draft against the pages already ranking for a keyword. This guide covers a clean setup: creating a project, running the content editor, auditing a page, and making the tool part of a repeatable workflow.

    Surfer official homepage for the SEO content platform
    Surfer official homepage (image: surferseo.com)

    Independent analysis. This page may contain affiliate links. Some links here are referral links; if you sign up through one we may earn a reward at no extra cost to you, and it never changes what we recommend. We are an independent publisher and are not affiliated with, endorsed by, or an official partner of any tool mentioned. See our Affiliate Disclosure.

    TL;DR

    • Create a project and add your domain and target keywords.
    • Use the Content Editor to get term and structure guidance while drafting.
    • Audit existing pages to find gaps against top results.
    • Connect your CMS so suggestions flow into your drafts.
    • Track pages over weeks, not days, and act on the trends.

    On this page: What this covers · Before you start · Step 1 – create a project · Step 2 – the content editor · Step 3 – audit a page · Choosing where to start · Step 4 – connect your CMS · Step 5 – track and iterate · Where this fits

    What this covers

    Surfer SEO is a content optimisation tool. It compares your draft or a live page against the results already ranking for a keyword, then suggests terms and a structure to cover.

    This walkthrough gets you from a blank account to a working routine, without leaning on tactics you do not understand.

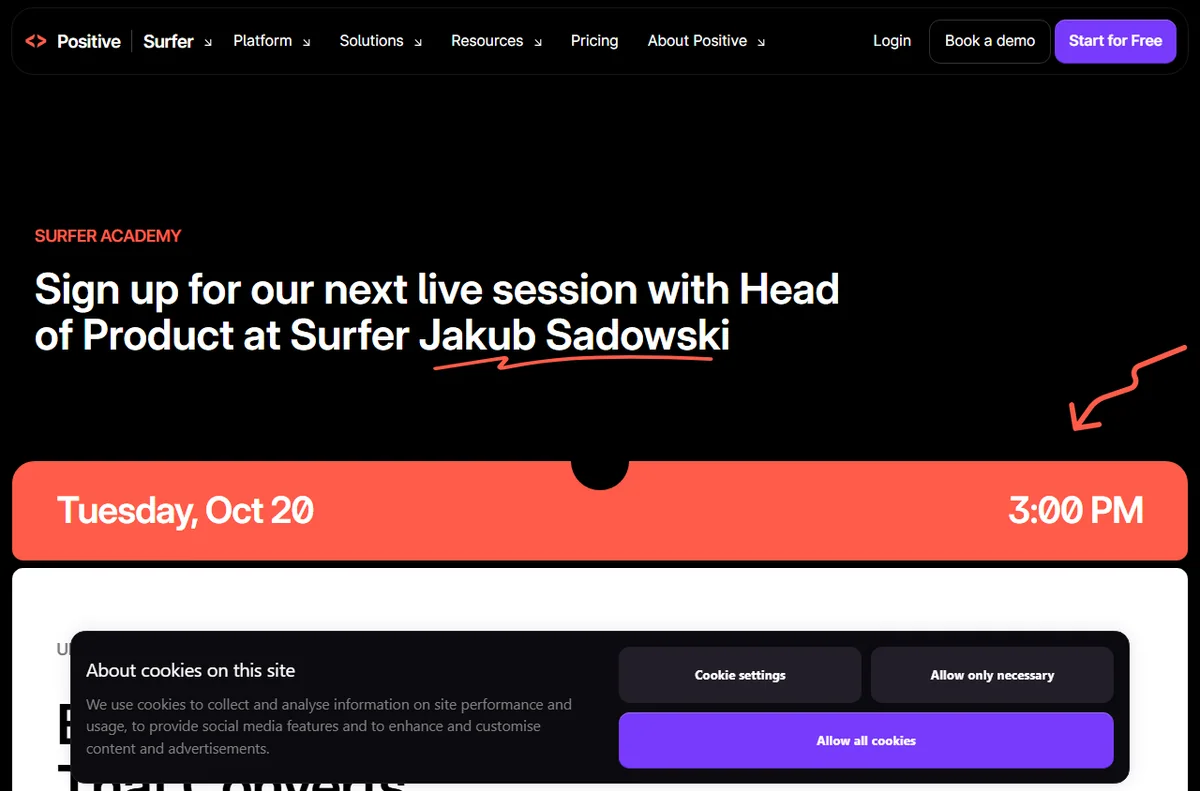
    Surfer Academy with SEO tutorials
    Surfer Academy (image: surferseo.com)

    Before you start

    • A target keyword or topic, and a page or draft to work on.
    • Access to your site so you can publish changes.
    • A note of the competitors currently ranking for your keyword.
    • Your CMS login if you plan to use the integrations.
    Surfer account sign-up screen
    Surfer sign-up (image: surferseo.com)

    Step 1 — Create an account and a project

    1. Sign up and open the dashboard.
    2. Create a project and add your domain.
    3. Add the URLs and keywords you want to track.
    4. Confirm the language and location settings for your market.
    Surfer Content Editor product page
    Surfer Content Editor (image: surferseo.com)

    Step 2 — Run your first content editor

    Open the Content Editor and enter your target keyword. Surfer returns a suggested word count, a list of terms, and a structure based on what ranks.

    Treat the recommendations as guidance, not a checklist to force. Write for the reader first, then use the terms to cover gaps you missed.

    Use the score as a rough signal. A high score from padding is worse than a clear page that answers the question.

    Surfer Content Audit product page
    Surfer Content Audit (image: surferseo.com)

    Step 3 — Audit an existing page

    Run the audit on a page that already ranks, or one that should but does not.

    Review the flagged terms and headings, then decide which changes genuinely improve the page.

    Re-audit after editing to see whether the page moved closer to the recommendation.

    Surfer keyword research tool page
    Surfer keyword research (image: surferseo.com)

    Choosing where to start

    Surfer has several entry points. Pick the one that matches the job in front of you.

    Starting point Best for What you get
    Content EditorWriting something newTerm and structure guidance as you draft
    AuditImproving a live pageA comparison of your page against top results
    Topic researchPlanning a clusterRelated topics and keyword groups
    TrackingMonitoring progressA view of position changes over time
    Based on publicly documented behaviour, checked October 8, 2026.
    Surfer integrations page for WordPress and Google Docs
    Surfer integrations (image: surferseo.com)

    Step 4 — Connect your CMS

    Surfer integrates with WordPress and Google Docs, which lets you apply suggestions without copy-pasting between tools.

    If you use a different platform, keep the workflow manual but consistent: draft, check, then publish.

    Set a clear rule for when a page is ready to publish, so the team does not over-optimise.

    Surfer AI content optimization page
    Surfer AI (image: surferseo.com)

    Step 5 — Track and iterate

    Add the pages you care about to tracking and review progress on a set cadence, not daily.

    Use the data to decide where to update next. A page losing position is often a better use of time than a new draft.

    Keep a short log of what you changed so you can connect edits to results.

    Surfer blog with SEO guides
    Surfer blog (image: surferseo.com)

    Where this fits in your wider stack

    Before you commit, read the independent Surfer SEO review and browse the SEO tools hub. If auditing is your main need, see best SEO audit tools, and to give your pages the best base, compare best SEO friendly themes.

    Frequently asked

    Do I need to follow every suggestion?

    No. The recommendations are guides. Prioritise the terms and headings that make the page genuinely more complete, and ignore the rest.

    Can Surfer optimise an existing page?

    Yes. The audit compares a live page with top results and flags terms and structure you could add or adjust.

    Does Surfer publish content for me?

    It guides writing and audits pages. Publishing stays with you or your CMS, though integrations make it faster.

    What does Surfer cost?

    Plans change over time. Check the official pricing page for current tiers and limits before choosing.

    Surfer pricing plans
    Surfer pricing (image: surferseo.com)

    Set up Surfer SEO with a clear plan

    Check the current plans and what each tier includes.

    Referral link — we may earn a reward if you sign up, at no extra cost to you. We are an independent publisher. See our Affiliate Disclosure.
  • How to Set Up Divi: Step by Step

    How to Set Up Divi: Step by Step

    Home / Developer Tools / Guides / How to set up Divi

    Tutorial · developer tools · updated October 8, 2026

    How to set up Divi: a practical walkthrough

    Divi is a WordPress theme and visual builder from Elegant Themes that lets you design pages on the front end without writing code. This guide walks through a clean setup: installing the theme, opening the Visual Builder, setting global defaults, and publishing a first layout. The aim is a working, maintainable starting point rather than a tour of every module.

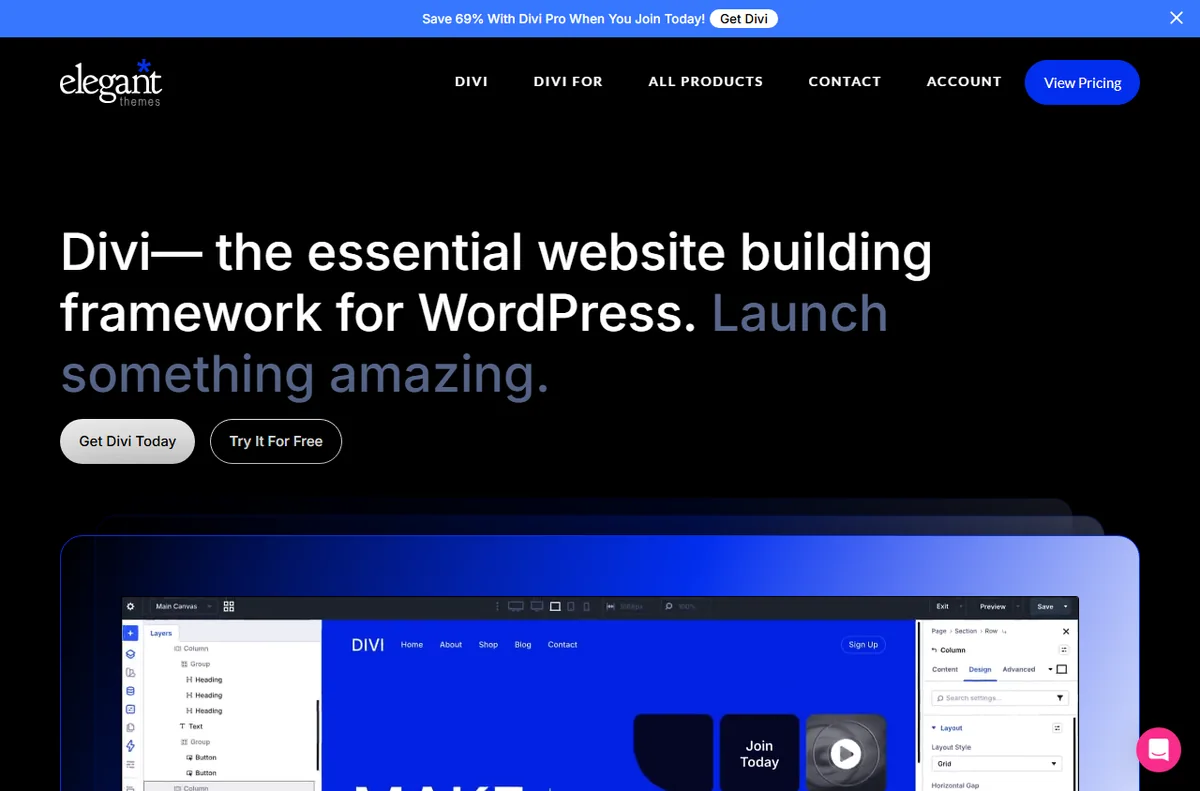
    Divi by Elegant Themes WordPress theme and visual page builder
    Divi by Elegant Themes (image: elegantthemes.com)

    Independent analysis. This page may contain affiliate links. Some links here are referral links; if you sign up through one we may earn a reward at no extra cost to you, and it never changes what we recommend. We are an independent publisher and are not affiliated with, endorsed by, or an official partner of any tool mentioned. See our Affiliate Disclosure.

    TL;DR

    • Install Divi from your Elegant Themes account and activate the licence in WordPress.
    • Learn the section, row and module hierarchy before you start building.
    • Set colours, fonts and buttons once in the Theme Options and Customiser.
    • Save sections and pages to the Divi library so you can reuse them.
    • Use the Theme Builder for headers, footers and post templates.

    On this page: What this covers · Before you start · Step 1 – install and activate Divi · Step 2 – the Visual Builder · Choosing how to build · Step 3 – set global defaults · Step 4 – build a first layout · Templates and the Theme Builder · Where this fits

    What this covers

    Divi is a WordPress theme and visual builder that lets you design pages on the front end without writing code. This guide walks through a clean setup: installing the theme, opening the Visual Builder, setting global defaults, and publishing a first layout.

    The goal is not to cover every module. It is to get a working, maintainable starting point you can build on, whether you are redesigning an existing site or starting fresh.

    Before you start

    • A WordPress site on a recent version, with administrator access.
    • Your Elegant Themes account details, or a licence to activate.
    • A staging or local copy if the site is already live.
    • Your brand colours, fonts and logo files to hand.
    • A rough sitemap of the pages you plan to build.
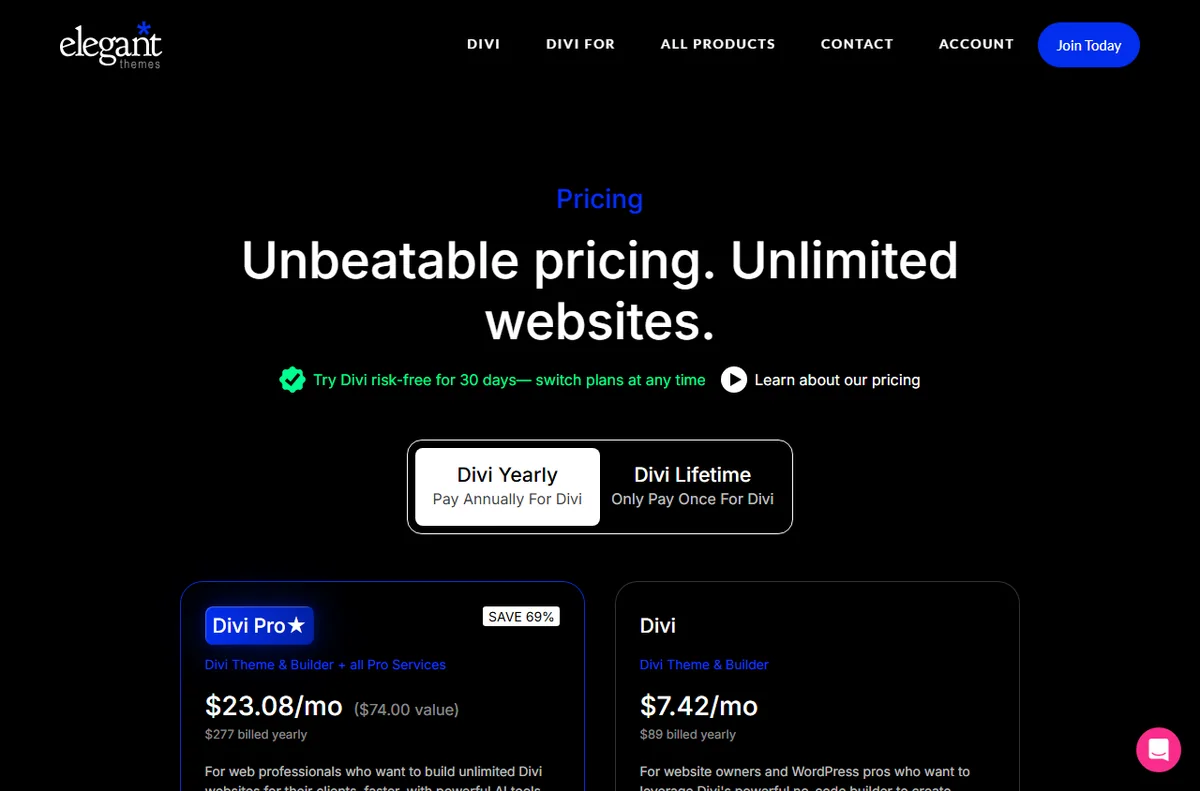
    Elegant Themes plans to get Divi
    Elegant Themes plans (image: elegantthemes.com)

    Step 1 — Install and activate Divi

    1. Download the Divi theme package from your Elegant Themes account.
    2. In WordPress, go to Appearance, then Themes, then Add New, and upload the theme zip.
    3. Activate the theme and enter your username and API key when prompted.
    4. Confirm the update settings so Divi can receive future releases.
    Divi documentation and help center
    Divi documentation (image: elegantthemes.com)

    Step 2 — Open and learn the Visual Builder

    Open a page and click Enable Visual Builder. Divi loads the page on the front end with editing controls overlaid, so what you see is close to what visitors get.

    Learn the three-part structure: sections hold rows, and rows hold modules. Almost every layout question comes back to that hierarchy.

    Save early and often, and use the history panel to roll back a change that did not work out.

    Choosing how to build

    There is more than one way to work in Divi. Pick the one that matches your experience and the time you have.

    Approach What it means Choose it when
    Visual BuilderEdit the real page with drag-and-drop controlsYou want precise, visual control of a live layout
    Backend builderUse the same modules in a classic admin screenYou prefer a distraction-free editor or a slower connection
    Pre-made layout packImport a full page and adjust itYou need a solid starting point quickly
    Blank canvasBuild each section from scratchYou have a clear design and want no leftover demo content
    Based on publicly documented behaviour, checked October 8, 2026.
    Divi Layouts library of ready-made page layouts
    Divi Layouts library (image: elegantthemes.com)

    Step 3 — Set global defaults

    Open the Divi Theme Options and the Customiser. Set your logo, primary and secondary colours, fonts and button styles once.

    Global defaults save time and keep pages consistent. When you later change a brand colour, updating it in one place propagates across the site.

    Decide the default content width and a simple spacing scale here too. Consistency early avoids a patchwork feel later.

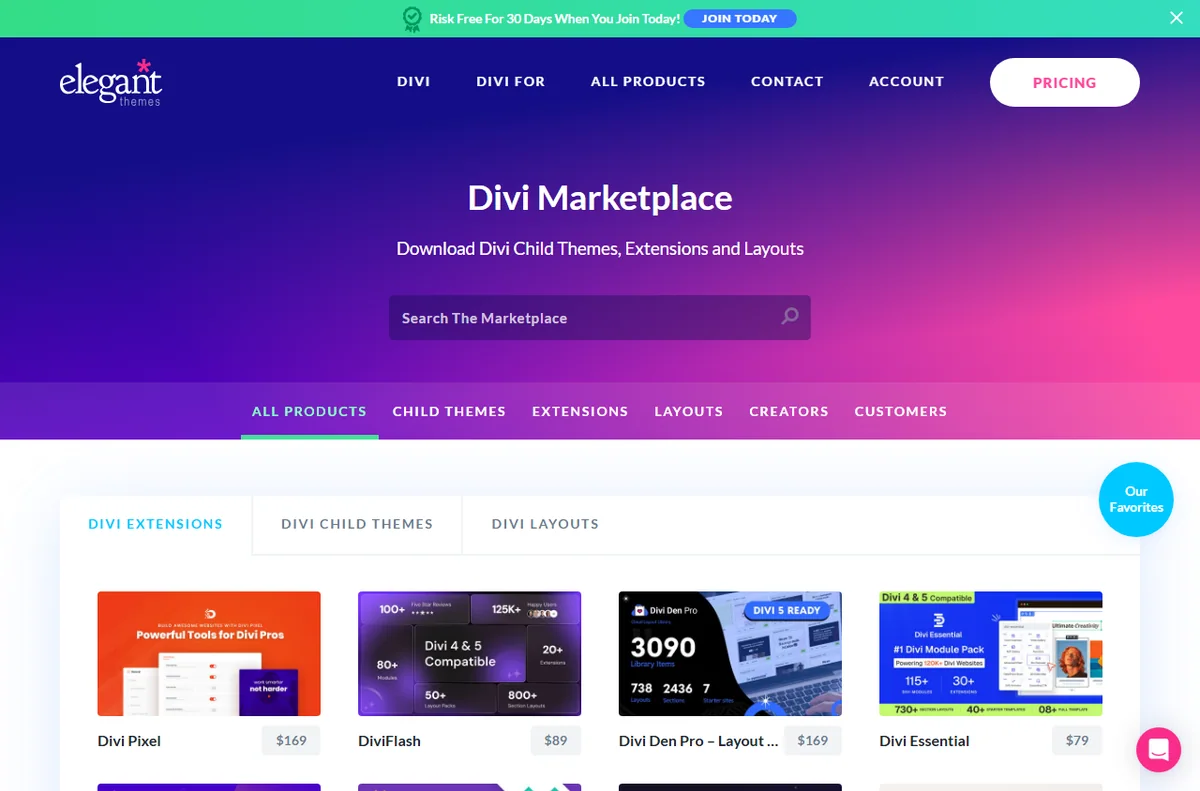
    Divi Marketplace with child themes and layout packs
    Divi Marketplace (image: elegantthemes.com)

    Step 4 — Build your first layout

    1. Create a page and add a section, then choose a column structure.
    2. Add modules such as text, image and button, and adjust spacing under the Design tab.
    3. Use the responsive controls to preview mobile and fine-tune padding per breakpoint.
    4. Publish, then review the live page on a phone as well as a desktop.
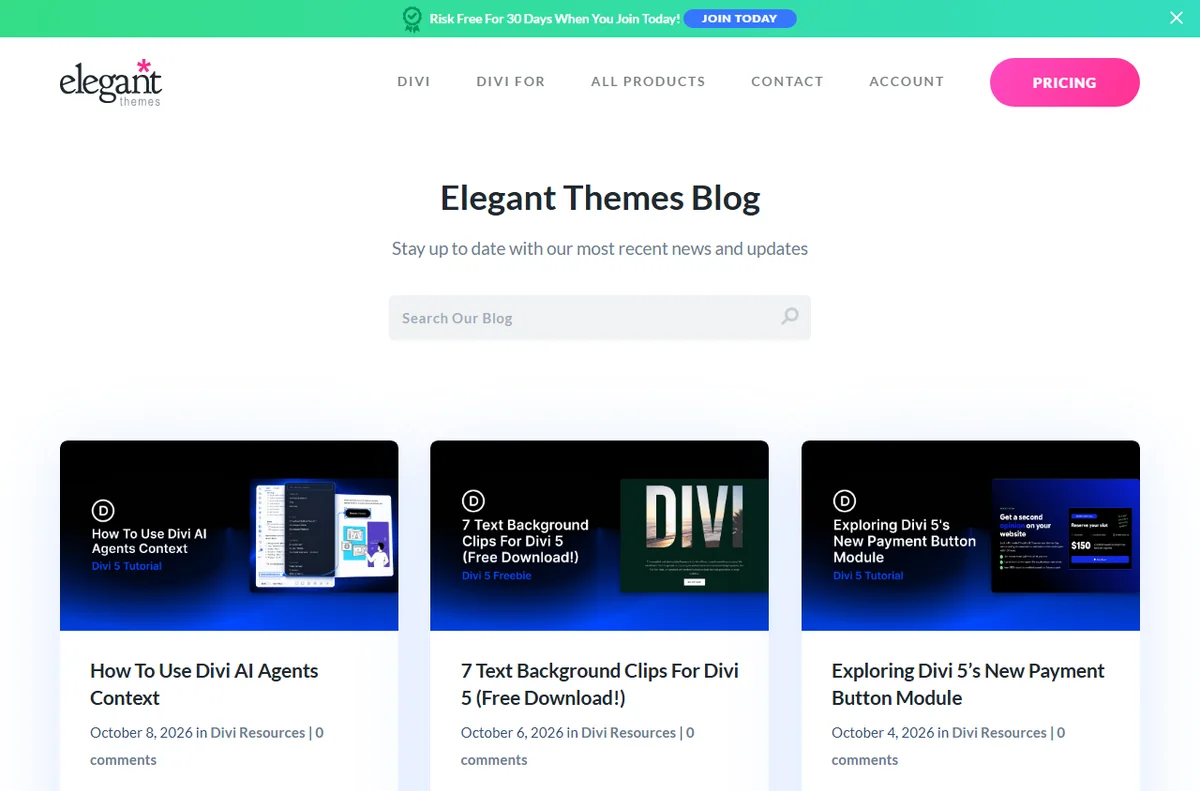
    Elegant Themes blog with Divi tutorials
    Elegant Themes blog (image: elegantthemes.com)

    Templates and the Theme Builder

    Save a section or a full page to your Divi library so you can reuse it. A small library of well-made blocks is faster than rebuilding each page.

    The Theme Builder assigns templates to headers, footers, blog posts and archives, so styling applies everywhere without editing each page by hand.

    If you install pre-made layouts, remove anything you do not need. Leftover demo images and unused modules add weight and maintenance.

    Where this fits in your wider stack

    If you are still deciding, read the independent Divi review and start from the developer tools hub. Weighing the two big builders? See Elementor vs Divi, and for a broader shortlist read best website builders for small business.

    Frequently asked

    Do I need to know code to use Divi?

    No. You can build layouts visually, though basic CSS helps when you want to fine-tune a detail. A Custom CSS box lets you add small tweaks without a child theme.

    Can I try Divi before paying?

    Pricing and any trial terms change over time. Check the official pricing page for the current options before you commit.

    Will Divi slow down my site?

    The theme itself is reasonably lean, but large images and a very long page add weight. Optimise images and keep layouts focused.

    Can I use Divi on more than one site?

    Licence terms depend on your plan. Check the official page for how many sites your plan covers.

    Elegant Themes homepage
    Elegant Themes homepage (image: elegantthemes.com)

    Ready to build with Divi

    Compare plans and see what the current licence includes.

    Referral link — we may earn a reward if you sign up, at no extra cost to you. We are an independent publisher. See our Affiliate Disclosure.

  • How to Set Up GreenGeeks: Hosting, Step by Step

    How to Set Up GreenGeeks: Hosting, Step by Step

    Home / Hosting / Guides / How to set up GreenGeeks

    Tutorial · hosting · updated October 8, 2026

    How to set up GreenGeeks: a practical walkthrough

    GreenGeeks setup follows a familiar hosting pattern, so the main risk is rushing the choices rather than the clicking. This guide walks through the sequence in order and points out the decisions worth pausing on, from plan selection to the first live page.

    GreenGeeks eco-friendly web hosting homepage
    GreenGeeks official homepage (image: greengeeks.com)

    Independent analysis. This page may contain affiliate links. Some links here are referral links; if you sign up through one we may earn a reward at no extra cost to you, and it never changes what we recommend. We are an independent publisher and are not affiliated with, endorsed by, or an official partner of any tool mentioned. See our Affiliate Disclosure.

    TL;DR

    • Pick the plan based on how many sites and how much traffic you expect.
    • Register a domain or connect one you already own.
    • Install WordPress from the control panel in a few clicks.
    • Enable SSL and force https before you share the link.
    • Test the finished site on mobile and desktop before launch.

    On this page: What this covers · Before you start · Step 1 – Choose a plan · Step 2 – Create your account · Step 3 – Set up your domain · Step 4 – Install WordPress · Step 5 – Enable SSL · A quick decision table · Going live checklist · Where this fits

    What this covers

    This walkthrough covers a standard GreenGeeks setup for a single site, with notes for anyone bringing across an existing domain. The order matters less than the checks, so treat the steps as a checklist you can tick off.

    Everything here is achievable without developer skills. Where a step needs a decision, the guide explains what changes based on your answer.

    Before you start

    • Decide whether you are building a blog, a business site or a store.
    • Have your domain ready, or note that you can register one during signup.
    • Choose the email address that will own the account.
    • Back up any existing site files and content if you are migrating.
    • Set a budget ceiling so you can evaluate add-ons calmly at checkout.
    GreenGeeks shared hosting pricing plans
    GreenGeeks pricing (image: greengeeks.com)

    Step 1 — Choose a plan

    1. Estimate how many sites you will run and how much storage they need.
    2. Compare the included features rather than only the price, since tiers differ in what they cover.
    3. Check the current price on the official pricing page, because promotional and renewal rates can differ.
    4. Pick the tier that fits your next year, not just this month, to avoid an early upgrade.
    GreenGeeks client area sign-in page
    GreenGeeks client area (image: greengeeks.com)

    Step 2 — Create your account

    1. Fill in the order form with contact details you will still have access to later.
    2. Set a strong, unique password and save it in a password manager.
    3. Confirm the account by following the verification email.
    4. Log in to the control panel and check your billing and account details.
    GreenGeeks domain registration page
    GreenGeeks domains (image: greengeeks.com)

    Step 3 — Set up your domain

    If you already own the domain, update its nameservers to the values shown in your control panel. Propagation can take a few hours, so do this early.

    If you register the domain during signup, the connection is handled for you and you can move on to installing your site.

    GreenGeeks managed WordPress hosting page
    GreenGeeks WordPress hosting (image: greengeeks.com)

    Step 4 — Install WordPress

    1. Open the installer in the control panel and select WordPress.
    2. Set your admin username, a strong password and the site email.
    3. Choose the domain to attach the installation to.
    4. Run the installer and wait for the success message.
    5. Load the site to confirm the default page appears.
    GreenGeeks support and help center
    GreenGeeks support (image: greengeeks.com)

    Step 5 — Enable SSL

    SSL encrypts traffic and gives visitors the padlock they expect. Activate the free certificate in the control panel and wait for it to be issued.

    Once it is active, redirect http to https so your site has one canonical address. This avoids duplicate-content issues later.

    GreenGeeks shared hosting overview
    GreenGeeks shared hosting (image: greengeeks.com)

    A quick decision table

    Use this table to check the main setup choices before you commit.

    Decision Simple option Choose it when
    Plan sizeStarter tierYou are launching one site with modest traffic
    Plan sizeHigher tierYou expect several sites or heavier traffic
    DomainRegister at signupYou do not own a domain yet
    DomainConnect existingYou already own it and can update nameservers
    InstallOne-click WordPressYou want a familiar editing workflow
    SSLFree certificateYou want https without extra cost
    Based on publicly documented behaviour, checked October 8, 2026.

    Going live checklist

    • Check the layout on both mobile and desktop.
    • Confirm https loads and http redirects to it.
    • Send a test email from the site.
    • Turn on a backup schedule before further edits.
    • Remove default sample content you do not want public.
    GreenGeeks hosting/Div plan page
    GreenGeeks VPS hosting (image: greengeeks.com)

    Where this fits in your wider stack

    Before you commit, read the independent GreenGeeks review and start from the hosting hub. If you are comparing providers, see the best web hosting for small business, and learn how to choose web hosting. It also pays to understand hosting renewal pricing before choosing a term.

    Frequently asked

    How long does GreenGeeks setup take?

    The account and WordPress install are quick; the domain can take a few hours to propagate, so allow for that.

    Can I install something other than WordPress?

    Yes, the installer supports other applications, but WordPress is the most common choice for a business site.

    What if I already have a domain?

    Point its nameservers to the hosting values in your control panel and wait for propagation.

    Do I need SSL before launch?

    Enable it before you share the link so visitors never see an insecure warning.

    Ready to set up hosting?

    Review the plans and confirm the current price on the provider page first.

    Referral link — we may earn a reward if you sign up, at no extra cost to you. We are an independent publisher. See our Affiliate Disclosure.
  • How to Set Up ScalaHosting: Hosting, Step by Step

    How to Set Up ScalaHosting: Hosting, Step by Step

    Home / Hosting / Guides / How to set up ScalaHosting

    Tutorial · hosting · updated October 8, 2026

    How to set up ScalaHosting: a practical walkthrough

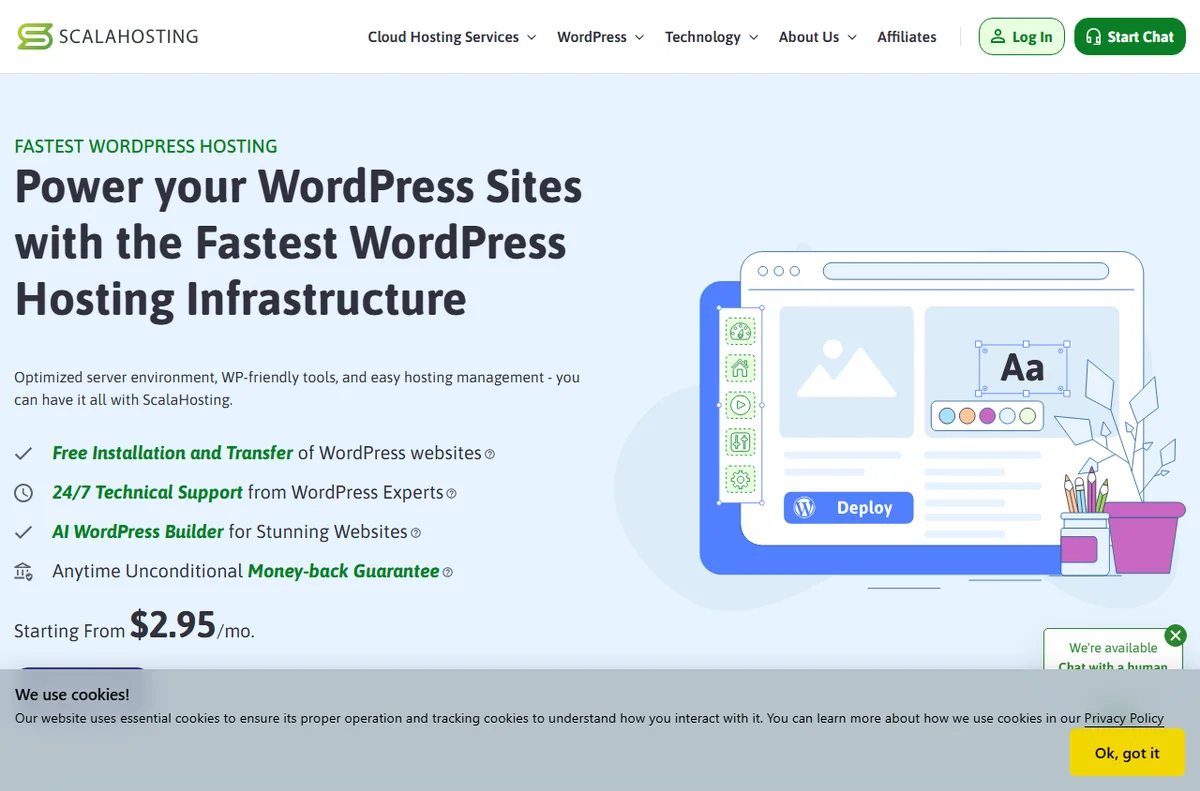
    Setting up hosting is easier when you treat it as a short checklist rather than a technical project. This guide walks through the ScalaHosting setup path in order, from picking a plan to publishing your first live page, and flags the points where most people get stuck.

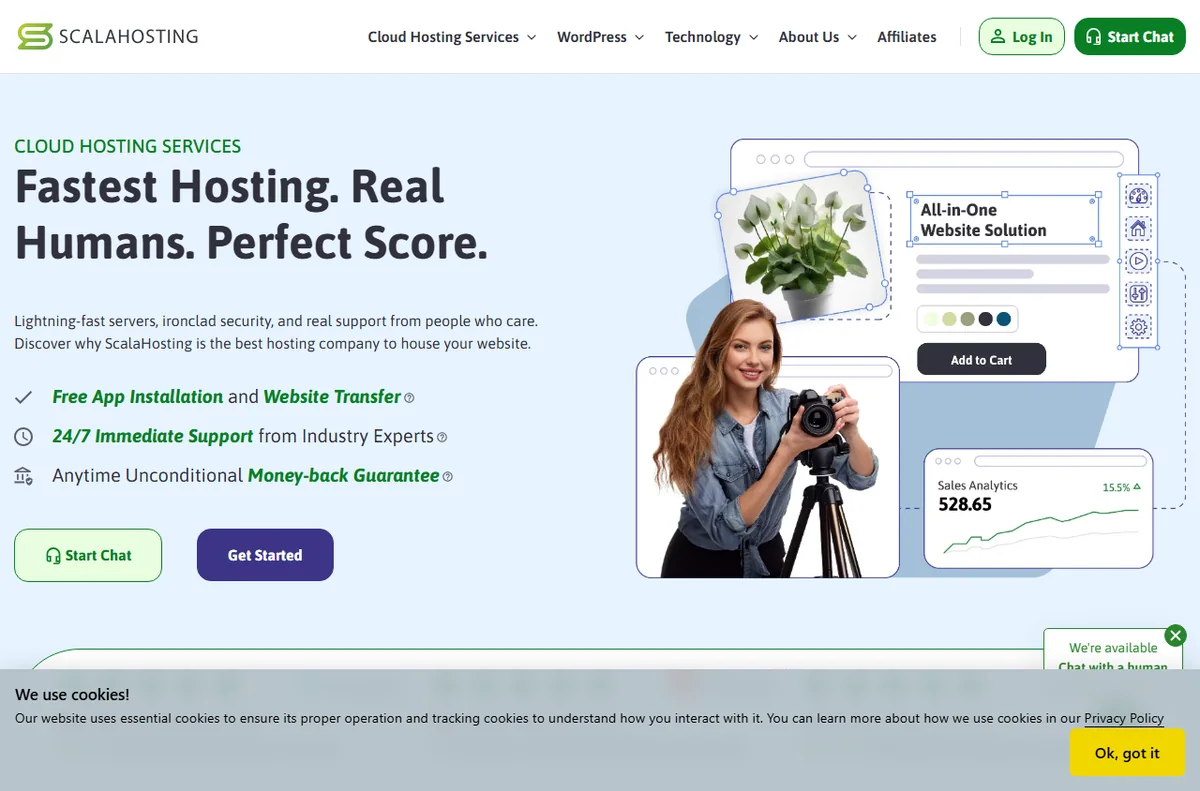
    ScalaHosting official homepage for managed cloud hosting
    ScalaHosting official homepage (image: scalahosting.com)

    Independent analysis. This page may contain affiliate links. Some links here are referral links; if you sign up through one we may earn a reward at no extra cost to you, and it never changes what we recommend. We are an independent publisher and are not affiliated with, endorsed by, or an official partner of any tool mentioned. See our Affiliate Disclosure.

    TL;DR

    • Decide the type of plan you need before you buy anything.
    • Create the account, then let the platform provision your server.
    • Point the domain to the hosting nameservers and wait for DNS to settle.
    • Install WordPress or your application, then enable SSL.
    • Check the live site on mobile before you consider setup finished.

    On this page: What this covers · Before you start · Step 1 – Choose a plan · Step 2 – Create your account · Step 3 – Point your domain · Step 4 – Install your site · Step 5 – Enable SSL · A quick decision table · Going live checklist · Where this fits

    What this covers

    This walkthrough covers the standard ScalaHosting setup sequence for a single site or a small handful of sites. The steps are the same whether you are starting fresh or moving an existing project, though a migration adds one extra stage.

    You do not need to be a developer to follow along. Each step is framed as a decision or an action, so you always know what you are doing and why.

    Before you start

    • Know whether you want managed WordPress hosting or a general web hosting plan.
    • Have your domain ready, or be prepared to register one during signup.
    • Decide on the primary email address for the account and its recovery options.
    • Have a backup of any existing site content if you are moving a live project.
    • Note your budget ceiling so you are not surprised by add-ons at checkout.
    ScalaHosting managed cloud hosting plans
    ScalaHosting cloud hosting plans (image: scalahosting.com)

    Step 1 — Choose a plan

    1. Match the plan to your workload: a blog, a business site and an ecommerce store have different needs.
    2. Check how many websites and how much storage each tier includes, and pick the one that fits your realistic usage rather than the smallest number.
    3. Confirm the running cost on the official pricing page, since promotional rates and renewal rates can differ.
    4. Read what is included in the managed tier so you know what you are paying for versus a plain hosting plan.
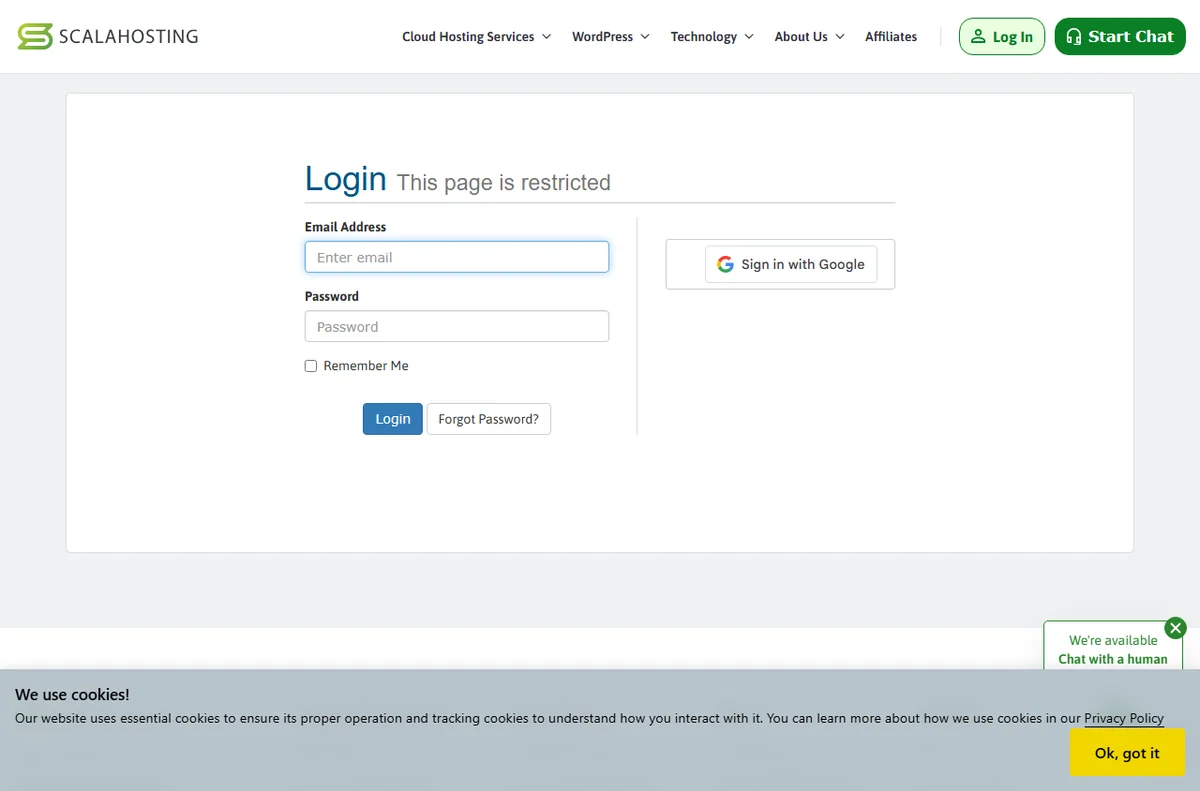
    ScalaHosting client area sign-in page
    ScalaHosting client area sign-in (image: scalahosting.com)

    Step 2 — Create your account

    1. Complete the order form with accurate contact details so account recovery works later.
    2. Choose a strong, unique password and store it in a password manager.
    3. Wait for the confirmation email and verify your address if prompted.
    4. Log in to the control panel and confirm your billing and account settings are correct.
    ScalaHosting web hosting page covering domains and setup
    ScalaHosting web hosting (image: scalahosting.com)

    Step 3 — Point your domain

    If your domain is already registered elsewhere, you will point it at the hosting by updating its nameservers to the ones shown in your control panel. Changes like this can take some hours to take effect everywhere.

    If you registered the domain during signup, this step is handled for you and you can move straight on to installing your site.

    ScalaHosting managed WordPress hosting page
    ScalaHosting WordPress hosting (image: scalahosting.com)

    Step 4 — Install your site

    1. Open the installer in the control panel and pick the application you need, most commonly WordPress.
    2. Set the admin username, password and email for the new site.
    3. Choose the domain you want the installation attached to.
    4. Run the installer and wait for the confirmation that the site is ready.
    5. Visit the site address to confirm the default page loads.
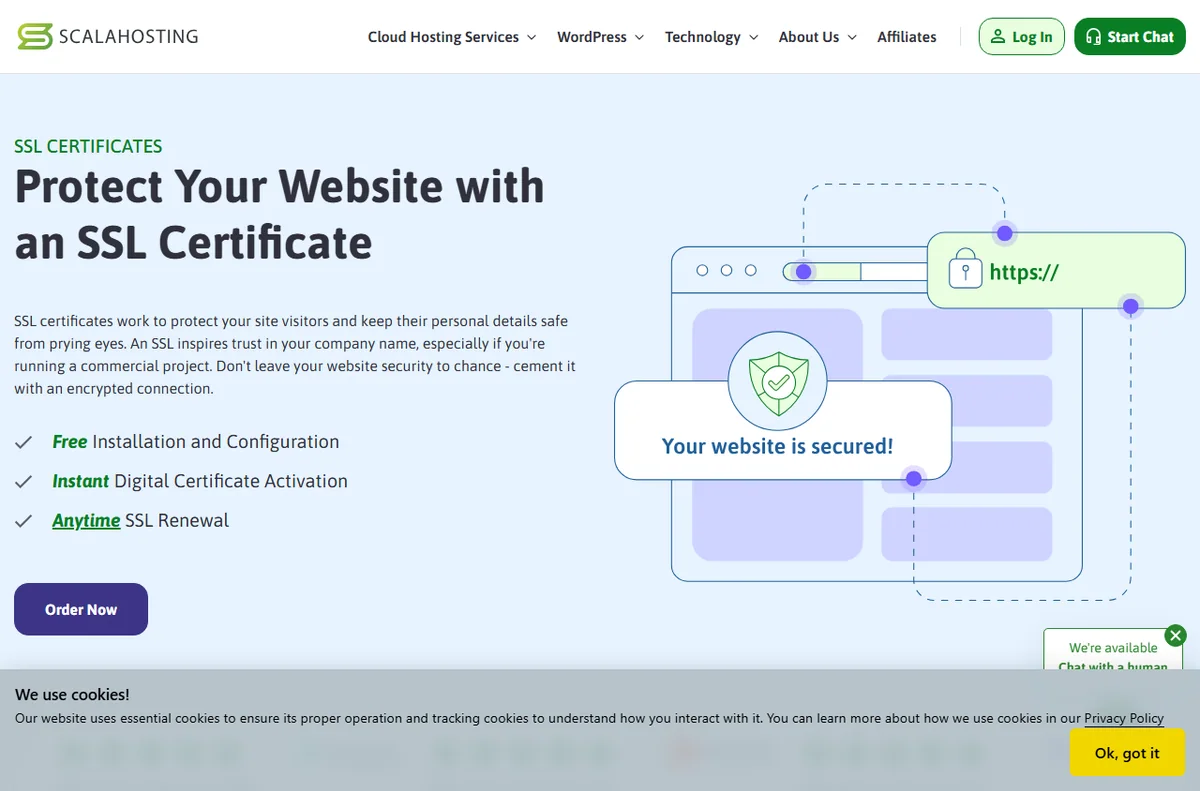
    ScalaHosting SSL certificates page
    ScalaHosting SSL certificates (image: scalahosting.com)

    Step 5 — Enable SSL

    SSL encrypts traffic between visitors and your site, and browsers now treat its absence as a warning to the user. Turn on the free certificate option in your control panel and wait for it to be issued.

    After the certificate is active, make sure your site loads over https and not just http. A redirect from http to https is the cleanest way to keep one canonical address.

    ScalaHosting cloud VPS hosting plans
    ScalaHosting cloud VPS (image: scalahosting.com)

    A quick decision table

    Use this table to sanity-check the main choices before you commit.

    Decision Simple option Choose it when
    Plan typeManaged hostingYou want updates and caching handled for you
    Plan typeGeneral web hostingYou need full control over the server stack
    DomainRegister at signupYou have no domain yet and want fewer moving parts
    DomainUse an existing domainYou already own it and are happy to update nameservers
    SiteOne-click WordPressYou want a familiar content workflow
    SSLFree certificateYou want https without extra cost
    Based on publicly documented behaviour, checked October 8, 2026.
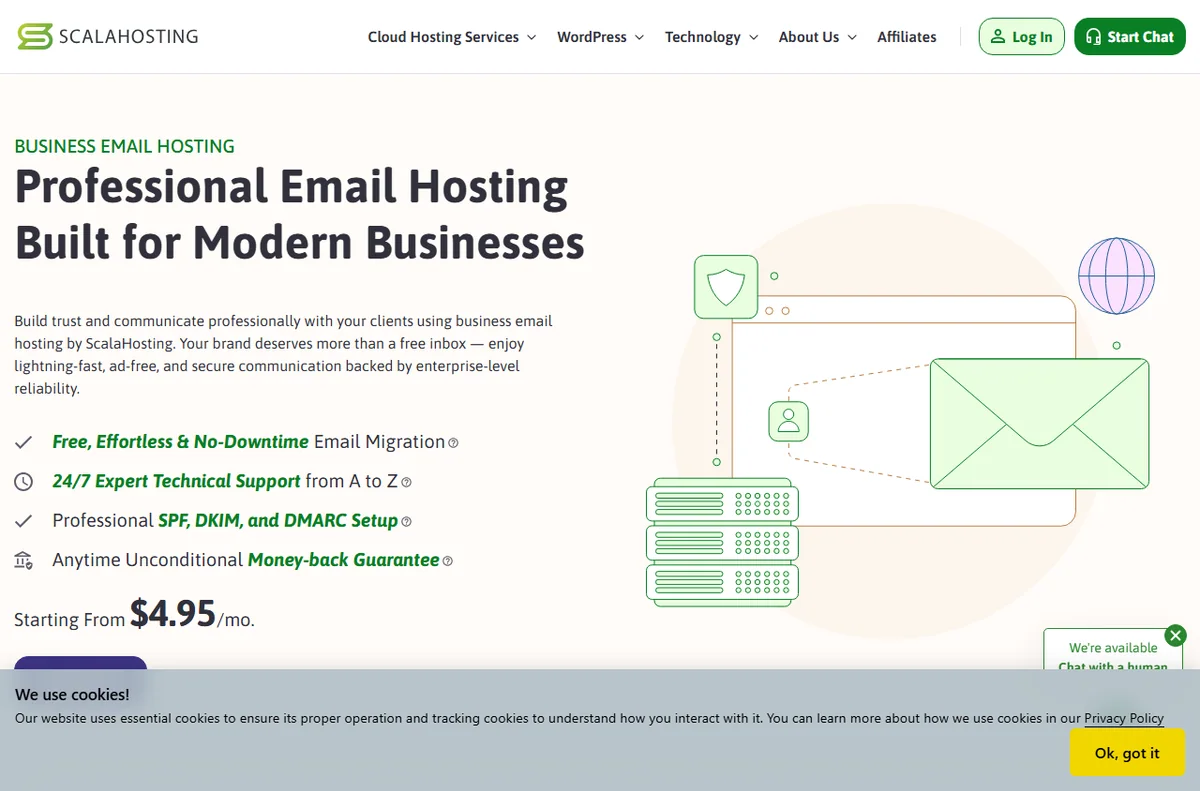
    ScalaHosting business email hosting page
    ScalaHosting email hosting (image: scalahosting.com)

    Going live checklist

    • Load the site on a phone and a desktop to catch layout problems early.
    • Confirm the https address works and that http redirects to it.
    • Send a test email from the site to check delivery.
    • Set up a backup schedule before you make further changes.
    • Remove any default sample content you do not want public.

    Where this fits in your wider stack

    If you are still deciding between providers, start with the independent ScalaHosting review and the hosting hub. For a wider shortlist, compare the best web hosting for small business, and if you are planning a content site, read best hosting for bloggers. It also helps to understand hosting renewal pricing before you commit to a term.

    Frequently asked

    How long does ScalaHosting setup usually take?

    The account and site installation are quick, but the domain can take some hours to propagate, so plan for that delay.

    Do I need to know how to code?

    No. The setup steps are form-based, and the site installer handles the technical part.

    Can I move an existing site later?

    Yes, but plan a migration as its own step so you do not mix it with the initial setup.

    Should I enable SSL right away?

    Yes. Turn it on as soon as the site is installed so visitors never see an insecure warning.

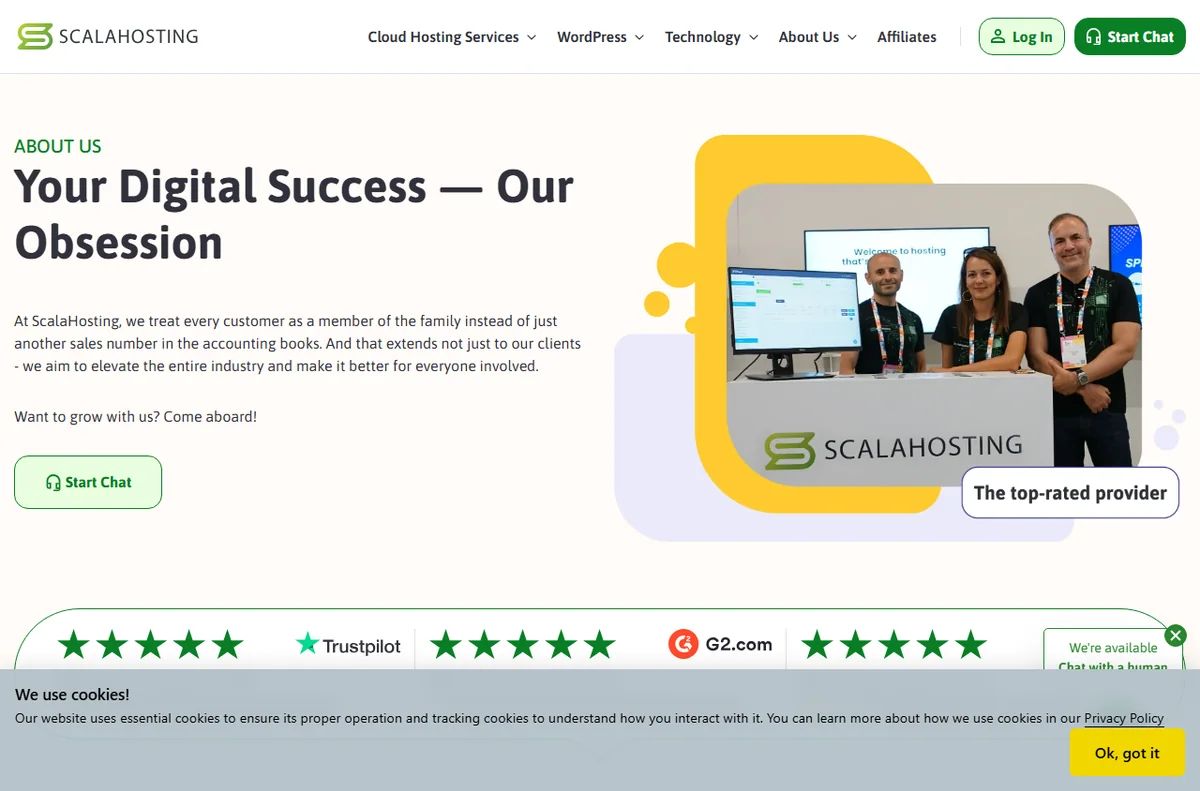
    ScalaHosting about page
    About ScalaHosting (image: scalahosting.com)

    Ready to set up hosting?

    Compare the plans and confirm current pricing on the provider page before you buy.

    Referral link — we may earn a reward if you sign up, at no extra cost to you. We are an independent publisher. See our Affiliate Disclosure.
  • How to Set Up MailerLite: Email Marketing, Step by Step

    How to Set Up MailerLite: Email Marketing, Step by Step

    Home / Email Marketing / Guides / How to set up MailerLite

    Tutorial · email marketing · updated October 8, 2026

    How to set up MailerLite: a practical walkthrough

    MailerLite is an email marketing tool for building lists and sending campaigns. A clean setup matters because domain verification, list structure and automation are far easier to do once than to retrofit later.

    MailerLite email marketing homepage
    MailerLite official homepage (image: mailerlite.com)

    Independent analysis. This page may contain affiliate links. Some links here are referral links; if you sign up through one we may earn a reward at no extra cost to you, and it never changes what we recommend. We are an independent publisher and are not affiliated with, endorsed by, or an official partner of any tool mentioned. See our Affiliate Disclosure.

    TL;DR

    • Create the account and complete the sender profile first.
    • Verify your sending domain before you send anything.
    • Structure your list into groups from the start.
    • Embed a sign-up form where your audience already is.
    • Add one welcome automation before scaling your sends.

    On this page: What this covers · Before you start · Step 1 — Create your account · Step 2 — Verify your sending domain · Step 3 — Build your first list · Step 4 — Add a sign-up form · Step 5 — Send your first campaign · Step 6 — Add a welcome automation · Choosing what to set up first · Where this fits in your wider stack

    What this covers

    This guide assumes you are starting fresh with an email list or moving from a spreadsheet. It covers the order of operations that avoids rework: account, sender profile, domain verification, groups, form, first campaign and a welcome automation.

    Nothing here depends on a specific plan. Where a feature is tied to a tier, the guide says to check the official pricing page rather than quoting numbers that change.

    Before you start

    • A domain you can add DNS records to.
    • A real business name and address for the sender profile.
    • A short description of who you email and why.
    • Access to your website or the tool that hosts your forms.
    • A clear view of what counts as consent for your list.
    MailerLite sign-up page for creating a free account
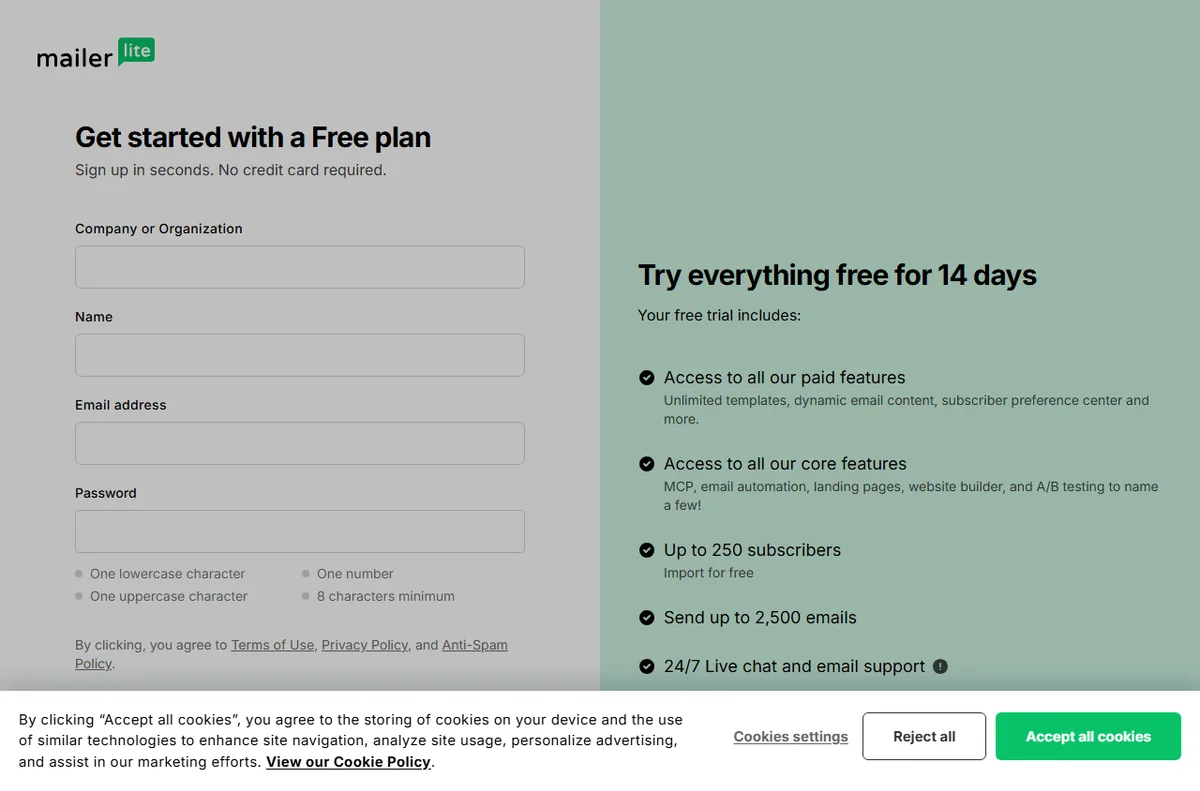
    MailerLite sign-up (image: mailerlite.com)

    Step 1 — Create your account

    1. Sign up from the official site and confirm your email address.
    2. Complete the sender profile with a real name and postal address.
    3. Set your timezone so scheduling behaves as expected.
    4. Review the account settings before you import anyone.
    MailerLite email marketing features page
    MailerLite features (image: mailerlite.com)

    Step 2 — Verify your sending domain

    Domain verification proves you control the domain you send from, which helps deliverability and protects your sender reputation. Add the DNS records the platform provides, then wait for verification to pass. Providers differ, so follow the exact records shown inside your own account.

    MailerLite sign-up forms for building a list
    MailerLite sign-up forms (image: mailerlite.com)

    Step 3 — Build your first list

    Create a group for the subscribers you intend to email. Keep the names meaningful: a group for newsletter readers and one for customers is easier to reason about than a single undifferentiated list you cannot segment later.

    MailerLite landing page builder for opt-in pages
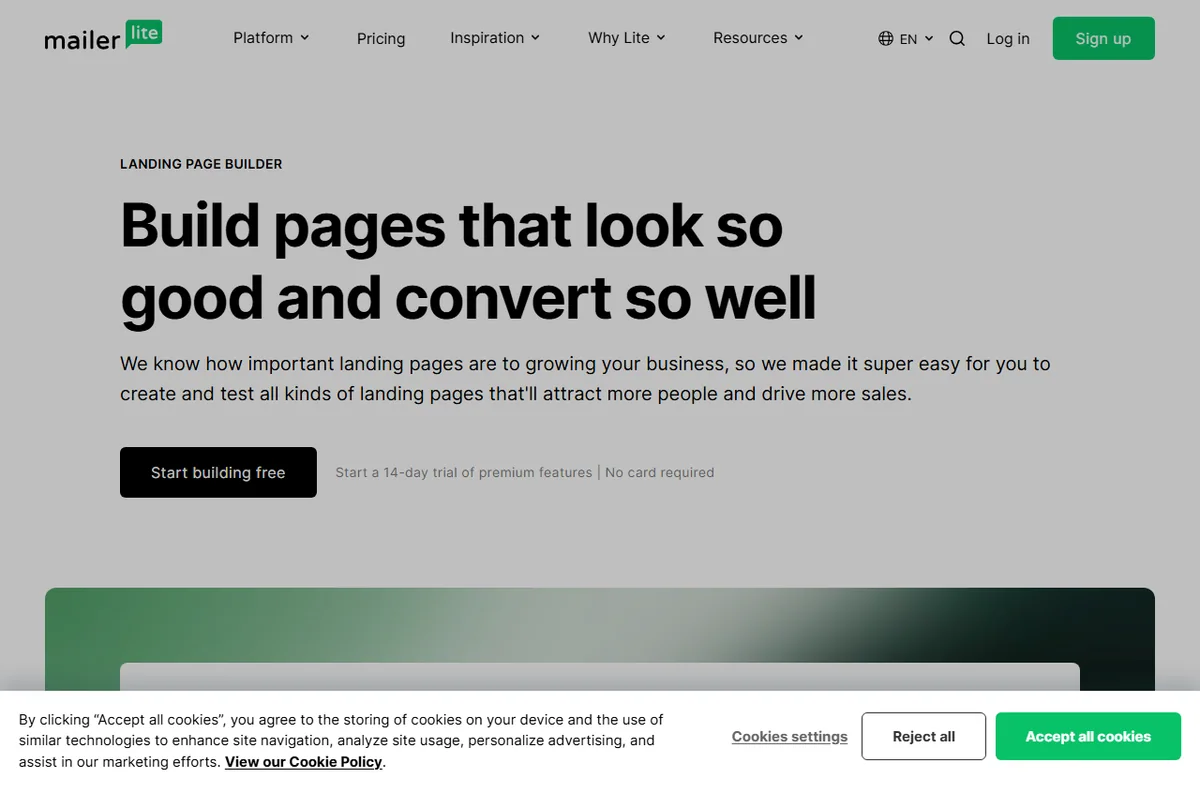
    MailerLite landing pages (image: mailerlite.com)

    Step 4 — Add a sign-up form

    1. Create a form and choose only the fields you truly need.
    2. Set which group new subscribers join.
    3. Embed the form on your site or share the hosted link.
    4. Submit a test entry and confirm it lands in the right group.
    MailerLite newsletter and landing page templates
    MailerLite templates (image: mailerlite.com)

    Step 5 — Send your first campaign

    Draft a campaign, choose the group to send to, and preview on desktop and mobile. Send a test to yourself before the real send, and read the spam and deliverability checks the tool provides rather than skipping them.

    MailerLite automation builder for welcome emails
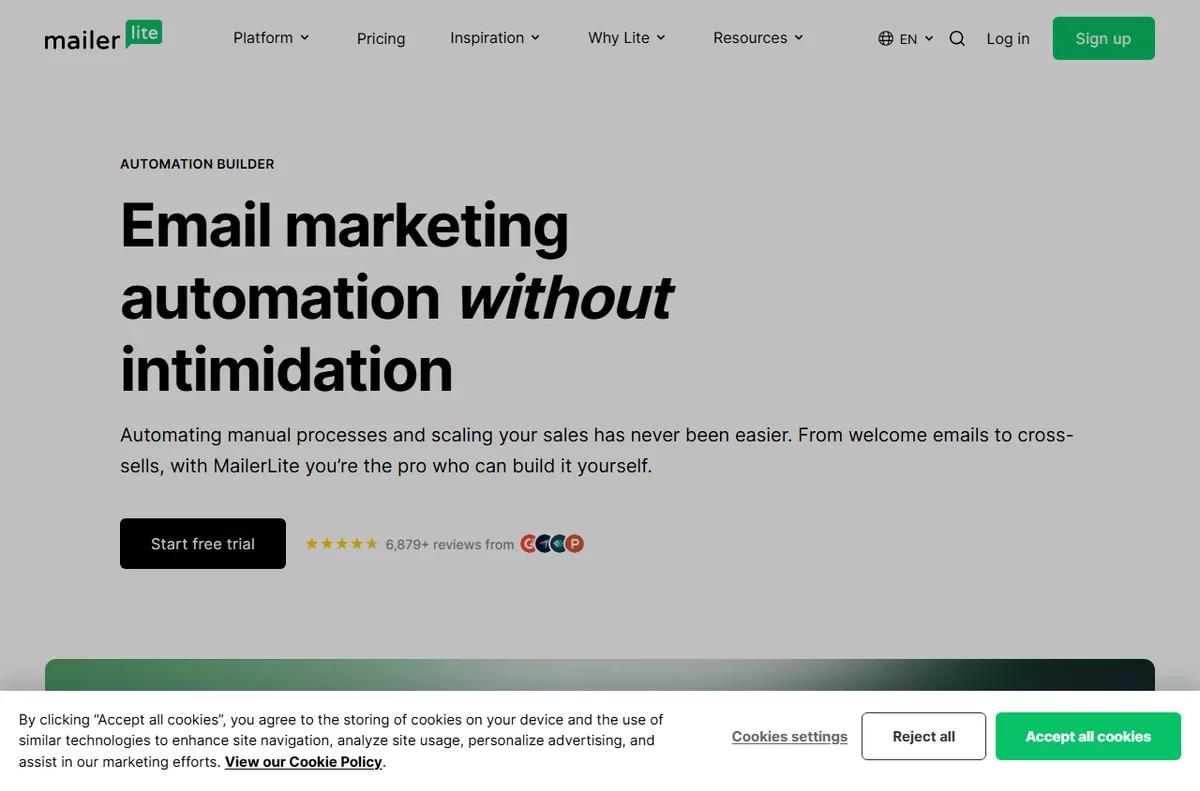
    MailerLite automation (image: mailerlite.com)

    Step 6 — Add a welcome automation

    A welcome automation sends a sequence when someone joins a group. Start with a single welcome message and a clear next step rather than a long sequence you will not maintain. You can add steps once you see what people respond to.

    MailerLite pricing plans
    MailerLite pricing (image: mailerlite.com)

    Choosing what to set up first

    A sensible order removes the most common causes of rework.

    Task Do it when Note
    Sender profileDay oneBlocks most sends until it is complete
    Domain verificationBefore the first campaignImproves deliverability and trust
    Group structureBefore importing contactsHard to reorganise later
    Sign-up formOnce groups existPoints new subscribers to the right group
    Welcome automationAfter the first campaignEasier to write with real feedback
    Based on publicly documented behaviour, checked October 8, 2026.

    Where this fits in your wider stack

    If you are still comparing tools, read the independent MailerLite review and start from the email marketing hub. Weighing options? See best email marketing software, browse best email newsletter tools, and if you are new to this, read best email marketing for beginners.

    Frequently asked

    How long does MailerLite setup take?

    Account creation and the sender profile are quick; domain verification depends on how fast your DNS changes propagate.

    Do I need to verify a domain?

    It is strongly recommended before sending campaigns, because it improves deliverability and protects your sender reputation.

    Can I import an existing list?

    Yes, but only contacts who gave you permission, and check the platform requirements for imports first.

    Is there a free plan?

    Plans and limits change over time, so check the official pricing page for what is currently offered.

    MailerLite integrations with other tools
    MailerLite integrations (image: mailerlite.com)

    Set up MailerLite the right way

    Verify your domain and structure your list before the first send.

    Referral link — we may earn a reward if you sign up, at no extra cost to you. We are an independent publisher. See our Affiliate Disclosure.