
Home / Email Marketing / Guides / How to set up MailerLite
Tutorial · email marketing · updated October 8, 2026
How to set up MailerLite: a practical walkthrough
MailerLite is an email marketing tool for building lists and sending campaigns. A clean setup matters because domain verification, list structure and automation are far easier to do once than to retrofit later.

Independent analysis. This page may contain affiliate links. Some links here are referral links; if you sign up through one we may earn a reward at no extra cost to you, and it never changes what we recommend. We are an independent publisher and are not affiliated with, endorsed by, or an official partner of any tool mentioned. See our Affiliate Disclosure.
TL;DR
- Create the account and complete the sender profile first.
- Verify your sending domain before you send anything.
- Structure your list into groups from the start.
- Embed a sign-up form where your audience already is.
- Add one welcome automation before scaling your sends.
On this page: What this covers · Before you start · Step 1 — Create your account · Step 2 — Verify your sending domain · Step 3 — Build your first list · Step 4 — Add a sign-up form · Step 5 — Send your first campaign · Step 6 — Add a welcome automation · Choosing what to set up first · Where this fits in your wider stack
What this covers
This guide assumes you are starting fresh with an email list or moving from a spreadsheet. It covers the order of operations that avoids rework: account, sender profile, domain verification, groups, form, first campaign and a welcome automation.
Nothing here depends on a specific plan. Where a feature is tied to a tier, the guide says to check the official pricing page rather than quoting numbers that change.
Before you start
- A domain you can add DNS records to.
- A real business name and address for the sender profile.
- A short description of who you email and why.
- Access to your website or the tool that hosts your forms.
- A clear view of what counts as consent for your list.
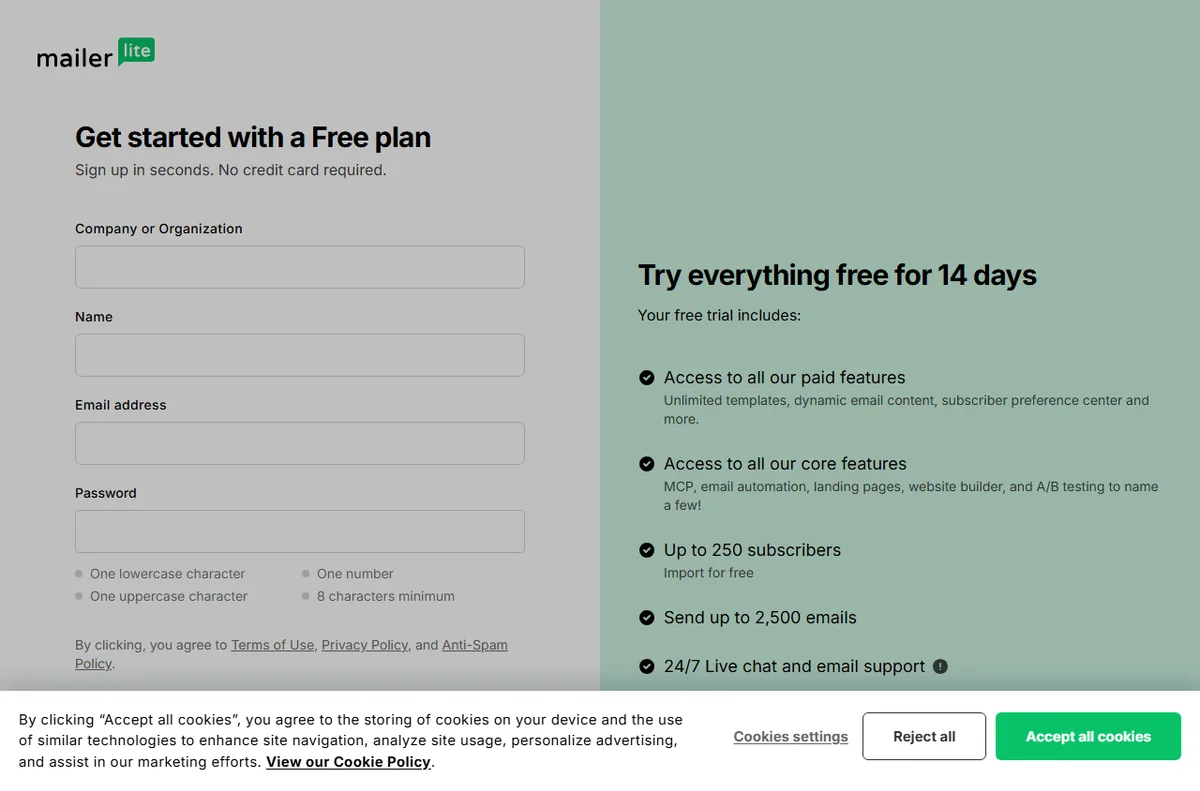
Step 1 — Create your account
- Sign up from the official site and confirm your email address.
- Complete the sender profile with a real name and postal address.
- Set your timezone so scheduling behaves as expected.
- Review the account settings before you import anyone.
Step 2 — Verify your sending domain
Domain verification proves you control the domain you send from, which helps deliverability and protects your sender reputation. Add the DNS records the platform provides, then wait for verification to pass. Providers differ, so follow the exact records shown inside your own account.

Step 3 — Build your first list
Create a group for the subscribers you intend to email. Keep the names meaningful: a group for newsletter readers and one for customers is easier to reason about than a single undifferentiated list you cannot segment later.
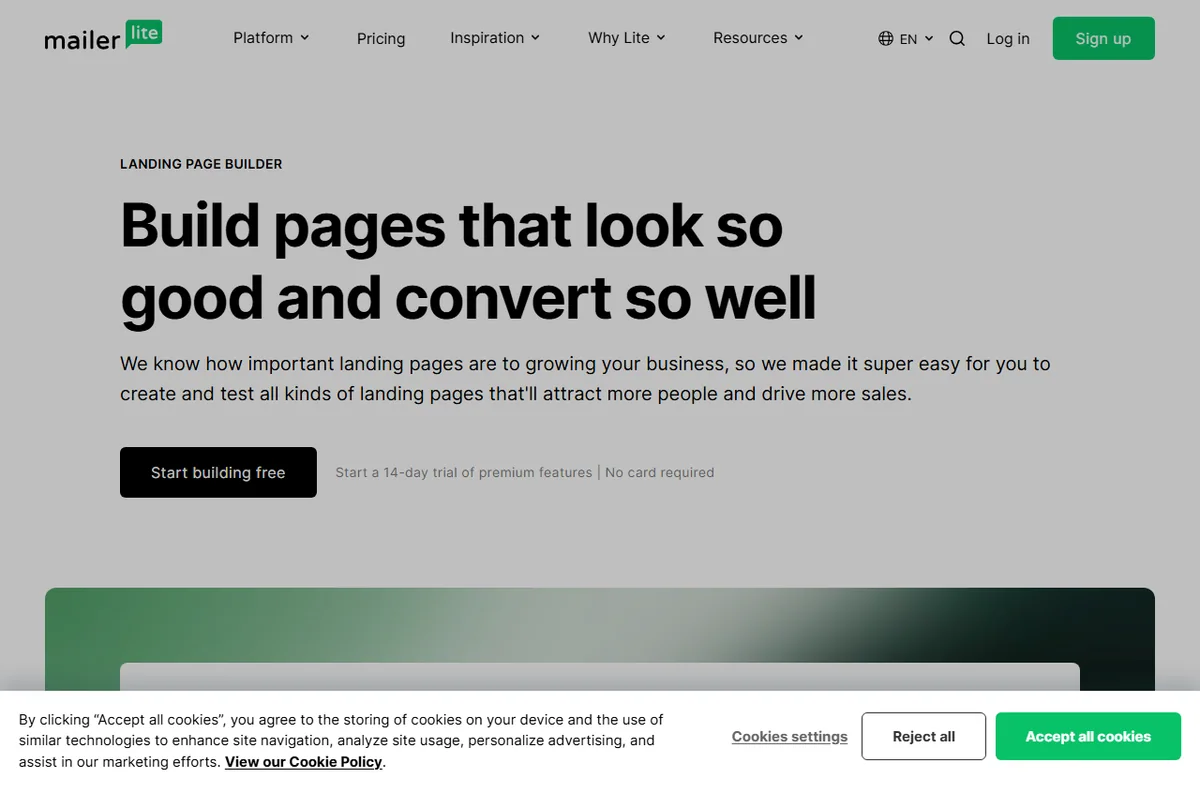
Step 4 — Add a sign-up form
- Create a form and choose only the fields you truly need.
- Set which group new subscribers join.
- Embed the form on your site or share the hosted link.
- Submit a test entry and confirm it lands in the right group.

Step 5 — Send your first campaign
Draft a campaign, choose the group to send to, and preview on desktop and mobile. Send a test to yourself before the real send, and read the spam and deliverability checks the tool provides rather than skipping them.
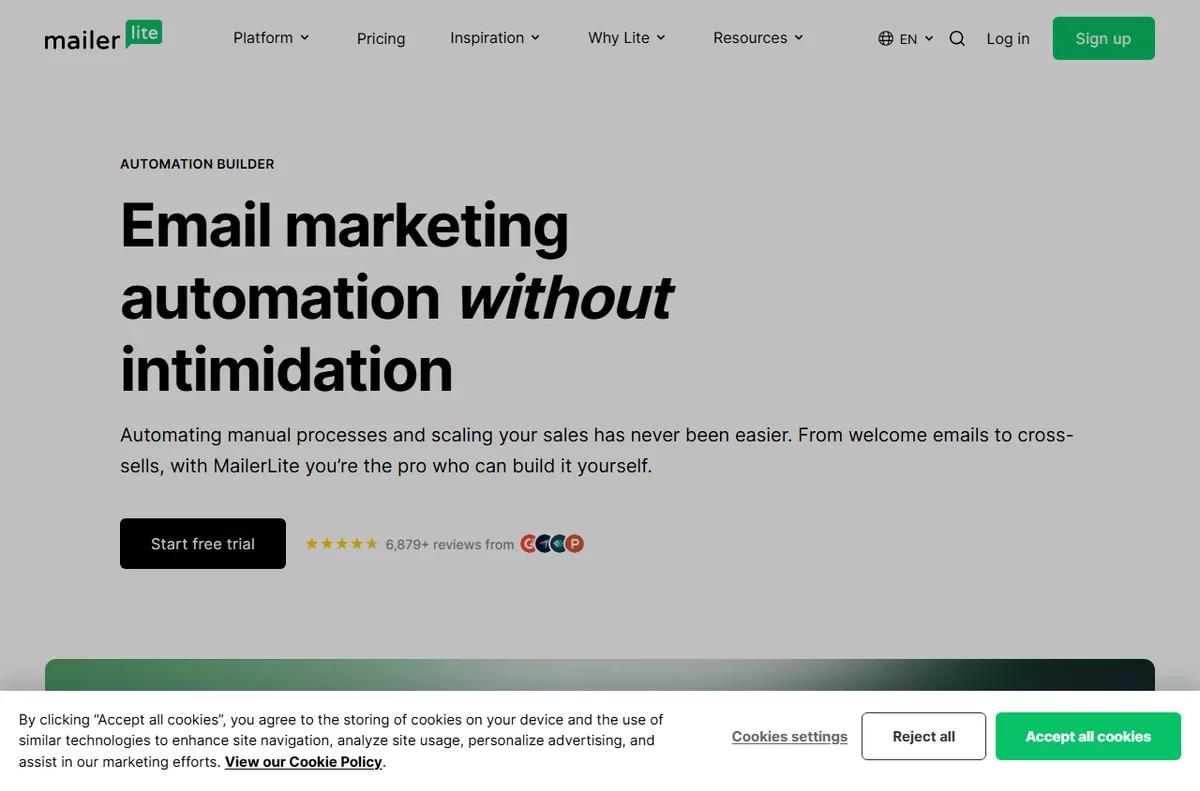
Step 6 — Add a welcome automation
A welcome automation sends a sequence when someone joins a group. Start with a single welcome message and a clear next step rather than a long sequence you will not maintain. You can add steps once you see what people respond to.

Choosing what to set up first
A sensible order removes the most common causes of rework.
| Task Do it when Note | ||
|---|---|---|
| Sender profile | Day one | Blocks most sends until it is complete |
| Domain verification | Before the first campaign | Improves deliverability and trust |
| Group structure | Before importing contacts | Hard to reorganise later |
| Sign-up form | Once groups exist | Points new subscribers to the right group |
| Welcome automation | After the first campaign | Easier to write with real feedback |
Where this fits in your wider stack
If you are still comparing tools, read the independent MailerLite review and start from the email marketing hub. Weighing options? See best email marketing software, browse best email newsletter tools, and if you are new to this, read best email marketing for beginners.
Frequently asked
How long does MailerLite setup take?
Account creation and the sender profile are quick; domain verification depends on how fast your DNS changes propagate.
Do I need to verify a domain?
It is strongly recommended before sending campaigns, because it improves deliverability and protects your sender reputation.
Can I import an existing list?
Yes, but only contacts who gave you permission, and check the platform requirements for imports first.
Is there a free plan?
Plans and limits change over time, so check the official pricing page for what is currently offered.
Set up MailerLite the right way
Verify your domain and structure your list before the first send.
Referral link — we may earn a reward if you sign up, at no extra cost to you. We are an independent publisher. See our Affiliate Disclosure.
Leave a Reply