We’re reader-supported — some links are affiliate links. Learn more →

Skip to content

Independent software research. Some links may earn us a commission at no extra cost to you. Learn more →

ICode

Author: admin

  • How to set up Kartra (step-by-step)

    How to set up Kartra (step-by-step)

    Home / Funnel Builders / Guides / How to set up Kartra

    Tutorial · funnel builders · updated October 9, 2026

    How to set up Kartra: from account to your first live funnel

    Kartra bundles pages, funnels, email, checkout and memberships into one account. Setting it up means creating the account, choosing a funnel, building the steps, connecting your domain and payment, then testing the whole path before you send any traffic.

    Independent analysis. This page may contain affiliate links. If you sign up through a link on this page we may earn a reward at no extra cost to you, and it never changes what we recommend. We are an independent publisher and are not affiliated with, endorsed by, or an official partner of any tool mentioned. See our Affiliate Disclosure.

    TL;DR

    • Create the account and pick the plan that matches your funnel count.
    • Start from a funnel template rather than a blank page.
    • Set up your email list and one follow-up sequence early.
    • Connect a payment method before you publish a checkout.
    • Test the funnel end to end before you advertise it.

    On this page: Create your account · Build a funnel · Email and automations · Checkout and payments · Connect your domain · Test and launch

    Kartra home page
    Kartra home (image: kartra.com)

    Step 1 — Create your account

    Create a Kartra account and choose the plan by how many funnels and contacts you need, not by the largest advertised tier. We do not quote prices — check the current plans on Kartra’s own pricing page.

    Set the account name and timezone correctly now. Timezone affects when automated emails send, and fixing it later means re-checking every campaign.
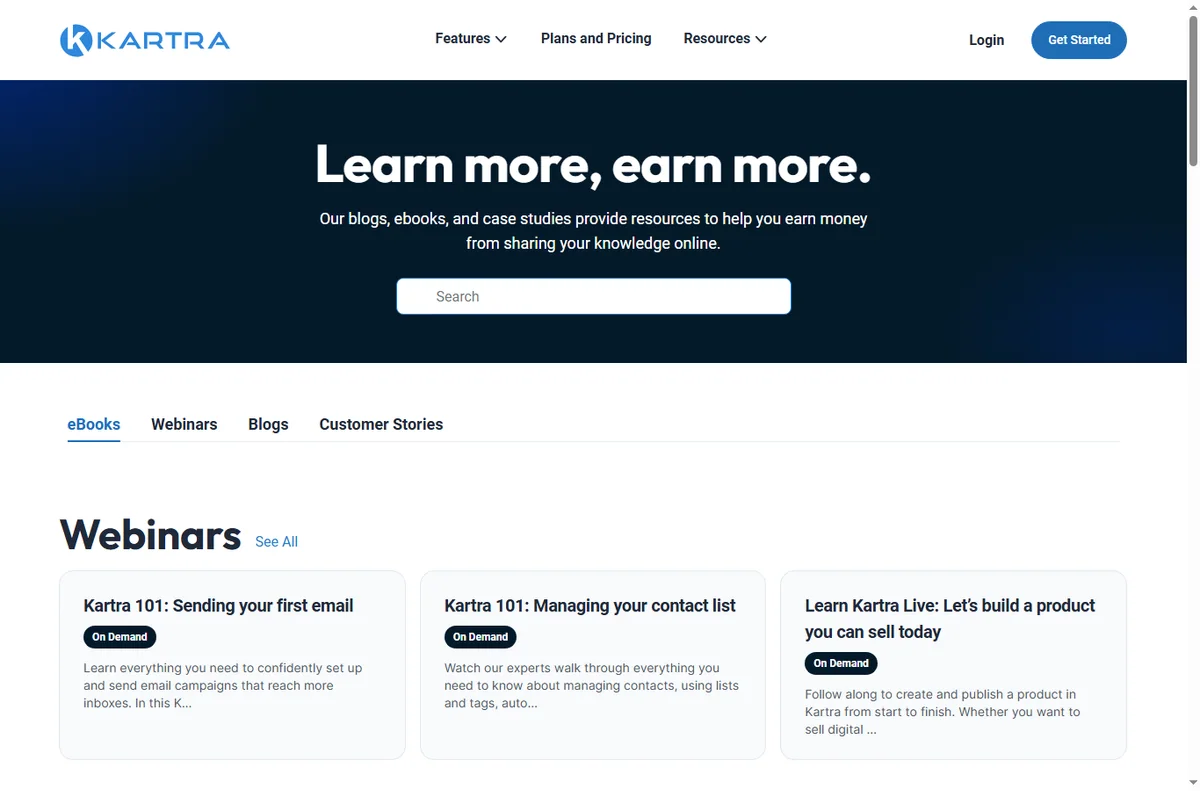
    Kartra blog page
    Kartra blog (image: kartra.com)

    Step 2 — Choose and build a funnel

    Start from a funnel template rather than an empty canvas. Pick the template closest to your goal — lead capture, a sales page, or a checkout and thank-you flow — then edit the copy.

    1. Choose a funnel type that matches your goal.
    2. Select the closest template and preview it.
    3. Replace the copy with your own offer.
    4. Swap in your logo, colours and images.
    5. Save each page and connect them in order.
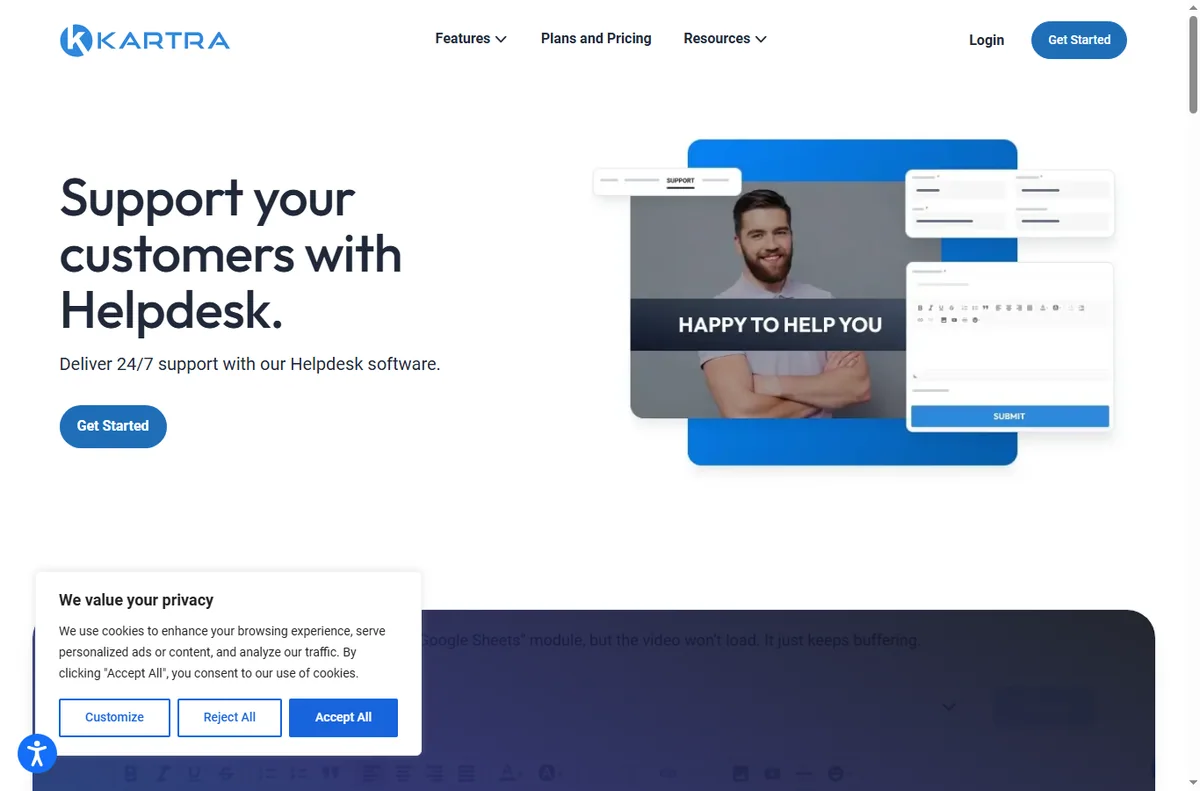
    Kartra help page
    Kartra help (image: kartra.com)

    Step 3 — Set up your list and automations

    Create the list that funnel opt-ins will join, then build one short follow-up sequence: a welcome message and two or three useful emails.

    Do not build twenty automations on day one. One sequence that runs reliably beats a complex map that half-works.

    Step 4 — Connect checkout and payments

    Connect a payment method and attach a product to your checkout page. Confirm currency, tax handling and any trial or subscription settings before you test.

    Run a test purchase with a real card you can refund, and confirm the buyer receives the receipt and the access email. Almost every launch problem shows up here first.
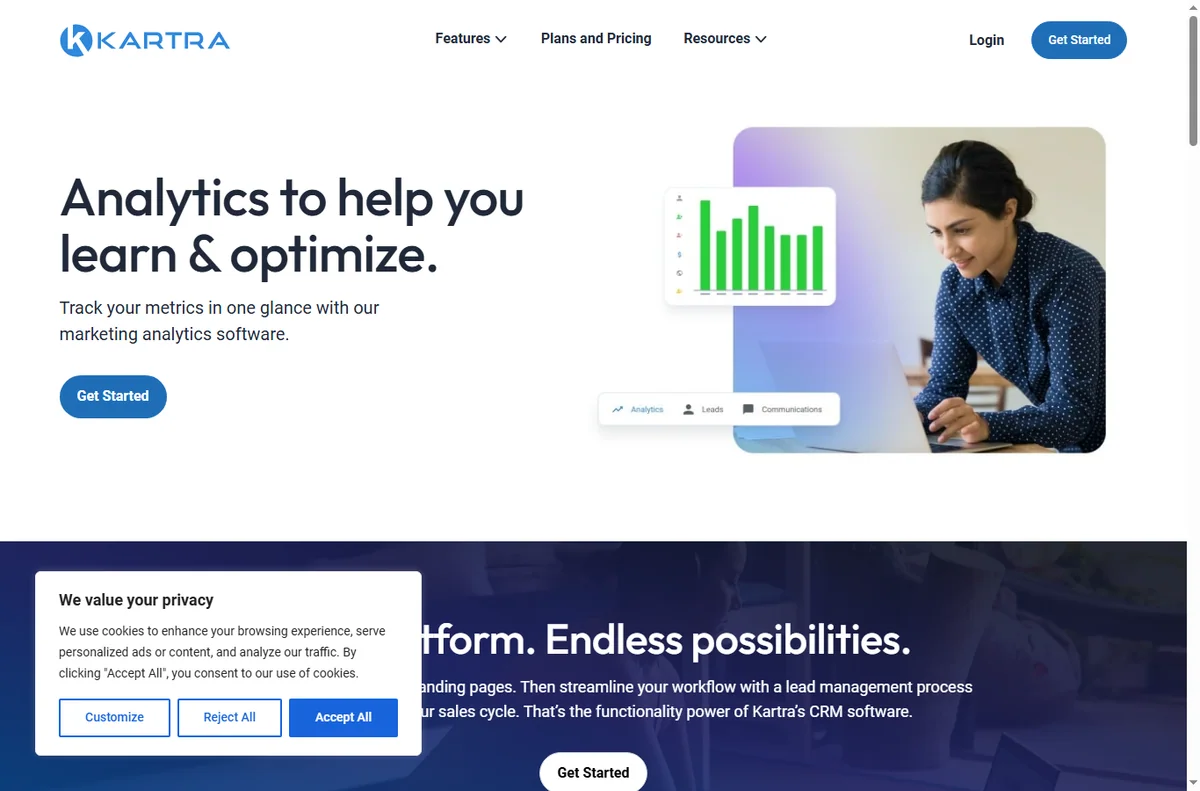
    Kartra marketing page
    Kartra marketing (image: kartra.com)

    Step 5 — Connect your domain

    Add your own domain so funnel pages live at your brand address rather than a shared one. Follow the DNS records Kartra provides and re-publish the pages afterwards.

    Check that the padlock appears on every step of the funnel; a single page still on the old address is enough to break trust at checkout.

    Step 6 — Test end to end and launch

    Walk the funnel as a stranger would: land, opt in, receive the email, reach the checkout, pay and confirm the thank-you page. Note every place you had to guess.

    Only then send traffic. A funnel that leaks at step three costs real money once visitors arrive, and it is far cheaper to fix before launch than after.

    Kartra pricing page
    Kartra pricing (image: kartra.com)

    Where this fits

    Start from the independent Kartra review and the funnel builders hub. For the day-to-day side, see how to use Kartra for a small business. Compare the field with best funnel builders, and borrow page ideas from how to create a sales page.
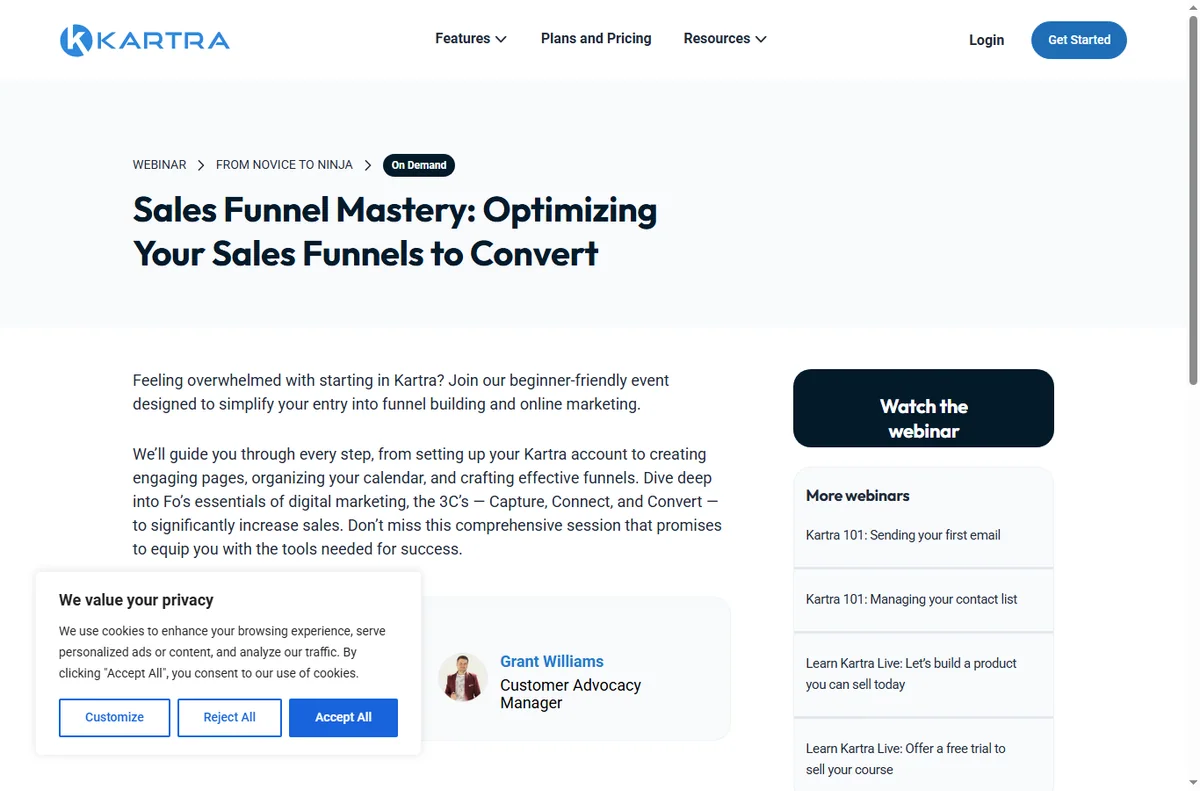
    Kartra sales page
    Kartra sales (image: kartra.com)

    Frequently asked

    Do I need to build everything inside Kartra?

    No. Start with one funnel and the tools that support it. You can layer on memberships, help desks and video later once the core path works.

    Should I use a funnel template or a blank page?

    Use a template first. It encodes a working page order, and editing a working structure is faster than assembling one from scratch.

    When should I connect my domain?

    Before you promote the funnel. Publishing on a shared address and switching later breaks links people have already shared.

    How many automations do I need at launch?

    One short follow-up sequence. Add complexity after the basic sequence runs reliably and people are converting.

    Build your first funnel with Kartra

    Pages, funnels, email and checkout in one account.

    Some links on this page may be referral links — we may earn a reward if you sign up, at no extra cost to you. We are an independent publisher. See our Affiliate Disclosure.

    Related reading

  • How to use LearnWorlds for a small business

    How to use LearnWorlds for a small business

    Home / Course Platforms / Guides / How to use LearnWorlds for a small business

    Guide · course platforms · updated October 9, 2026

    How to use LearnWorlds for a small business

    Once a course is published, the question changes from how to build it to how a small team runs it without adding headcount. This guide covers the workflows that matter most: packaging knowledge, onboarding customers, training staff, and selling more without rebuilding everything.

    Independent analysis. This page may contain affiliate links. If you sign up through a link on this page we may earn a reward at no extra cost to you, and it never changes what we recommend. We are an independent publisher and are not affiliated with, endorsed by, or an official partner of any tool mentioned. See our Affiliate Disclosure.

    TL;DR

    • Turn what you already teach into a paid course.
    • Use one platform for public courses and internal training.
    • Bundle courses to raise average order value.
    • Automate onboarding so students start without you.
    • Watch completion and engagement, not just sign-ups.

    On this page: Package knowledge · Onboard customers · Train your team · Bundle and upsell · Sell more · Keep courses current

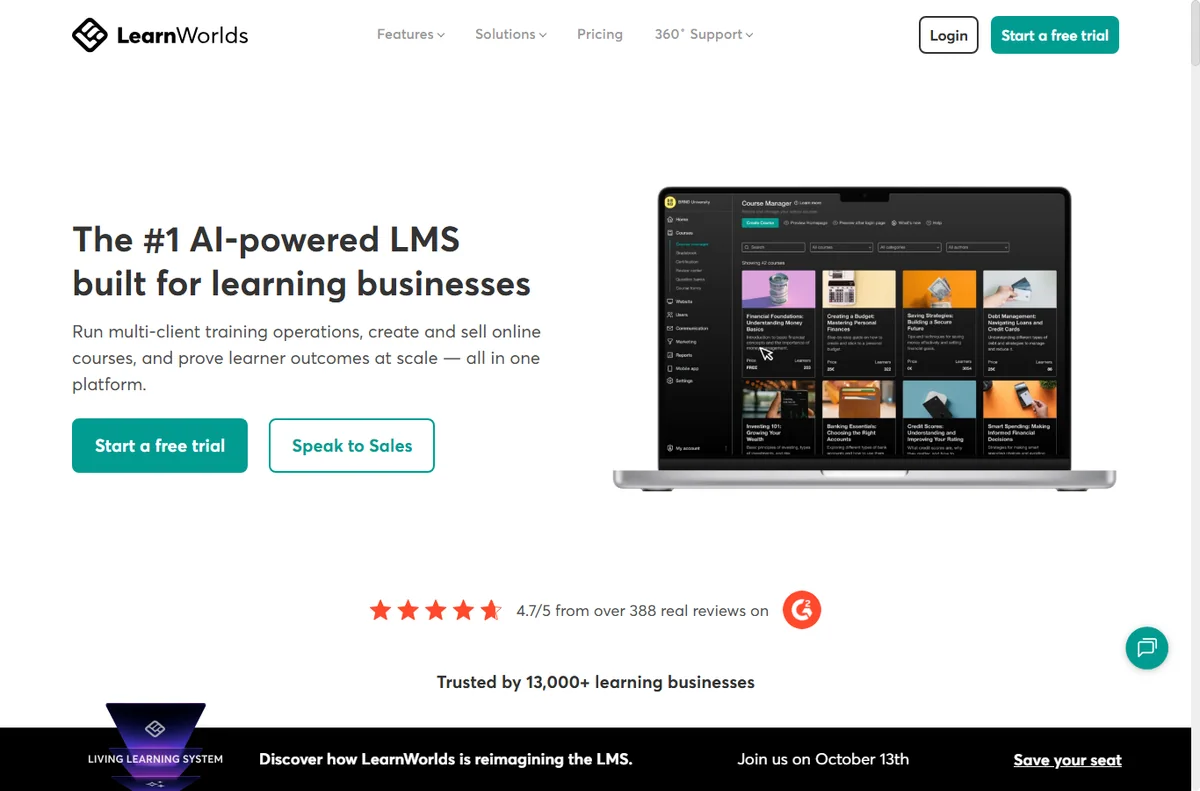
    Learnworlds home page
    Learnworlds home (image: learnworlds.com)

    Package the knowledge you already give away

    A small business usually explains the same things repeatedly: how you onboard clients, how a process works, what to avoid. That repeated explanation is course material.

    Record or write it once as a course and you turn support time into an asset. Start with the question customers ask most, not with the topic you find most interesting.

    Learnworlds blog page
    Learnworlds blog (image: learnworlds.com)

    Onboard customers without repeating yourself

    A short onboarding course gets a new customer to value faster than a welcome email alone. Map the first steps they must take, then teach each one.

    Automate enrolment so a new purchase or contract grants access automatically. That removes a manual step and makes the experience consistent for every customer, not just the ones you remember to help.

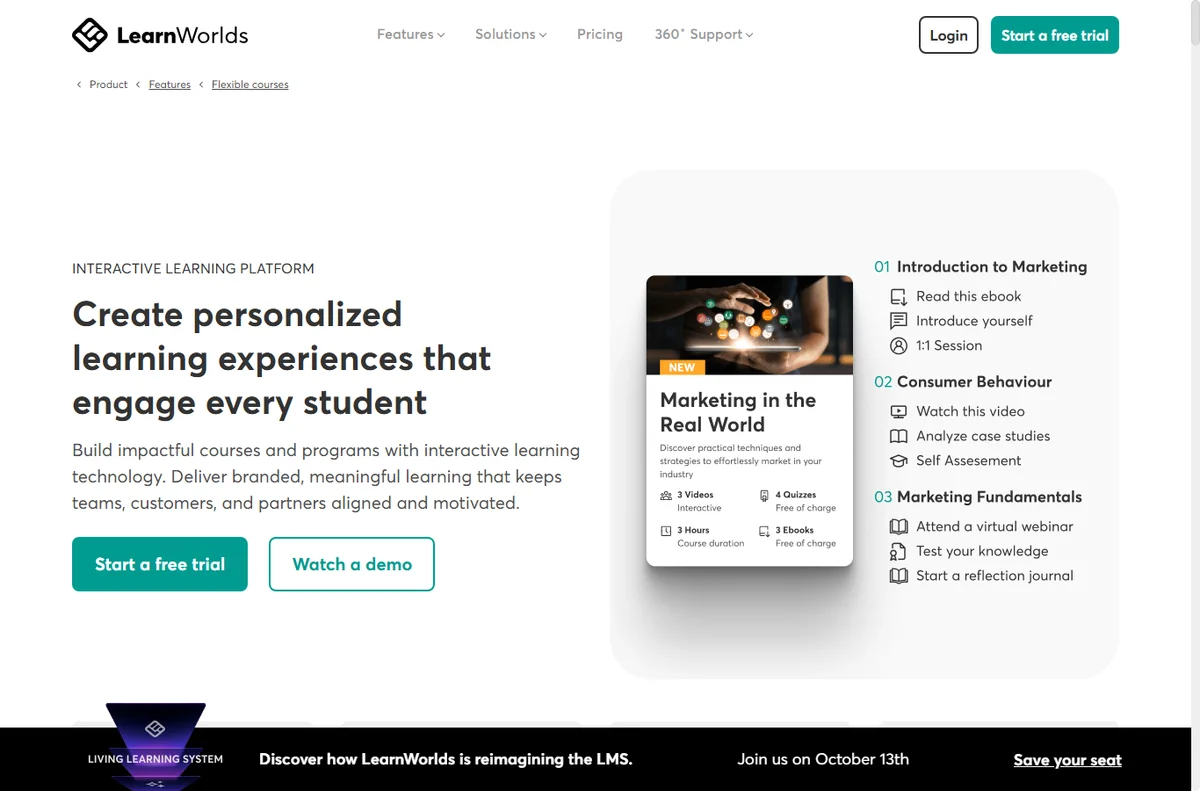
    Learnworlds features page
    Learnworlds features (image: learnworlds.com)

    Train staff and partners on the same material

    Internal training is the quiet win. Put policies, tools and role basics into a private course so a new hire or contractor learns the same way every time.

    Use completion tracking as a lightweight checklist. You get proof that training happened without maintaining a spreadsheet.

    Bundle courses and upsell

    Related courses sell better together. Bundle a beginner course with the advanced one, or pair a course with a template pack, to raise the average order value.

    Offer an occasional upgrade path from a free intro course to the paid one. The free course earns trust; the paid course earns revenue.

    Learnworlds integrations page
    Learnworlds integrations (image: learnworlds.com)

    Sell without learning a second tool

    Point existing traffic — a newsletter, a blog, a social audience — at the course rather than expecting the platform to find buyers for you.

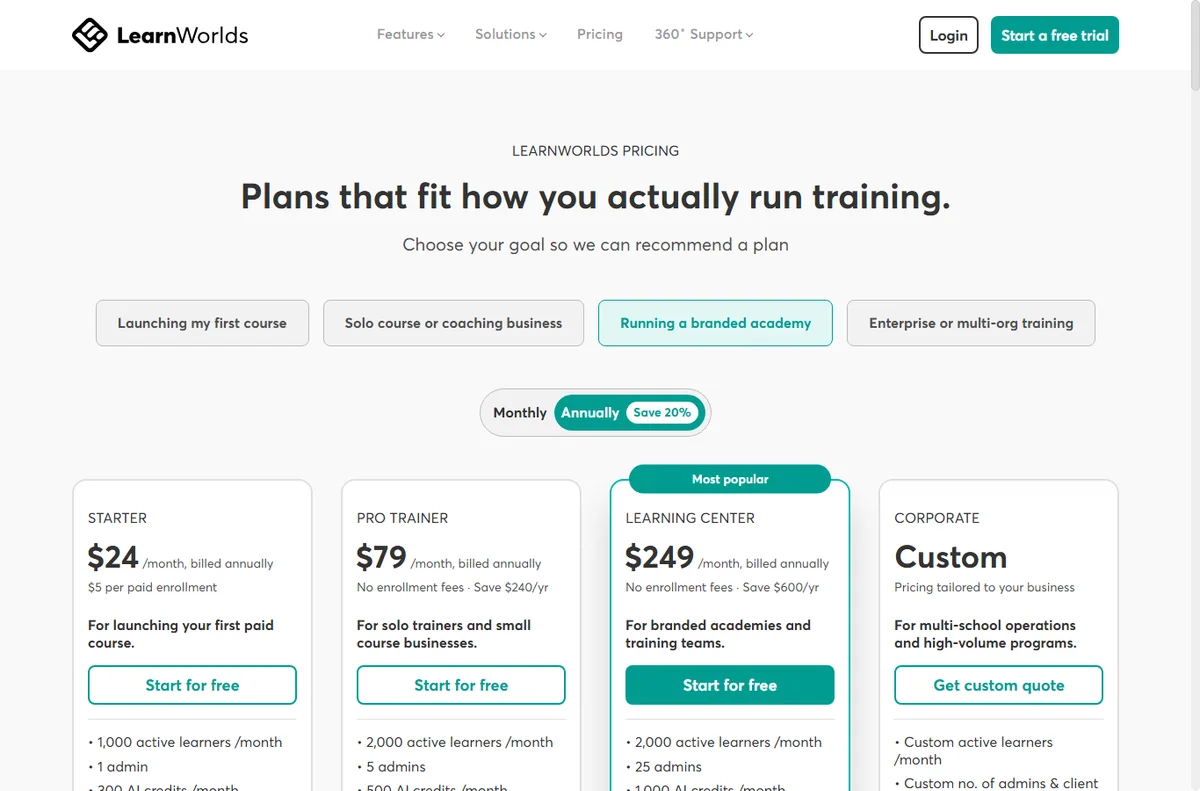
    We do not quote prices; check the current plans on the LearnWorlds pricing page to see which tier includes the marketing and checkout features you plan to use.

    Keep courses current

    A stale course loses refunds and referrals. Put a review date in your calendar and update the lesson that changed, rather than rebuilding the whole course.

    Ask students for one improvement at the end of each course. Small, regular updates keep the material useful and keep completion rates from sliding.

    Learnworlds pricing page
    Learnworlds pricing (image: learnworlds.com)

    Where this fits

    Begin with the independent LearnWorlds review and the course platforms hub. For setup mechanics, see how to set up LearnWorlds. Explore formats with how to create a mini course and best email course platforms, and package products with best digital product platforms.

    Learnworlds x about page
    Learnworlds x about (image: learnworlds.com)

    Frequently asked

    Can a small business run both public and internal courses on one account?

    Yes. Keep public courses in one area and mark training courses as private, so customers never see internal material.
    Do I need a big catalogue to start?

    No. One course that solves a specific problem outperforms a large unfinished catalogue, and it is easier to keep current.

    How do bundles help a small business?

    Bundles lift average order value without extra marketing. Pair courses that a buyer would naturally want together.

    What should I measure first?

    Completion and refund behaviour, not just enrolments. High completion usually signals a course worth promoting harder.
    Run your courses on LearnWorlds

    One platform for public courses and private training.

    Some links on this page may be referral links — we may earn a reward if you sign up, at no extra cost to you. We are an independent publisher. See our Affiliate Disclosure.

    Related reading

  • How to set up LearnWorlds (step-by-step)

    How to set up LearnWorlds (step-by-step)

    Home / Course Platforms / Guides / How to set up LearnWorlds

    Tutorial · course platforms · updated October 9, 2026

    How to set up LearnWorlds: from account to your first published course

    Setting up LearnWorlds comes down to a short, ordered list: create your school, build one course, set a price, connect payments, and point your own domain at the site. This guide walks through each step the way a first-time course creator actually does it.

    Independent analysis. This page may contain affiliate links. If you sign up through a link on this page we may earn a reward at no extra cost to you, and it never changes what we recommend. We are an independent publisher and are not affiliated with, endorsed by, or an official partner of any tool mentioned. See our Affiliate Disclosure.

    TL;DR

    • Create the school first — everything else hangs off it.
    • Build one complete course before you add a catalogue.
    • Set a price you can test, not the highest tier.
    • Connect payments before you share a sales link.
    • Point your own domain at the school for credibility.

    On this page: Create your school · Build a course · Set a price · Connect payments · Use your domain · Test and publish

    Learnworlds home page
    Learnworlds home (image: learnworlds.com)

    Step 1 — Create your account and school

    Start by creating a LearnWorlds account and naming your school. The school is the workspace that holds your courses, pages, students and settings, so pick a name you are happy to show publicly — it appears in default page titles and student emails.

    Use a business email you actually monitor, and set the subdomain in the same flow. You can move to a custom domain later, but starting with a name that matches your brand saves a redirect step when you do.

    Learnworlds blog page
    Learnworlds blog (image: learnworlds.com)

    Step 2 — Build your first course

    Create a single course and fill it out end to end before you add a second one. Structure the outline into sections, then attach your content as text, video, quizzes or uploaded files.

    1. Create the course and give it a clear, specific title.
    2. Add sections that map to the learning journey.
    3. Attach content to each section.
    4. Add one quiz so you learn the assessment tools.
    5. Preview the course as a student before you set a price.
    Learnworlds features page
    Learnworlds features (image: learnworlds.com)

    Step 3 — Set your pricing

    Decide whether the course is free, one-time paid, a subscription or part of a bundle. Pick the simplest model that matches how you sell, and change it later once you have real sales data.

    We do not quote prices — course-platform pricing and plan limits change often, so check the current plans on LearnWorlds’ own pricing page.

    Step 4 — Connect a payment gateway

    Connect at least one payment method before you share a sales link. Which processors are available depends on your country, so confirm the options your school offers.

    Run a real test transaction end to end, including the receipt and any tax settings, then refund it. A checkout that fails only for real customers is the most expensive kind of bug.

    Learnworlds integrations page
    Learnworlds integrations (image: learnworlds.com)

    Step 5 — Point your own domain

    Move from the default subdomain to your own domain. Add the DNS records LearnWorlds shows you, then confirm the padlock appears on the homepage and inside a lesson, not just on the front page.

    Step 6 — Test the full journey and publish

    Before launch, walk through the journey as a brand-new student: sign up, buy, get access, complete a lesson and receive the completion email. Fix anything that needs you to explain it manually.

    Check the confirmation email, the student dashboard and any automated messages. Publish only when the whole loop works without you guiding it by hand.

    Learnworlds pricing page
    Learnworlds pricing (image: learnworlds.com)

    Where this fits

    Start from the independent LearnWorlds review and the course platforms hub. For the day-to-day side, see how to use LearnWorlds for a small business. Compare the field with best online learning platforms and best course platforms, and plan the offer with how to price a membership.

    Learnworlds x about page
    Learnworlds x about (image: learnworlds.com)

    Frequently asked

    Is LearnWorlds good for beginners?

    Yes. It is more feature-heavy than a simple course tool, but it rewards a little planning. Build one course first and the rest of the product becomes easier to read.

    Do I need my own domain on day one?

    No. The default subdomain is fine for a soft launch. Add a custom domain before you promote the course publicly, because changing the address later splits existing links.

    Can I sell a course without a payment gateway?

    No. You need at least one connected payment method before a student can buy. Confirm which processors your country and plan support.

    How many courses should I build first?

    One. Finish a single course, sell it and learn the workflow before you invest time in a full catalogue.

    Publish your first course on LearnWorlds

    School, course, price, payments, domain — in that order.

    Some links on this page may be referral links — we may earn a reward if you sign up, at no extra cost to you. We are an independent publisher. See our Affiliate Disclosure.

    Related reading

  • How to use Wincher for a small business

    How to use Wincher for a small business

    Home / SEO Tools / Guides / How to use Wincher for a small business

    Guide · seo · updated October 9, 2026

    How to use Wincher for a small business

    Once a website and keywords are in place, the value of a rank tracker comes from how you use it: reading the baseline honestly, focusing on winnable terms, keeping a short competitor list, and acting on changes instead of just watching them. This is the routine that pays off.

    Independent analysis. This page may contain affiliate links. If you sign up through a link on this page we may earn a reward at no extra cost to you, and it never changes what we recommend. We are an independent publisher and are not affiliated with, endorsed by, or an official partner of any tool mentioned. See our Affiliate Disclosure.

    TL;DR

    • Read the baseline before reacting.
    • Focus on winnable keywords, not the hardest ones.
    • Keep a short, deliberate competitor list.
    • Act on movement; do not just watch it.
    • Review on a fixed rhythm.

    On this page: Baseline · Focus · Competitors · Acting on data · Reporting · Review

    Wincher home page
    Wincher home (image: wincher.com)

    Read the baseline honestly

    The first results are a starting point, not a verdict. Note where you already rank well and where you are invisible, and resist the urge to panic about either.

    Give a new site time. Rankings move slowly, and a tracker is most useful as a trend line rather than a daily scoreboard. Set a reminder to look again in a month, when the movement is meaningful.

    Wincher blog page
    Wincher blog (image: wincher.com)

    Chase winnable keywords first

    Long, specific phrases are usually easier to win than broad ones. A page that ranks third for a specific query earns real traffic sooner than one buried for a competitive head term.

    Pick a handful of terms where you sit just off page one and improve those pages deliberately, one at a time. Upgrading a page that is already close is usually faster than writing a new one from scratch.

    Wincher pricing page
    Wincher pricing (image: wincher.com)

    Keep a short competitor list

    Track three to five competitors you actually lose business to. More than that and the report becomes a wall of numbers nobody reads.

    Use the comparison to spot gaps: pages they rank for that you simply do not have yet, which are often the fastest wins available.

    Act on movement, do not just watch it

    When a keyword climbs, find out why and repeat it. When one drops, check the page for a technical problem, a lost backlink or a stronger competitor.

    A tracker that never triggers an action is an expensive dashboard. Every report should end with one thing you will change.

    Wincher rank tracker page
    Wincher rank tracker (image: wincher.com)

    Share one report, not many

    Send the weekly report to the person who owns the website. One clear summary beats five dashboards nobody opens.

    Pick a few keywords to highlight and comment on what changed and what you will do next, so the numbers carry a decision with them.

    Review on a fixed rhythm

    Monthly is right for most small businesses. Check the trend, retire keywords you no longer target, and add any new services you have launched.

    Keep the list current, or the report slowly fills with terms that stopped mattering and quietly hides the ones that did.

    Wincher y about page
    Wincher y about (image: wincher.com)

    Where this fits

    Start from the independent Wincher review and the SEO tools hub. For setup mechanics, see how to set up Wincher. Compare trackers with our Mangools review.

    Icode editorial illustration
    Icode editorial illustration (image: icode.io.vn)

    Frequently asked

    Is a rank tracker enough on its own?

    No. It shows position, not why. Pair it with on-page work and a keyword tool for the full picture.

    How often should I check?

    Monthly for most businesses; weekly only during an active campaign you are optimising.

    Do rankings change by device?

    Yes. Mobile and desktop results differ, so track the device your customers actually use.

    When is it time to drop a keyword?

    When you stop targeting that service, or the term never moves despite sustained effort.

    Watch your rankings in Wincher

    Trends, not noise, in one weekly report.

    Some links on this page may be referral links — we may earn a reward if you sign up, at no extra cost to you. We are an independent publisher. See our Affiliate Disclosure.

    Related reading

  • How to set up Wincher (step-by-step)

    How to set up Wincher (step-by-step)

    Home / SEO Tools / Guides / How to set up Wincher

    Tutorial · seo · updated October 9, 2026

    How to set up Wincher: rank tracking from your first project

    Setting up Wincher is a short list: create the account, add the website you want to track, add the keywords that matter, choose the right location and device, then run the first check and set a report. Do it once, properly, and the weekly picture stays useful.

    Independent analysis. This page may contain affiliate links. If you sign up through a link on this page we may earn a reward at no extra cost to you, and it never changes what we recommend. We are an independent publisher and are not affiliated with, endorsed by, or an official partner of any tool mentioned. See our Affiliate Disclosure.

    TL;DR

    • Add one website to start; keep projects tidy.
    • Add a focused keyword list, not hundreds at once.
    • Set location and device to match real customers.
    • Run the first check and wait for the baseline.
    • Schedule a report so nobody has to remember.

    On this page: Account · Website · Keywords · Tracking · Reporting · Checks

    Wincher home page
    Wincher home (image: wincher.com)

    Step 1 — Create your account

    Sign up with a business email and confirm it. Wincher tracks rankings for keywords by location and device, so your account settings are the foundation for everything that follows.

    We do not quote prices — plans and keyword limits change, so check the current pricing on Wincher’s own site before you buy, and match the plan to the number of keywords you will actually watch.

    Wincher blog page
    Wincher blog (image: wincher.com)

    Step 2 — Add your first website

    Add the exact domain you want to track, including or excluding the www prefix as your site actually serves it. Get this right the first time; a mismatch means the tracker reports on an address that never ranks.

    Start with one site. More projects soon multiply both the noise and the cost, and are easy to add later.

    Wincher pricing page
    Wincher pricing (image: wincher.com)

    Step 3 — Build your keyword list

    1. Add the terms you believe customers type, not internal jargon.
    2. Include a few branded terms to track your own name.
    3. Add three to five competitor names only if you will act on them.
    4. Group keywords so the reports stay readable.

    A focused list of twenty to fifty keywords beats a thousand you never read. You can always add more once the weekly report proves useful.

    Step 4 — Configure location, device and frequency

    Set the country or city that matches your customers, and choose desktop or mobile per the traffic you actually get. Rankings differ by both, so a single global setting blurs the picture.

    Daily checks suit active campaigns; weekly suits most small businesses and keeps the history clean and readable.

    Wincher rank tracker page
    Wincher rank tracker (image: wincher.com)

    Step 5 — Set up reporting and alerts

    Schedule a weekly email report so the numbers arrive without effort, and turn on alerts for large jumps or drops. A sudden drop is often a technical problem worth catching early.

    Share the report with whoever owns the website, so the data reaches the person who can actually act on it.

    Final checks before you build

    • The tracked domain matches your live site.
    • Keywords return data on the first run.
    • Location and device match your audience.
    • The report email arrives where you expect.
    Wincher y about page
    Wincher y about (image: wincher.com)

    Where this fits

    See the independent Wincher review and the SEO tools hub for context. For a small-business shortlist, see best SEO tools for small business, and to compare trackers, our Mangools review.

    Icode editorial illustration
    Icode editorial illustration (image: icode.io.vn)

    Frequently asked

    How many keywords do I need?

    Twenty to fifty well-chosen terms are plenty for most small businesses. Add more only when you will act on them.

    Does Wincher track local rankings?

    Yes. You set the location, so you can track a city or region rather than a single national result.

    Can I track competitors?

    Yes, a small, deliberate competitor list is useful. A large one just adds noise and cost.

    How often does it update?

    It depends on the plan; daily or weekly is typical. Check the current options before you buy.

    Track your rankings with Wincher

    A simple rank tracker for small teams.

    Some links on this page may be referral links — we may earn a reward if you sign up, at no extra cost to you. We are an independent publisher. See our Affiliate Disclosure.

    Related reading

  • How to use Rank Math for a small business

    How to use Rank Math for a small business

    Home / SEO Tools / Guides / How to use Rank Math for a small business

    Guide · seo · updated October 9, 2026

    How to use Rank Math for a small business

    Once Rank Math is installed, the work shifts from configuration to using it well: writing titles people click, adding structured data the search engines understand, fixing technical issues, and keeping the technical side of SEO tidy. This is the practical playbook for an owner without an SEO team.

    Independent analysis. This page may contain affiliate links. If you sign up through a link on this page we may earn a reward at no extra cost to you, and it never changes what we recommend. We are an independent publisher and are not affiliated with, endorsed by, or an official partner of any tool mentioned. See our Affiliate Disclosure.

    TL;DR

    • Write titles and descriptions for people first.
    • Add schema that matches your content type.
    • Catch broken links and redirects early.
    • Keep local details consistent.
    • Review Search Console monthly.

    On this page: On-page · Schema · Redirects · Local · Monitoring · Measurement

    Rank math home page
    Rank math home (image: rank.com)

    Write titles for people, not crawlers

    Every page gets a title that reads like a headline and a description that answers the query in a sentence. Rank Math previews how both look in search before you publish.

    Aim to make each one unique. Two pages competing on the same title split your chances and confuse the reader before they ever click.

    Rank math blog page
    Rank math blog (image: rank.com)

    Add structured data that matches the page

    Schema tells search engines what a page is: an article, a product, a local business, a FAQ. Choose the type that fits rather than forcing everything into one box.

    Keep the details truthful. Schema that does not match the visible page is a liability, not a shortcut, and search engines increasingly notice the mismatch.

    Rank math kb page
    Rank math kb (image: rank.com)

    Fix broken links before visitors do

    When you rename or merge content, add a redirect so old links still work. Rank Math’s redirects module logs 404s you can fix in a click or two.

    Check the list monthly. A page that 404s is a page that no longer earns, and the fix usually takes less time than the report flagging it.

    Keep local details consistent

    For a local business, the name, address and phone should match across your site and your Google listing. Small mismatches cost trust and rankings.

    Use your location pages deliberately and keep one source of truth for hours and contact details, so an update in one place does not leave the others stale.

    Rank math pricing page
    Rank math pricing (image: rank.com)

    Monitor Search Console, not just the plugin

    Rank Math connects Search Console so you can see the queries a page actually earns. Use it to find pages sitting on page two and improve those first.

    Watch for coverage warnings. Fixing them early stops small problems from turning into pages that quietly disappear from search.

    Measure a few things well

    Impressions, clicks, average position and a handful of target pages are enough to steer decisions. Chasing every available metric leads to no decisions at all.

    Review monthly, act on what changed, and leave the rest alone. Consistency beats a frantic week followed by months of neglect.

    Rank math y about page
    Rank math y about (image: rank.com)

    Where this fits

    Start from the independent Rank Math review and the SEO tools hub. For setup mechanics, see how to set up Rank Math, and for local visibility, our local SEO checklist.

    Rank math y support page
    Rank math y support (image: rank.com)

    Frequently asked

    Do I need a separate keyword tool?

    Rank Math handles on-page and technical SEO; a keyword tool like Mangools or Wincher helps you choose terms to target. Many owners use both.

    How often should I check rankings?

    Monthly is enough for most small businesses; weekly only when you are actively optimising a specific campaign.

    Can schema boost rankings directly?

    Not directly, but it improves how results appear and helps search engines understand the page, which supports click-through.

    What is the biggest mistake with Rank Math?

    Leaving the default templates untouched, so pages ship with thin or duplicated titles that no one chose.

    Rank on Google with Rank Math

    Clean titles, schema and sitemaps on every page.

    Some links on this page may be referral links — we may earn a reward if you sign up, at no extra cost to you. We are an independent publisher. See our Affiliate Disclosure.

    Related reading

  • How to set up Rank Math (step-by-step)

    How to set up Rank Math (step-by-step)

    Home / SEO Tools / Guides / How to set up Rank Math

    Tutorial · seo · updated October 9, 2026

    How to set up Rank Math: WordPress SEO from install to first sitemap

    Setting up Rank Math is a short, ordered list: install the plugin, run the setup wizard, choose the modules your site needs, set sensible title and schema defaults, then connect Search Console and submit your sitemap. Work in that order and search engines get a clean picture of your site from the start.

    Independent analysis. This page may contain affiliate links. If you sign up through a link on this page we may earn a reward at no extra cost to you, and it never changes what we recommend. We are an independent publisher and are not affiliated with, endorsed by, or an official partner of any tool mentioned. See our Affiliate Disclosure.

    TL;DR

    • Install the plugin and run the setup wizard.
    • Choose a module set that matches your site type.
    • Set title and meta templates so pages are never blank.
    • Connect Google Search Console to see real queries.
    • Submit the sitemap and confirm indexing.

    On this page: Install · Wizard · Templates · Modules · Sitemap · Checks

    Rank math home page
    Rank math home (image: rank.com)

    Step 1 — Install the plugin

    Install Rank Math from the WordPress plugin screen and activate it. It will offer to replace an existing SEO plugin; do that only when you are ready, because titles and meta set elsewhere may need re-checking.

    Take a backup first. SEO changes touch titles, descriptions and redirects across the whole site, and a backup makes any surprise reversible in minutes.

    Rank math blog page
    Rank math blog (image: rank.com)

    Step 2 — Run the setup wizard

    The wizard asks what kind of site you run and whether it is a personal brand or a business. Pick the closest match; the answers set reasonable defaults you can change later.

    If you already have an SEO plugin installed, import its settings when offered so you do not lose the titles and redirects you already wrote.

    Rank math kb page
    Rank math kb (image: rank.com)

    Step 3 — Set title and meta templates

    Review the global title and description templates for posts, pages and archives. Blank or duplicated titles are the most common avoidable problem in search results.

    A workable pattern is the page title followed by the site name, with a description that reads like a sentence rather than a pile of keywords. You can override any individual page later.

    Step 4 — Enable the modules you need

    • Schema for the content types you publish.
    • Sitemap, so crawlers can find your pages.
    • Redirects for old URLs.
    • Analytics to connect your stats.

    Turn off modules you will not use. Fewer moving parts mean fewer surprises and a smaller plugin footprint on every page load.

    Rank math pricing page
    Rank math pricing (image: rank.com)

    Step 5 — Connect Search Console and submit the sitemap

    Connect your Google account so Rank Math can pull real query data into your dashboard. Then submit the sitemap to Google and confirm it was read without errors.

    Indexing is not instant. Give it a few days, then check that new pages are appearing rather than assuming they did.

    Final checks before you build

    • Titles and descriptions render on a live page.
    • The sitemap loads in a browser.
    • No duplicate titles across key pages.
    • Old URLs redirect where needed.
    Rank math y about page
    Rank math y about (image: rank.com)

    Where this fits

    See the independent Rank Math review and the SEO tools hub for context. For a small-business shortlist, see best SEO tools for small business, and for the craft itself, our on-page SEO guide.

    Rank math y support page
    Rank math y support (image: rank.com)

    Frequently asked

    Is Rank Math free?

    There is a capable free version, with paid tiers for more. Check current pricing before you commit, because plan terms change.

    Will it slow my site down?

    A modern SEO plugin adds little overhead. Disable the modules you do not use to keep it lean.

    Do I need it if my theme has SEO features?

    A dedicated plugin gives consistent titles, schema and sitemaps across the whole site, which theme features rarely match.

    Can I migrate from another SEO plugin?

    Yes. The wizard and an import tool move titles and redirects, but verify key pages afterwards.

    Set up Rank Math on WordPress

    Titles, schema and sitemaps, handled.

    Some links on this page may be referral links — we may earn a reward if you sign up, at no extra cost to you. We are an independent publisher. See our Affiliate Disclosure.

    Related reading

  • How to use Pabbly for a small business

    How to use Pabbly for a small business

    Home / Automation / Guides / How to use Pabbly for a small business

    Guide · automation · updated October 9, 2026

    How to use Pabbly for a small business

    Once the account is live, the question changes from how to set it up to how to run it without wasting time. This guide is the day-to-day playbook: keep the stack lean, send on a rhythm customers expect, automate the boring parts, and watch the few numbers that actually move the business.

    Independent analysis. This page may contain affiliate links. If you sign up through a link on this page we may earn a reward at no extra cost to you, and it never changes what we recommend. We are an independent publisher and are not affiliated with, endorsed by, or an official partner of any tool mentioned. See our Affiliate Disclosure.

    TL;DR

    • Keep the stack lean instead of buying every add-on.
    • Send on a predictable rhythm, not in bursts.
    • Automate the repetitive tasks first.
    • Use forms and tags to segment from day one.
    • Watch a few metrics instead of all of them.

    On this page: Keep it lean · Email rhythm · Automation · Forms and tags · Subscriptions · Cost

    Pabbly home page
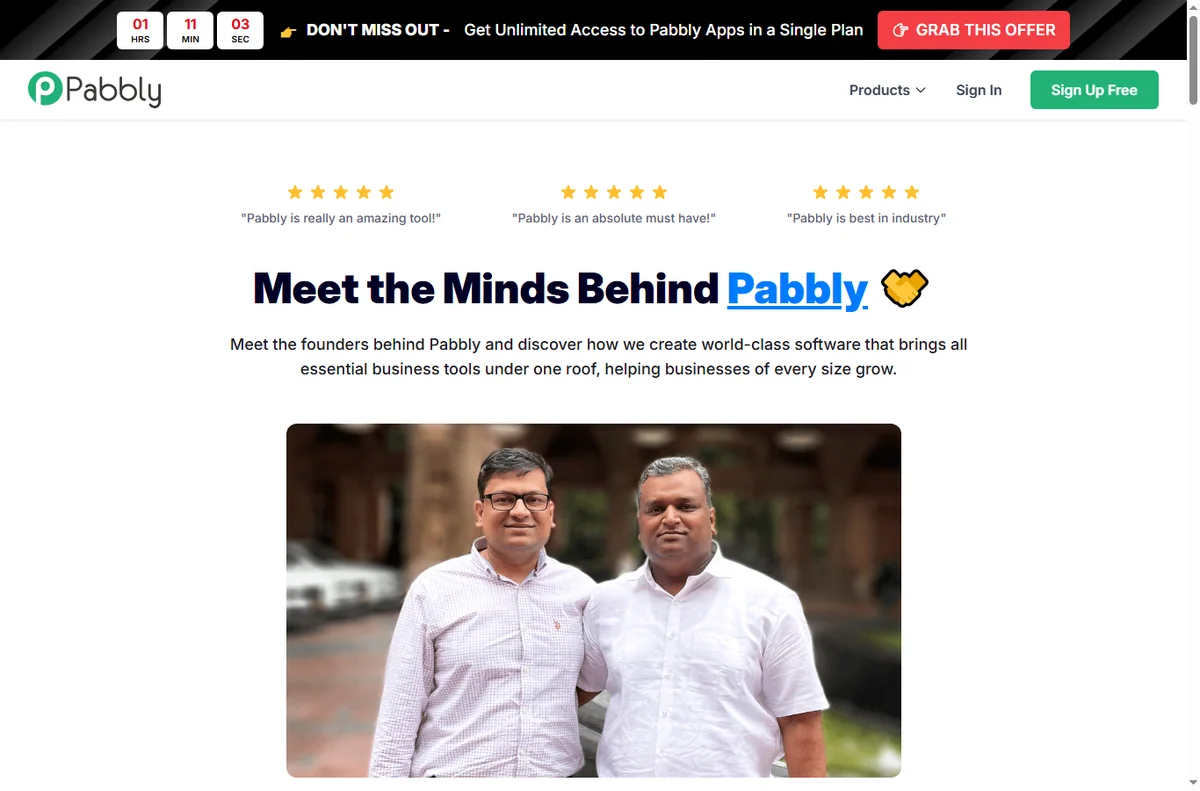
    Pabbly home (image: pabbly.com)

    Keep the stack lean

    Pabbly covers email, forms, automation and billing, so the value is in using what is included instead of stacking unrelated subscriptions underneath it.

    List the tools you already pay for and check whether the bundle replaces any of them. If it does not, a narrower, cheaper tool may fit better overall.

    Pabbly about page
    Pabbly about (image: pabbly.com)

    Email on a rhythm that fits a small business

    A short welcome sequence plus one useful newsletter a month beats sporadic blasts. Consistency trains people to open; long silence trains them to forget you.

    Segment by behaviour — buyers, subscribers, lapsed — so the same list is not sent the same message. Relevance is what keeps open rates alive.

    Pabbly connect page
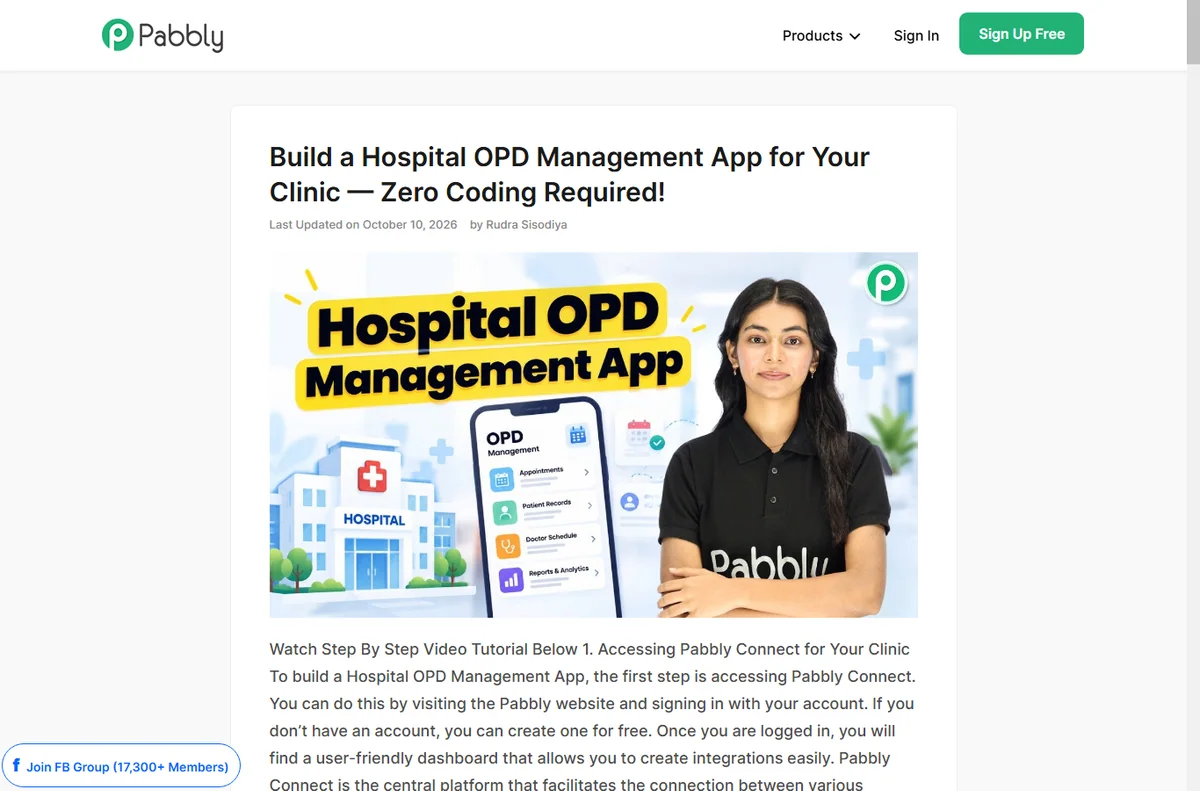
    Pabbly connect (image: pabbly.com)

    Automate the tasks that repeat

    Tag new signups, send a welcome, move a customer into a sequence, and post new orders to a sheet. These are the jobs that quietly eat an afternoon every week.

    Start with the trigger you trust most. A workflow is only as good as the event that starts it, so test that the trigger fires before you build anything downstream.

    Use forms and tags to segment early

    Every form is a chance to learn something: which offer attracted the person, which page they came from, what they asked for. Capture it as a tag while it is fresh.

    Clean, deliberate tags make later automations simple; a mess of untagged contacts makes them impossible and turns segmentation into guesswork.

    Pabbly integrations page
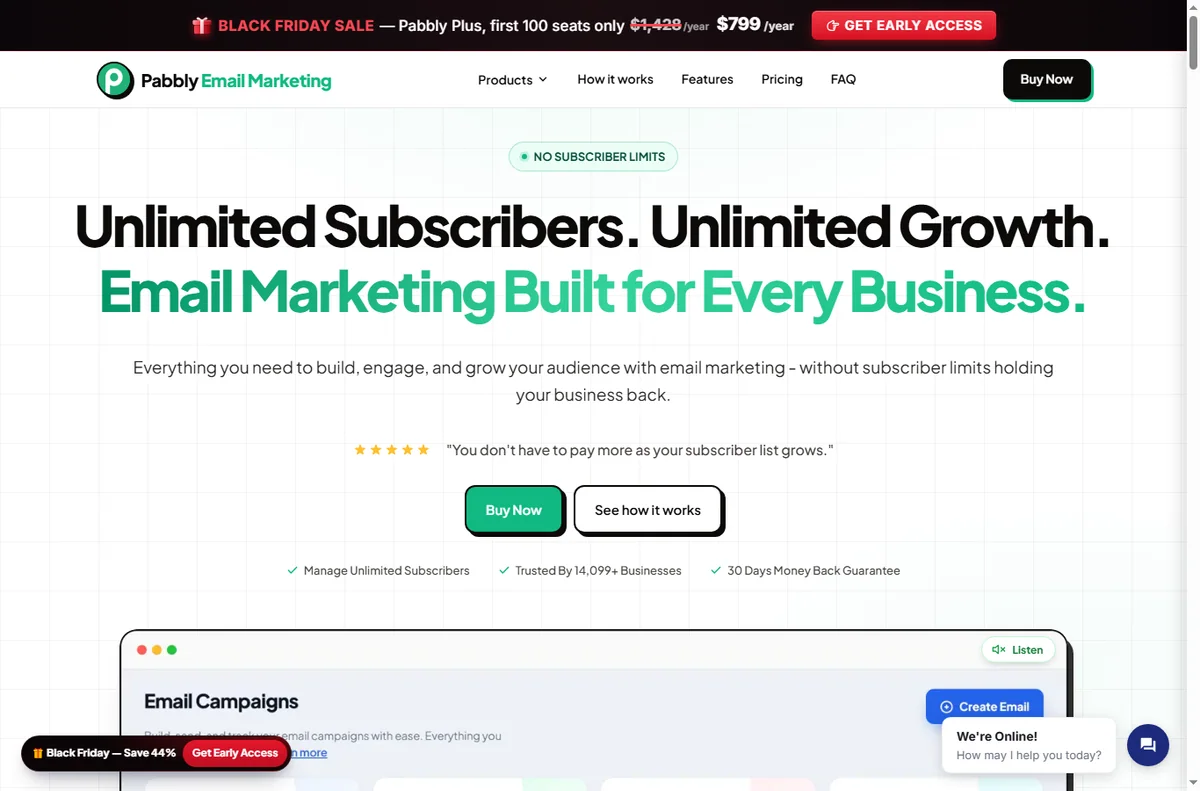
    Pabbly integrations (image: pabbly.com)

    If you sell subscriptions

    Pabbly’s billing product handles recurring charges and invoices for simple subscription businesses. Use it when your model is genuinely recurring rather than one-off.

    Test a real signup, a renewal and a cancellation end to end before you rely on it. Billing bugs are the ones customers remember.

    Plan for pricing and limits

    Flat pricing is a strength, but limits on contacts, sends or tasks still apply. Know your ceiling before a campaign pushes you past it.

    Review the plan once a quarter; if you outgrow it, that is a decision you make calmly rather than a surprise you discover mid-campaign.

    Pabbly x blog page
    Pabbly x blog (image: pabbly.com)

    Where this fits

    Start from the independent Pabbly review and the automation hub. For setup mechanics, see how to set up Pabbly. Compare the field with best workflow automation tools.

    Pabbly x email page
    Pabbly x email (image: pabbly.com)

    Frequently asked

    Can I run email and automation in one account?

    Yes, and for most small businesses that is the point — one vendor, one bill, one place to get help.

    How often should I email?

    Monthly at minimum; more often if you have something genuinely useful to say. The quality of the send matters more than the volume.

    Do I need a separate CRM?

    Not to start. Tags and sequences inside Pabbly cover simple pipelines; a dedicated CRM earns its place once the sales process grows.

    When should I think about switching?

    When limits, deliverability or support stop fitting the business. Migrate in a quiet period and export your lists first.

    Run your business on Pabbly

    Email, forms and automation from one vendor.

    Some links on this page may be referral links — we may earn a reward if you sign up, at no extra cost to you. We are an independent publisher. See our Affiliate Disclosure.

    Related reading

  • How to set up Pabbly (step-by-step)

    How to set up Pabbly (step-by-step)

    Home / Automation / Guides / How to set up Pabbly

    Tutorial · automation · updated October 9, 2026

    How to set up Pabbly: email, forms and automation in one account

    Setting up Pabbly comes down to a short, ordered list: create one account, pick the product you actually need, verify your sending domain, import or build your first list, and launch a simple automation. Work in that order and you avoid the rework that comes from skipping ahead. This guide walks each step the way a first-time owner actually does it.

    Independent analysis. This page may contain affiliate links. If you sign up through a link on this page we may earn a reward at no extra cost to you, and it never changes what we recommend. We are an independent publisher and are not affiliated with, endorsed by, or an official partner of any tool mentioned. See our Affiliate Disclosure.

    TL;DR

    • Decide whether you need email marketing, automation, or both.
    • Create one account and keep billing in a single place.
    • Verify your sending domain before the first campaign.
    • Import contacts and confirm the consent you hold.
    • Build one small automation before scaling up.

    On this page: Account · Product · Domain · List · Automate · Checks

    Pabbly home page
    Pabbly home (image: pabbly.com)

    Step 1 — Create your account and choose the right product

    Pabbly bundles several products under one login, so the first decision is which one you are actually buying: email marketing for campaigns, Connect for automation, or the billing tool for subscriptions. Many small businesses start with email and add automation later.

    Sign up with a business address you monitor, and note which products are included in the plan you pick rather than assuming everything is bundled. We do not quote prices — plans and promotional terms change, so check the current pricing on Pabbly’s own site before you buy.

    Pabbly about page
    Pabbly about (image: pabbly.com)

    Step 2 — Verify your sending domain

    Before you send anything, add and verify your domain so email is signed correctly. Add the DNS records Pabbly gives you, then wait for verification to turn green.

    Set up SPF and DKIM at minimum, and DMARC if your DNS provider supports it. This is the difference between landing in an inbox and landing in spam, and it protects your domain reputation from the very first send.

    Pabbly connect page
    Pabbly connect (image: pabbly.com)

    Step 3 — Build your first list and import contacts

    1. Create a list with a clear name, such as Newsletter or Customers.
    2. Import an existing CSV, or add a signup form to your site.
    3. Map only the fields you actually use, not every column.
    4. Confirm each contact agreed to hear from you before you mail them.

    Keep purchased or scraped lists out of the account entirely. A clean, opted-in list of a few hundred beats a cold list of thousands for both deliverability and legal safety.

    Step 4 — Send a first campaign

    Build one simple broadcast: a clear from name, a subject that reads like a sentence, and a single call to action. Send a test to yourself and open it on a phone before it goes to the list.

    Start with a segment rather than the whole list so you can watch opens, clicks and bounces before committing. Check the spam score Pabbly reports and fix the obvious issues before you scale.

    Pabbly integrations page
    Pabbly integrations (image: pabbly.com)

    Step 5 — Automate one repetitive task

    Pick a single job worth automating: a welcome email when someone joins, or a tag when a form is submitted. Build it in Connect or the built-in automation, then test the trigger end to end.

    Resist building a dozen workflows on day one. One automation that reliably runs is worth more than ten half-finished ones, and it teaches you how the account behaves before you depend on it.

    Final checks before you build

    • Send a test campaign and confirm it lands in the inbox.
    • Verify the DNS records took effect.
    • Check that the unsubscribe link works.
    • Record your billing date and plan limits.
    Pabbly x blog page
    Pabbly x blog (image: pabbly.com)

    Where this fits

    See the independent Pabbly review and the automation hub for context. For a shortlist sized to a small team, see best workflow automation tools, and for the decision itself, Make vs n8n.

    Pabbly x email page
    Pabbly x email (image: pabbly.com)

    Frequently asked

    Is Pabbly good for beginners?

    Yes. The dashboard is approachable and one account covers email, forms and automation, which suits a first-time owner.

    Do I need a separate email tool?

    Not necessarily. If you mainly send campaigns, Pabbly’s email product can replace a standalone service; a dedicated tool may win once your list is large.

    Can I automate without coding?

    Yes. The visual builder connects triggers and actions; code is optional, not required.

    Should I buy the longest term?

    Longer terms usually cost less per month but lock you in. A medium term lets you test reliability and support before committing further.

    Start with Pabbly

    Email, forms and automation from one account.

    Some links on this page may be referral links — we may earn a reward if you sign up, at no extra cost to you. We are an independent publisher. See our Affiliate Disclosure.

    Related reading

  • How to use Leadpages for a small business

    How to use Leadpages for a small business

    Home / Funnel Builders / Guides / How to use Leadpages for a small business

    Guide · funnel builders · updated October 9, 2026

    How to use Leadpages for a small business

    Once Leadpages is set up, the value comes from using pages to support real campaigns rather than building them for their own sake. This guide turns it into a small-business workflow: match each page to a campaign, capture leads cleanly, and improve one thing at a time.

    Independent analysis. This page may contain affiliate links. If you sign up through a link on this page we may earn a reward at no extra cost to you, and it never changes what we recommend. We are an independent publisher and are not affiliated with, endorsed by, or an official partner of any tool mentioned. See our Affiliate Disclosure.

    TL;DR

    • Match each page to a specific campaign.
    • Capture leads cleanly with one clear action.
    • Connect pages to your email list every time.
    • Test one change at a time, not five.
    • Use pop-ups and alerts sparingly.
    • Measure conversion, not just traffic.

    On this page: Match page to campaign · Capture leads cleanly · Connect to your list · Test one thing · Use alerts sparingly · Measure conversion

    Leadpages home page
    Leadpages home (image: leadpages.com)

    Match the page to the campaign

    Build a page for a specific offer rather than a generic one. When the ad, the headline and the page all say the same thing, people trust the click and convert.

    Keep one primary action per page. Competing buttons split attention and quietly cost you conversions.

    If you run several campaigns, keep a simple naming habit so you can tell which page belongs to which offer at a glance. This saves real time when you review results later.

    Leadpages features page
    Leadpages features (image: leadpages.com)

    Capture leads cleanly

    Ask for the minimum you need. Every extra field lowers completion, and you can always learn more in the follow-up emails.

    Make the form and the button impossible to miss. Clarity converts better than cleverness, especially on a first visit.

    Leadpages integrations page
    Leadpages integrations (image: leadpages.com)

    Connect pages to your email list

    Always wire pages to the email tool you use, so a lead becomes a contact the moment they submit. A captured lead that sits nowhere is lost.

    Tag leads by which page they came from. That single habit makes your follow-up far more relevant later.

    Test one thing at a time

    Change one element at a time — the headline, or the button, or the form length — so you know what actually moved the result.

    Give a test enough traffic to be meaningful before calling it. Judging a variant on a handful of visitors just adds noise.

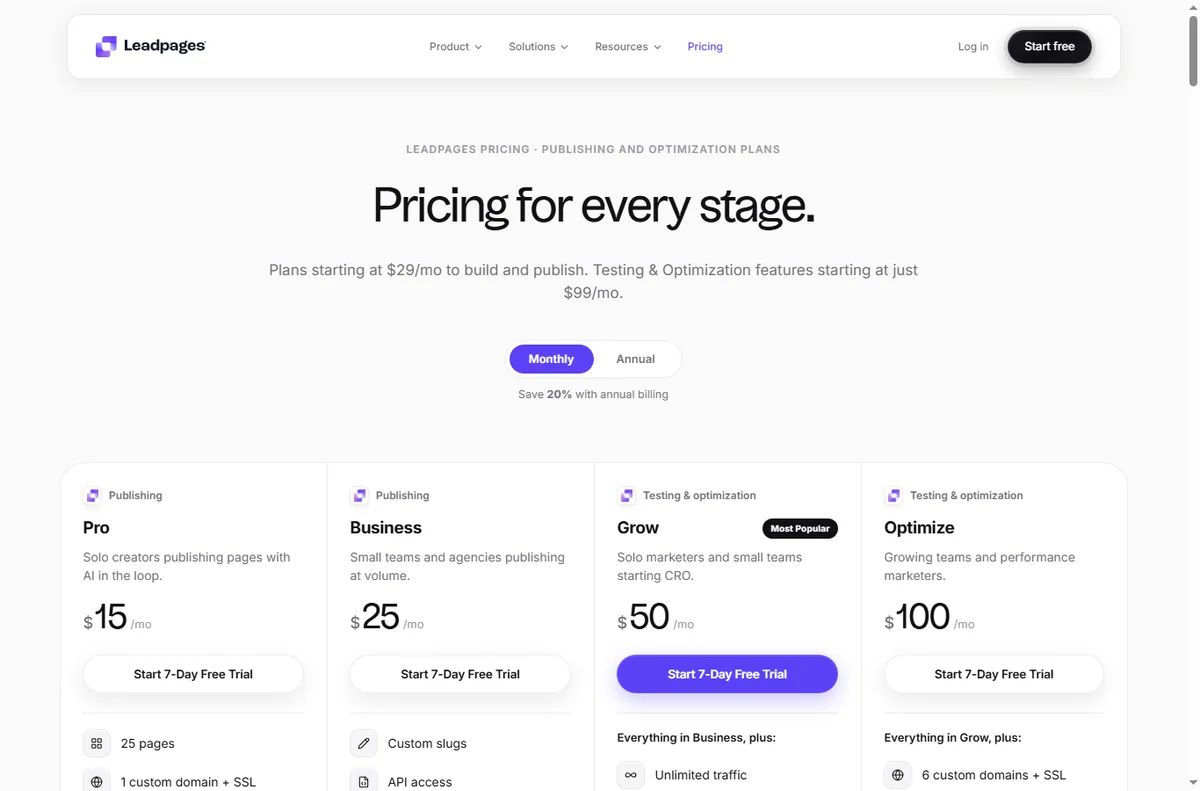
    Leadpages pricing page
    Leadpages pricing (image: leadpages.com)

    Use pop-ups and alerts sparingly

    Pop-ups can lift sign-ups, but too many annoy visitors and hurt your brand. Aim for one well-timed prompt, not three.

    Exit-intent notices work best on content pages where a visitor is about to leave; they work least on pages where the whole point is to convert.

    Measure conversion, not traffic

    Watch conversion rate, not just visitor count. A page with fewer visitors and more leads is usually the better page.

    Review results on a fixed schedule and retire pages that never convert rather than leaving them to rot.

    Let a losing page teach you something: a weak headline or a mismatch between ad and page is useful information for the next campaign.

    Leadpages signup page
    Leadpages signup (image: leadpages.com)

    Where this fits

    Start from the independent Leadpages review and the funnel builders hub. For setup, see how to set up Leadpages. Compare options in best landing page builders and follow how to create a sales page.

    Leadpages templates page
    Leadpages templates (image: leadpages.com)

    Frequently asked

    How many pages do I need?

    Start with one page per campaign. A focused page that matches its ad usually outperforms a library of half-used templates.

    Should I use pop-ups?

    Sparingly. One well-timed prompt can help, but several will annoy visitors and can hurt conversions and your brand.

    How do I know a page is working?

    Look at conversion rate rather than raw traffic, and only after enough visitors to be meaningful. Then change one thing at a time.

    Do pages help SEO?

    A landing page is for conversion, not ranking. Keep your own domain connected so any authority stays with your site.

    Put Leadpages to work

    Pages and opt-ins that feed your pipeline.

    Some links on this page may be referral links — we may earn a reward if you sign up, at no extra cost to you. We are an independent publisher. See our Affiliate Disclosure.