Home / Hosting / Guides / How to set up GreenGeeks
Tutorial · hosting · updated October 8, 2026
How to set up GreenGeeks: a practical walkthrough
GreenGeeks setup follows a familiar hosting pattern, so the main risk is rushing the choices rather than the clicking. This guide walks through the sequence in order and points out the decisions worth pausing on, from plan selection to the first live page.

Independent analysis. This page may contain affiliate links. Some links here are referral links; if you sign up through one we may earn a reward at no extra cost to you, and it never changes what we recommend. We are an independent publisher and are not affiliated with, endorsed by, or an official partner of any tool mentioned. See our Affiliate Disclosure.
TL;DR
- Pick the plan based on how many sites and how much traffic you expect.
- Register a domain or connect one you already own.
- Install WordPress from the control panel in a few clicks.
- Enable SSL and force https before you share the link.
- Test the finished site on mobile and desktop before launch.
On this page: What this covers · Before you start · Step 1 – Choose a plan · Step 2 – Create your account · Step 3 – Set up your domain · Step 4 – Install WordPress · Step 5 – Enable SSL · A quick decision table · Going live checklist · Where this fits
What this covers
This walkthrough covers a standard GreenGeeks setup for a single site, with notes for anyone bringing across an existing domain. The order matters less than the checks, so treat the steps as a checklist you can tick off.
Everything here is achievable without developer skills. Where a step needs a decision, the guide explains what changes based on your answer.
Before you start
- Decide whether you are building a blog, a business site or a store.
- Have your domain ready, or note that you can register one during signup.
- Choose the email address that will own the account.
- Back up any existing site files and content if you are migrating.
- Set a budget ceiling so you can evaluate add-ons calmly at checkout.
Step 1 — Choose a plan
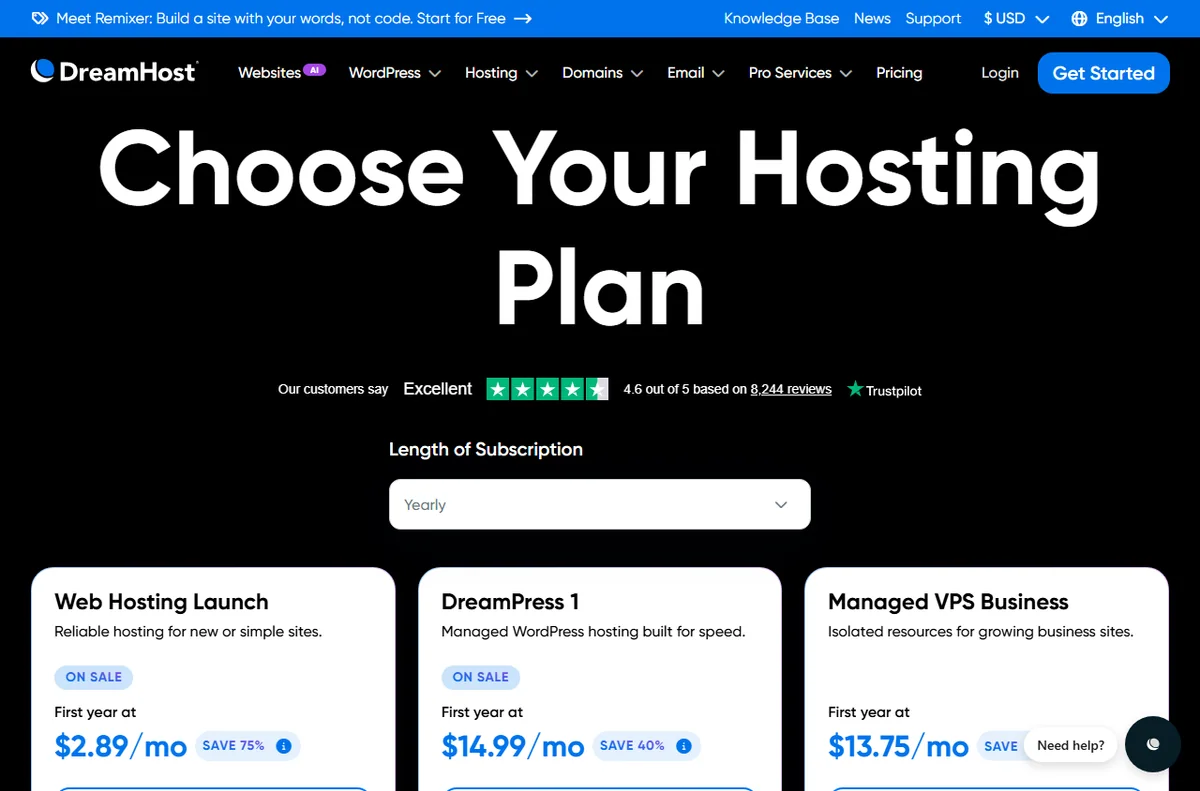
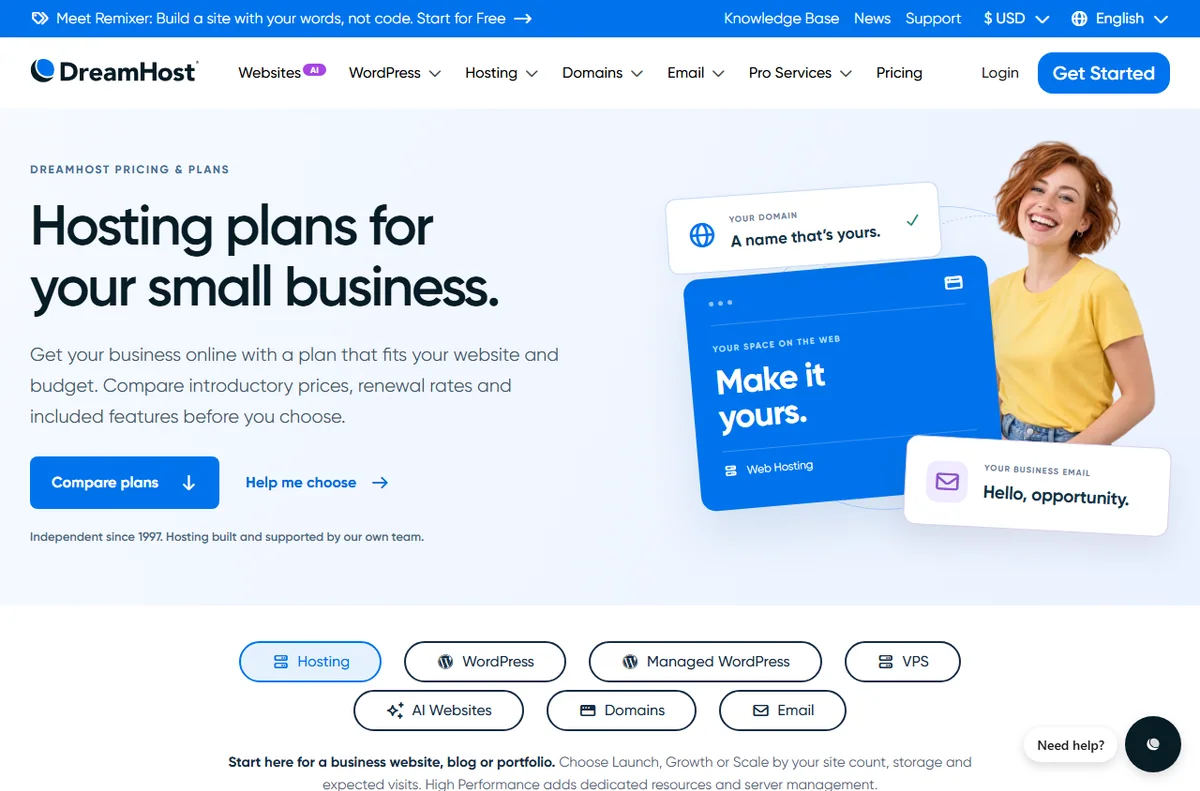
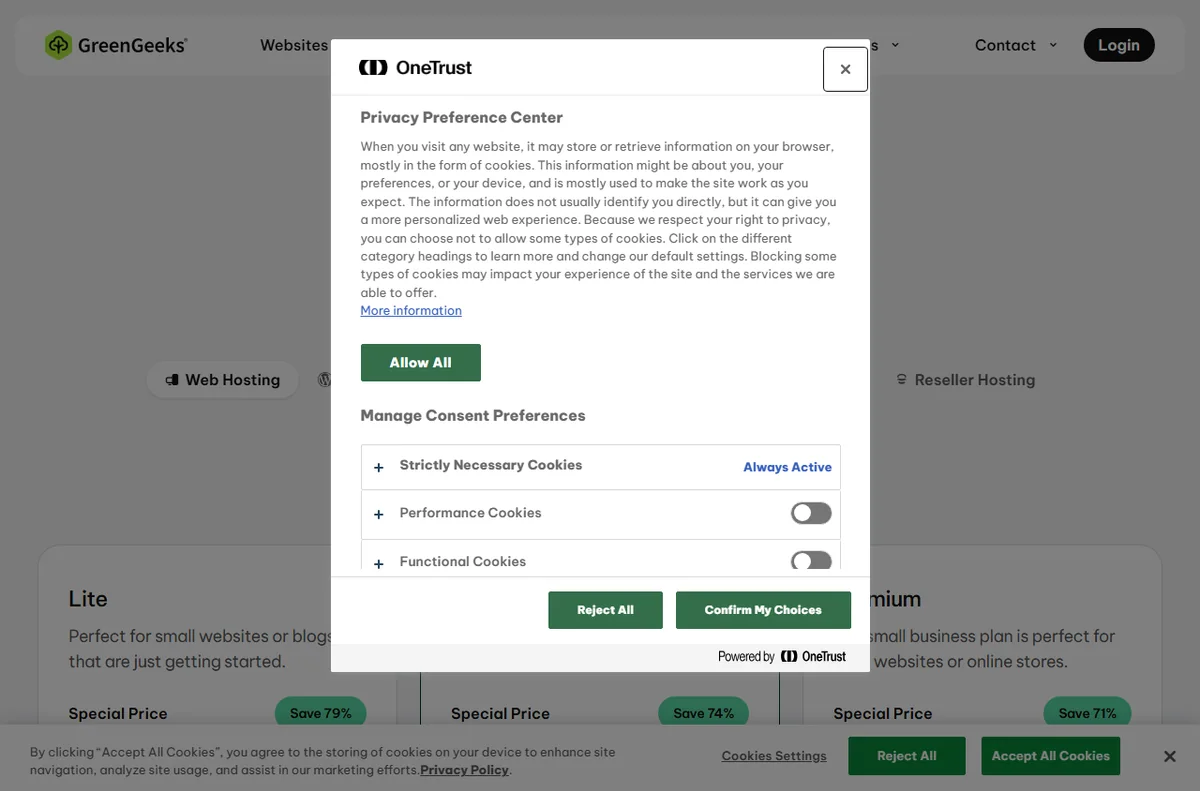
- Estimate how many sites you will run and how much storage they need.
- Compare the included features rather than only the price, since tiers differ in what they cover.
- Check the current price on the official pricing page, because promotional and renewal rates can differ.
- Pick the tier that fits your next year, not just this month, to avoid an early upgrade.

Step 2 — Create your account
- Fill in the order form with contact details you will still have access to later.
- Set a strong, unique password and save it in a password manager.
- Confirm the account by following the verification email.
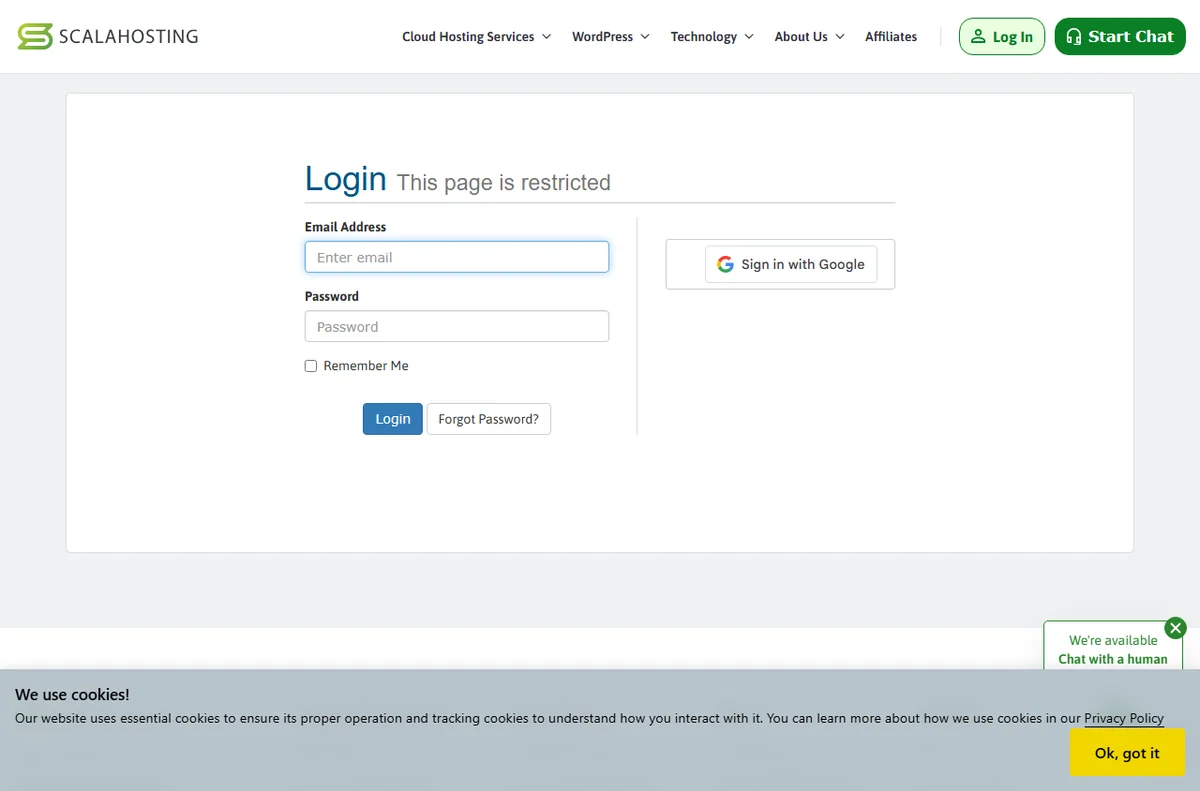
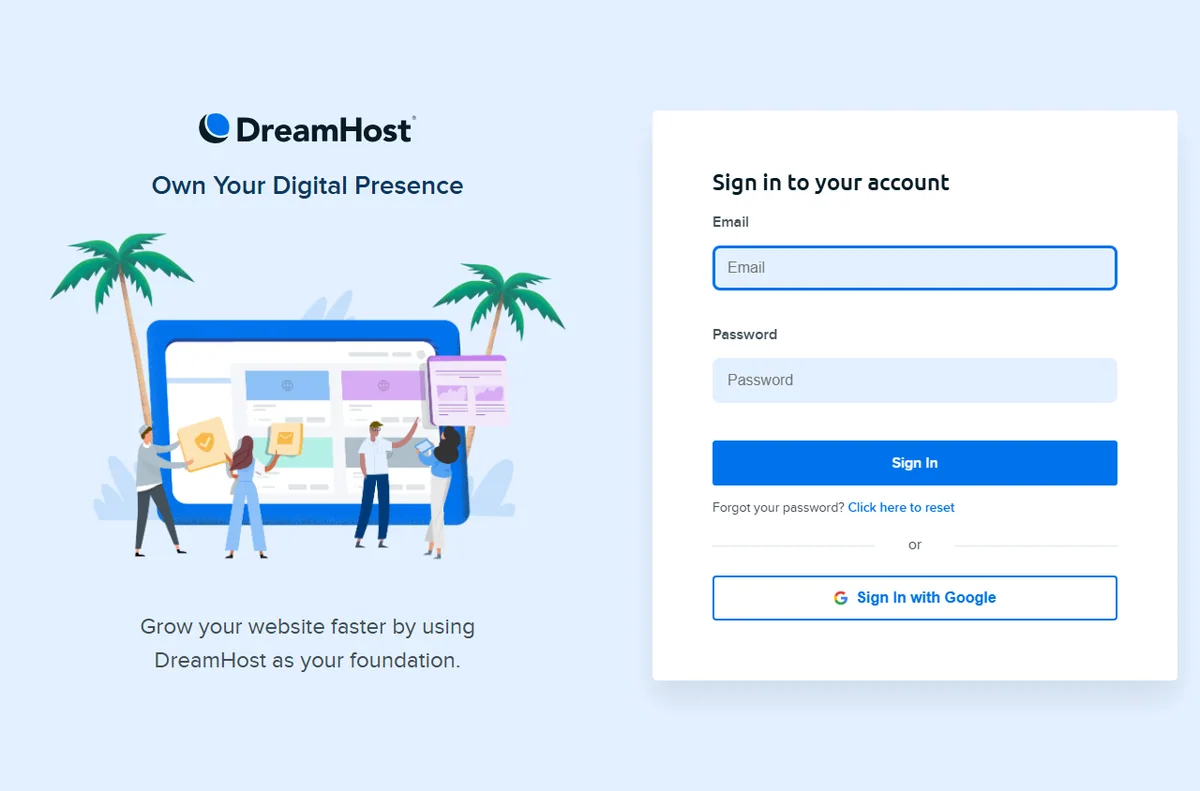
- Log in to the control panel and check your billing and account details.

Step 3 — Set up your domain
If you already own the domain, update its nameservers to the values shown in your control panel. Propagation can take a few hours, so do this early.
If you register the domain during signup, the connection is handled for you and you can move on to installing your site.
Step 4 — Install WordPress
- Open the installer in the control panel and select WordPress.
- Set your admin username, a strong password and the site email.
- Choose the domain to attach the installation to.
- Run the installer and wait for the success message.
- Load the site to confirm the default page appears.

Step 5 — Enable SSL
SSL encrypts traffic and gives visitors the padlock they expect. Activate the free certificate in the control panel and wait for it to be issued.
Once it is active, redirect http to https so your site has one canonical address. This avoids duplicate-content issues later.

A quick decision table
Use this table to check the main setup choices before you commit.
| Decision Simple option Choose it when | ||
|---|---|---|
| Plan size | Starter tier | You are launching one site with modest traffic |
| Plan size | Higher tier | You expect several sites or heavier traffic |
| Domain | Register at signup | You do not own a domain yet |
| Domain | Connect existing | You already own it and can update nameservers |
| Install | One-click WordPress | You want a familiar editing workflow |
| SSL | Free certificate | You want https without extra cost |
Going live checklist
- Check the layout on both mobile and desktop.
- Confirm https loads and http redirects to it.
- Send a test email from the site.
- Turn on a backup schedule before further edits.
- Remove default sample content you do not want public.
Where this fits in your wider stack
Before you commit, read the independent GreenGeeks review and start from the hosting hub. If you are comparing providers, see the best web hosting for small business, and learn how to choose web hosting. It also pays to understand hosting renewal pricing before choosing a term.
Frequently asked
How long does GreenGeeks setup take?
The account and WordPress install are quick; the domain can take a few hours to propagate, so allow for that.
Can I install something other than WordPress?
Yes, the installer supports other applications, but WordPress is the most common choice for a business site.
What if I already have a domain?
Point its nameservers to the hosting values in your control panel and wait for propagation.
Do I need SSL before launch?
Enable it before you share the link so visitors never see an insecure warning.
Ready to set up hosting?
Review the plans and confirm the current price on the provider page first.
Referral link — we may earn a reward if you sign up, at no extra cost to you. We are an independent publisher. See our Affiliate Disclosure.