We’re reader-supported — some links are affiliate links. Learn more →

Skip to content

Independent software research. Some links may earn us a commission at no extra cost to you. Learn more →

ICode

Category: Automation

  • How to Set Up n8n: Self-Hosted or Cloud, Step by Step

    How to Set Up n8n: Self-Hosted or Cloud, Step by Step

    Home / Automation / Guides / How to set up n8n

    Tutorial · automation · updated October 8, 2026

    How to set up n8n: from install to your first workflow

    n8n is a workflow automation tool you can run in the cloud or host yourself. Setting it up is a short list of choices: which deployment, how you connect the apps you use, and how you build and run one workflow end to end.
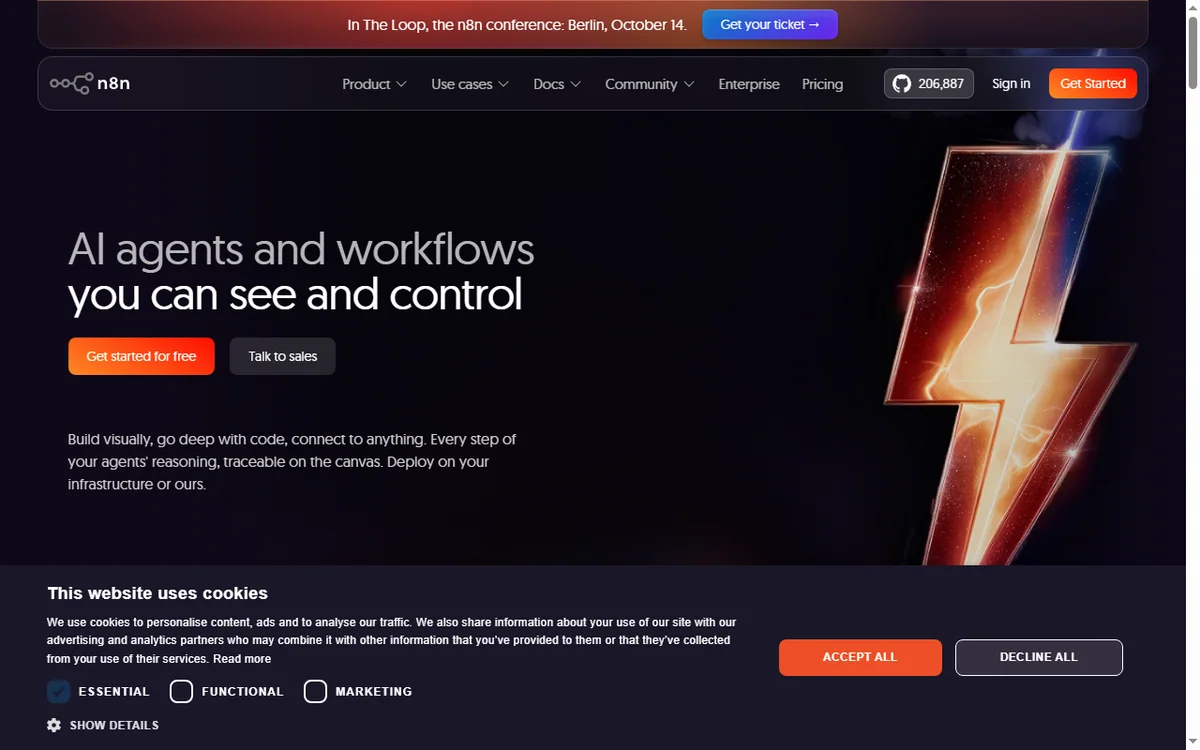
    n8n homepage for AI workflow automation, cloud or self-hosted
    n8n official homepage (image: n8n.io)

    Independent analysis. This page may contain affiliate links. Some links here are referral links; if you sign up through one we may earn a reward at no extra cost to you, and it never changes what we recommend. We are an independent publisher and are not affiliated with, endorsed by, or an official partner of any tool mentioned. See our Affiliate Disclosure.

    TL;DR

    • n8n connects apps on a canvas and can be self-hosted, which most visual automation tools cannot.
    • Cloud is the fastest start; self-hosting lowers marginal cost at volume but adds maintenance.
    • A workflow is a trigger node plus nodes that act on the data as it moves.
    • Test with manual execution before you schedule or webhook-trigger anything.
    • Confirm current plan limits and pricing on n8n’s own pricing page before you commit.

    On this page: What setting up n8n means · Cloud or self-hosted · Before you start · Create an account or instance · Connect an app · Build your first workflow · Test, then activate · Common setup mistakes · Where this fits

    What setting up n8n actually means

    n8n is a workflow automation platform: you connect nodes on a canvas and let data move between apps without writing a full application. The difference from most tools in this category is that n8n can be self-hosted, so setup is partly a deployment decision.

    There are three milestones: choose cloud or self-hosted, connect the apps you actually use, and run one workflow from trigger to finish. Everything after that is iteration.
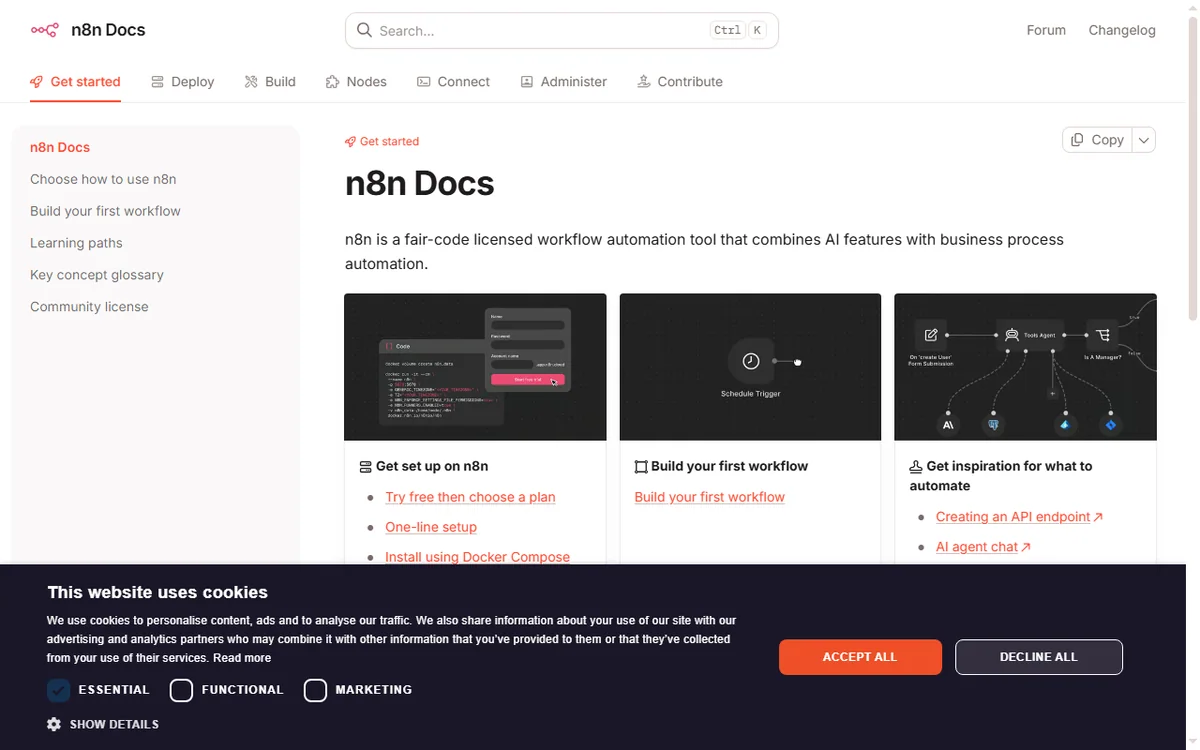
    n8n documentation covering cloud and self-hosted hosting options
    n8n documentation (image: n8n.io)

    Cloud or self-hosted

    The first fork is where n8n runs. Cloud removes the server work and is the fastest path to a first workflow. Self-hosting puts the runtime on a machine you control: it usually lowers marginal cost at higher volume, but you own updates, backups and uptime.

    Option What it means Choose it when
    Cloudn8n hosts it; you sign in and buildYou want to start today and not run a server
    Self-hostedYou run n8n on your own server or containerYou want control, custom nodes or high volume
    Self-hosted on a VPSYou rent a VPS and deploy n8n thereYou want self-hosted economics without a home machine
    Based on publicly documented behaviour, checked October 8, 2026.

    Before you start

    • A clear idea of the first task you want to automate, written as a sentence.
    • Access to the apps involved (for example a form tool and a spreadsheet).
    • Either an n8n account or a server/VPS if you plan to self-host.
    • A rough sense of volume, because it decides which plan tier you need.
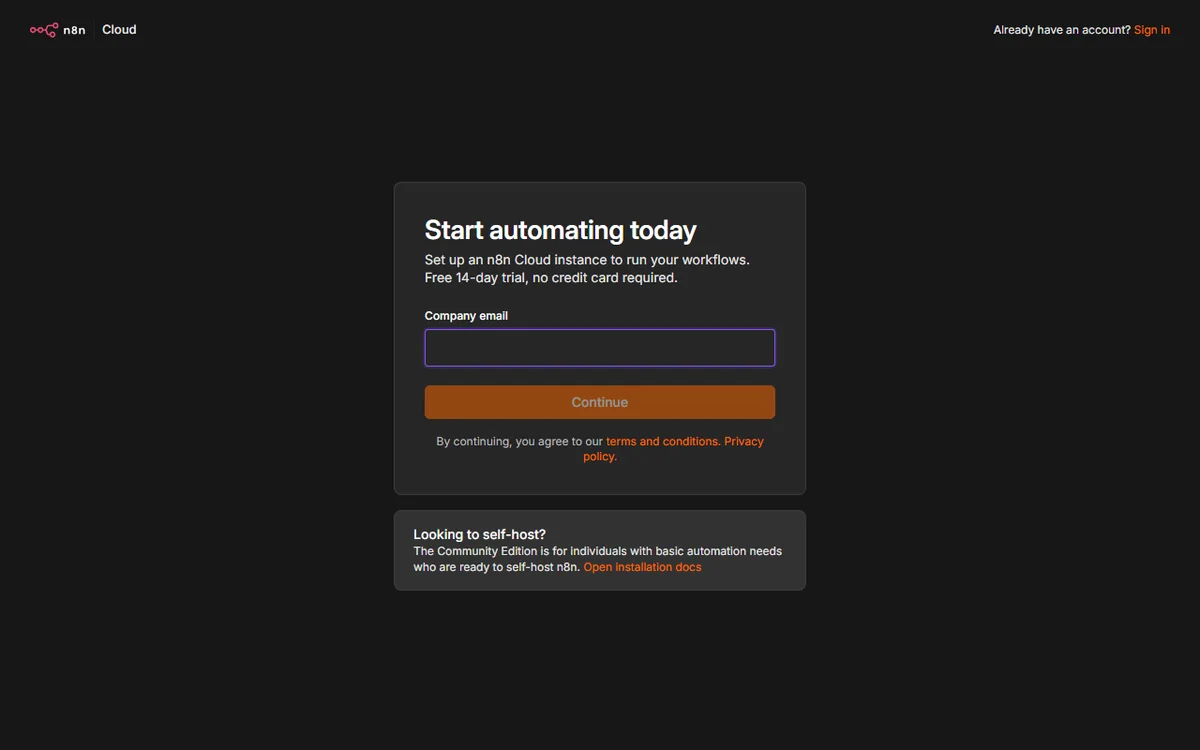
    n8n cloud registration screen used to create an instance
    n8n cloud sign-up (image: n8n.io)

    Step 1 — Create your account or instance

    On cloud, sign up and you land in an empty workspace ready to build. Self-hosting takes longer: you deploy n8n with Docker or npm, set an environment variable for encryption, and open the editor at your instance URL.

    Whichever route you take, the editor looks the same. If you are unsure, start on cloud, learn the editor, and migrate later if volume makes self-hosting worthwhile.
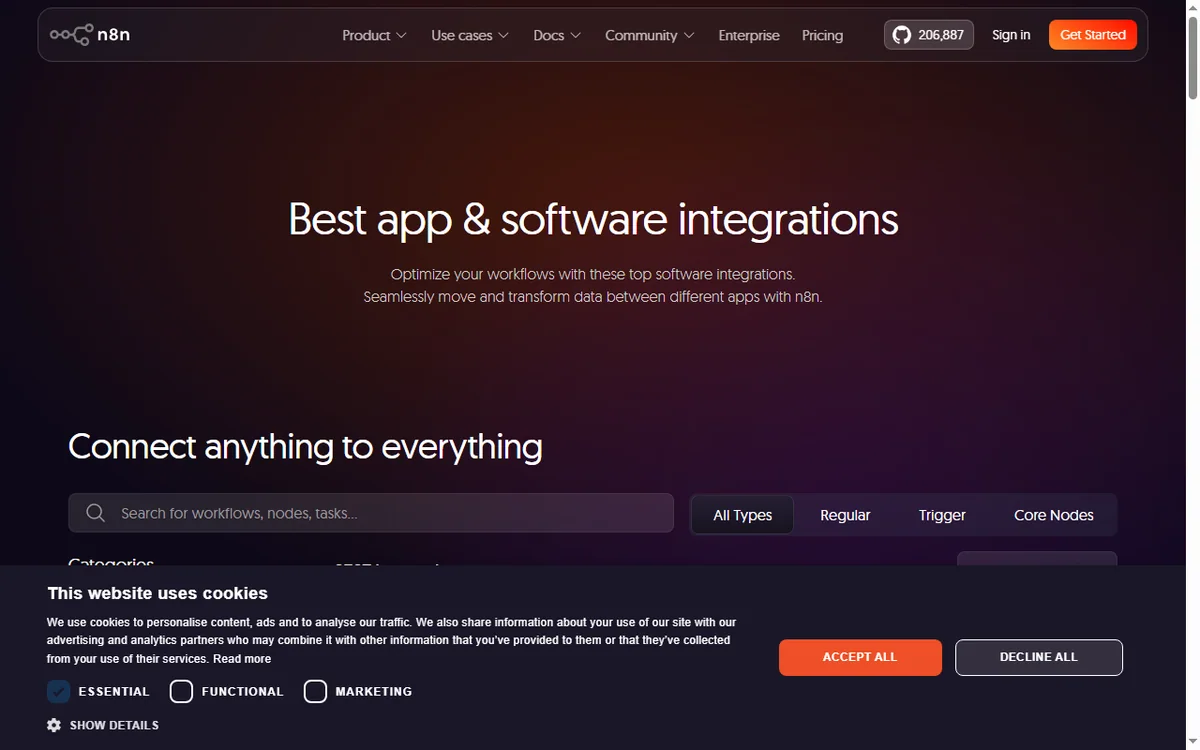
    n8n integrations directory for connecting apps and services
    n8n integrations (image: n8n.io)

    Step 2 — Connect an app

    Credentials are created once and reused across workflows. Depending on the app you either authorise OAuth in a browser window or paste an API key. Store them in n8n’s credential store rather than hard-coding values into nodes.

    Start with the two apps in your first automated task. You can add the rest as you grow; there is no prize for connecting everything up front.

    n8n community workflow library of ready-made automations
    n8n workflow library (image: n8n.io)

    Step 3 — Build your first workflow

    1. Add a trigger node — a schedule, a webhook, or an app event.
    2. Add one action node and choose the operation you want (create, update, fetch).
    3. Map the fields: drag the value from the incoming data into the field you need.
    4. Add a second action node only when the first one works.

    Step 4 — Test, then activate

    Run the workflow manually and inspect the input and output of each node. Fix mapping problems while the data is in front of you. You can pin sample data so you do not have to re-trigger every time.

    Only when a manual run succeeds should you activate the workflow so it fires on its trigger. Keep the first version small; a workflow you understand is worth more than one you copied.

    Common setup mistakes

    Mistake Why it hurts Fix
    Building too big a first workflowToo many failure points to debugStart with trigger plus one action
    Hard-coding credentialsSecrets leak if you share the workflowUse the credential store
    Skipping manual testsErrors surface only in productionRun manually, then activate
    Ignoring volumeCosts surprise you laterEstimate executions before choosing a plan
    No error handlingA silent failure loses dataAdd an error branch or notification
    Based on publicly documented behaviour, checked October 8, 2026.
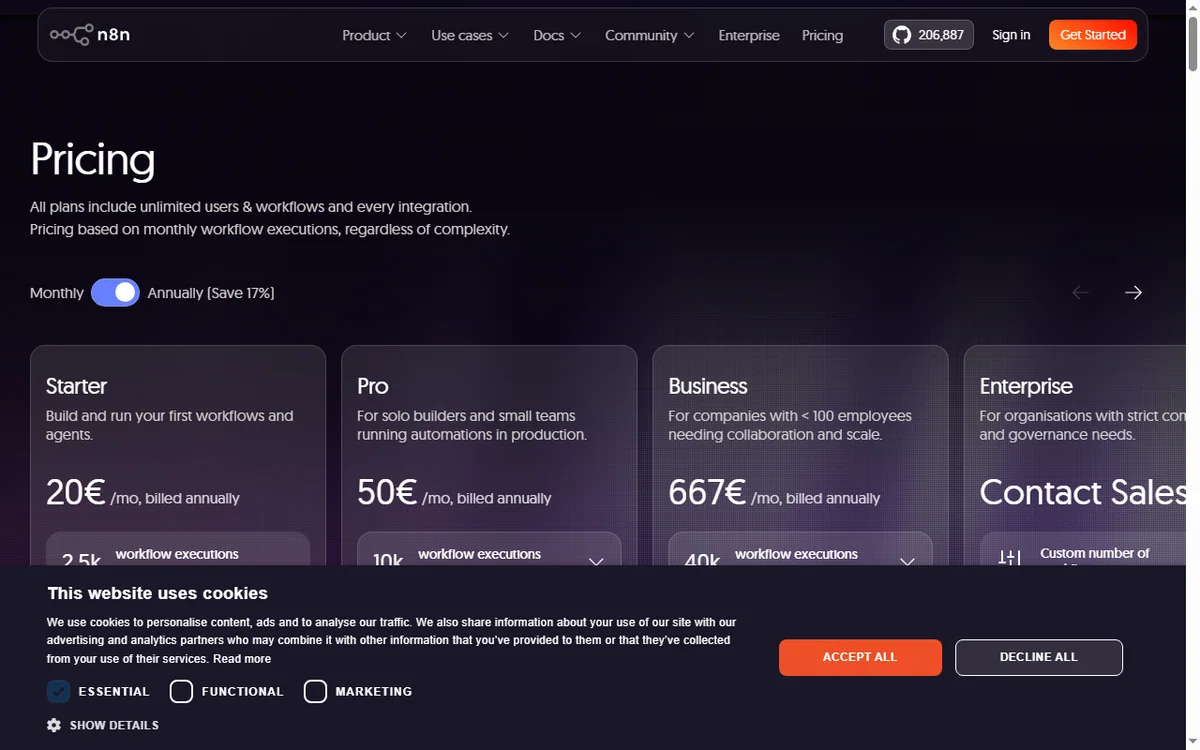
    n8n pricing page with cloud and self-hosted plans
    n8n pricing (image: n8n.io)

    Where this fits in your wider stack

    If you are still choosing a tool, read the independent n8n review and start from the automation hub. Weighing options? See Make vs n8n, and if you plan to host it yourself read the n8n self-hosting guide. For a broader shortlist, see best workflow automation tools.

    Frequently asked

    Do I need to know how to code to use n8n?

    No. Most workflows are built by connecting nodes and mapping fields. Coding helps for custom logic, but it is not required to get value from the tool.

    Is self-hosting really cheaper?

    It tends to be cheaper at higher volume because you pay for a server rather than per execution. At low volume the cloud plan is usually simpler and comparable in cost.

    How long does setup take?

    Cloud setup is minutes. A self-hosted instance depends on your server skills, and the first workflow is where most of the learning happens.

    Can I move from cloud to self-hosted later?

    You can export workflows and import them into another instance. Plan the move before you build dozens of automations to keep it tidy.

    Build one workflow on n8n and see the difference

    Start with the single task that costs you the most time today, then expand.

    Referral link — we may earn a reward if you sign up, at no extra cost to you. We are an independent publisher. See our Affiliate Disclosure.
  • How to Use Zapier for a Small Business: Seven Automations Worth Building

    How to Use Zapier for a Small Business: Seven Automations Worth Building

    Home / Automation / Guides / How to use Zapier for a small business

    Use case · automation · updated October 8, 2026

    How to use Zapier for a small business

    Zapier is most useful to a small business when it removes the repetitive glue work: moving leads, sending follow-ups, logging orders. These seven automations are the ones worth building first, in the order most teams should build them.

    Independent analysis. This page may contain affiliate links. Some links here are referral links; if you sign up through one we may earn a reward at no extra cost to you, and it never changes what we recommend. We are an independent publisher and are not affiliated with, endorsed by, or an official partner of any tool mentioned. See our Affiliate Disclosure.

    Zapier app directory for connecting tools
    Connecting your tools in the Zapier app directory (image: zapier.com/apps)

    TL;DR

    • Start with the automation that saves the most manual minutes.
    • Lead capture and follow-up is usually automation number one.
    • Keep each Zap narrow rather than building one giant flow.
    • Watch task usage; a busy Zap can consume the free cap quickly.
    • Only automate a process you already do consistently by hand.

    On this page: Where automation pays off · Seven automations · Which one first · Keeping tasks under control · Where this fits

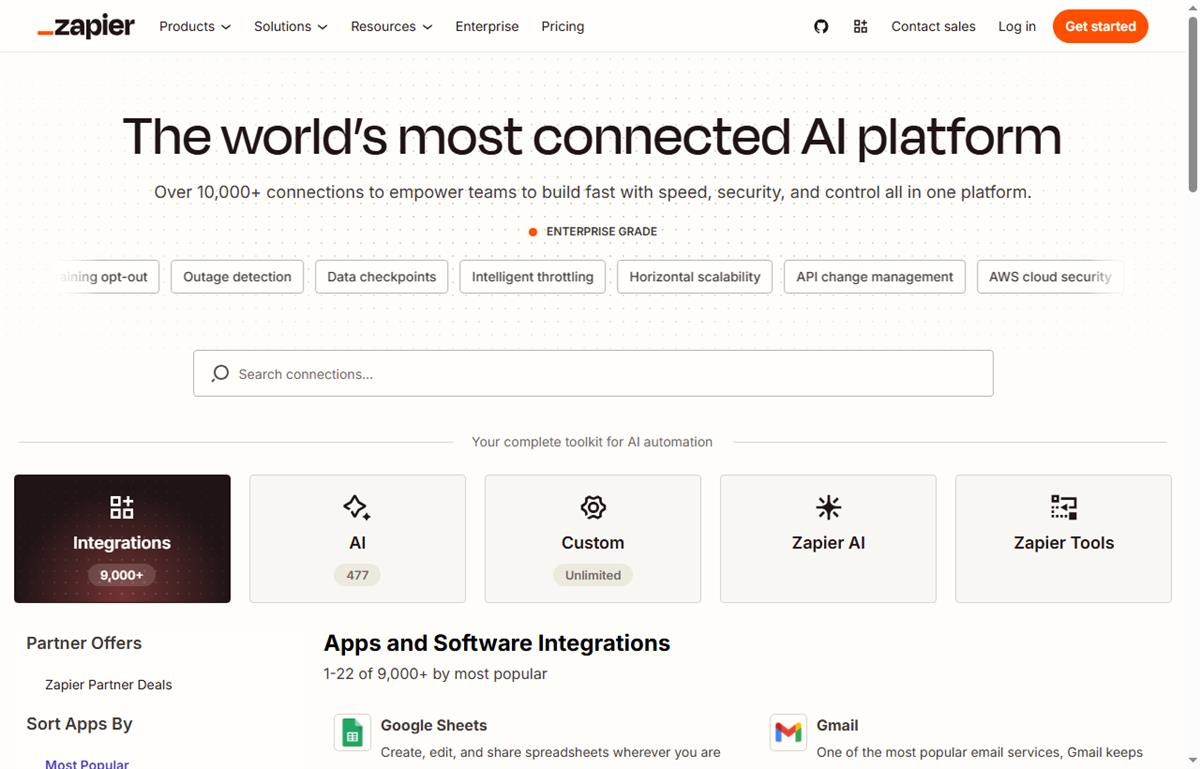
    Zapier home page
    Zapier home (image: zapier.com)

    Where automation pays off

    Automation pays off when a task is repetitive, rule-based and triggered by an event. If you already do the same thing every time a lead arrives, a Zap can do it instead.

    The rule of thumb: if a task happens more than a few times a week and follows a fixed pattern, it is a candidate.

    How a Zap connects a trigger to an action
    How a Zap connects a trigger to an action (image: zapier.com/how-it-works)

    Seven automations worth building

    1. Send new form leads into your CRM or spreadsheet automatically.
    2. Start a follow-up email sequence when someone opts in.
    3. Notify your team in chat when an order or payment lands.
    4. Create a task when a client replies to a proposal.
    5. Log invoices and receipts into bookkeeping software.
    6. Add new customers to an onboarding checklist automatically.
    7. Post new content or listings to social channels from one source.
    Zapier apps page
    Zapier apps (image: zapier.com)

    Which automation to build first

    Count the minutes each task costs you per week, then pick the highest. For most small businesses that is lead capture and follow-up, because it touches revenue and is done constantly.

    Build that one, watch it for a week, and only then add the next. Automating five things at once makes failures hard to trace.

    Zapier task usage and plans
    Zapier plans and task usage (image: zapier.com/pricing)

    Keeping task usage under control

    • Keep Zaps narrow: fewer steps per Zap means fewer tasks per run.
    • Add filters so a Zap only runs on the events that matter.
    • Estimate monthly tasks from volume before you rely on it in production.
    • Check the current cap on the vendor’s pricing page, because tiers change.

    Where this fits in your wider stack

    Start with the business automation hub and the independent Zapier review. For cost, see the Zapier pricing guide; for context read what is Make, compare in Make vs Zapier, and browse the best workflow automation tools roundup.

    Zapier pricing page
    Zapier pricing (image: zapier.com)

    Frequently asked

    What should I automate first?

    The task that costs the most minutes per week and follows a fixed pattern. For most small businesses that is lead capture and follow-up.

    How many Zaps should I start with?

    One. Prove it works for a week before adding the next, so failures stay easy to trace.

    How do I avoid burning through tasks?

    Keep Zaps narrow, add filters so they only run on relevant events, and estimate volume before relying on them in production.

    Do I still need manual checks?

    Yes. Automations handle the repetitive path; judgement calls still need a human.

    Automate the task that eats your week

    Pick the one that costs the most minutes, and build only that.

    Referral link — we may earn a reward if you sign up, at no extra cost to you. We are an independent publisher. See our Affiliate Disclosure.

  • How to Set Up Zapier: Your First Zap, Step by Step

    How to Set Up Zapier: Your First Zap, Step by Step

    Home / Automation / Guides / How to set up Zapier

    Tutorial · automation · updated October 8, 2026

    How to set up Zapier: from sign-up to your first Zap

    Zapier connects apps so work happens without you. Setup is really about getting one Zap to run correctly end to end. This walkthrough takes you from a blank account to a working automation without the usual detours.

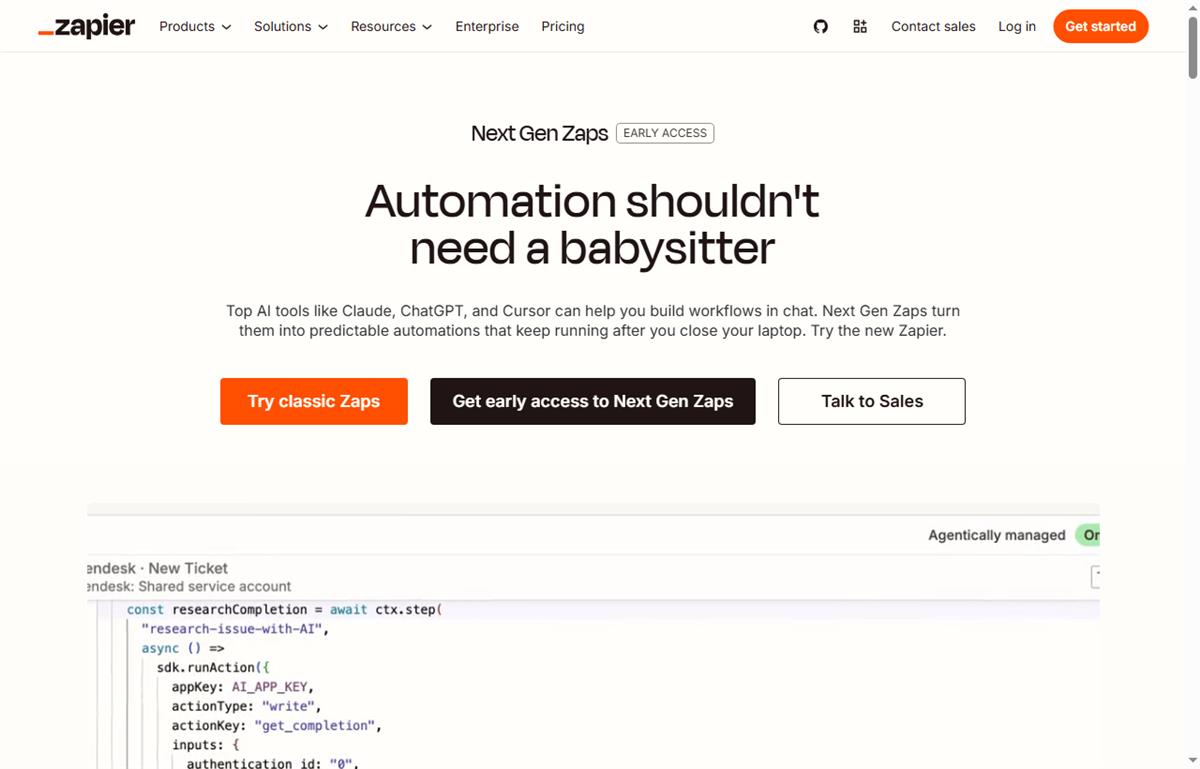
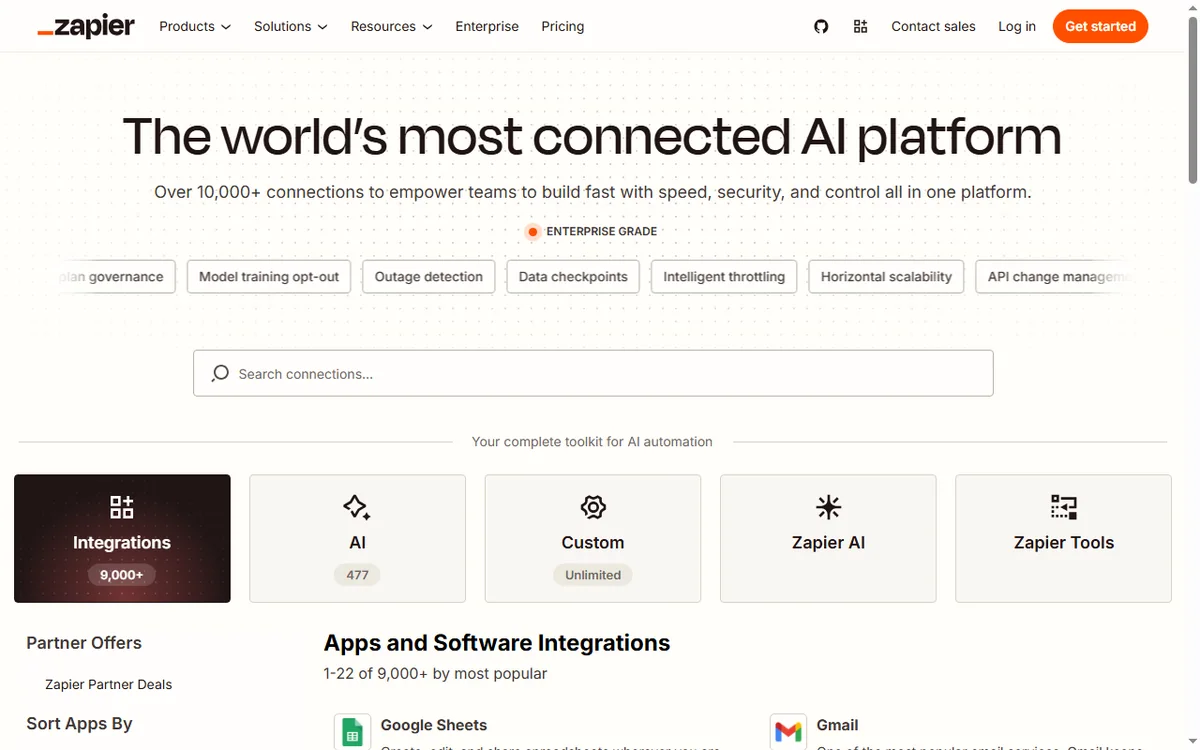
    Zapier homepage for building AI-powered workflow automations
    Zapier official homepage (image: zapier.com)

    Independent analysis. This page may contain affiliate links. Some links here are referral links; if you sign up through one we may earn a reward at no extra cost to you, and it never changes what we recommend. We are an independent publisher and are not affiliated with, endorsed by, or an official partner of any tool mentioned. See our Affiliate Disclosure.

    TL;DR

    • A Zap is a trigger plus one or more actions.
    • Start on the free tier to learn; it meters tasks.
    • Connect one app first and prove a two-step Zap works.
    • Always test the Zap by hand before switching it on.
    • Upgrade only when a real workflow outgrows the free task cap.

    On this page: What setting up Zapier means · Before you start · Create your account · Learn three words · Build a two-step Zap · Test it · Turn it on · When to upgrade · Common mistakes · Where this fits

    Icode editorial illustration
    Icode editorial illustration (image: icode.io.vn)

    What setting up Zapier actually means

    Zapier is a connector service built around Zaps: a trigger that starts a workflow and one or more actions that follow. Setting it up is less about installation and more about getting a single Zap to behave.

    Three milestones cover most of it: create the account, connect an app, and run one Zap successfully. Multi-step Zaps and filters come later.

    Before you start

    • An email address you can confirm right away.
    • One app you already use that can act as a trigger.
    • A one-sentence job description: when this happens, do that.
    • A few minutes to run the Zap by hand once.
    Zapier sign-up screen used to create a free account
    Zapier sign-up (image: zapier.com)

    Step 1 — Create your account

    Sign up and confirm your email. You land in a dashboard that lists Zaps and apps rather than in the editor, which surprises people who expect to start building immediately.

    Begin on the free tier. It meters tasks, so treat it as a sandbox rather than production.

    Step 2 — Learn three words

    • Trigger — the event that starts a Zap.
    • Action — a step that does one job, such as creating a record or sending a message.
    • Task — one unit of work an action consumes; this is what paid plans meter.
    Zapier integrations library for choosing trigger and action apps
    Zapier app integrations (image: zapier.com)

    Step 3 — Build a two-step Zap

    1. Choose “Create Zap” rather than a template, so you learn the parts.
    2. Pick your trigger app and event, then connect the app by authorising it once.
    3. Add an action and pick what it should do with the data.
    4. Map fields so the trigger output flows into the action input.

    Step 4 — Test before you trust it

    Use the test control to pull sample data through the Zap. Read each step’s input and output; the first failure is almost always a mis-mapped field or an authorisation that expired.

    Step 5 — Turn it on and watch the first runs

    Once a manual test succeeds, switch the Zap on and watch the first few runs rather than assuming they are fine — especially the first time real traffic hits it.

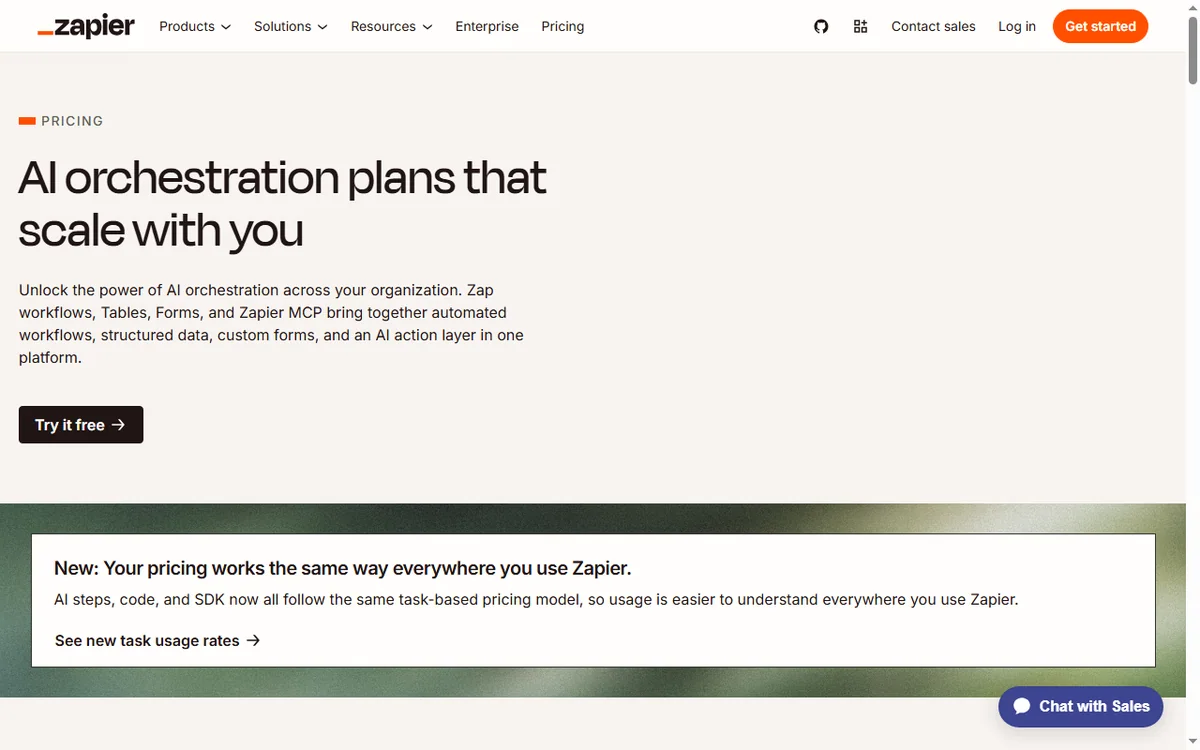
    Zapier pricing page with plan tiers and task limits
    Zapier pricing (image: zapier.com)

    Step 6 — Know when to upgrade

    Upgrade when a genuine workflow outgrows the free task cap, not before. Estimate monthly tasks from real volume, then pick the smallest paid tier that covers it comfortably. We do not quote prices — vendors change tiers often, so confirm current figures on the vendor’s pricing page.

    Common setup mistakes

    Mistake Why it hurts Fix
    Starting from a complex templateYou inherit logic you do not understandBuild one simple Zap first
    Ignoring the task countThe free cap is hit mid-monthModel monthly volume early
    No error handlingA silent failure breaks the flowAdd a fallback step
    Testing with live data onlyFailures are hard to reproduceUse sample data, then a live run
    Turning on before a manual testThe first real run failsAlways test by hand once
    Based on publicly documented behaviour, checked October 8, 2026.
    Zapier template library of ready-made automation workflows
    Zapier workflow templates (image: zapier.com)

    Where this fits in your wider stack

    If you are still choosing a platform, start with the business automation hub and the independent Zapier review. For cost, see the Zapier pricing guide; if you are weighing platforms, read Make vs Zapier and the best workflow automation tools roundup.

    Frequently asked

    How long does it take to set up Zapier?

    The account and first simple Zap take roughly 20–40 minutes for a first-timer. Multi-step Zaps take longer because they add concepts, not because setup itself is long.

    Do I need to know how to code?

    No. The first Zaps are built by clicking steps and mapping fields.

    Is the free plan enough to start?

    It is enough to learn and to run low-volume workflows. It meters tasks, so busy automations reach the cap quickly — check the current cap on the vendor’s pricing page.

    What is a task, exactly?

    A task is one unit of work an action performs during a run. That is why volume matters more than the number of Zaps.

    Build one Zap, then judge the tool

    Count your steps first, then prototype on the free tier.

    Referral link — we may earn a reward if you sign up, at no extra cost to you. We are an independent publisher. See our Affiliate Disclosure.
  • Common Make Problems and How to Fix Them

    Common Make Problems and How to Fix Them

    Home / Automation / Guides / Common Make problems

    Problem · automation · updated October 8, 2026

    Common Make problems and how to fix them

    Most Make problems are not exotic bugs — they are mis-mapped fields, expired authorisations and scenarios that run more often than intended. Here are the failures that come up again and again, and what to do about them.

    Make homepage with visual automation canvas
    Make official homepage (image: make.com)

    Independent analysis. This page may contain affiliate links. Some links here are referral links; if you sign up through one we may earn a reward at no extra cost to you, and it never changes what we recommend. We are an independent publisher and are not affiliated with, endorsed by, or an official partner of any tool mentioned. See our Affiliate Disclosure.

    TL;DR

    • A failed run is almost always a mis-mapped field or an expired connection.
    • Scenarios that seem to ‘run twice’ usually have a trigger firing on both create and update.
    • Hitting the operation cap means volume outgrew the plan, not that the scenario is broken.
    • Duplicate records come from a trigger with no de-duplication step.
    • Test with sample data before switching a scenario on.

    On this page: Why Make runs fail · Failed run or error · Scenario runs too often · Operation cap reached · Duplicate data · Expired authorisation · Symptom to fix · Where this fits

    Make workflow template gallery to review scenario structure
    Make workflow templates (image: make.com)

    Why Make scenarios fail

    Because a scenario depends on data flowing between apps, most failures are data or permission problems rather than a fault in the platform. Reading the input and output of the module that failed tells you which one it is.

    The habit that prevents most of these is simple: run the scenario by hand once, with sample data, before switching it on.

    Make register page
    Make register (image: make.com)

    Failed run or error

    Open the failed execution and read the module input and output. A missing field, a wrong data type or a stale connection accounts for the majority of errors. Re-map the field or reconnect the app, then re-run just that execution.

    The scenario runs too often

    A trigger set to fire on ‘updated’ records can run on changes you did not intend, including changes the scenario itself causes. Narrow the trigger with a filter, or switch to a create-only event.

    Make pricing page showing operation limits and plan tiers
    Make pricing and plans (image: make.com)

    Operation cap reached

    • Estimate monthly operations from real volume: runs per day times modules per run.
    • Tidy the scenario so it does not perform needless steps.
    • Only upgrade to the smallest paid tier that covers your estimate comfortably.
    • Check the current cap on the vendor’s pricing page — caps change.

    Duplicate records appear

    Duplicates usually mean the trigger fires more than once for the same event, or a retry replays a step. Add a de-duplication step, or check for an existing record before creating a new one.

    Make sign-in screen to re-authorise a connection
    Make sign-in (image: make.com)

    Authorisation expired

    Connections to apps break when a password changes, a token expires or an app revokes access. Reconnect the app in Make, then re-run the failed executions. If it keeps happening, check whether the connected account has a policy that rotates credentials.

    Symptom to fix

    Symptom Likely cause Fix
    Red failed runMis-mapped field or bad dataRead module I/O, re-map, re-run
    Runs twice per eventTrigger fires on create and updateFilter the trigger or use create-only
    Operations run out mid-monthVolume exceeds the plan capModel volume and right-size the plan
    Duplicate rows createdTrigger replays or retriesAdd a de-duplication step
    Sudden auth errorExpired or revoked connectionReconnect the app and re-run
    Based on publicly documented behaviour, checked October 8, 2026.
    Make integrations library to re-check app connections
    Make integrations library (image: make.com)

    Where this fits in your wider stack

    For background, see what is Make, then the independent Make review. Compare platforms in Make vs n8n, check cost in the Make pricing guide, and browse the automation hub or the best workflow automation tools roundup.

    Frequently asked

    Why did my scenario fail after working fine?

    Usually an expired connection or a field that changed in one of the connected apps. Open the failed execution and read the module input and output to find which.

    How do I stop duplicate records?

    Add a step that checks for an existing record before creating one, and narrow the trigger so it does not fire on updates you did not intend.

    My operations ran out. Is the scenario broken?

    No — it means real volume exceeded the plan cap. Model your operations, tidy the scenario, and pick the smallest plan that covers the estimate.

    Should I add error handling?

    Yes. An error handler or fallback path turns a silent failure into a visible, recoverable one.

    Fix the scenario, not the symptom

    Read the failed module’s input and output first — it usually names the cause.

    Referral link — we may earn a reward if you sign up, at no extra cost to you. We are an independent publisher. See our Affiliate Disclosure.
  • What Is Make? A Plain-English Guide to Visual Automation

    What Is Make? A Plain-English Guide to Visual Automation

    Home / Automation / Guides / What is Make

    Knowledge · automation · updated October 8, 2026

    What is Make?

    Make is a visual automation platform: you connect apps on a canvas and let data move between them without writing code. This guide explains what that means in practice, what a ‘scenario’ does, and when it is worth using.

    Make homepage with visual automation canvas
    Make official homepage (image: make.com)

    Independent analysis. This page may contain affiliate links. Some links here are referral links; if you sign up through one we may earn a reward at no extra cost to you, and it never changes what we recommend. We are an independent publisher and are not affiliated with, endorsed by, or an official partner of any tool mentioned. See our Affiliate Disclosure.

    TL;DR

    • Make connects apps so work happens without you repeating it.
    • A scenario is a trigger plus one or more modules acting on the data.
    • An operation is one unit of work a module performs — it is what paid plans meter.
    • It is strongest for multi-step workflows that simpler if-this-then-that tools cannot express.
    • It is not a replacement for a database or a human decision.

    On this page: What Make is · How a scenario works · What it is good at · What it is not · Concept cheat sheet · Where this fits

    Make workflow template gallery showing how scenarios are built
    Make workflow templates (image: make.com)

    What Make is

    Make is a cloud automation tool with a visual editor. Instead of writing scripts, you drag modules onto a canvas and connect them, and the platform runs the flow whenever its trigger fires.

    The point is not the canvas itself — it is that a non-developer can build and maintain a workflow that would otherwise need code or repetitive manual work.

    Make integrations library connecting apps on a scenario
    Make integrations library (image: make.com)

    How a scenario works

    Every scenario has a trigger and at least one action. The trigger is the event that starts a run; modules are the steps that act on the data. A single run can branch, filter and transform data between steps.

    Paid plans meter operations, so a scenario with three modules that runs once typically consumes three operations. Volume, not the number of scenarios, is what drives cost.

    Make sign-up screen to start building a first scenario
    Make sign-up (image: make.com)

    What Make is good at

    • Multi-step workflows that branch or transform data between apps.
    • Replacing repetitive copy-paste work with a scheduled or event-driven flow.
    • Connecting a long tail of apps through a large connector catalogue.
    • Giving a non-developer a maintainable automation they can edit visually.
    Make login page
    Make login (image: make.com)

    What Make is not

    • Not a database: it moves and transforms data, it does not replace a proper store of record.
    • Not a decision-maker: judgement calls still need a human or clear rules.
    • Not free at scale: high-volume workflows consume operations and need a paid plan.
    • Not always the simplest choice: for a one-step rule, a smaller tool can be enough.

    Concept cheat sheet

    Concept Meaning Why it matters
    ScenarioA trigger plus one or more modulesIt is the unit you build and run
    TriggerThe event that starts a runWrong trigger means wrong timing
    ModuleA step that does one jobEach module consumes operations
    OperationOne unit of workWhat paid plans meter
    ConnectionAn authorised link to an appExpired connections break runs
    Based on publicly documented behaviour, checked October 8, 2026.
    Make pricing page with plan tiers and operation limits
    Make pricing and plans (image: make.com)

    Where this fits in your wider stack

    Start with the business automation hub and the independent Make review. For cost, see the Make pricing guide; if you are choosing between platforms, read Make vs n8n and the best workflow automation tools roundup.

    Frequently asked

    Do I need to code to use Make?

    No. The main flows are built by clicking modules and mapping fields. Code only enters if you use a code module for a transformation the built-in functions cannot do.

    Is Make the same as a simple if-this-then-that tool?

    It goes further: scenarios can branch, filter and transform data across many steps, which one-step rules cannot express.

    What does it cost?

    Plans meter operations. Because caps and tiers change, we do not quote prices here — check the vendor’s current pricing page.

    When is Make overkill?

    When your automation is a single trigger and a single action with no transformation. A simpler tool may do that for less.

    Build one real scenario, then judge the tool

    If a workflow repeats more than once a week, it is a candidate.

    Referral link — we may earn a reward if you sign up, at no extra cost to you. We are an independent publisher. See our Affiliate Disclosure.

  • How to Use Make for a Small Business: 7 Practical Workflows

    How to Use Make for a Small Business: 7 Practical Workflows

    Home / Automation / Guides / How to use Make for a small business

    Use case · automation · updated October 7, 2026

    How to use Make for a small business: seven workflows worth automating

    Small businesses rarely need exotic automations. They need a handful of repeatable jobs to stop eating manual time. These seven Make workflows are the ones that tend to pay back fastest.

    Make homepage with workflow automation canvas
    Make official homepage (image: make.com)

    Independent analysis. This page may contain affiliate links. Some links here are referral links; if you sign up through one we may earn a reward at no extra cost to you, and it never changes what we recommend. We are an independent publisher and are not affiliated with, endorsed by, or an official partner of any tool mentioned. See our Affiliate Disclosure.

    TL;DR

    • Pick one painful, repetitive process first — not everything at once.
    • The fastest paybacks are lead capture, order handling, invoicing and reporting.
    • Keep each scenario small and single-purpose so failures are easy to spot.
    • Add error notifications before you scale volume.
    • Measure hours saved per workflow, then automate the next one.

    On this page: Pick the first process · Lead and customer workflows · Money workflows · Operations and reporting · Guardrails · Keep costs sane · Where this fits

    Start with the process that hurts most

    The mistake is starting with the most interesting workflow. Start with the most annoying one: the task you do every day by hand, where a copy-paste error costs you a customer.

    A good first workflow fires often, has an obvious trigger, and has a clear single action. If you cannot describe it as “when X, do Y”, break it down until you can.

    • It happens at least weekly.
    • It has one recognisable trigger event.
    • A mistake there costs money or goodwill.
    • You can describe the desired outcome in one sentence.
    Make template gallery of ready-made business workflows
    Make workflow template gallery (image: make.com)

    Workflows 1–3: leads and customers

    • Form to CRM and email: when someone submits a form, create the contact, tag the source, and start a welcome sequence.
    • Lead follow-up reminder: when a lead goes quiet for a set number of days, create a task for the owner and log it.
    • Support triage: when a new support message arrives, route it by keyword and post it to the right channel.

    Workflows 4–5: money

    • Order to fulfilment: when an order is placed, add the item to a fulfilment sheet and alert the team.
    • Invoice reminders: when an invoice passes its due date, send a polite reminder and escalate on a second strike.
    Make integrations connecting CRM, finance and operations apps
    Make integrations library (image: make.com)

    Workflows 6–7: operations and reporting

    • Daily digest: pull the day’s numbers from two or three sources into one message so nobody assembles it by hand.
    • Content scheduling: when an item is marked ready, schedule it and log the post so you can see what actually shipped.

    Guardrails before you scale

    • Turn on error notifications for every scenario you rely on.
    • Keep one scenario to one job; chain scenarios only when they genuinely must be sequential.
    • Prefer a fallback path over a silent failure.
    • Log the count of runs so you can see a workflow quietly stop firing.
    Make pricing page showing operations and plan limits
    Make pricing and plans (image: make.com)

    Keeping automation costs sane

    Automation platforms meter usage, so cost grows with volume, not with ambition. Model the operations or tasks each workflow will fire per month before you commit to a paid tier, and check the current caps and prices on the vendor’s own page — we do not quote figures because they change often.

    Make sign-in screen to access your scenarios
    Make sign-in page (image: make.com)

    Where this fits in your stack

    See the business automation hub for context, the independent Make review for a full evaluation, and the Make pricing guide for cost structure. For a broader shortlist, see the best workflow automation tools. Lead-handling specifics are covered in the sales pipeline automation guide.

    Make register page
    Make register (image: make.com)

    Frequently asked

    How many workflows should a small business automate?

    Start with one, add a second only when the first is stable. Three to five well-chosen workflows cover most small-business needs; beyond that the maintenance cost starts to compete with the time saved.

    Do I need technical skills?

    No for the workflows above. They are built by selecting apps, triggers and actions. Technical help only becomes useful if you need custom data transformations or API work.

    What if a workflow breaks silently?

    That is the main risk. Enable error notifications, and add a small heartbeat scenario that alerts you if a critical workflow has not run when it should have.

    Can I run this alongside other tools?

    Yes. A common pattern is one automation tool for cross-app logic plus a purpose-built tool (for example, an email platform) for its own specialised work. Keep the boundary clear to avoid duplicate actions.

    How do I know it is worth it?

    Estimate the minutes the task costs per week, multiply by your hourly value, and compare with the ongoing cost of the automation plus your setup time. If the payback is under a couple of months, it is usually worth doing.

    Start with the workflow that annoys you most

    Prototype it on the free tier before you commit.

    Referral link — we may earn a reward if you sign up, at no extra cost to you. We are an independent publisher. See our Affiliate Disclosure.
  • How to Set Up Make: First Scenario, Step by Step

    How to Set Up Make: First Scenario, Step by Step

    Home / Automation / Guides / How to set up Make

    Tutorial · automation · updated October 7, 2026

    How to set up Make: from sign-up to your first working scenario

    Make is a visual automation tool, and setting it up is really about getting one scenario to run end to end. This walkthrough takes you from a blank account to a working automation without the usual detours.

    Make homepage with workflow automation canvas
    Make official homepage (image: make.com)

    Independent analysis. This page may contain affiliate links. Some links here are referral links; if you sign up through one we may earn a reward at no extra cost to you, and it never changes what we recommend. We are an independent publisher and are not affiliated with, endorsed by, or an official partner of any tool mentioned. See our Affiliate Disclosure.
    TL;DR

    • Make is a visual automation tool: you build a “scenario” from a trigger plus one or more app modules.
    • Setup is free to start — create an account, connect one app, and run a two-step scenario.
    • You do not need code for the first scenario; you need one clear trigger and one clear action.
    • Watch your monthly operation count — that is what a paid plan meters.
    • Upgrade only when a real workflow outgrows the free cap.

    On this page: What setting up Make means · Before you start · Create your account · Three words that matter · Build a scenario · Test it · Turn it on · When to upgrade · Common mistakes · Where this fits

    Make login page
    Make login (image: make.com)

    What setting up Make actually means

    Make connects apps so that work happens without you. Unlike a simple “if this then that” tool, Make is built around scenarios: a visual canvas where a trigger starts a run and one or more modules act on the data.

    So “setting up Make” is three milestones rather than one install: create an account, learn the scenario editor, and get a single automation running correctly. Templates and advanced modules come later.

    Before you start

    • An email address you can confirm right away.
    • One app you already use that can act as a trigger — a form, a spreadsheet, a store or an inbox.
    • A one-sentence job description: “when this happens, do that”.
    • A few minutes to run the scenario by hand once.
    Make sign-up screen used to create a new account
    Make sign-up page (image: make.com)

    Step 1 — Create your account

    Sign up on the vendor’s site and confirm the email. You land in a dashboard that lists organizations, scenarios and templates — not in the editor, which surprises people who expect to start building immediately.

    Begin on the free tier. It is enough to learn on, but it meters a monthly operation cap, so treat it as a sandbox rather than production.

    Step 2 — Learn the three words that carry the meaning

    • Trigger — the event that starts a scenario (a new form entry, a new row, a new order).
    • Module — a step that does one job, such as creating a contact or sending a message.
    • Operation — one unit of work a module consumes; this is what your plan meters.
    Make template gallery for starting a scenario
    Make workflow template gallery (image: make.com)

    Step 3 — Build a two-step scenario

    1. Open Scenarios and choose “Create a new scenario” rather than a template, so you learn the parts.
    2. Click the first node, pick your trigger app and event, then create a connection (authorise the app once).
    3. Add the second node and pick the action: for example, “Create a row” in a spreadsheet or “Send a message”.
    4. Map the fields — drag the trigger’s output into the action’s input so the data flows across.

    Step 4 — Test before you trust it

    Use the run-once control to pull sample data through the scenario. Read the input and output of each module; the first failure is almost always a mis-mapped field or an authorisation that expired.

    Step 5 — Turn it on and watch the first runs

    Once a manual run succeeds, set the schedule or webhook and switch the scenario on. Watch the first few executions rather than assuming they are fine — especially the first time real traffic hits it.

    Make pricing page with plan tiers and operation limits
    Make pricing and plans (image: make.com)

    Step 6 — Know when to upgrade

    Upgrade when a genuine workflow outgrows the free operation cap, not before. Estimate your monthly operations from real volume, then pick the smallest paid tier that covers it comfortably. We deliberately do not quote prices — vendors change tiers and caps often, so confirm current figures on the vendor’s own pricing page.

    Common setup mistakes

    MistakeWhy it hurtsFix
    Starting from a complex templateYou inherit logic you do not understandBuild one simple scenario first
    Ignoring the operation countThe free cap is hit mid-monthModel monthly volume early
    No error handlingA silent failure breaks the flowAdd an error handler or fallback path
    Testing with live data onlyFailures are hard to reproduceUse sample data, then a live run
    Turning on before a manual runThe first real execution failsAlways run once by hand
    Based on publicly documented behaviour, checked October 7, 2026.
    Make integrations library connecting thousands of apps
    Make integrations library (image: make.com)

    Where this fits in your wider stack

    If you are still choosing a platform, start with the business automation hub and the independent Make review. For cost, see the Make pricing guide, and if you are weighing platforms, the Make vs n8n comparison. Teams that need the broadest connector catalogue often compare against the best workflow automation tools.

    Frequently asked

    How long does it take to set up Make?

    The account and first simple scenario take roughly 20–40 minutes for a first-timer. Multi-step scenarios with branching take longer because they add concepts, not because the setup itself is long.

    Do I need to know how to code?

    No. The first scenarios are built by clicking modules and mapping fields. Code only enters if you use a code module for a transformation the built-in functions cannot do.

    Is the free plan enough to start?

    It is enough to learn and to run low-volume workflows. It meters a monthly operation cap, so busy automations reach it quickly. Check the current cap on the vendor’s pricing page.

    What is an operation, exactly?

    An operation is one unit of work a module performs during a run. A scenario with three modules that runs once typically consumes three operations. That is why volume matters more than the number of scenarios.

    Should I use a template or build from scratch?

    Build your first scenario from scratch so you understand triggers and modules, then use templates once you can read what they do. Templates are shortcuts, not a substitute for understanding.

    Build one scenario, then judge the tool

    Count your steps first, then prototype on the free tier.

    Referral link — we may earn a reward if you sign up, at no extra cost to you. We are an independent publisher. See our Affiliate Disclosure.