Home / Course Platforms / Guides / How to set up Thinkific
Tutorial · course platforms · updated October 8, 2026
How to set up Thinkific: from account to first enrolment
Thinkific focuses on course delivery: build a course, price it and take payment. This walkthrough covers the account, your first course, pricing and a test enrolment so you can launch without touching every setting.

Independent analysis. This page may contain affiliate links. Some links here are referral links; if you sign up through one we may earn a reward at no extra cost to you, and it never changes what we recommend. We are an independent publisher and are not affiliated with, endorsed by, or an official partner of any tool mentioned. See our Affiliate Disclosure.
TL;DR
- Thinkific is course-first: strong delivery, lighter on marketing than all-in-one tools.
- Build one small course fully before adding more.
- Set pricing and a checkout before you invite students.
- Run a test enrolment to confirm access works.
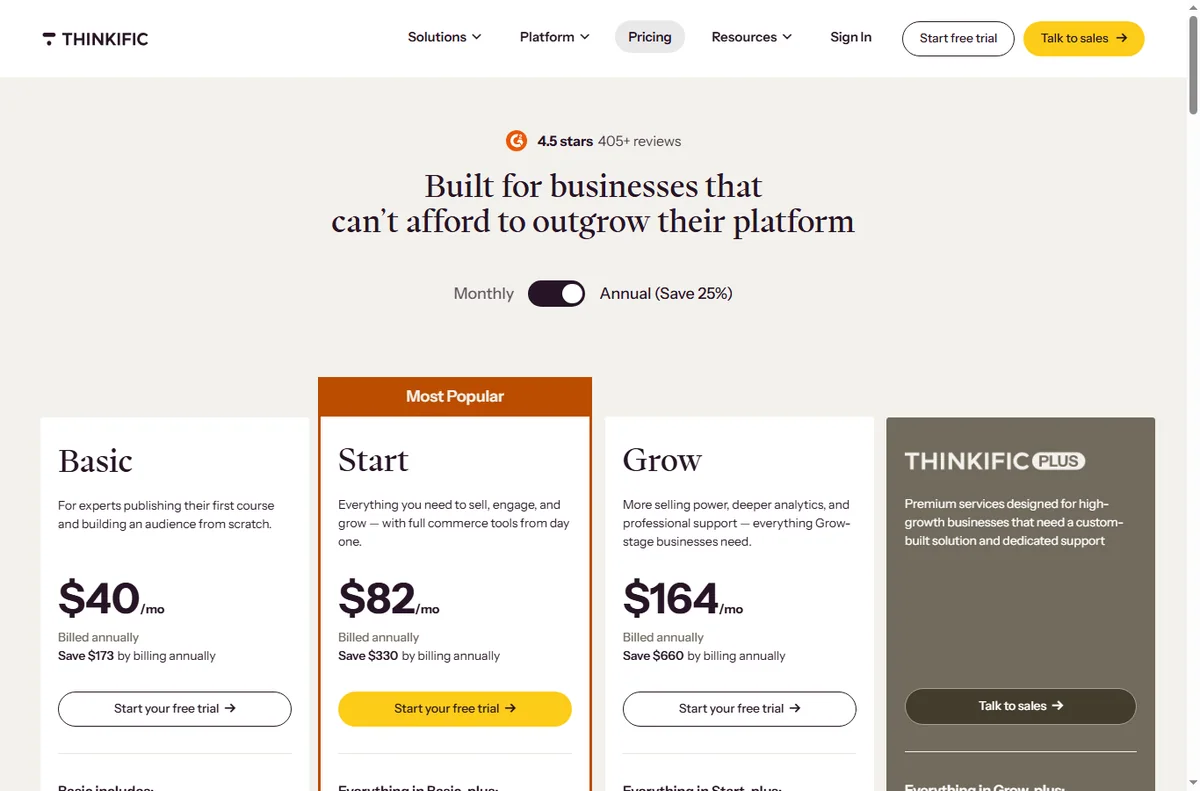
- Confirm current plan limits, fees and pricing on Thinkific’s own pricing page.
On this page: What setting up Thinkific means · Before you start · Create your account · Build the course · Add pricing and checkout · Enrol and test · Common setup mistakes · Where this fits
What setting up Thinkific actually means
Thinkific is built around the course experience: lessons, quizzes and student progress. Setup is therefore content-first, with checkout and marketing as supporting pieces.
The milestones are: account, course content, pricing and checkout, then a test enrolment. Do them in order and you are live.
Before you start
- The outcome your course delivers, stated in one sentence.
- An outline of modules and lessons.
- Your price and whether it is one-time or subscription.
- A payment method, and a company name for receipts if relevant.

Step 1 — Create your account
Sign up, name your school, and finish onboarding. Choose a plan based on how you will charge and what fees apply; changing later is possible but do it before a launch if you can.
The free or entry tiers are fine to learn on. Upgrade when you are ready to sell, not while you are still outlining the course.

Step 2 — Build the course
Create a course, then add chapters and lessons. Publish one lesson completely — content plus any file or quiz — before building the next so students always have a coherent path.
Keep the first course tight. A short course that delivers its promise is easier to sell and easier to improve than a sprawling one.

Step 3 — Add pricing and checkout
Set a price and choose one-time or subscription. Add the checkout page and, if you want a sales page, a simple one with a single call to action and a clear price.
Decide how students get access after payment: instant enrolment is simplest. Test the flow before you promote it.

Step 4 — Enrol and test
Enrol yourself as a student through checkout, using a discount code if the platform allows. Confirm the course unlocks, lessons play, and any quiz records.
Also check the confirmation email and the sign-in experience on mobile. The first impression happens before the first lesson.
Common setup mistakes
| Mistake Why it hurts Fix | ||
|---|---|---|
| Building too much content first | You never launch | Ship one complete course |
| Skipping a test enrolment | Access bugs hit buyers | Enrol yourself first |
| No clear price on the page | Visitors cannot decide | Show price and one call to action |
| Ignoring mobile | Many students learn on phones | Check lessons on a phone |
| No onboarding email | Students arrive confused | Send a welcome with next steps |
Where this fits in your wider stack
Read the independent Thinkific review and start from the course platforms hub. Comparing tools? See Kajabi vs Thinkific and Teachable vs Thinkific. For cost, read the course platform pricing comparison.
Frequently asked
Is Thinkific good for beginners?
Yes. The course builder is straightforward and course-first, which suits people who want to teach rather than configure a whole marketing stack.
Can I sell a subscription?
You can offer one-time or subscription pricing depending on your plan. Check the plan that matches how you want to charge.
Do I need a separate website?
Not always. Thinkific provides course and sales pages; some owners add their own site for a fuller brand presence.
How do I test without paying myself?
Use a discount code or a test transaction where supported, then refund or ignore it. The goal is to confirm access, not revenue.
Ship your first course on Thinkific
Build one complete course, set a clear price, and test enrolment before launch.
Referral link — we may earn a reward if you sign up, at no extra cost to you. We are an independent publisher. See our Affiliate Disclosure.
Leave a Reply