
Home / Automation / Guides / How to set up Zapier
Tutorial · automation · updated October 8, 2026
How to set up Zapier: from sign-up to your first Zap
Zapier connects apps so work happens without you. Setup is really about getting one Zap to run correctly end to end. This walkthrough takes you from a blank account to a working automation without the usual detours.

Independent analysis. This page may contain affiliate links. Some links here are referral links; if you sign up through one we may earn a reward at no extra cost to you, and it never changes what we recommend. We are an independent publisher and are not affiliated with, endorsed by, or an official partner of any tool mentioned. See our Affiliate Disclosure.
TL;DR
- A Zap is a trigger plus one or more actions.
- Start on the free tier to learn; it meters tasks.
- Connect one app first and prove a two-step Zap works.
- Always test the Zap by hand before switching it on.
- Upgrade only when a real workflow outgrows the free task cap.
On this page: What setting up Zapier means · Before you start · Create your account · Learn three words · Build a two-step Zap · Test it · Turn it on · When to upgrade · Common mistakes · Where this fits

What setting up Zapier actually means
Zapier is a connector service built around Zaps: a trigger that starts a workflow and one or more actions that follow. Setting it up is less about installation and more about getting a single Zap to behave.
Three milestones cover most of it: create the account, connect an app, and run one Zap successfully. Multi-step Zaps and filters come later.
Before you start
- An email address you can confirm right away.
- One app you already use that can act as a trigger.
- A one-sentence job description: when this happens, do that.
- A few minutes to run the Zap by hand once.

Step 1 — Create your account
Sign up and confirm your email. You land in a dashboard that lists Zaps and apps rather than in the editor, which surprises people who expect to start building immediately.
Begin on the free tier. It meters tasks, so treat it as a sandbox rather than production.
Step 2 — Learn three words
- Trigger — the event that starts a Zap.
- Action — a step that does one job, such as creating a record or sending a message.
- Task — one unit of work an action consumes; this is what paid plans meter.
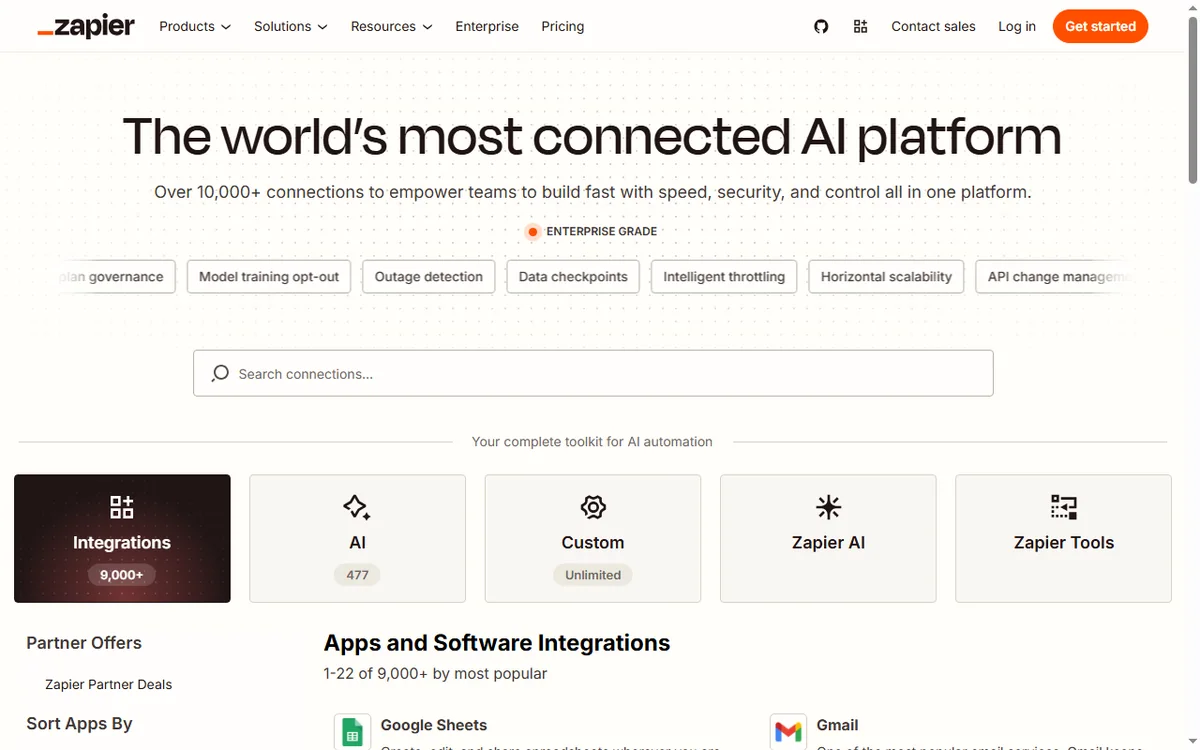
Step 3 — Build a two-step Zap
- Choose “Create Zap” rather than a template, so you learn the parts.
- Pick your trigger app and event, then connect the app by authorising it once.
- Add an action and pick what it should do with the data.
- Map fields so the trigger output flows into the action input.
Step 4 — Test before you trust it
Use the test control to pull sample data through the Zap. Read each step’s input and output; the first failure is almost always a mis-mapped field or an authorisation that expired.
Step 5 — Turn it on and watch the first runs
Once a manual test succeeds, switch the Zap on and watch the first few runs rather than assuming they are fine — especially the first time real traffic hits it.
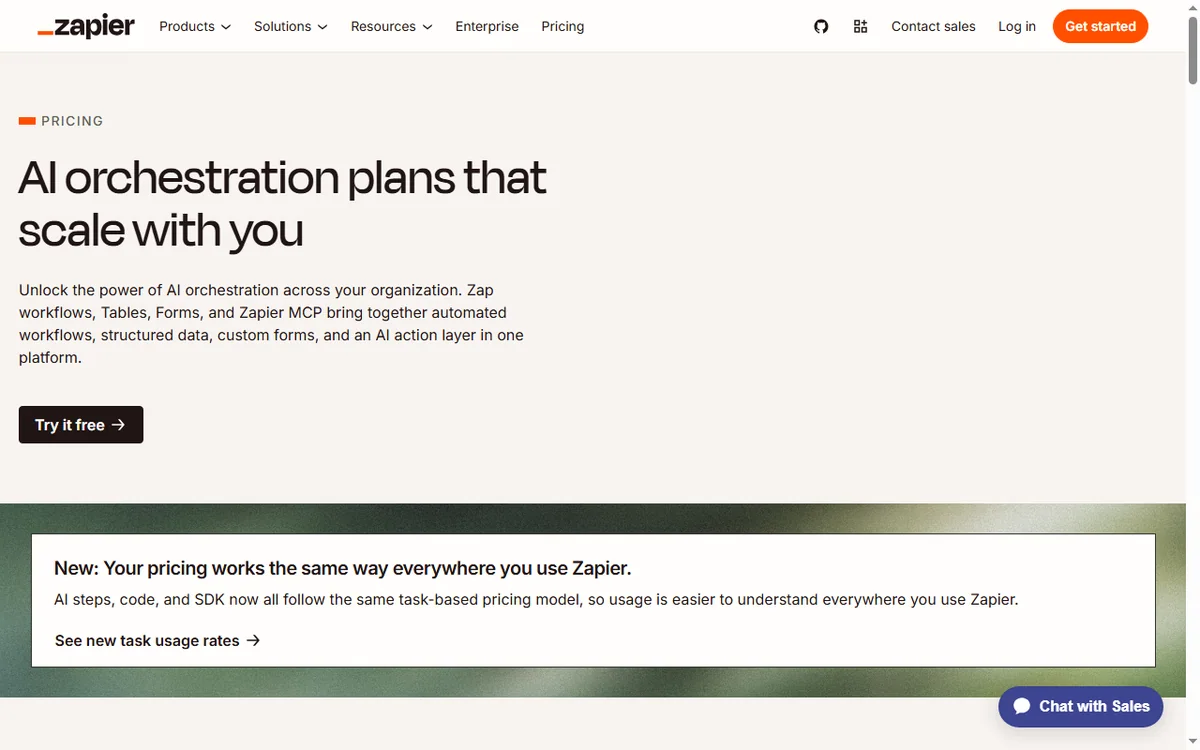
Step 6 — Know when to upgrade
Upgrade when a genuine workflow outgrows the free task cap, not before. Estimate monthly tasks from real volume, then pick the smallest paid tier that covers it comfortably. We do not quote prices — vendors change tiers often, so confirm current figures on the vendor’s pricing page.
Common setup mistakes
| Mistake Why it hurts Fix | ||
|---|---|---|
| Starting from a complex template | You inherit logic you do not understand | Build one simple Zap first |
| Ignoring the task count | The free cap is hit mid-month | Model monthly volume early |
| No error handling | A silent failure breaks the flow | Add a fallback step |
| Testing with live data only | Failures are hard to reproduce | Use sample data, then a live run |
| Turning on before a manual test | The first real run fails | Always test by hand once |
Where this fits in your wider stack
If you are still choosing a platform, start with the business automation hub and the independent Zapier review. For cost, see the Zapier pricing guide; if you are weighing platforms, read Make vs Zapier and the best workflow automation tools roundup.
Frequently asked
How long does it take to set up Zapier?
The account and first simple Zap take roughly 20–40 minutes for a first-timer. Multi-step Zaps take longer because they add concepts, not because setup itself is long.
Do I need to know how to code?
No. The first Zaps are built by clicking steps and mapping fields.
Is the free plan enough to start?
It is enough to learn and to run low-volume workflows. It meters tasks, so busy automations reach the cap quickly — check the current cap on the vendor’s pricing page.
What is a task, exactly?
A task is one unit of work an action performs during a run. That is why volume matters more than the number of Zaps.
Build one Zap, then judge the tool
Count your steps first, then prototype on the free tier.
Referral link — we may earn a reward if you sign up, at no extra cost to you. We are an independent publisher. See our Affiliate Disclosure.
Leave a Reply