
Home / Payments / Guides / How to set up Wise
Tutorial · payments · updated October 8, 2026
How to set up Wise: from sign-up to your first transfer
Wise is a multi-currency account and money-transfer service, and setting it up is mostly about verification and getting your first transfer priced correctly. This walkthrough covers the account, the identity checks, your first recipient, and how to read fees before you commit.
Independent analysis. This page may contain affiliate links. Some links here are referral links; if you sign up through one we may earn a reward at no extra cost to you, and it never changes what we recommend. We are an independent publisher and are not affiliated with, endorsed by, or an official partner of any tool mentioned. See our Affiliate Disclosure.
TL;DR
- Wise is a multi-currency account: you can hold, convert and send money in different currencies.
- Opening the account is free; verification is the slow part, so have your ID ready.
- Your first transfer is about choosing the route and checking the recipient-gets figure.
- You can send to a bank account, receive into your own balances, or use a card where available.
- Always confirm current fees and limits on Wise’s own pricing page — they change by route and region.
On this page: What setting up Wise means · Before you start · Open the account · Verify your identity · Add a recipient · Make your first transfer · Read the fees · Common mistakes · Where this fits
What setting up Wise actually means
Wise is often described as “a cheap way to send money abroad”, but the product is really a multi-currency account with transfer rails attached. Setting it up has three milestones: create the account, pass identity verification, and complete one successful transfer.
Because the value sits in the transfer, most of the effort lands on the middle step. Verification is what unlocks real balances and higher limits, and it is the step people underestimate.
Before you start
- A government ID (passport or national ID) and, for a business account, company documents.
- A phone number and email you can access right away.
- The recipient’s bank details for your first transfer.
- A rough idea of how much you send and how often — that decides whether a personal or business account fits.

Step 1 — Open the account
Sign up with your email, choose personal or business, and set your base currency. Your base currency is the one you think in; you can still hold others alongside it.
Start with a personal account unless you are sending on behalf of a registered company. Business accounts add verification steps you do not want until you actually need them.
Step 2 — Verify your identity
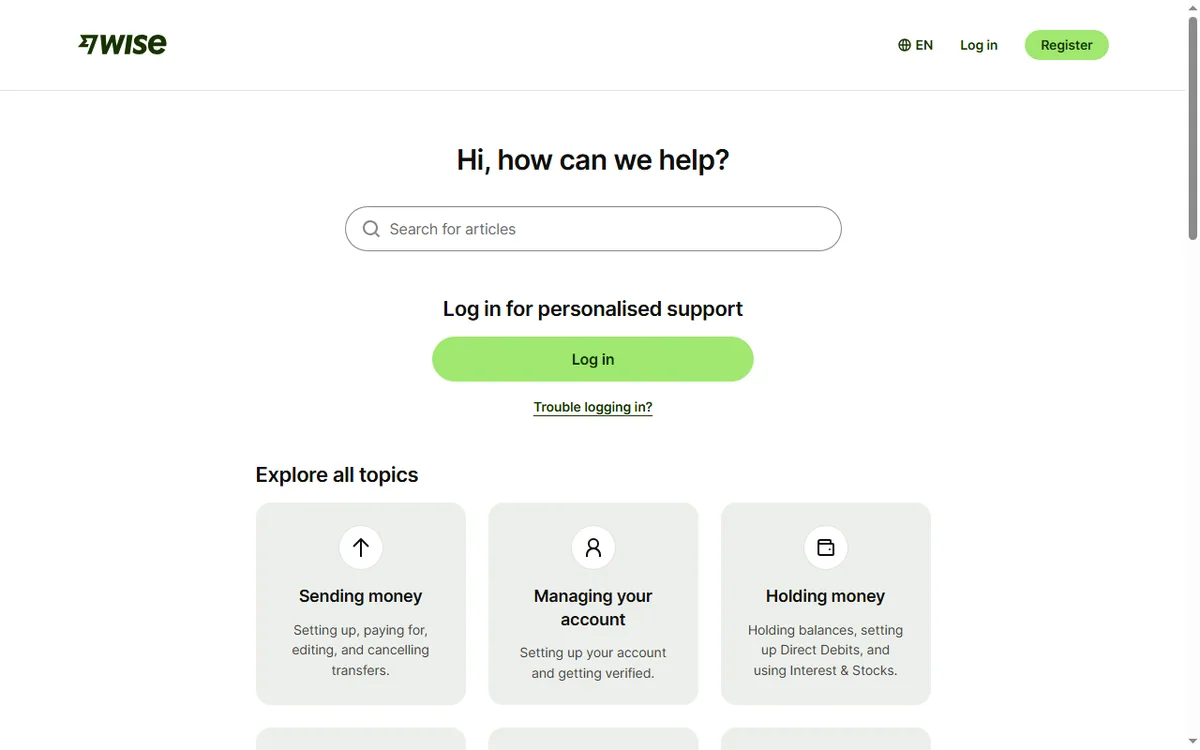
Upload your ID and take a quick selfie if asked. Verification usually finishes within a day, but it can take longer if the photo is unclear or your details do not match.
Once verified you can get local account details in supported currencies and higher sending limits. Until then you are in a limited state, which is normal.
Step 3 — Add a recipient
Add the person or business you are paying: name, country and their bank details. The service checks that the name matches the account to reduce failed transfers.
If you send to the same recipient often, save them so future transfers are two clicks.

Step 4 — Make your first transfer
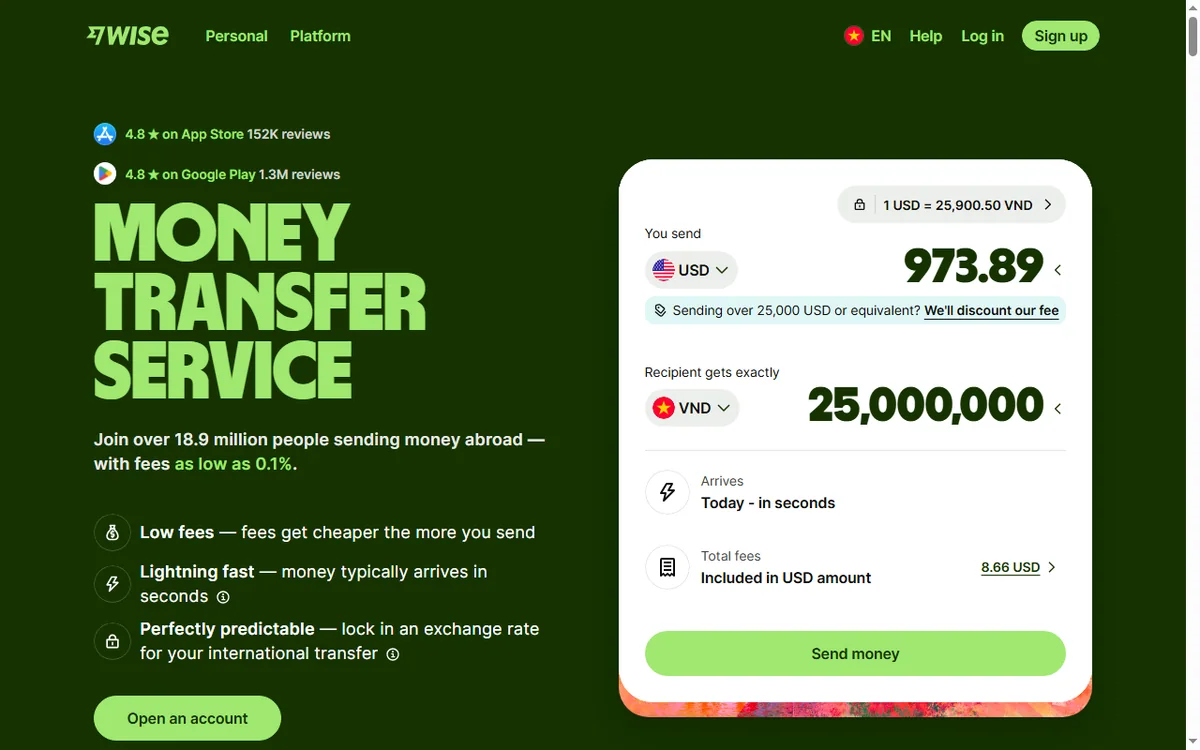
- Enter the amount and the currency you are sending from.
- Check the recipient-gets figure — that is the number that actually matters.
- Pick the payment method; some methods settle faster than others.
- Confirm, then track the transfer until it shows as complete.

How to read the fees before you commit
Two numbers decide the real cost: the exchange rate applied and any transfer fee. A “low fee” headline means little if the rate is worse than the mid-market rate.
Compare the recipient-gets figure against what a bank would deliver for the same amount. We deliberately do not quote prices here because rates and fees move daily — confirm them on Wise’s own pricing page at the moment you send.
Common setup mistakes
| Mistake Why it hurts Fix | ||
|---|---|---|
| Sending before verification | Transfers stall or hit low limits | Finish verification first |
| Ignoring the exchange rate | A cheap fee can hide a poor rate | Compare the recipient-gets figure |
| Wrong recipient name | Transfer is rejected or delayed | Match the bank account name exactly |
| Personal account for a company | Volume and records get messy | Open a business account if you invoice as a company |
| Not saving recipients | You re-enter details and risk typos | Save frequent recipients |

Where this fits in your wider stack
If you are still choosing a provider, start with our payments hub and the independent Wise review. If you are weighing alternatives, see the Wise vs PayPal comparison, and for a broader shortlist read the best money transfer services and best currency exchange tools roundups.
Frequently asked
Is opening a Wise account free?
Opening the account is free. You pay fees when you convert or send money; those depend on the route and are shown before you confirm. Check the current figures on the vendor’s pricing page.
How long does verification take?
Often within a day, sometimes longer if documents are unclear or your details do not match. A sharp photo and exact name spelling speed it up.
Do I need a business account?
Only if you send on behalf of a registered company or need business invoices and multi-user access. Solo senders usually stay on a personal account.
Can I hold several currencies?
Yes. The account supports multiple currency balances where available, and you convert between them as needed.
Open the account, verify once, send with the real rate in view
Finish verification, then compare the recipient-gets figure before your first transfer.
Referral link — we may earn a reward if you sign up, at no extra cost to you. We are an independent publisher. See our Affiliate Disclosure.
Leave a Reply